HERRINGBONE TABLE MAKEOVER
Today I am welcoming Summer from Simple Stylings. Have you met her yet? She is a super sweet lady with tons of talent. I am very excited to have her as a contributor. Go check her out, I am sure you will love her as much as I do! But first, see what she brought over to share today!
There you go , Summer!
Hello everyone!!! I’m Summer from Simple Stylings and I’m so thrilled to be here as a new contributor at Place Of My Taste! Aniko is just the greatest, right?!?!
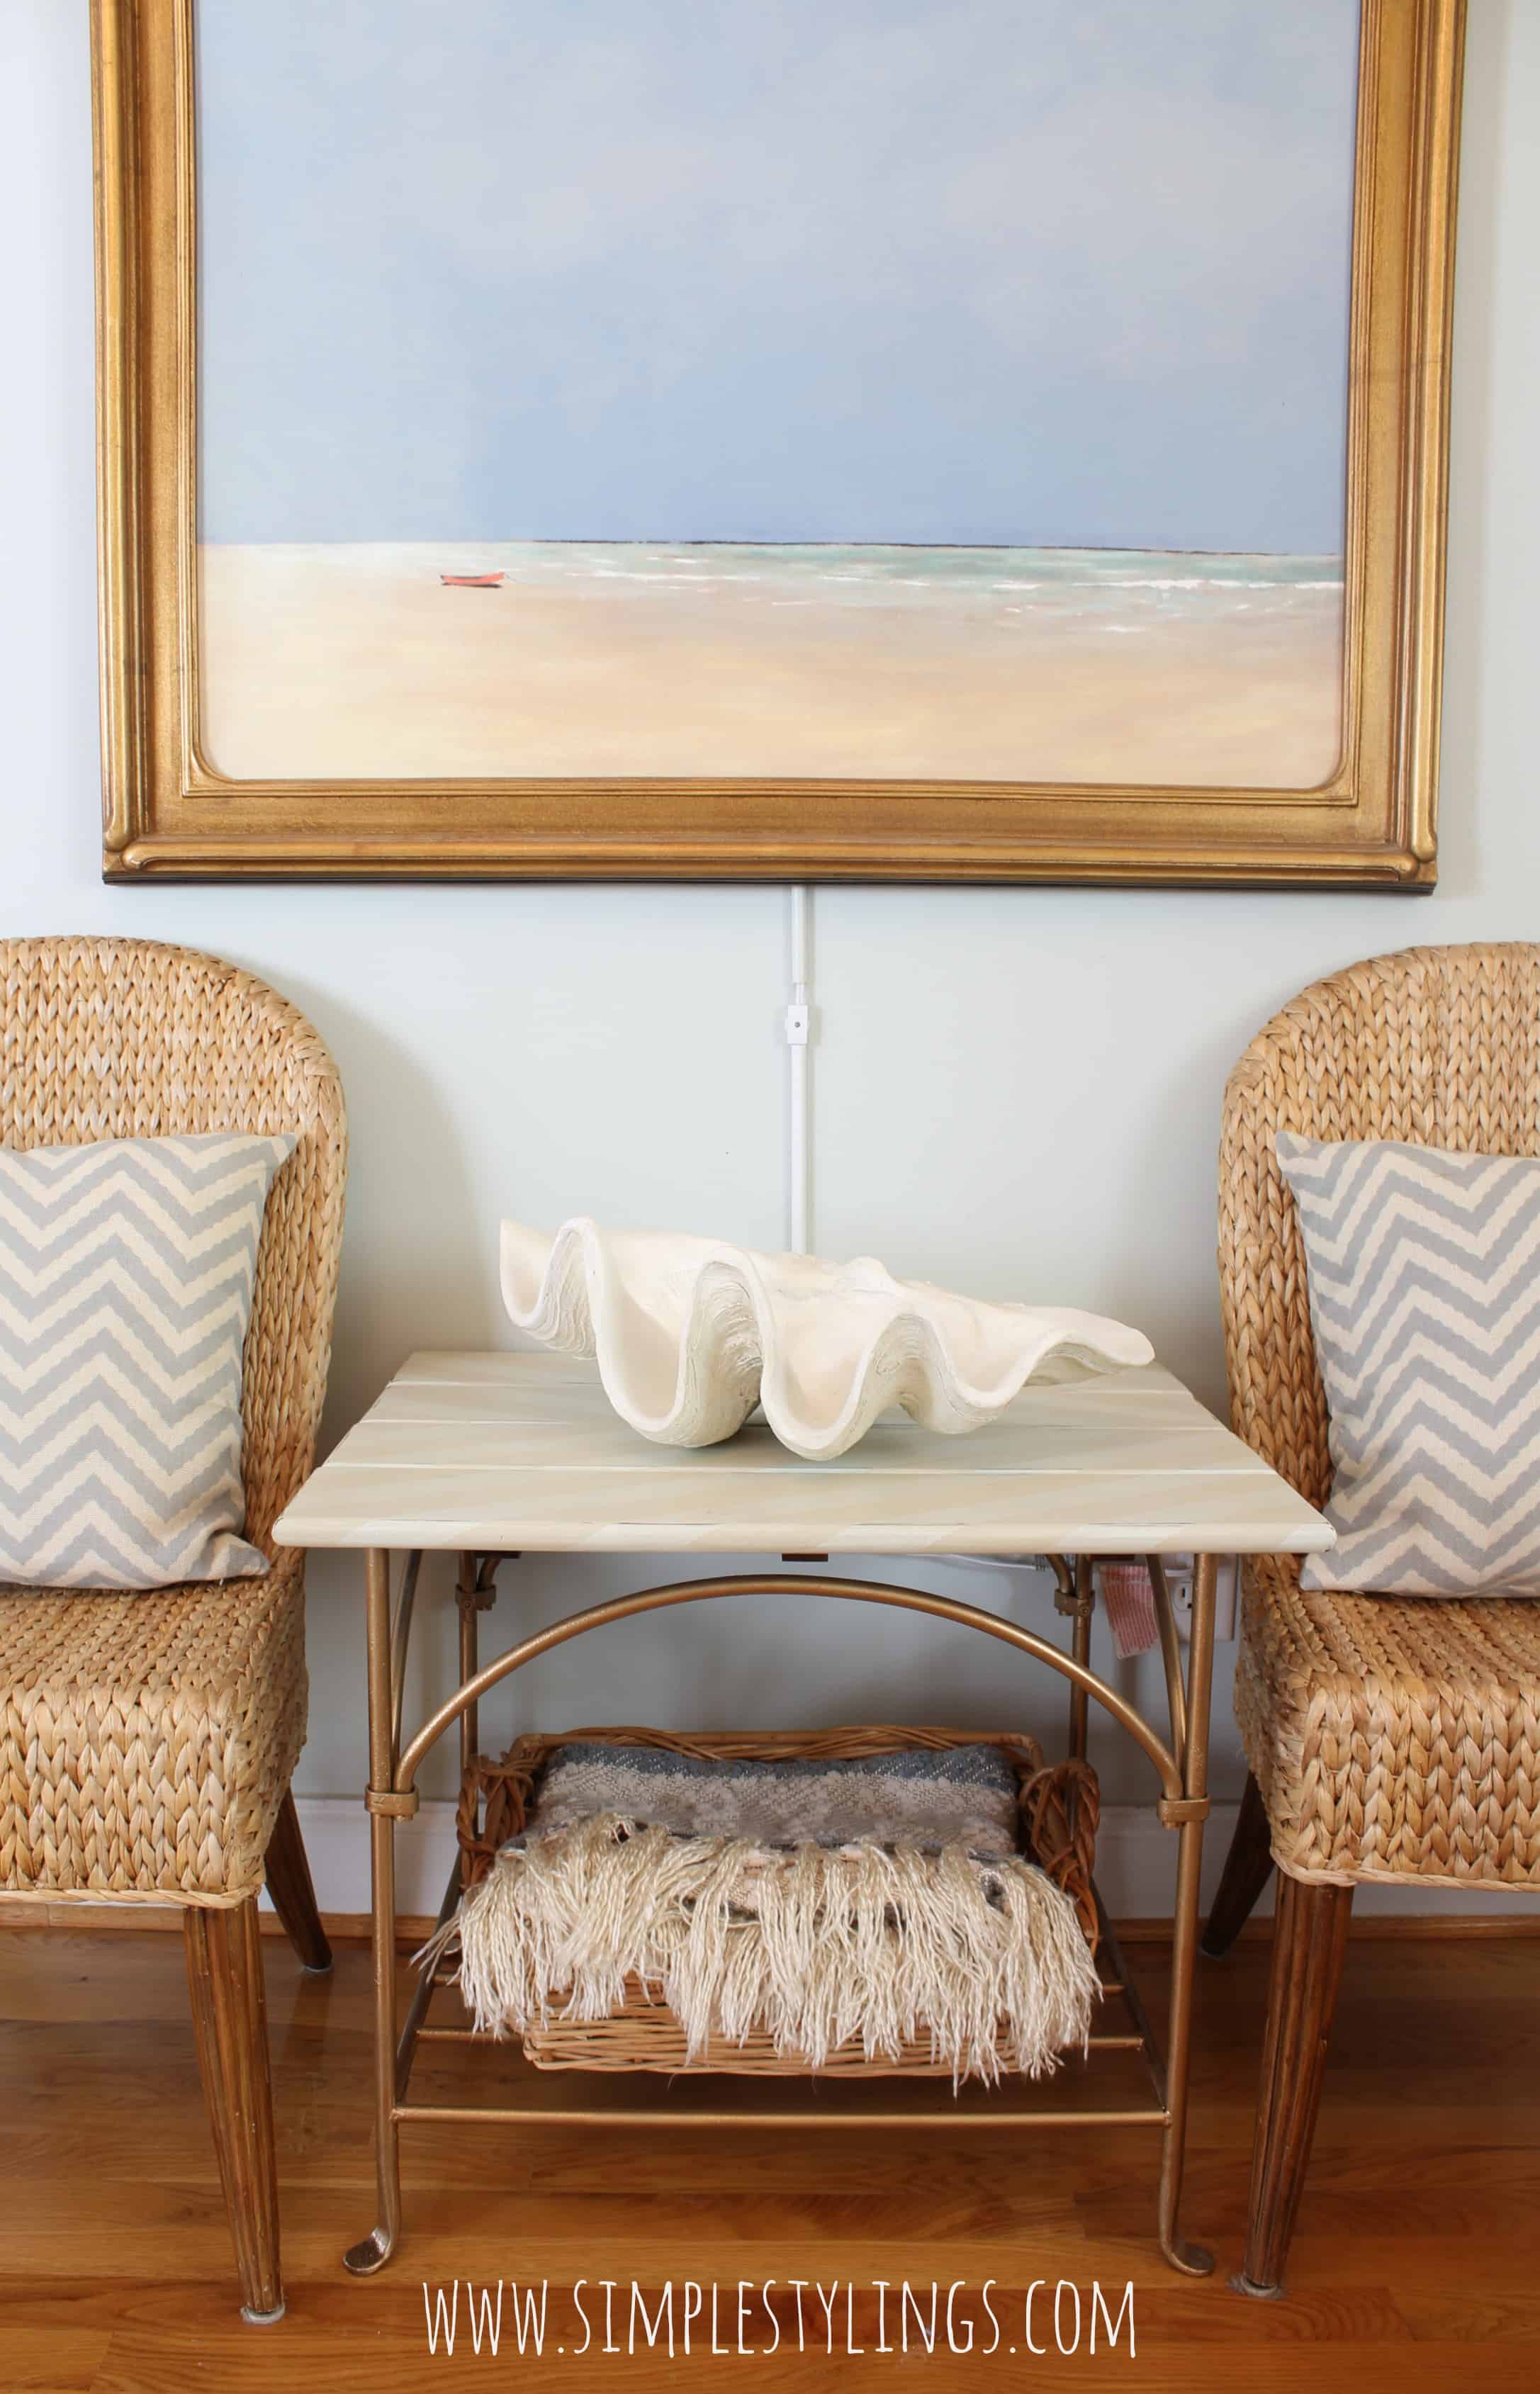
I’m excited to share this fun herringbone table makeover with you as my first post.

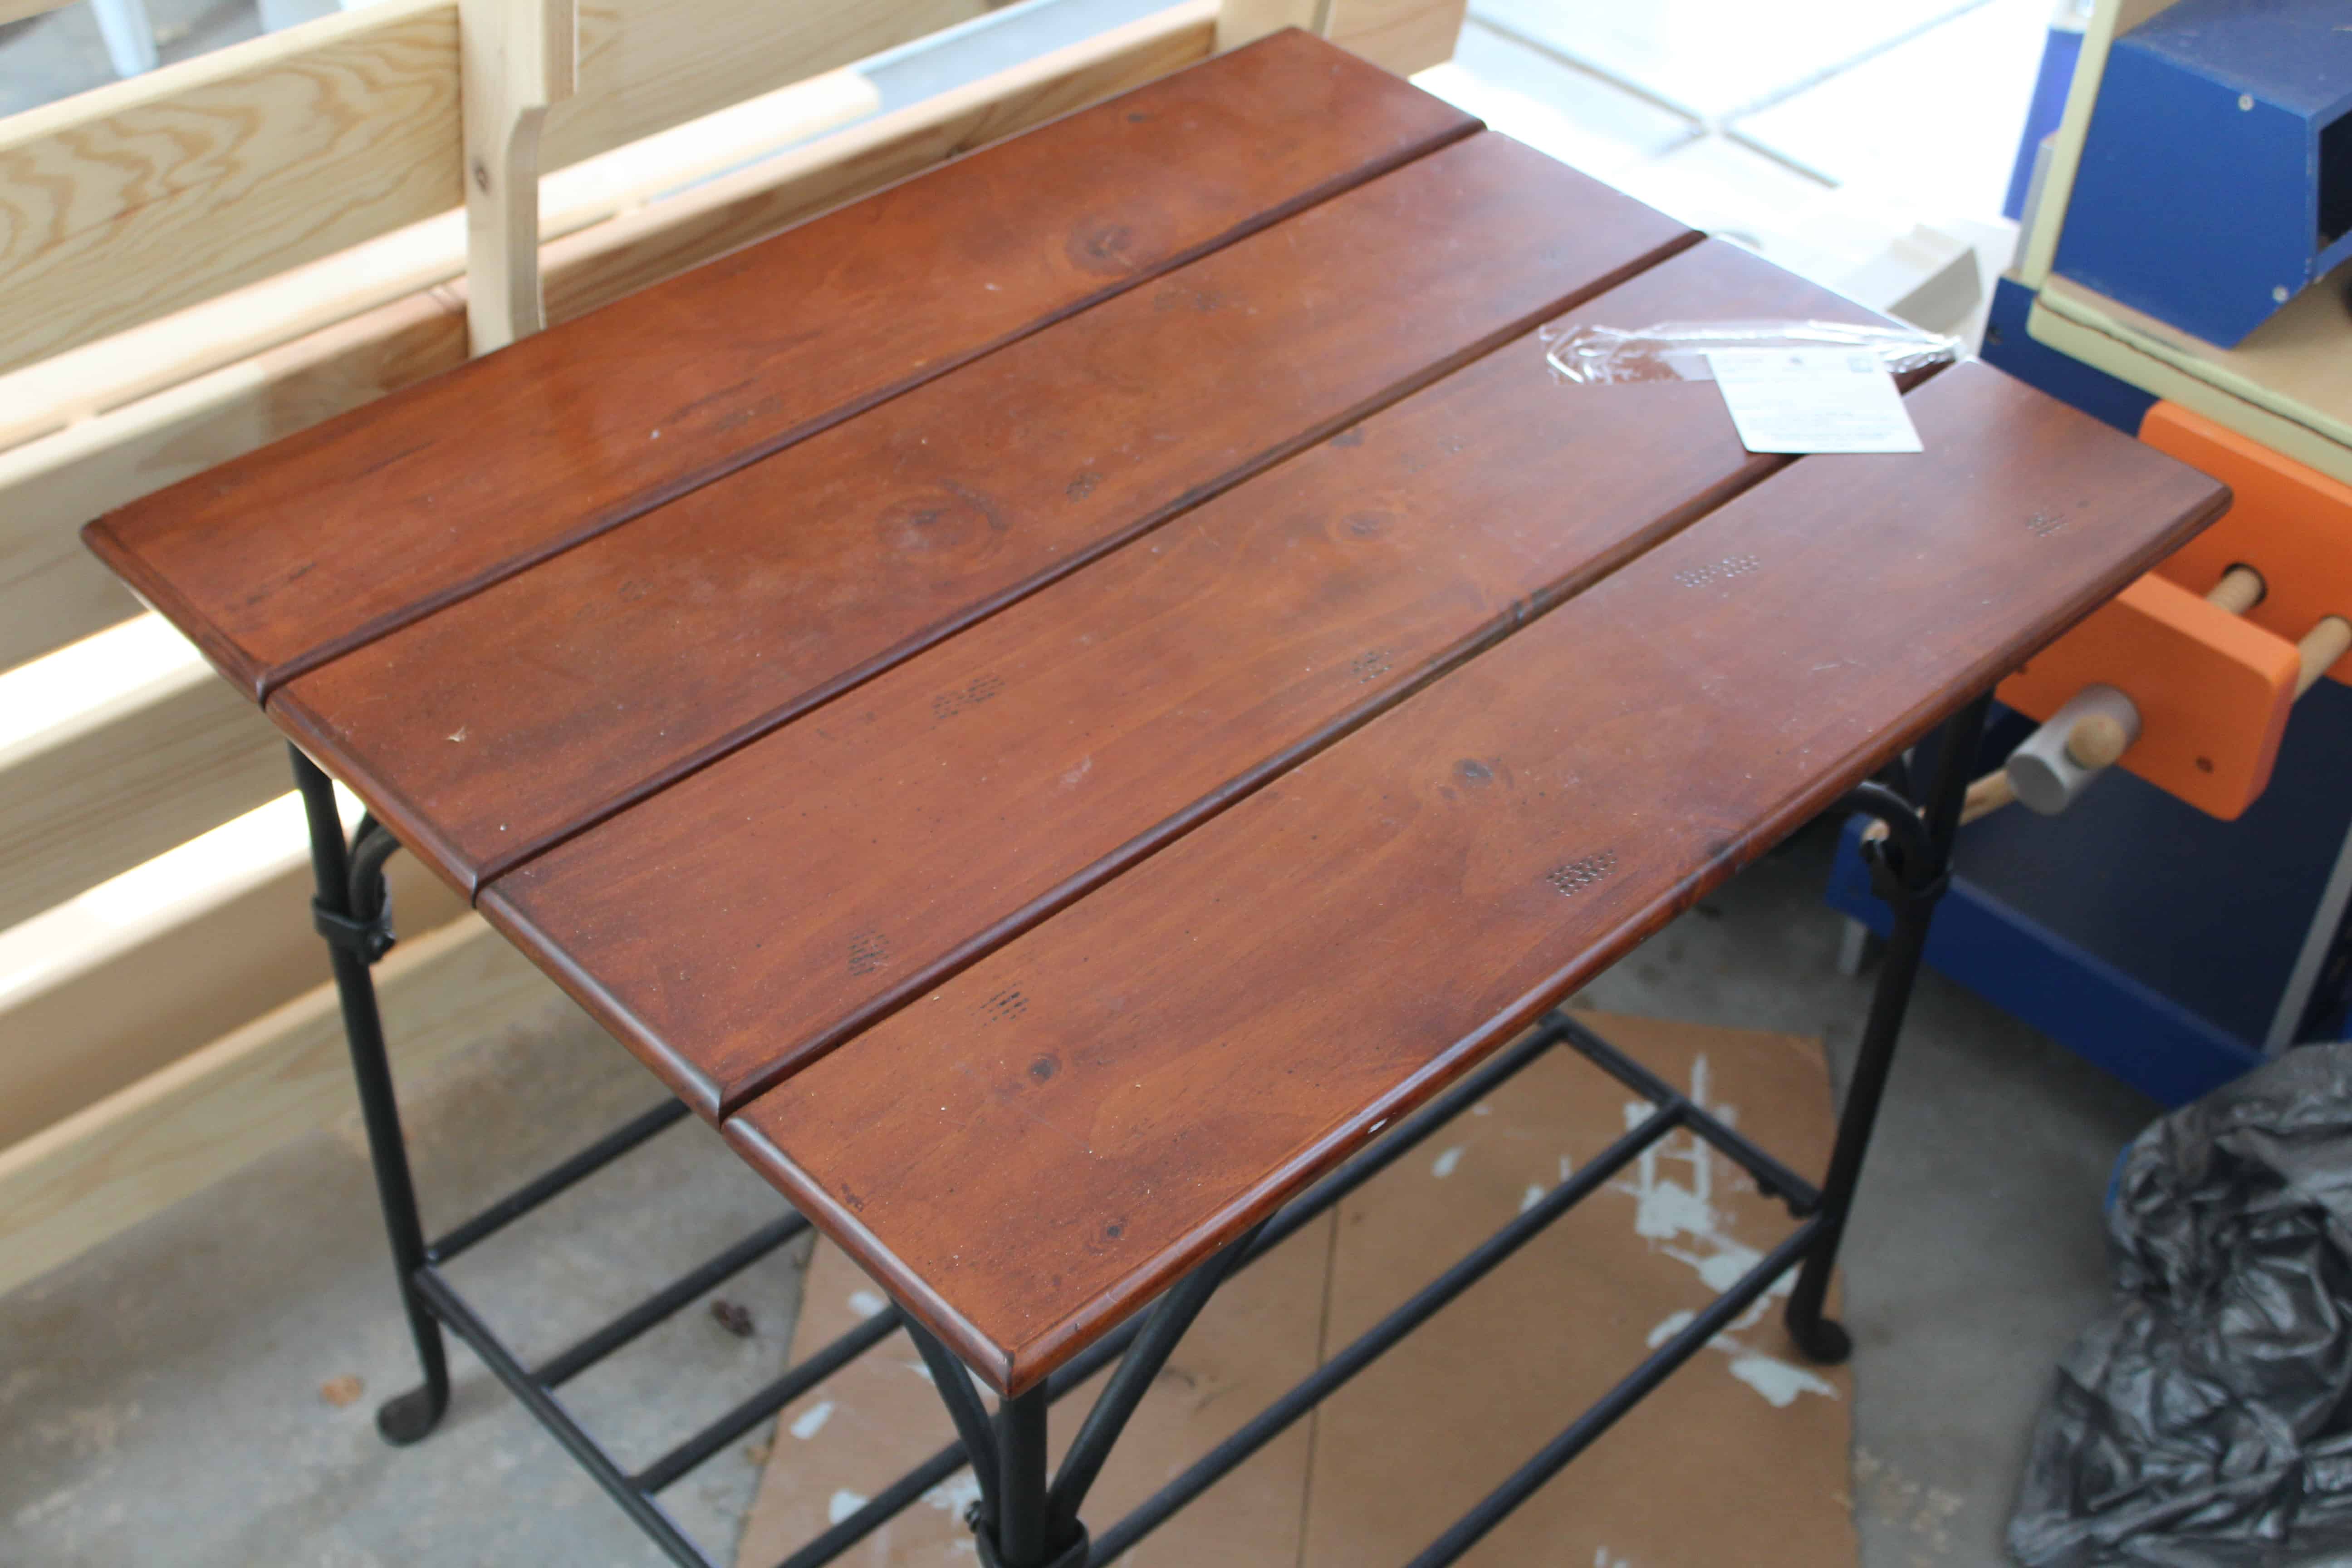
I picked this cute table up from Goodwill for $10 awhile back and I’m so cheap that I even thought that price tag was a little high 🙂 But it was sturdy and I thought it would be a simple makeover that would pack a big punch.
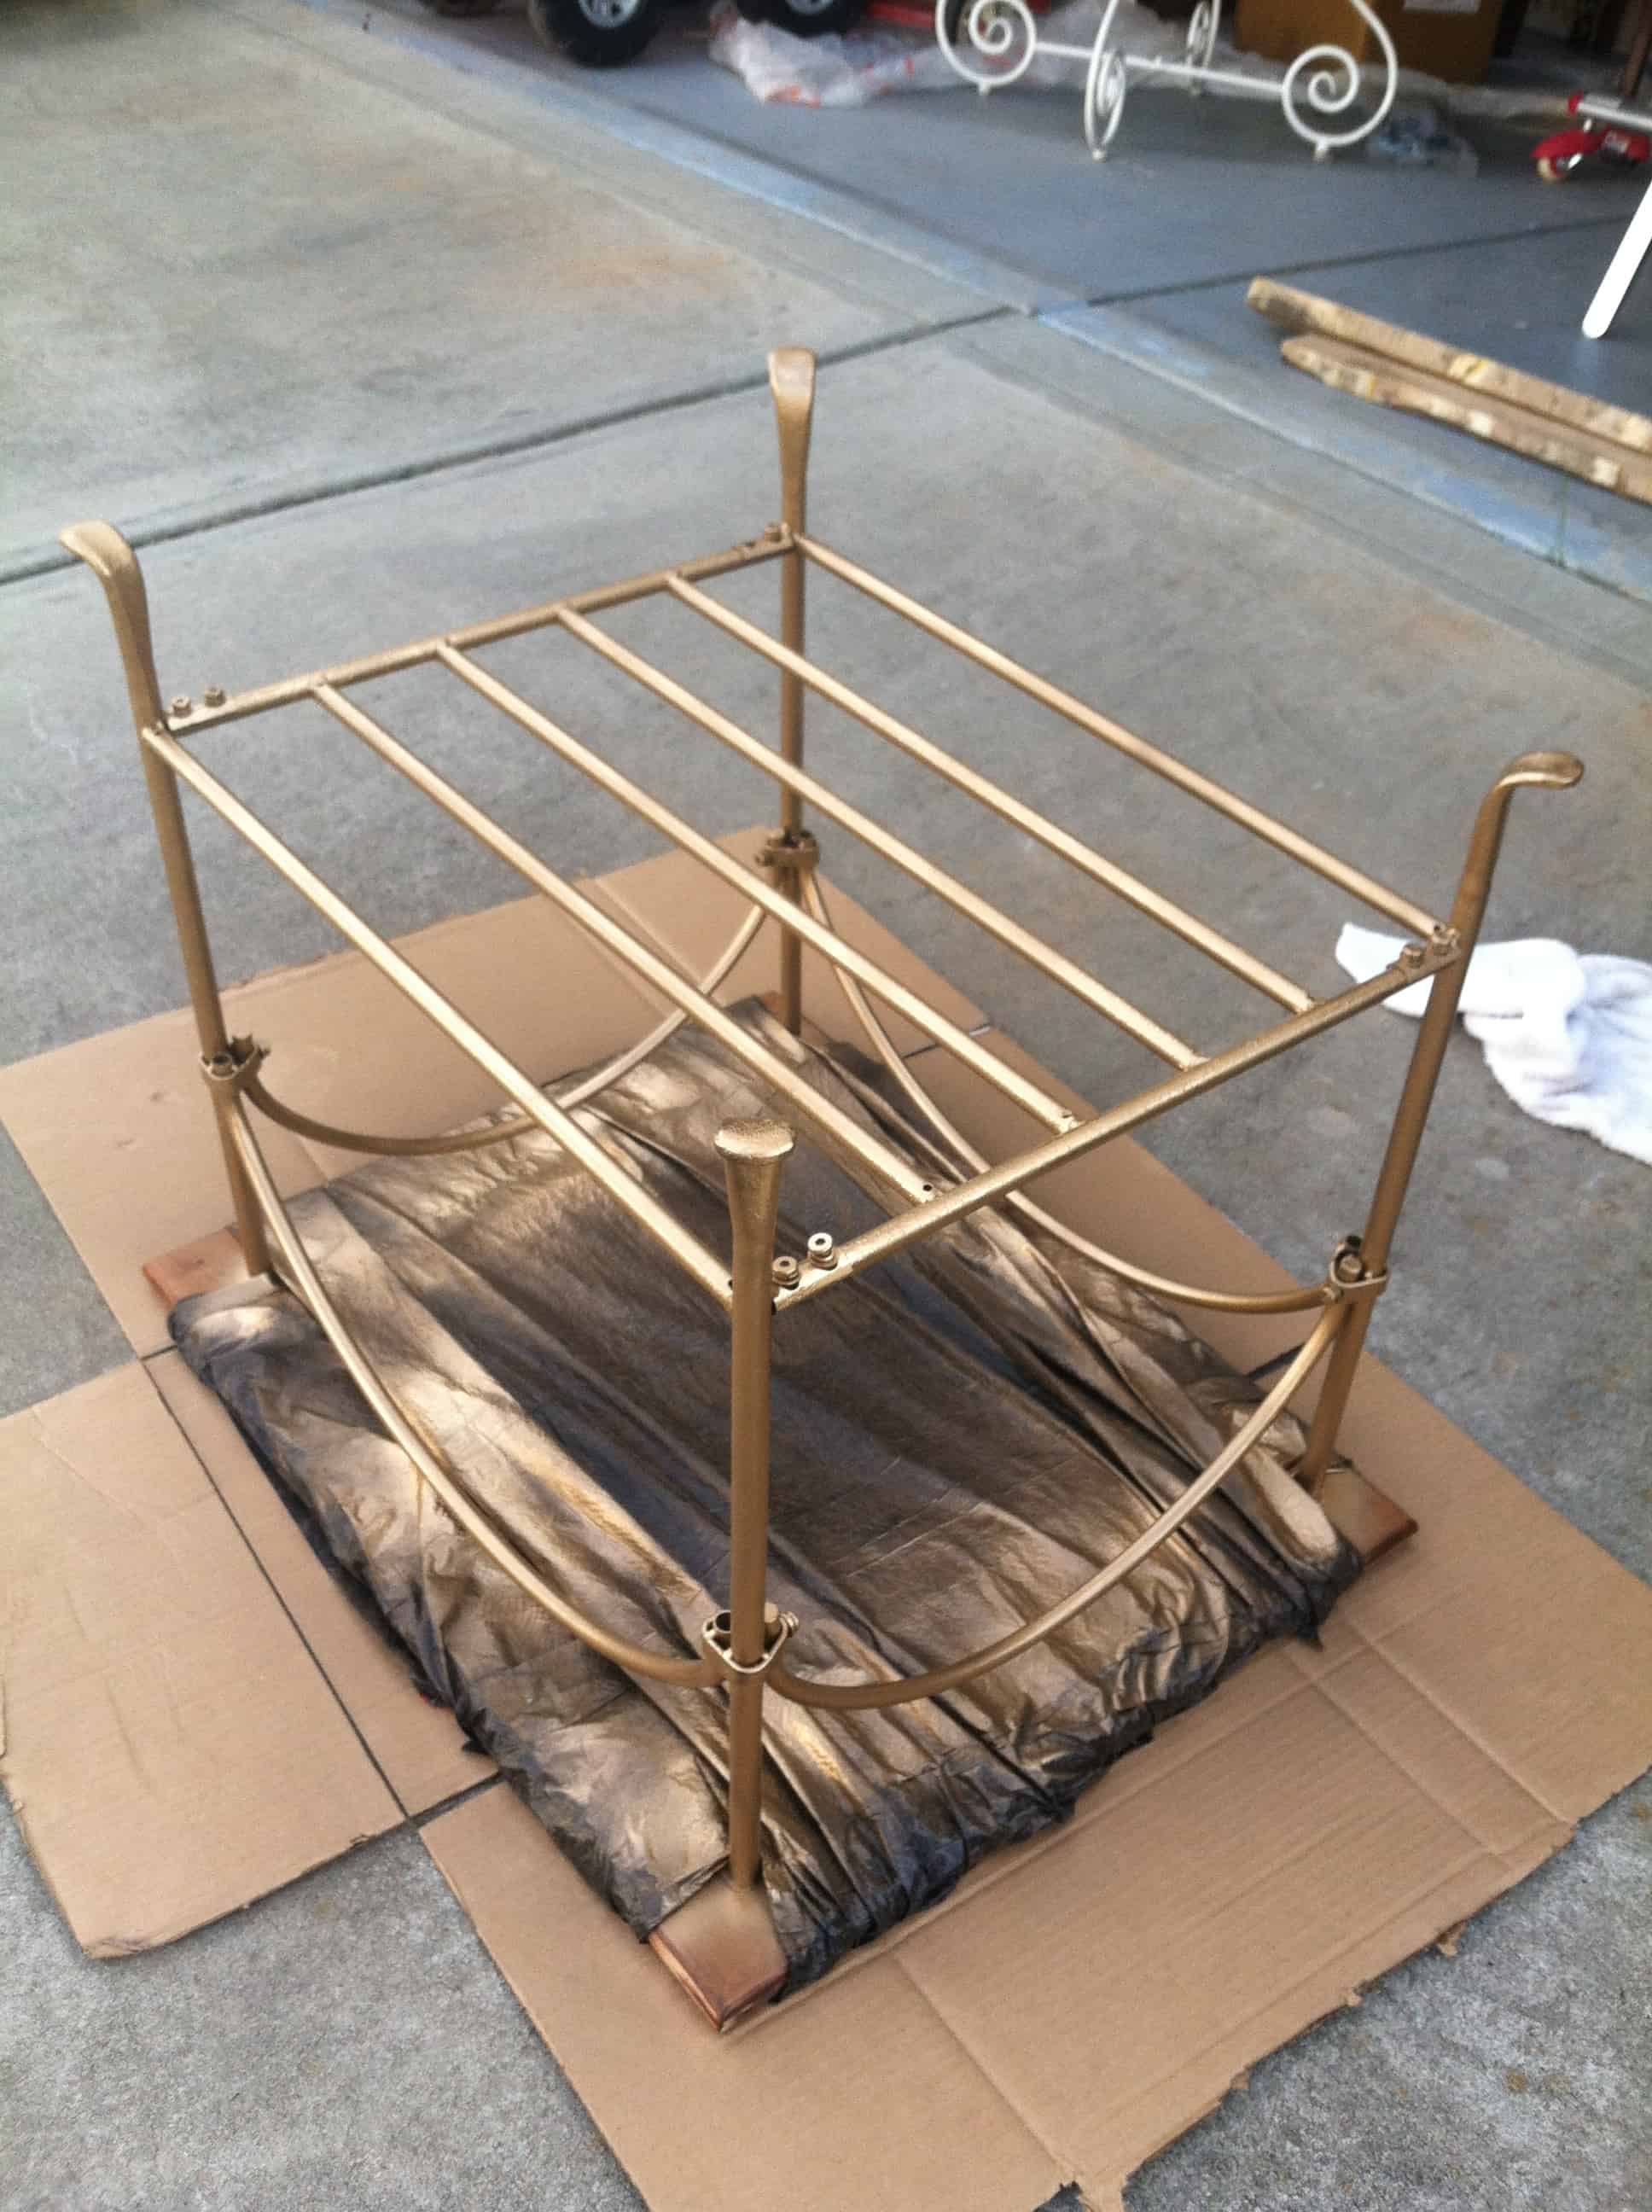
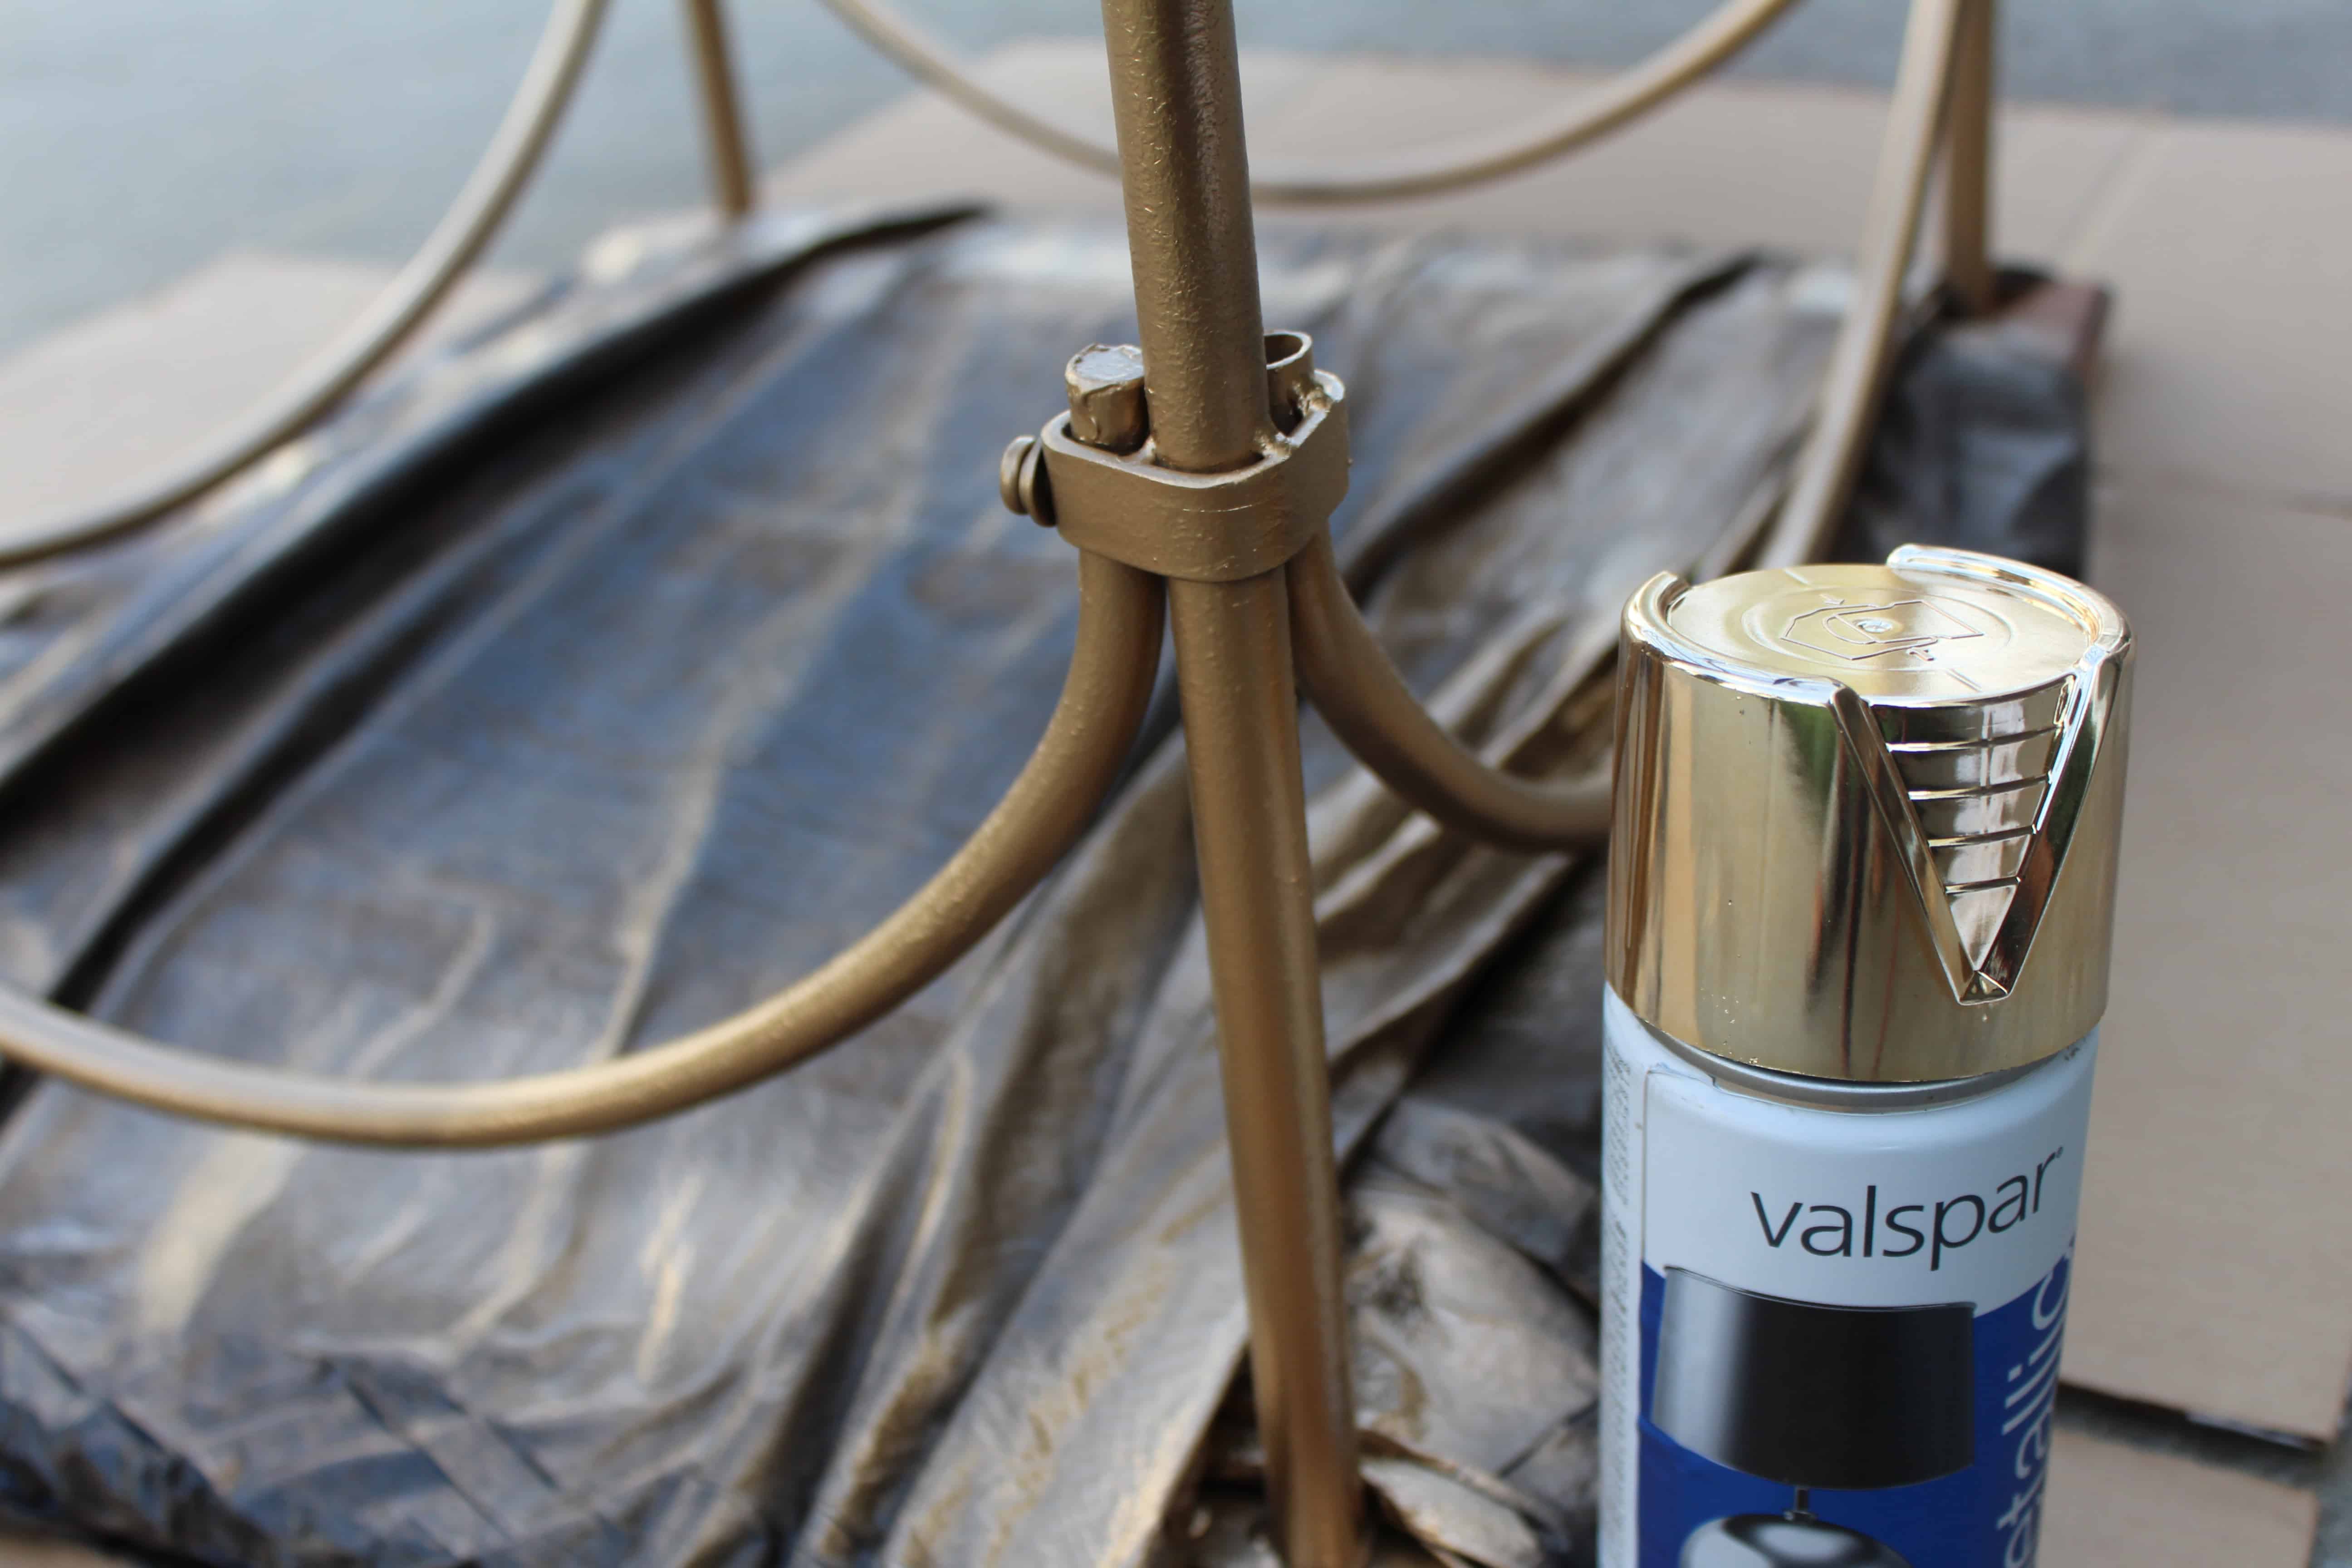
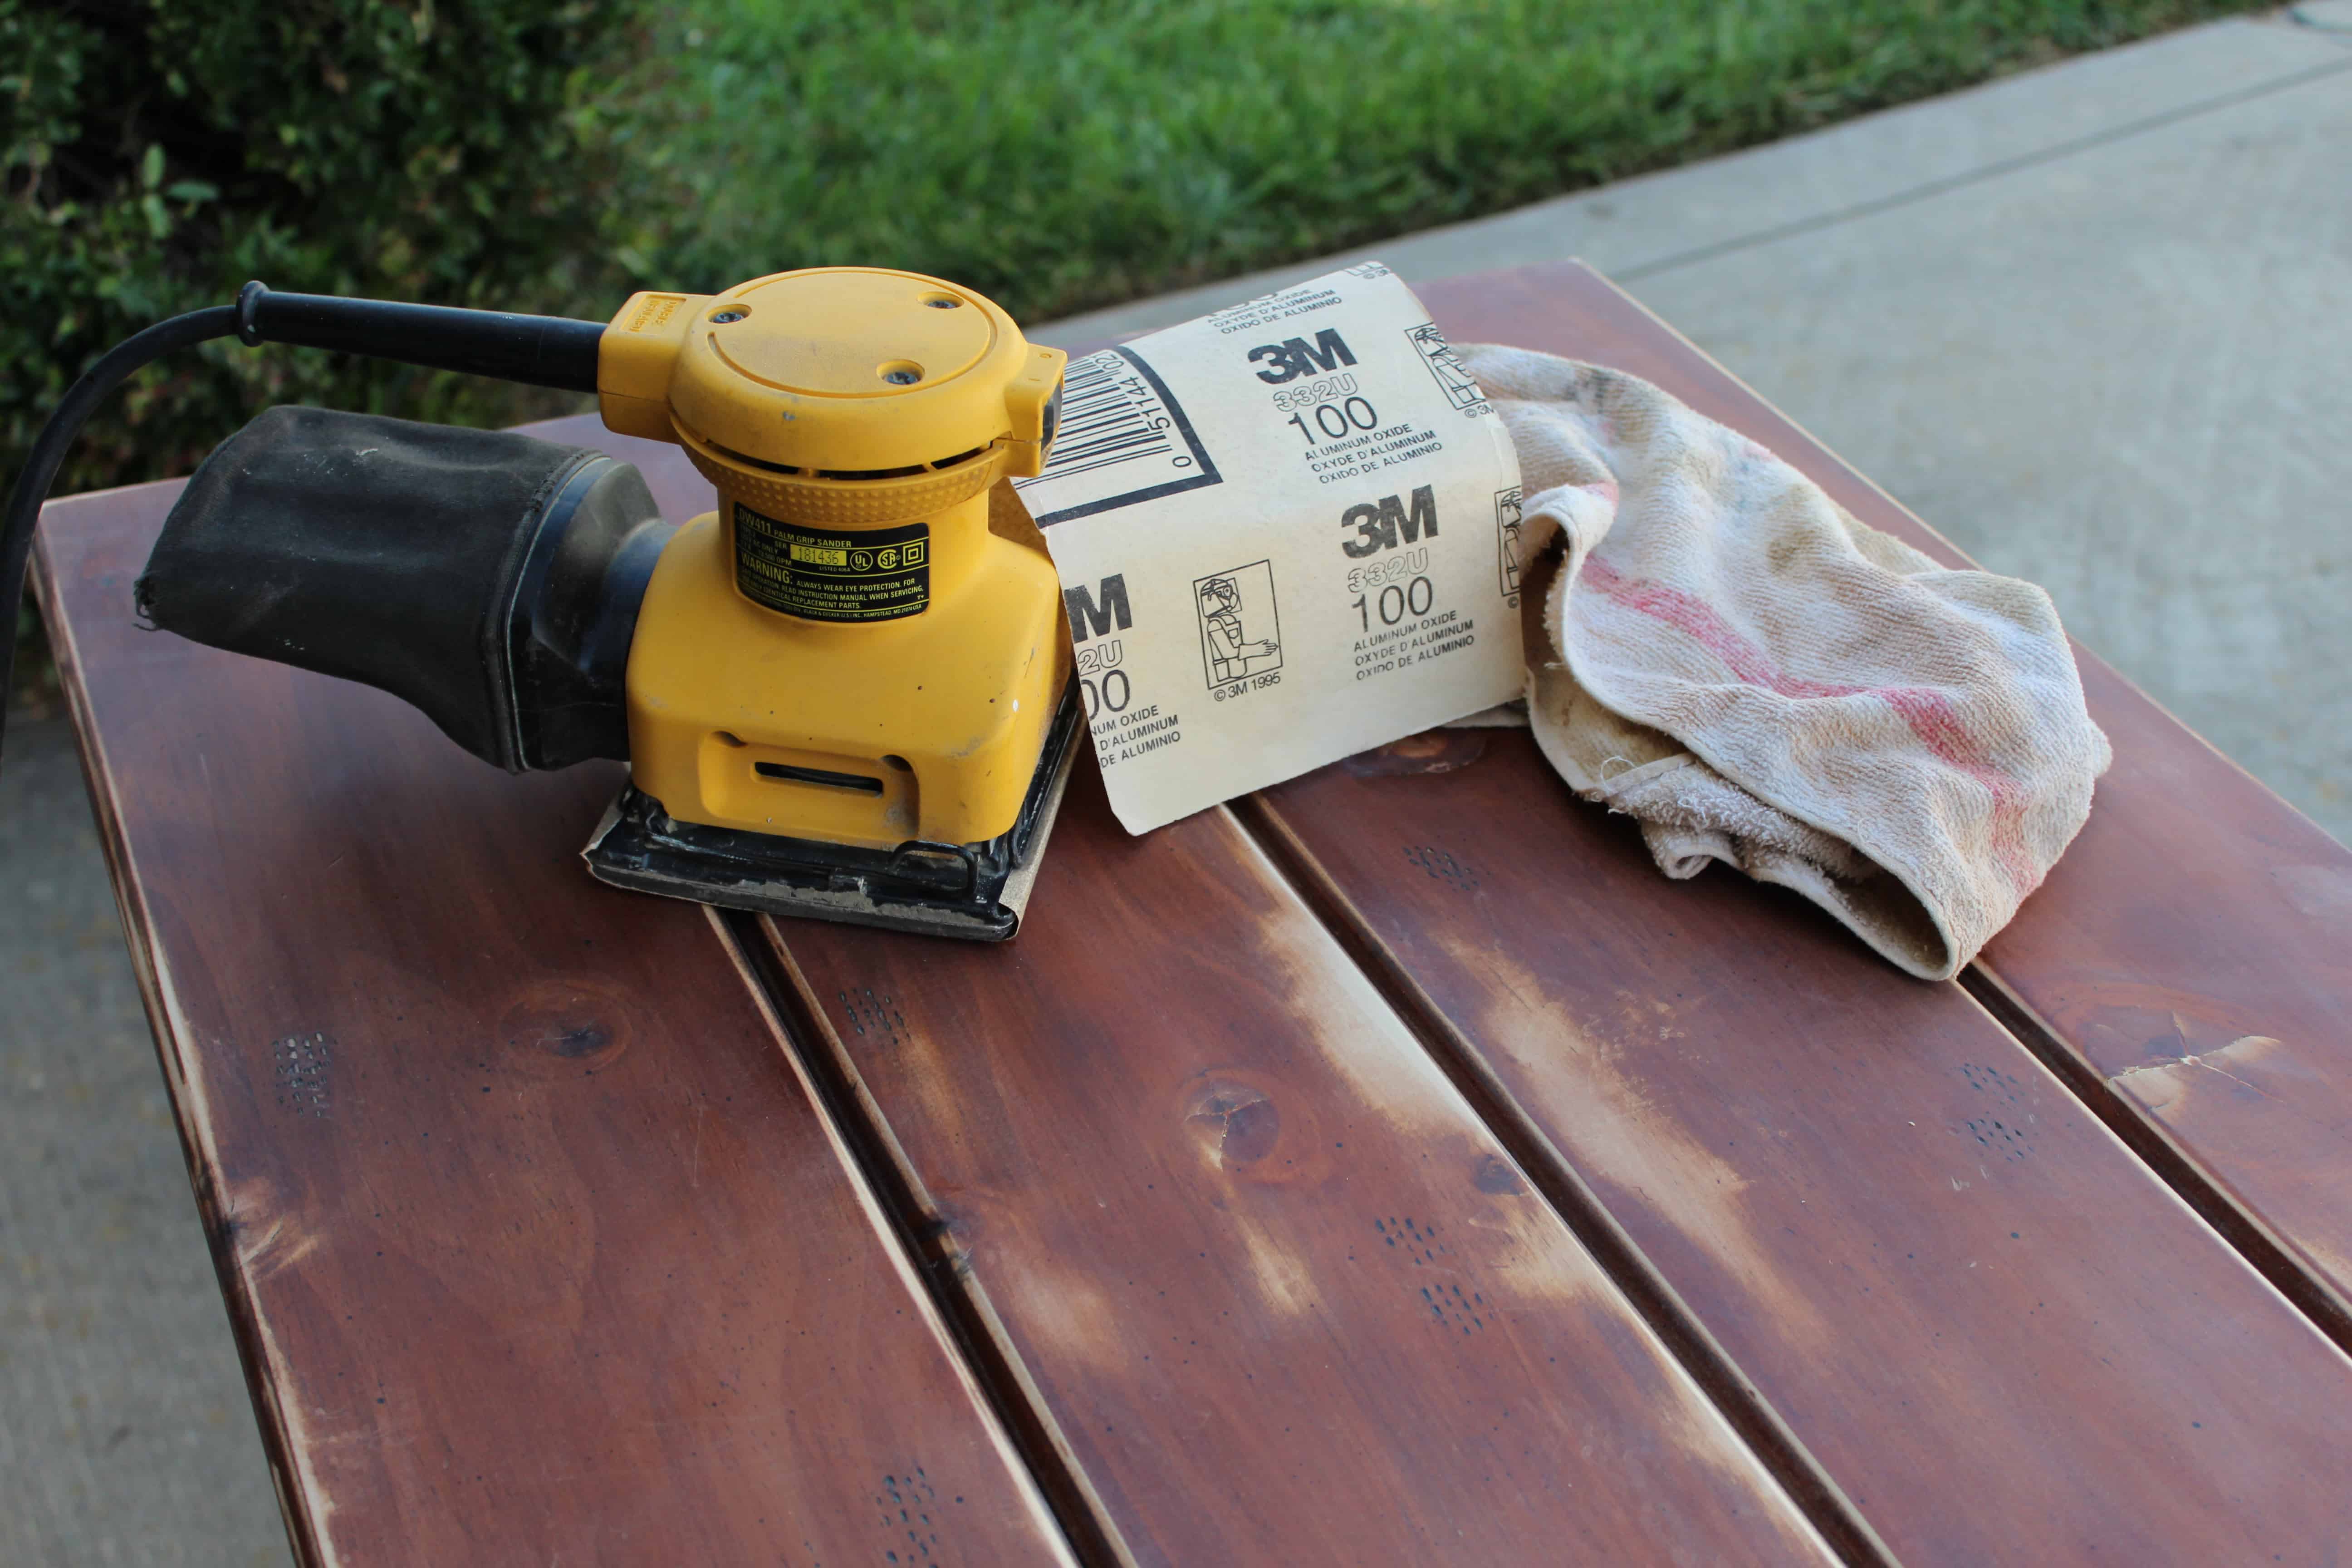
First I started with the base. I flipped the table over and tightened all the screw one good time. Then I covered the table top with trash bags to protect it. Since I love everything gold and copper these days I decided to spray paint the base gold. Once the base was dry I turned the table back over to give it a quick sanding with my electric sander.

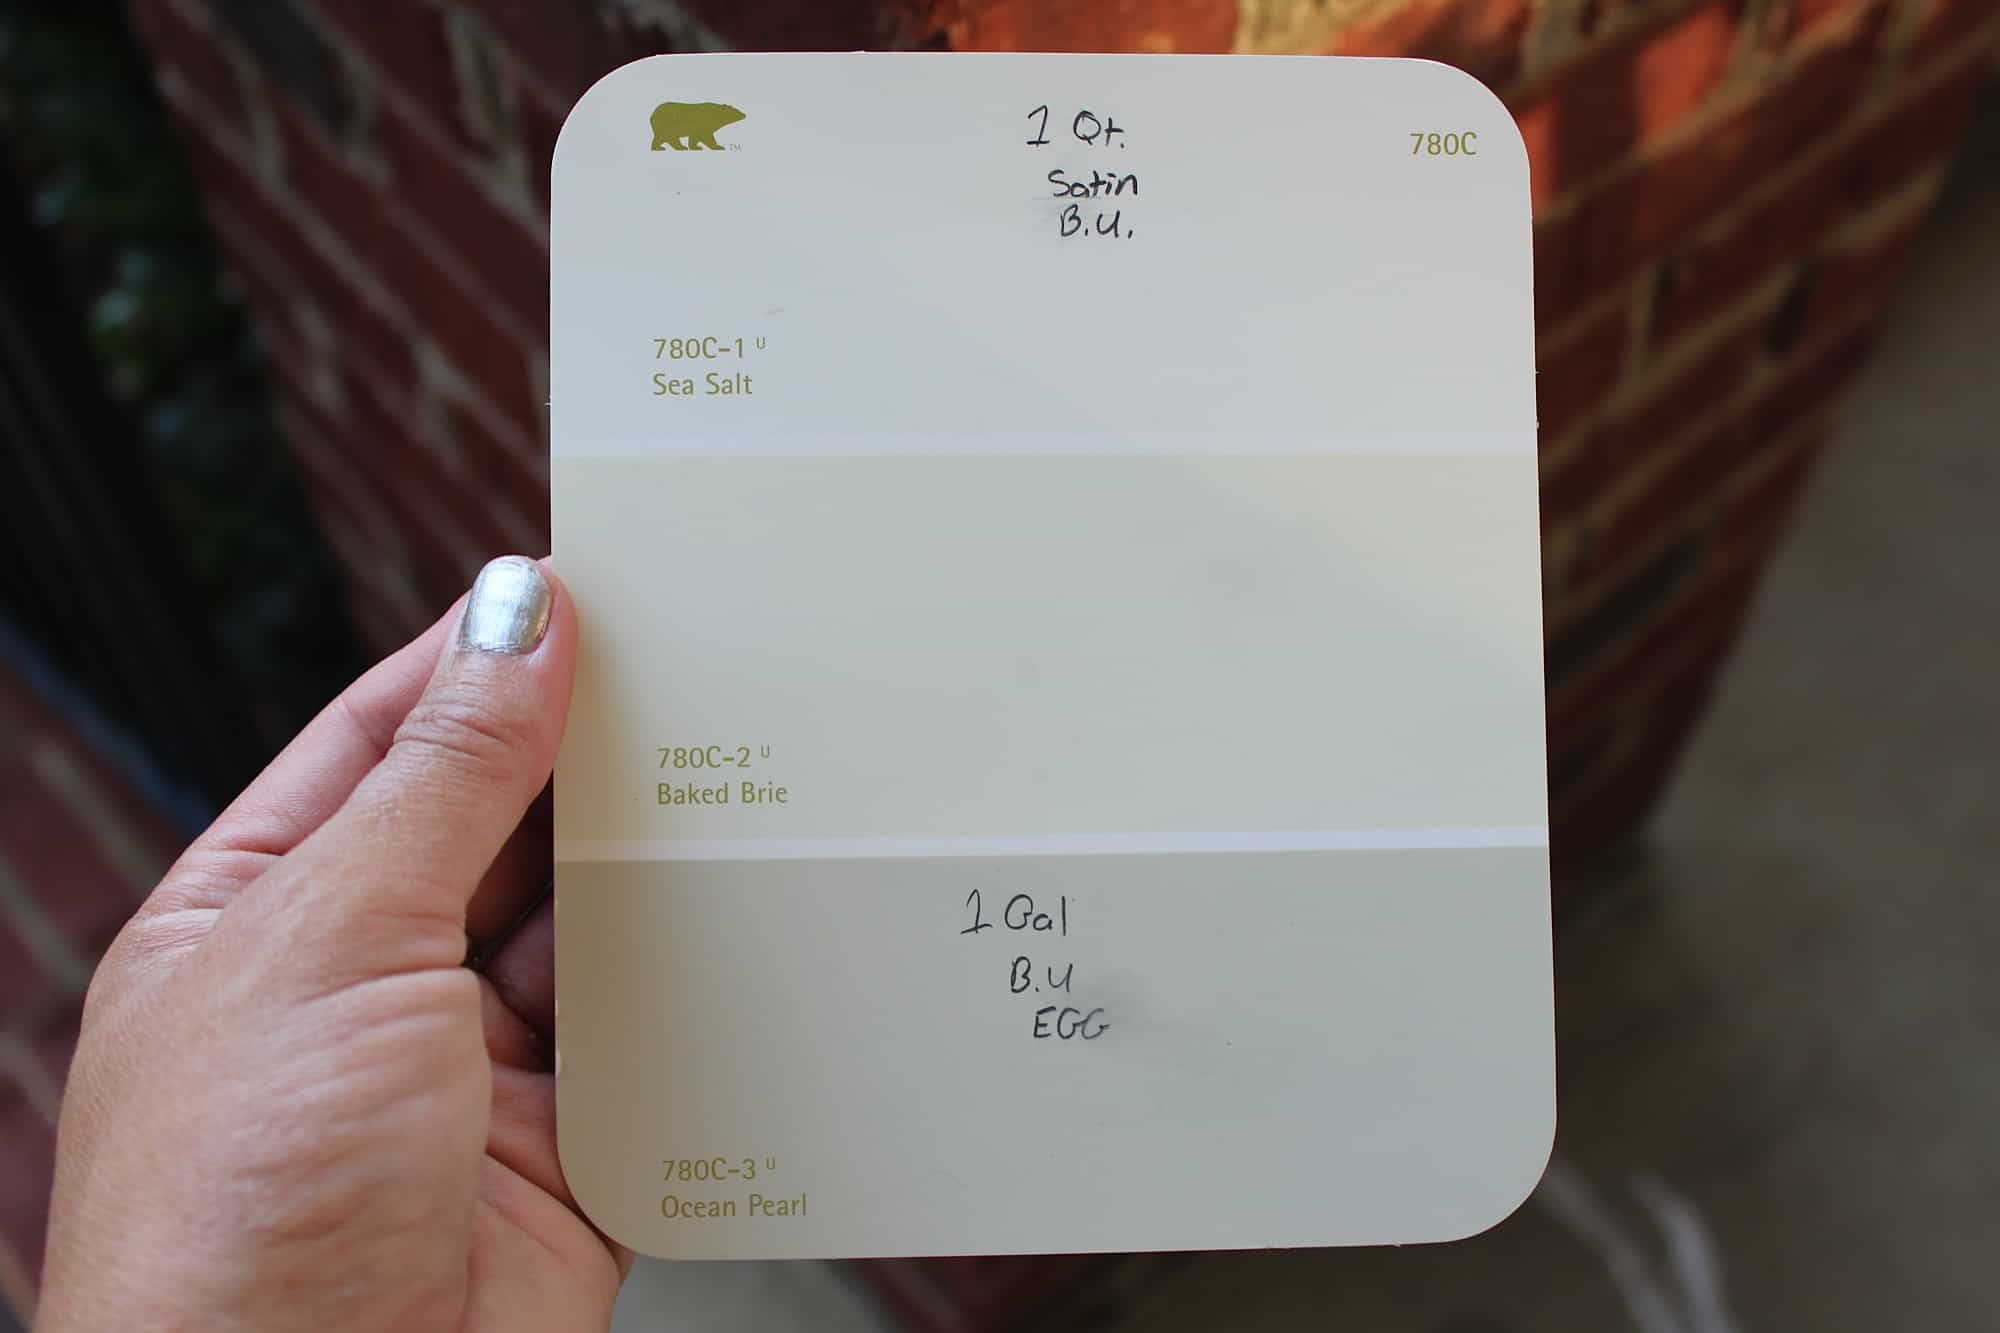
I wanted to create a herringbone or chevron pattern on the table top so I needed two colors. I used the Behr paint below that I already had on hand. This is the same paint I used for the stripes in my downstairs bathroom. I love these colors and you can see our striped bathroom here on my home tour tab.
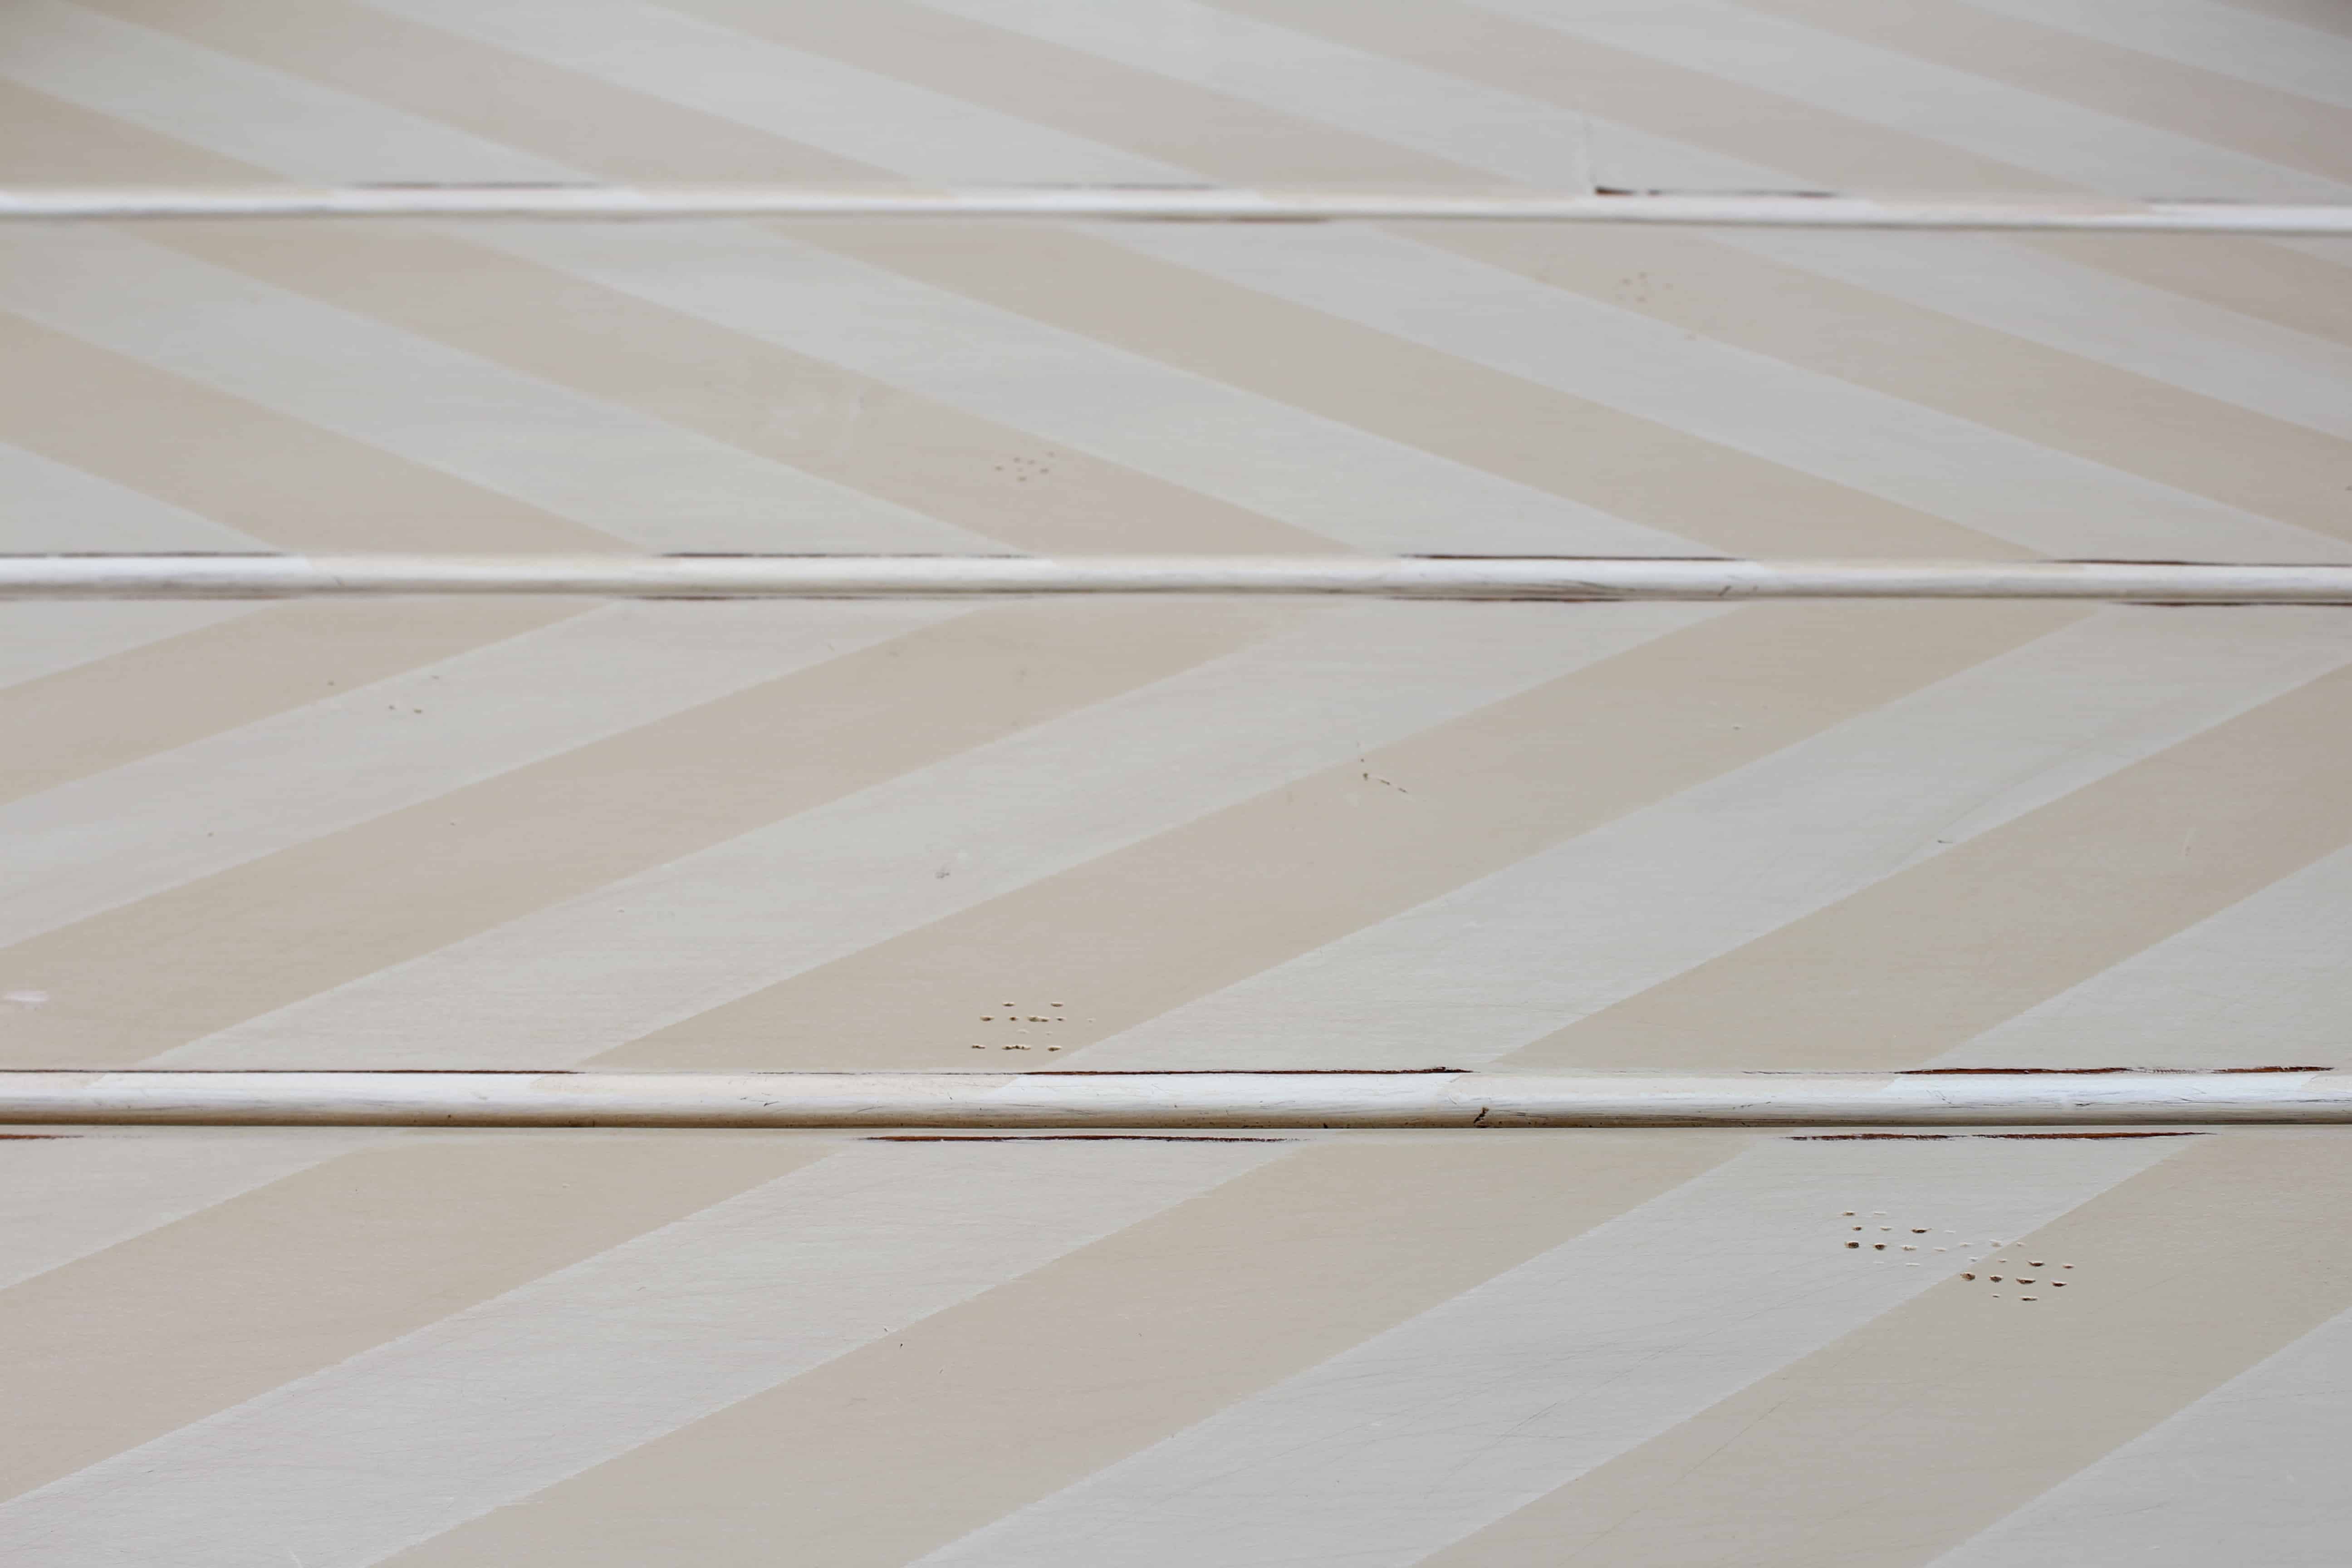
I used the Sea Salt as the base color and the Ocean Pearl on top for the stripes.

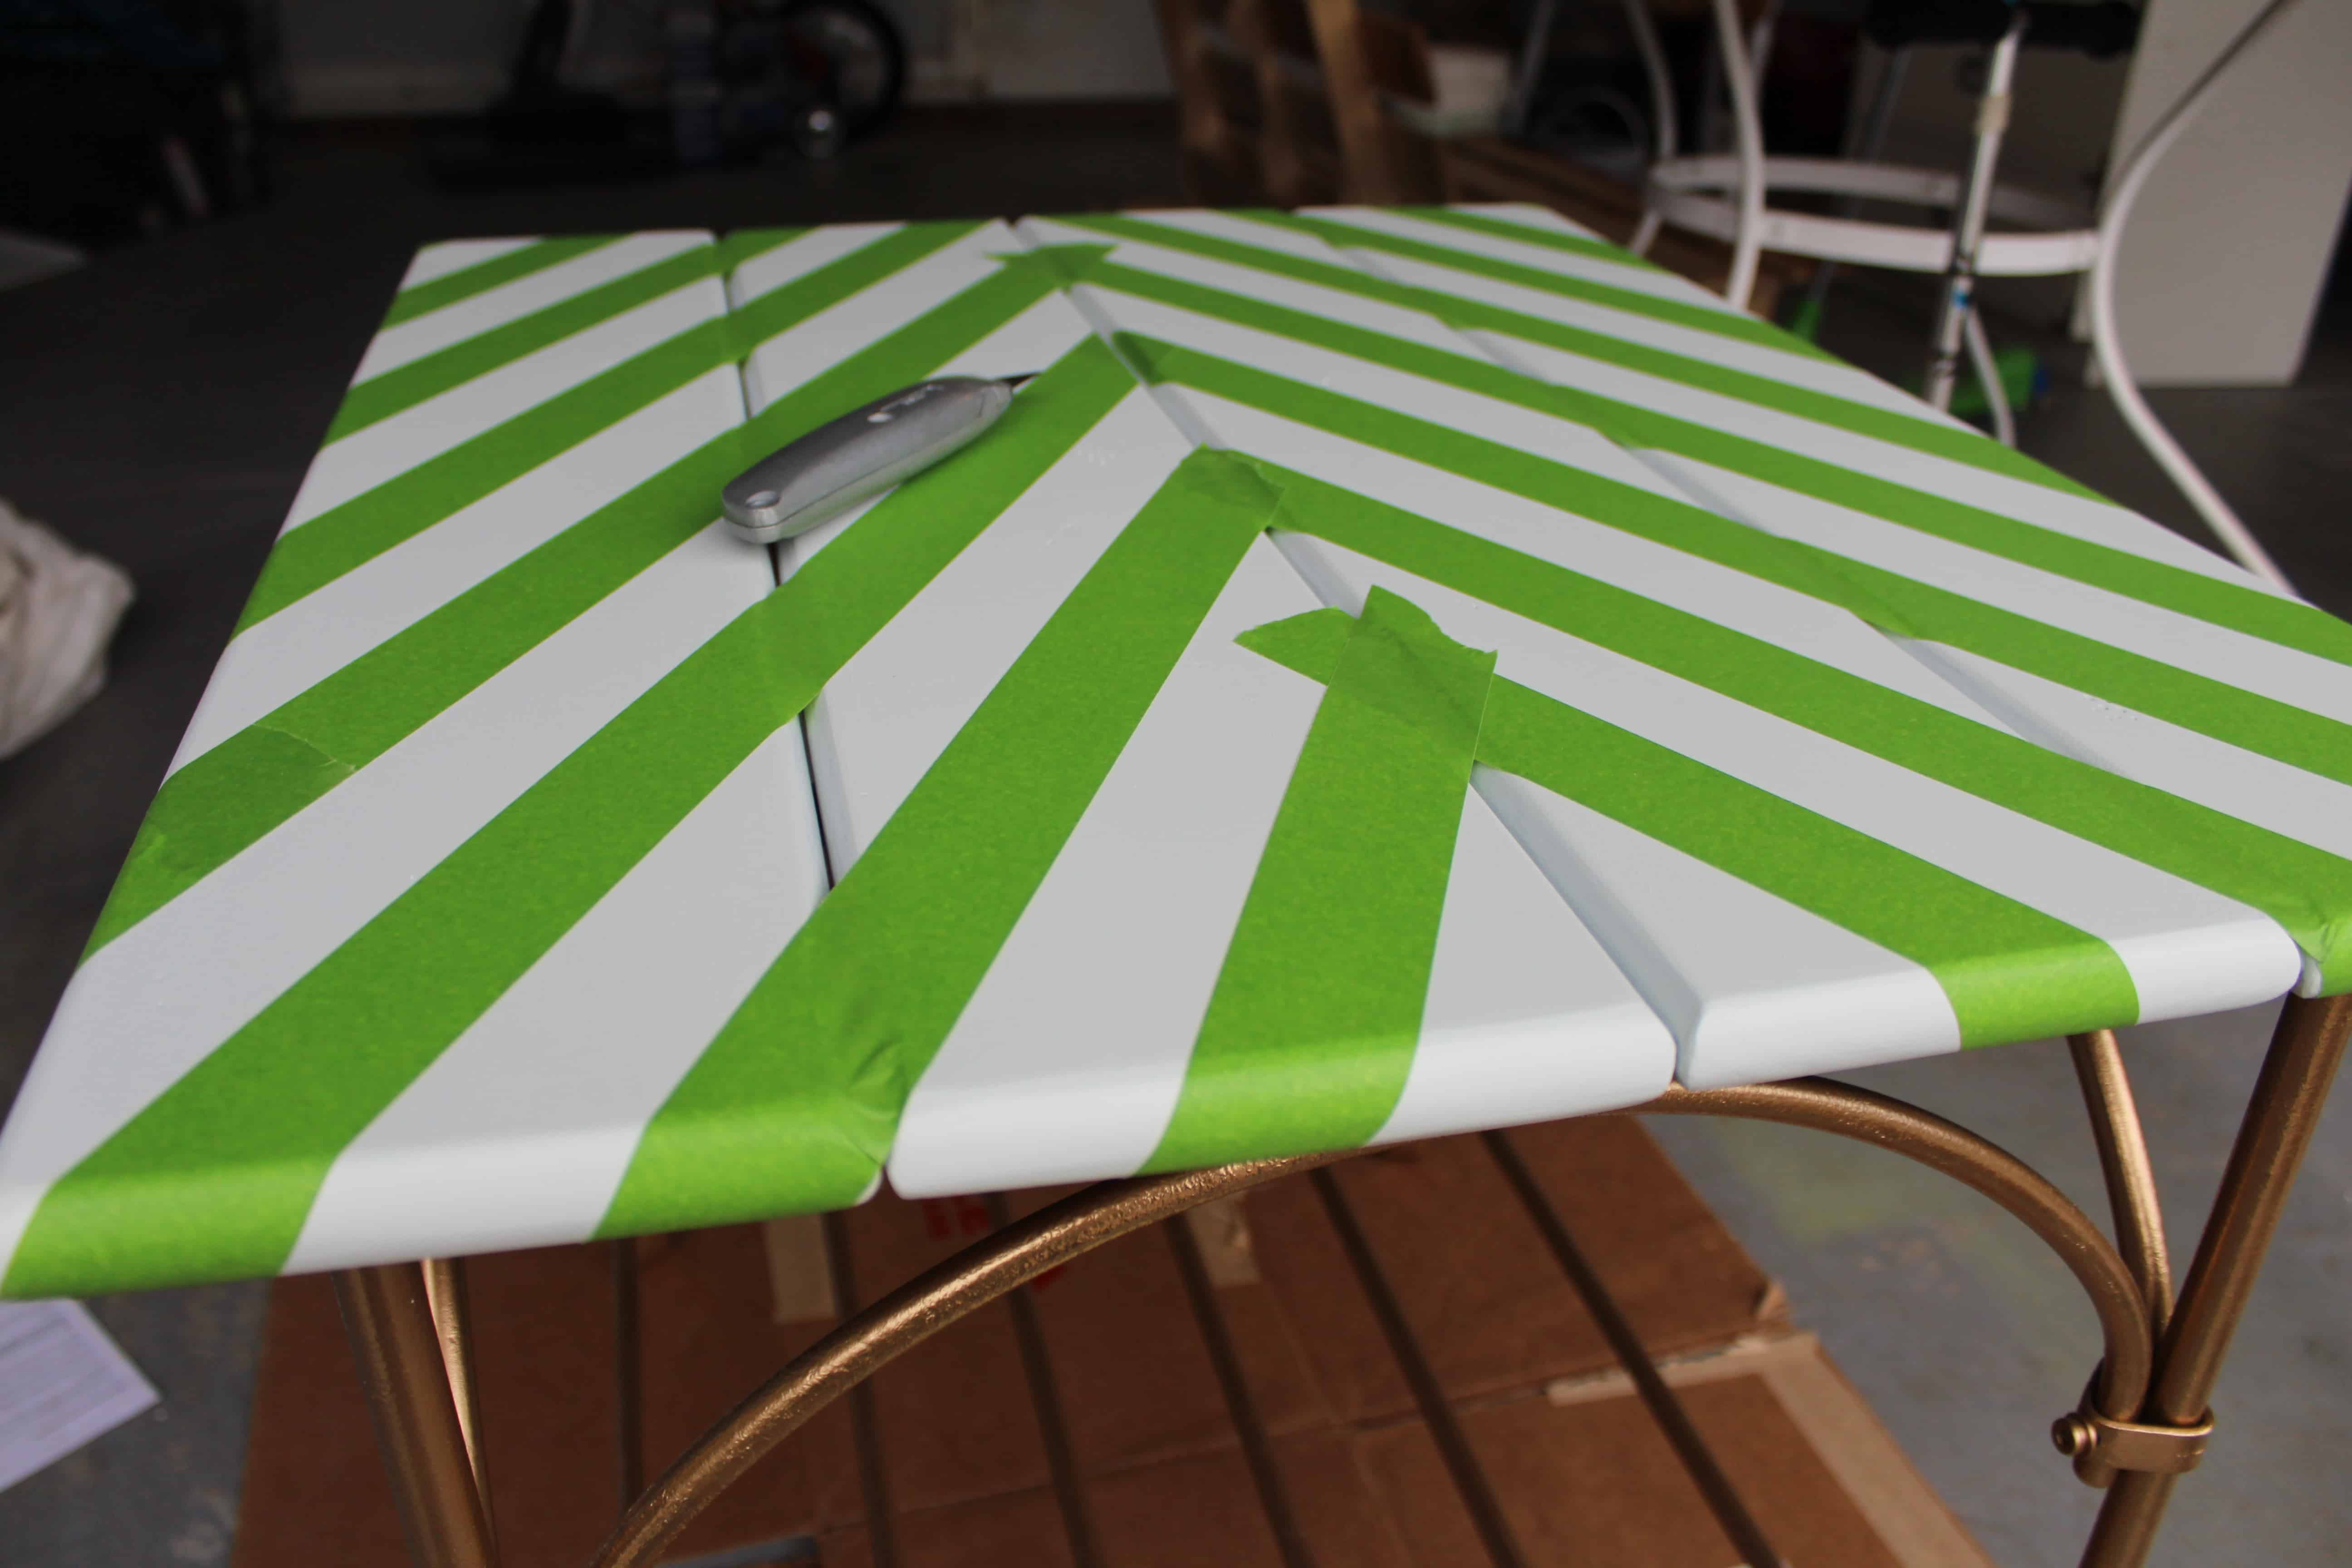
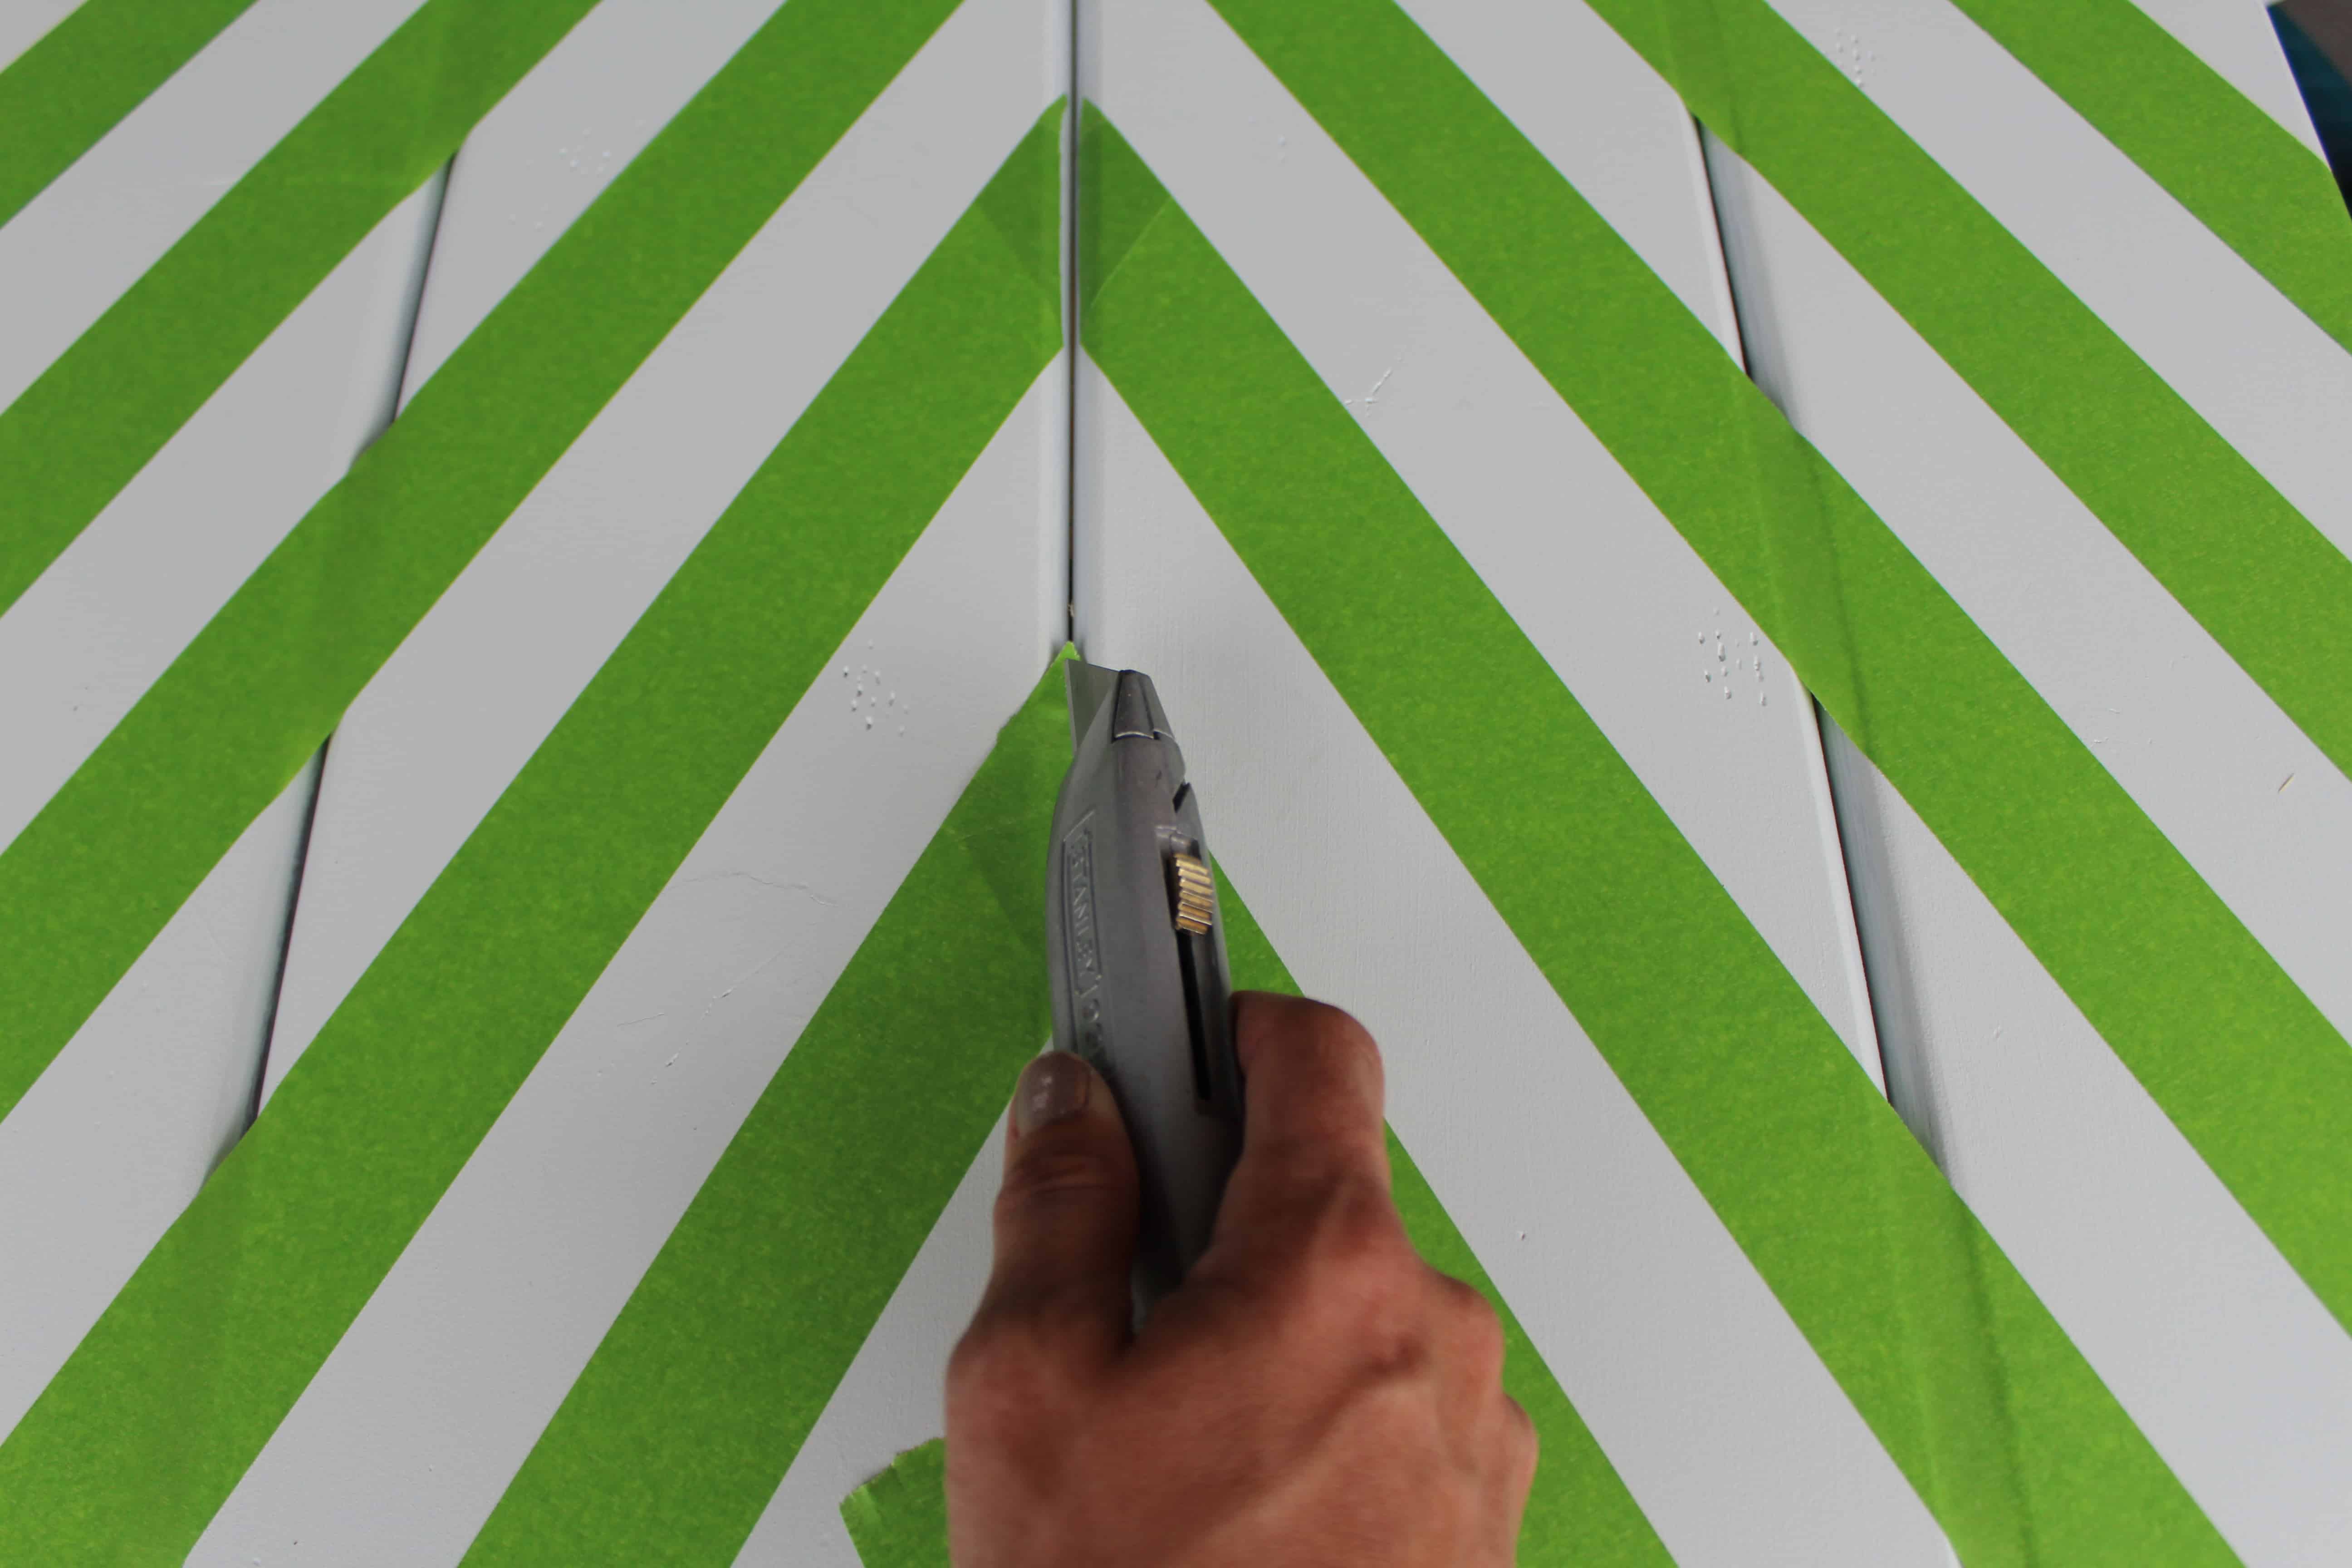
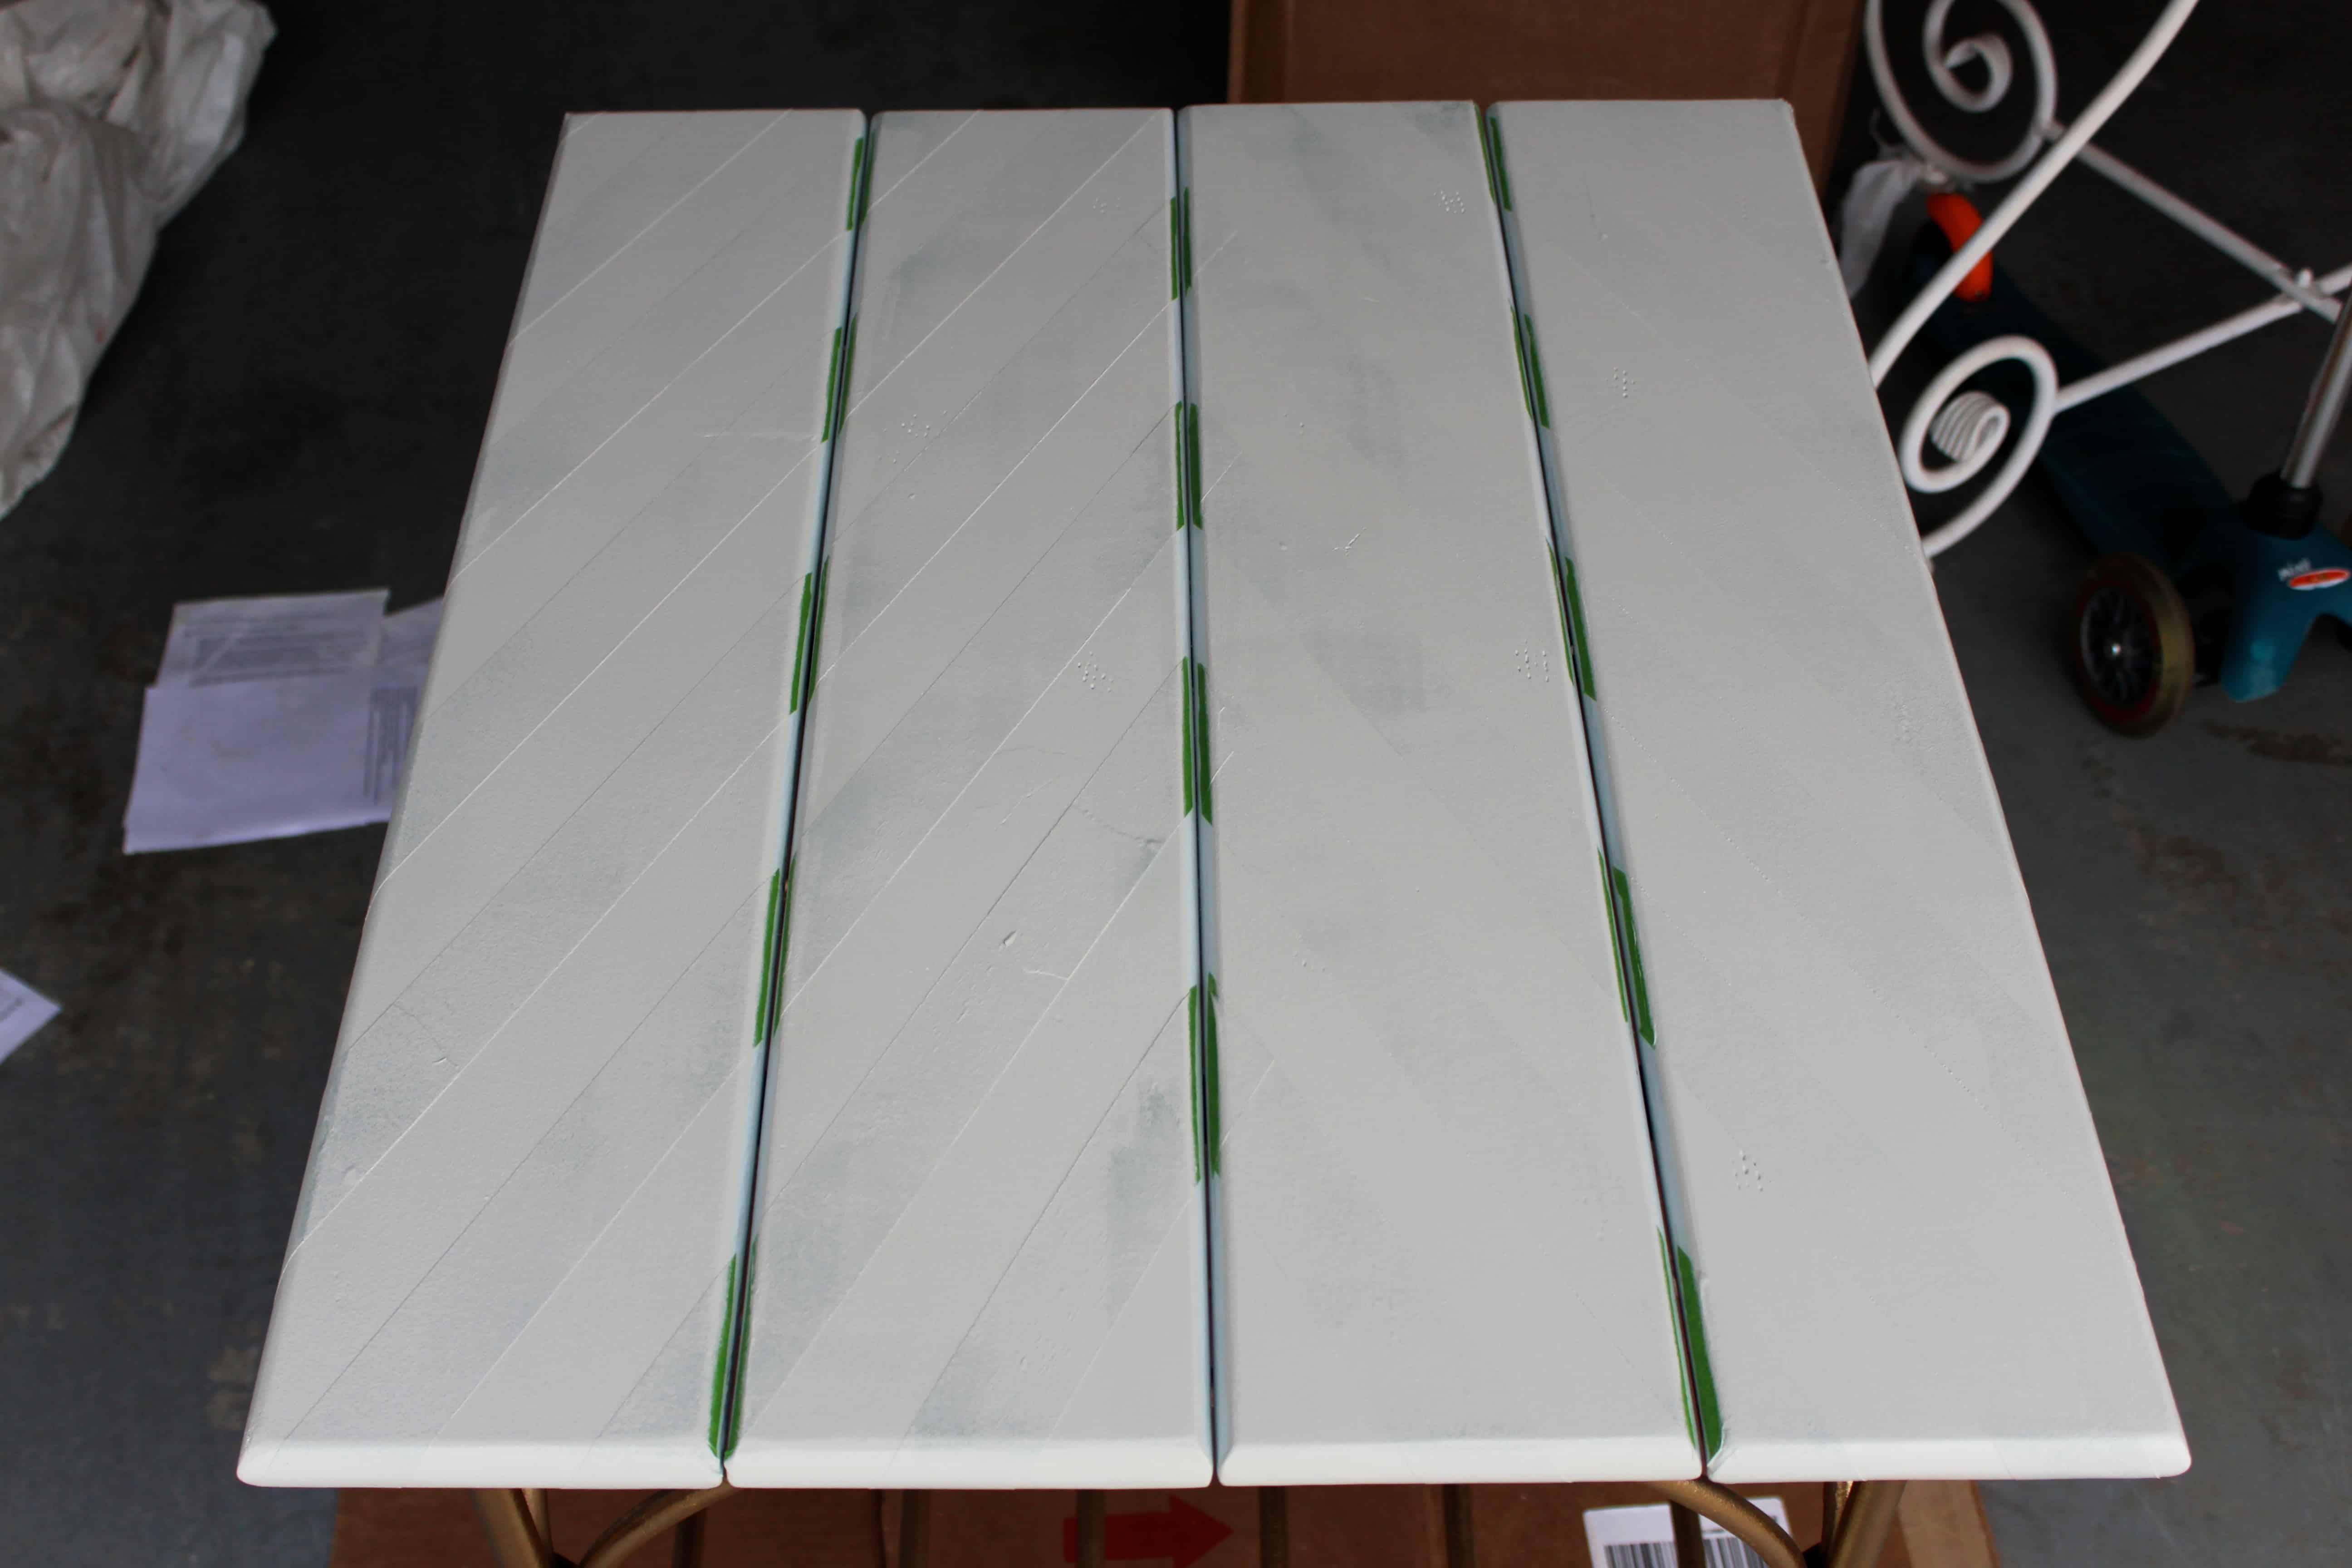
Next I taped off the pattern I wanted. I just winged this at first because I couldn’t decide. Frog tape is my favorite painters tape and once it was down I cut the tape along the line where the boards meet as you can see below. Because of the separation between the boards, it naturally created more of a herringbone pattern but maybe we’ll just call it chevringbone for kicks 🙂
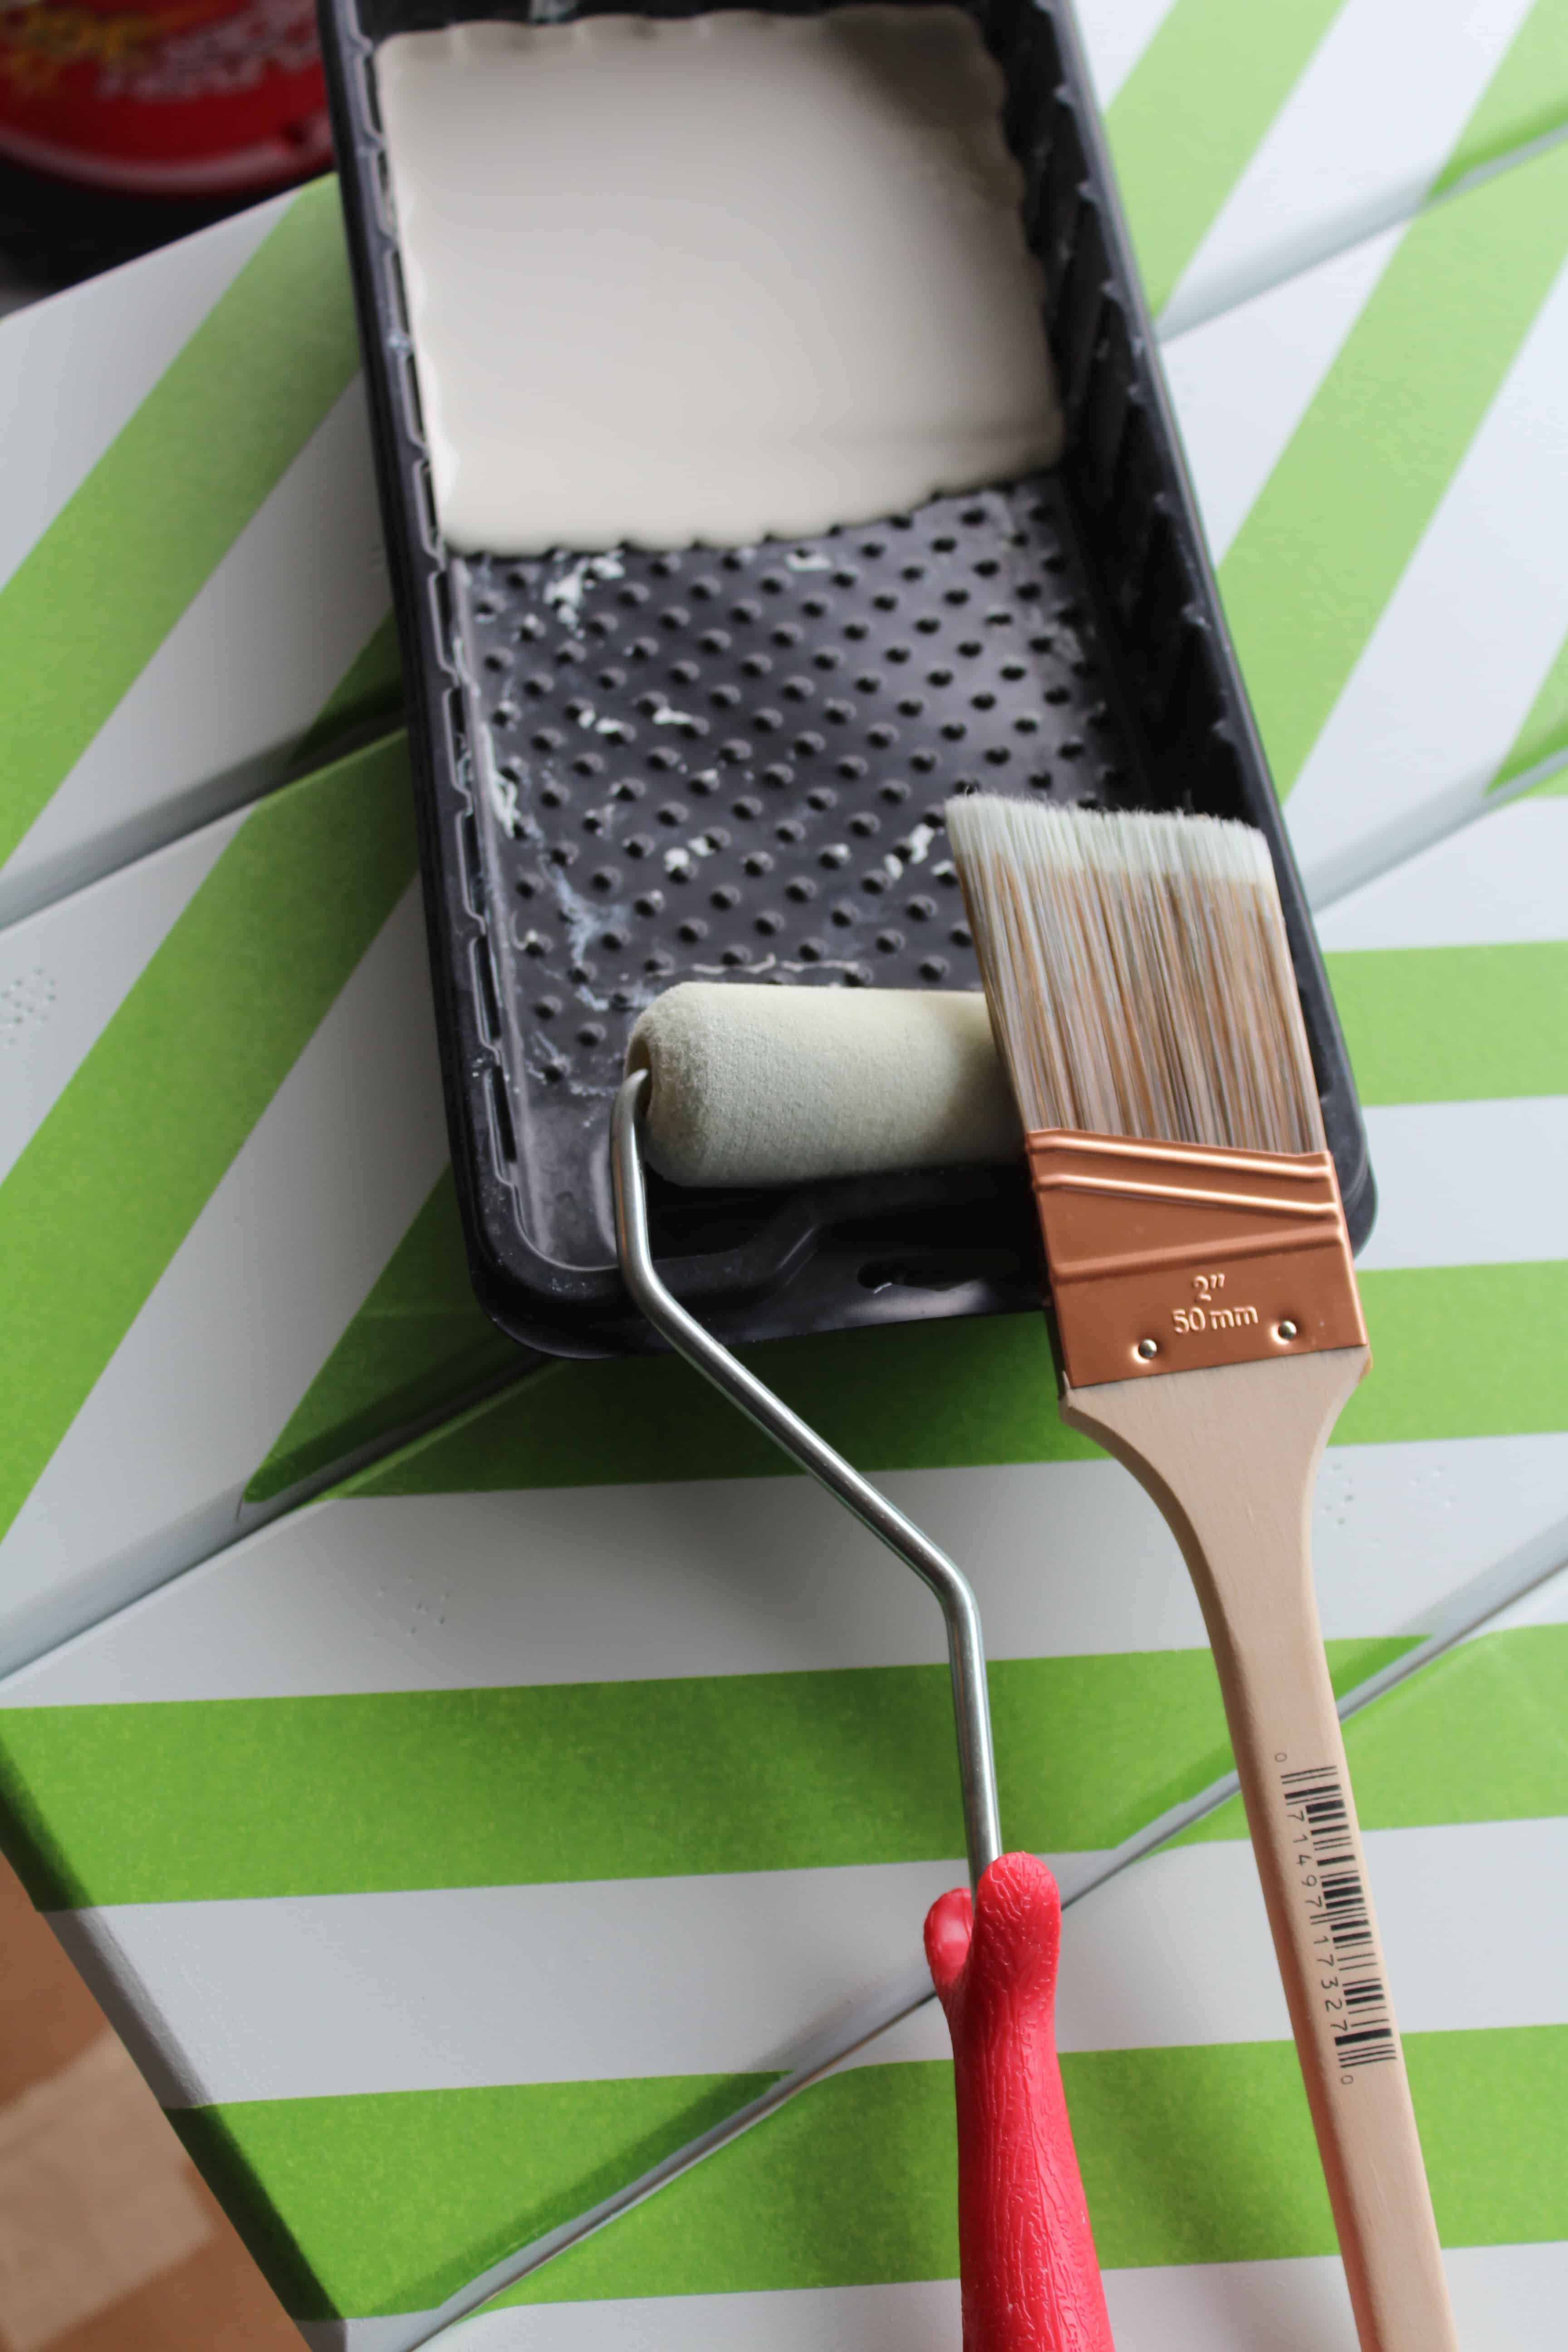
Next I painted the darker color over the whole table top. I used a brush to get in the cracks and a foam roller to give it a smooth finish.
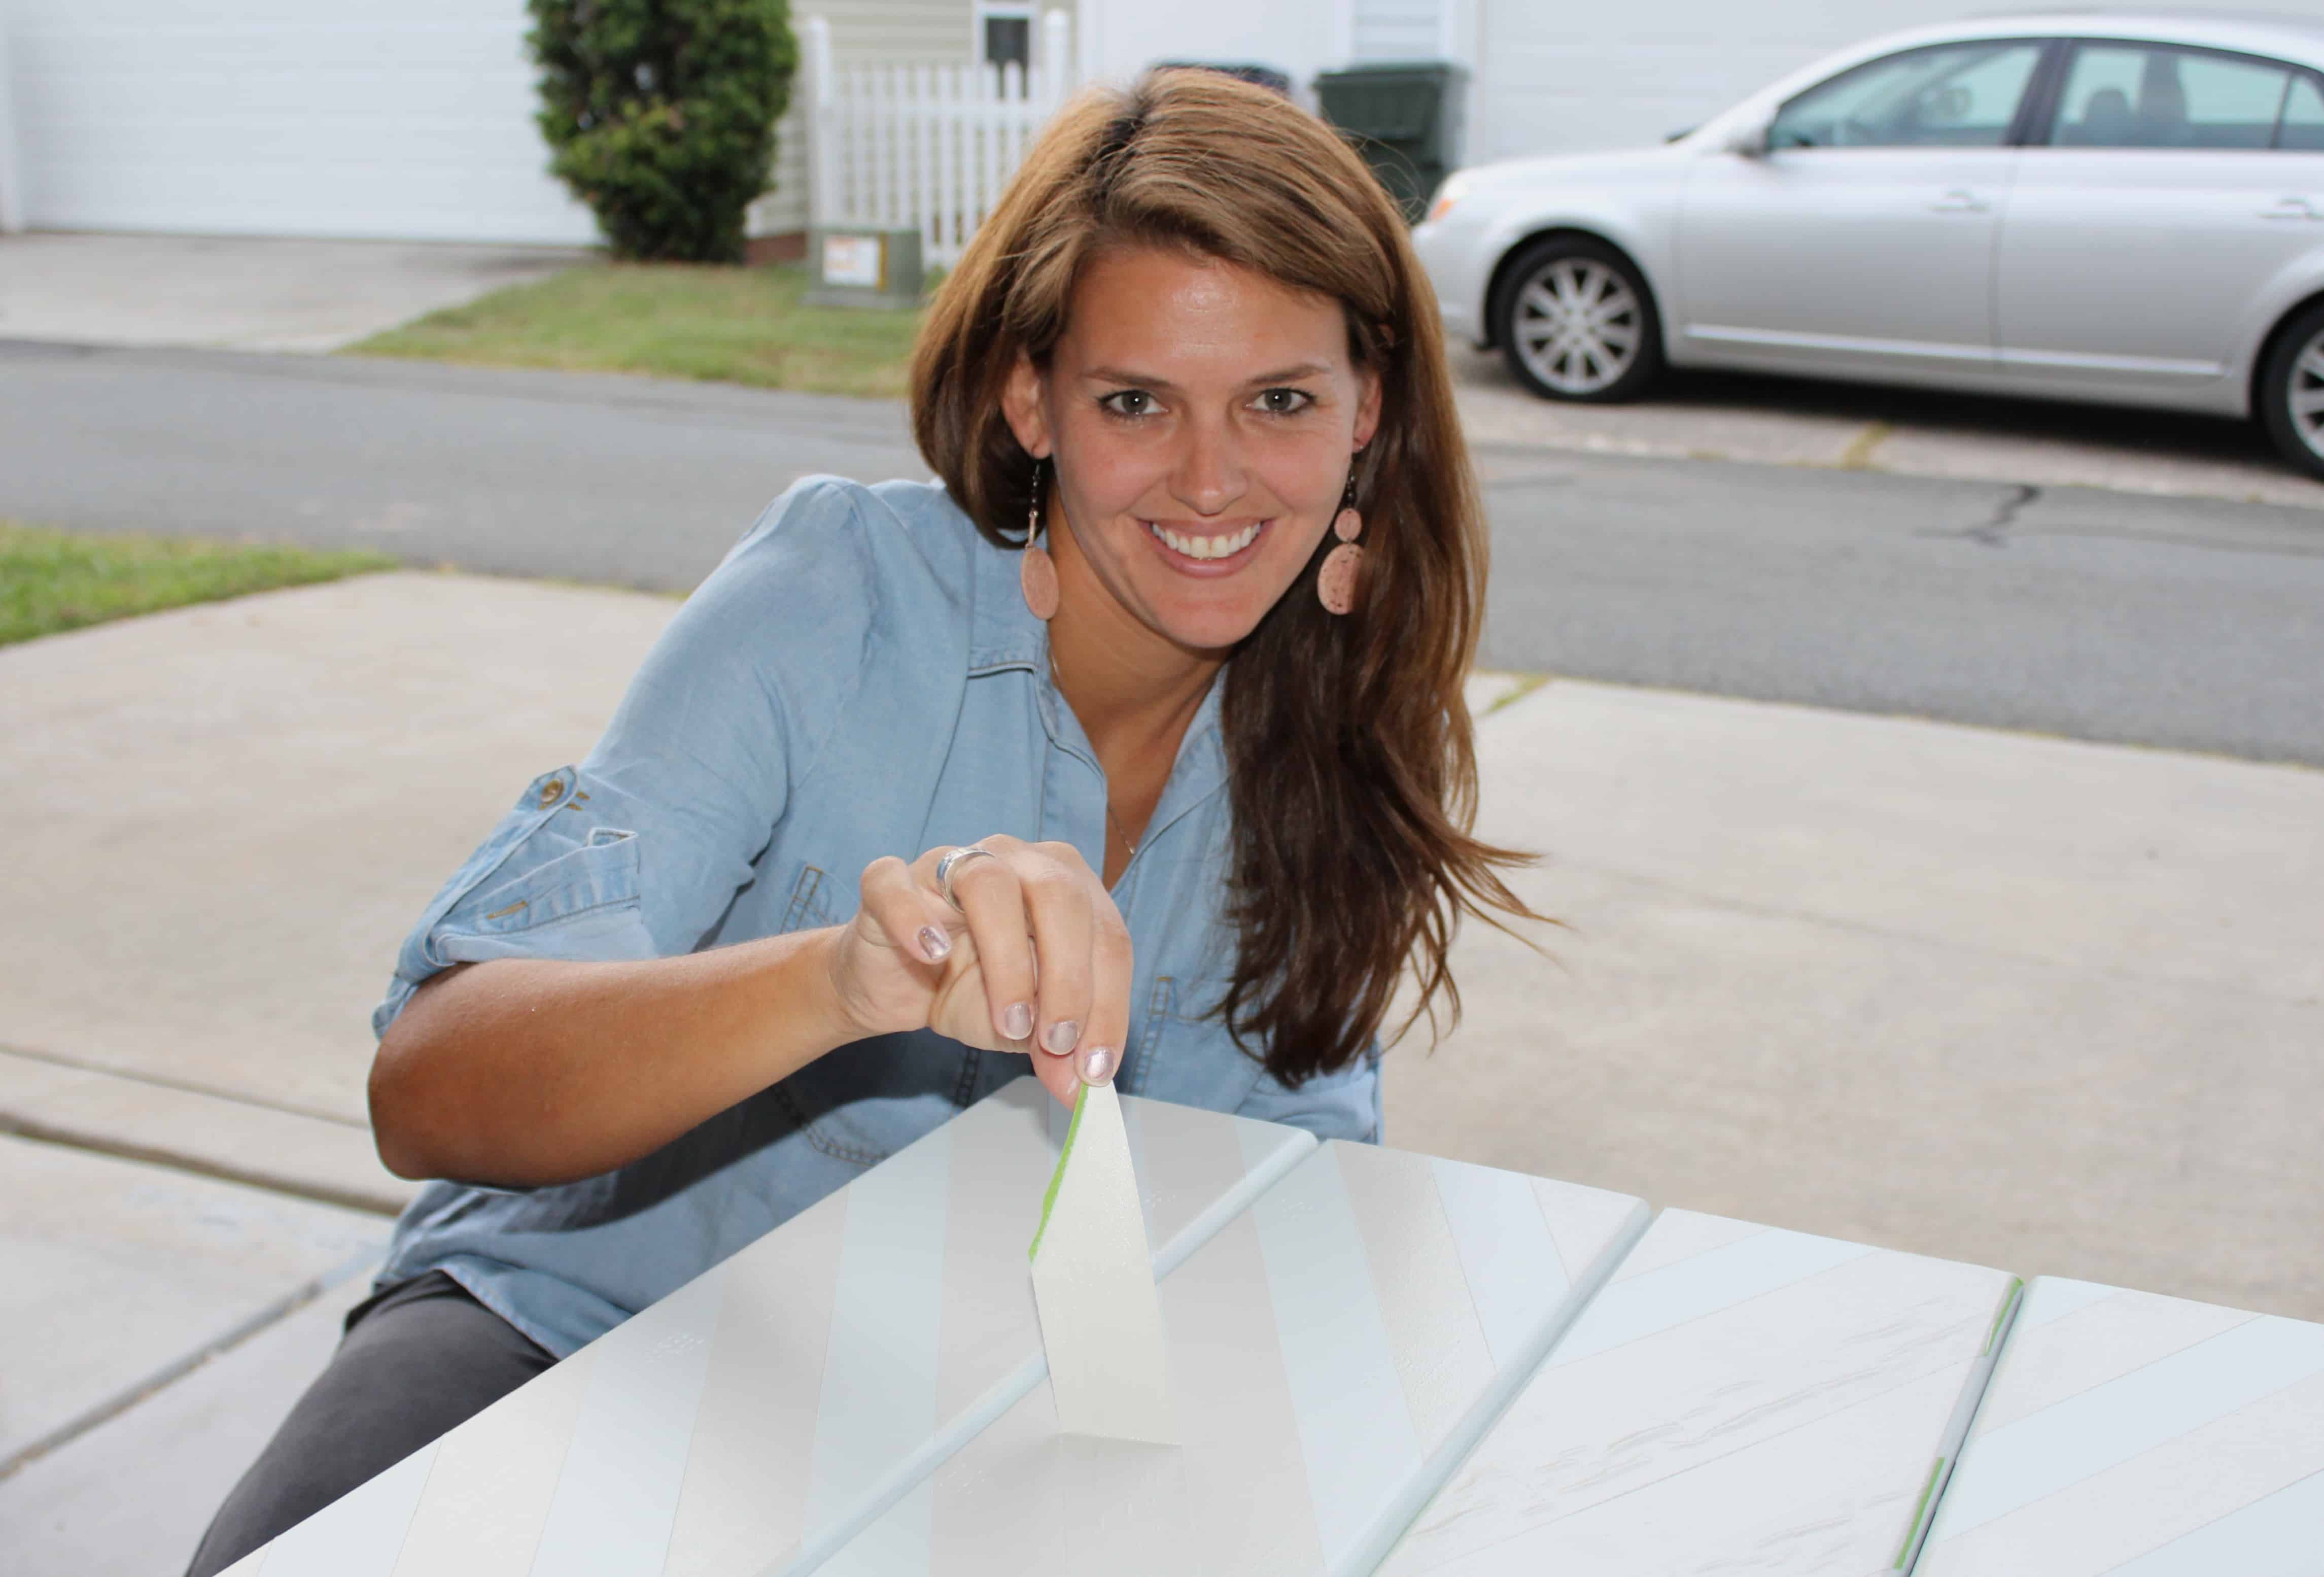
I like to remove my tape when the paint is still slightly wet to get a crisp edge. My son took the picture of me below! Isn’t he a budding photographer 🙂
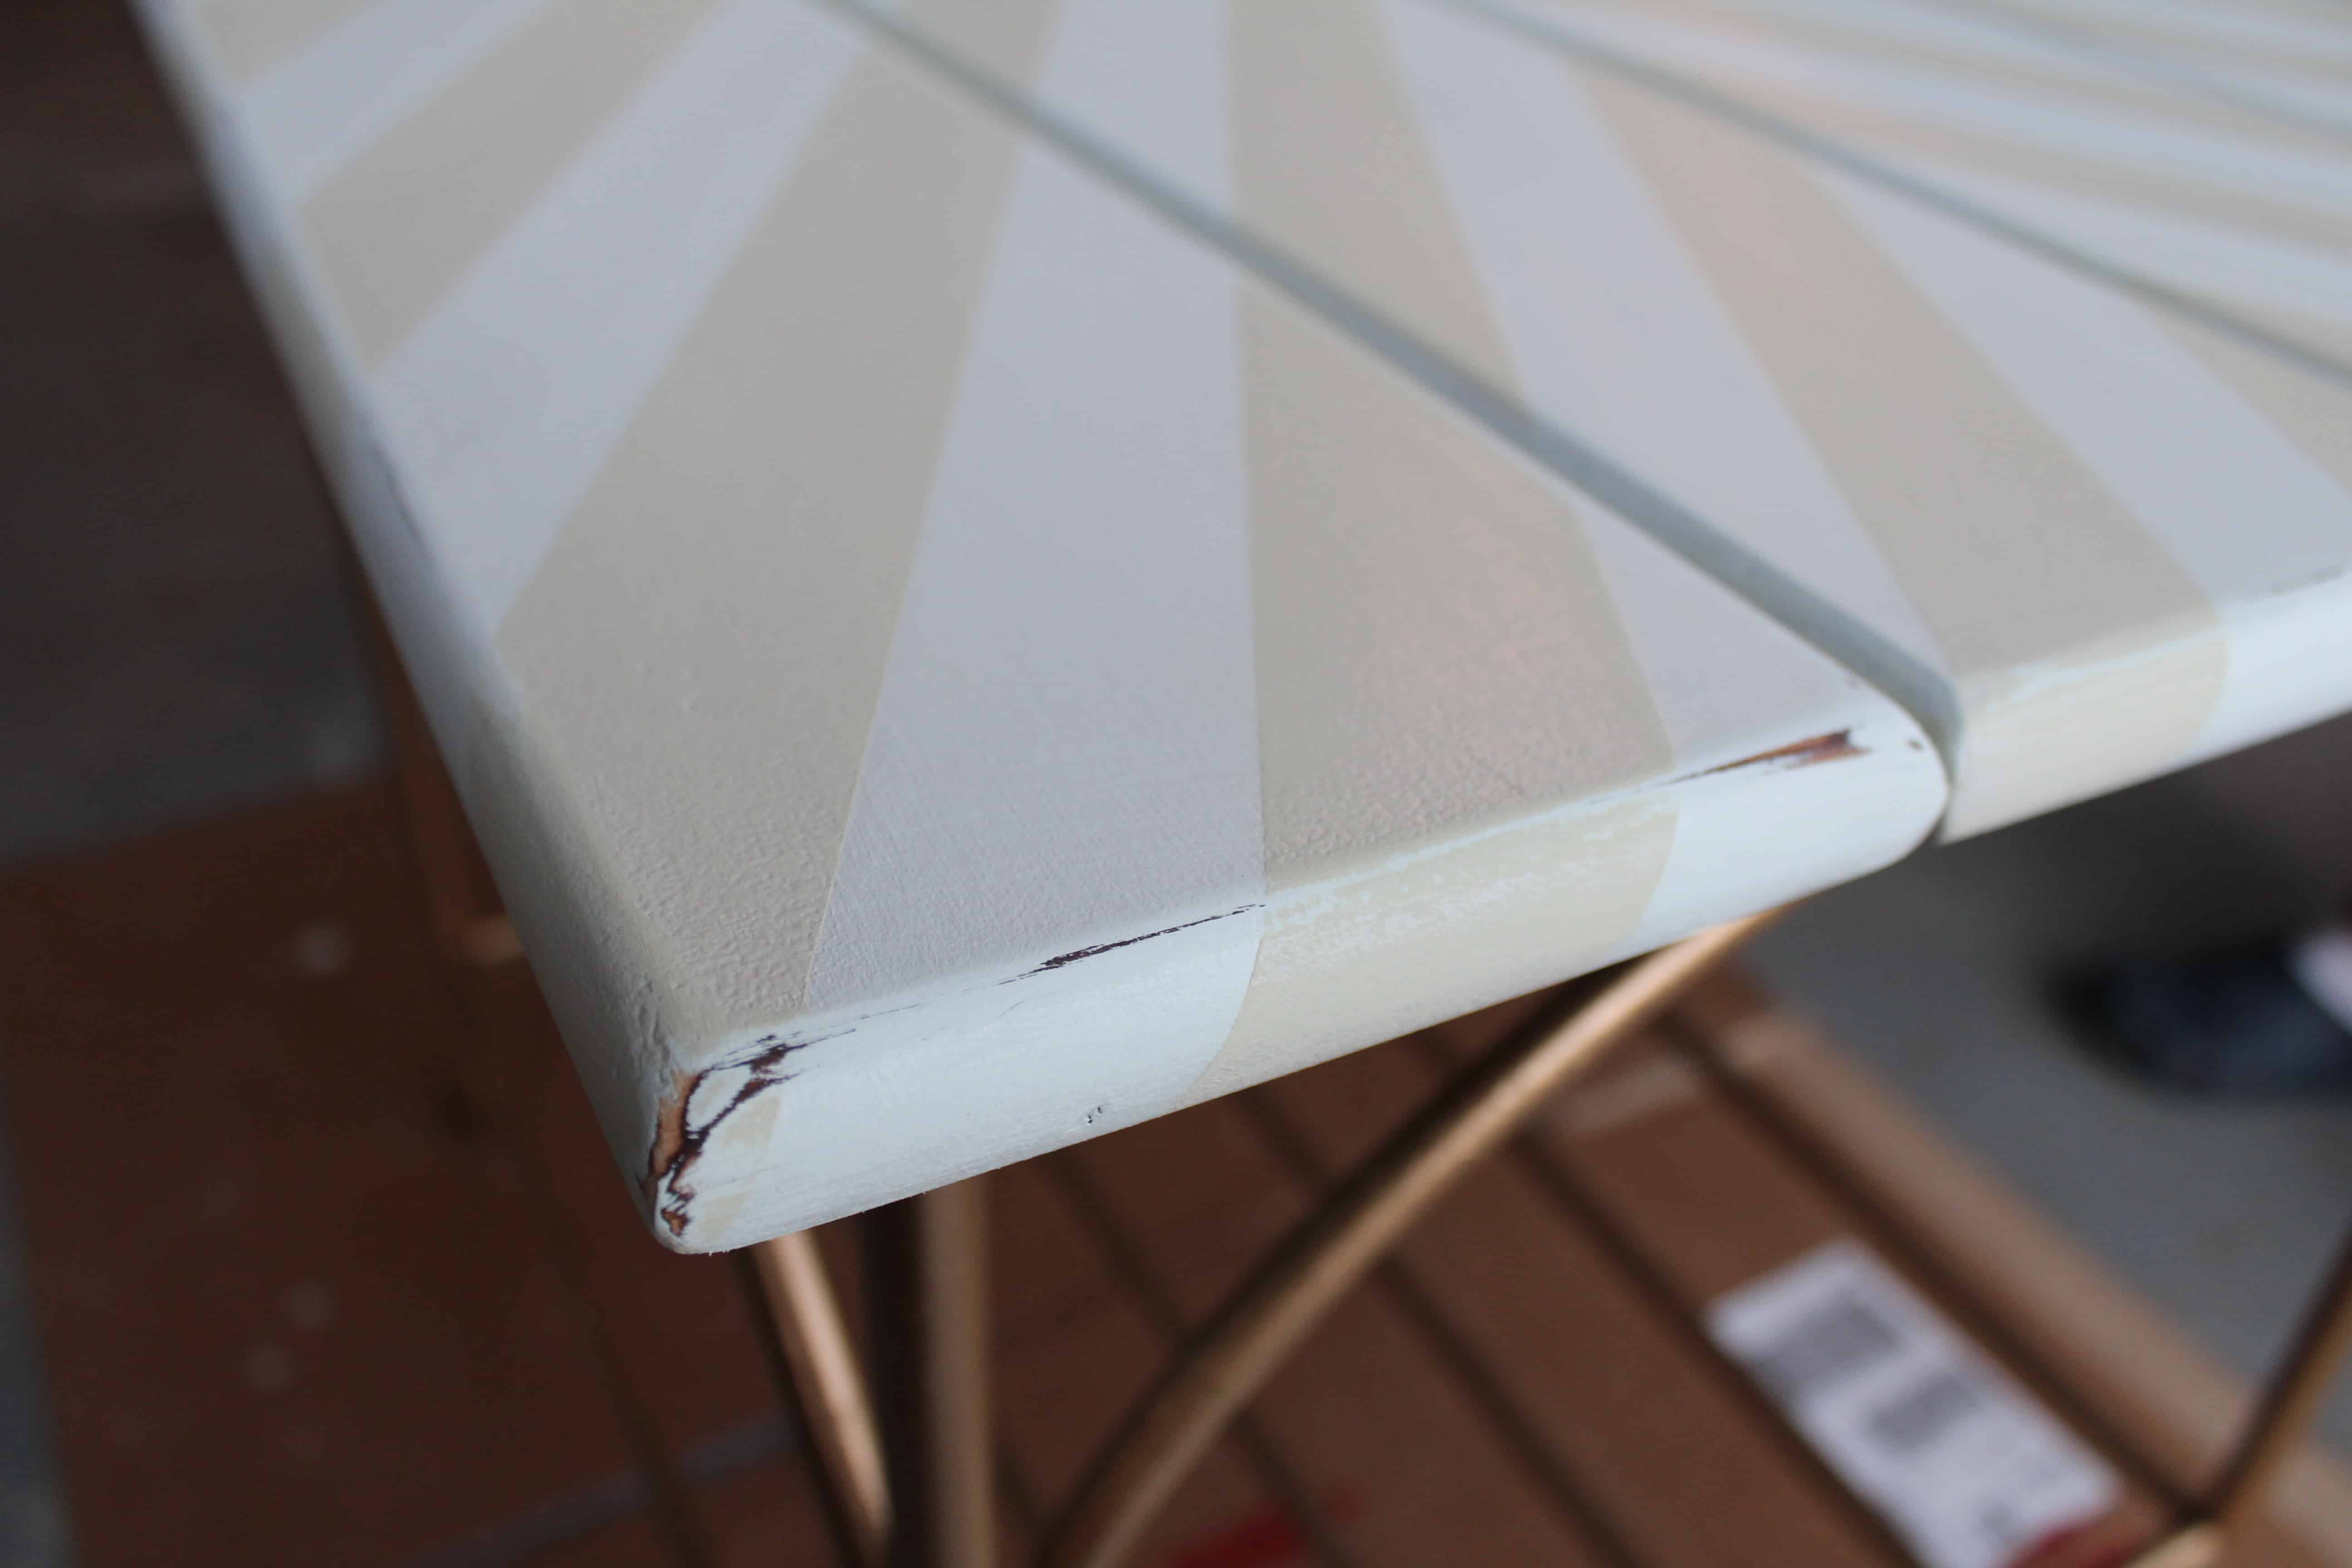
When the tape was removed and the the table was fully dry I sanded the edges and between the boards to give it a slightly distressed look. This allowed the brown to show through just a bit. I wanted it to look modern but still have the beachy feel so I didn’t distress it too much.
I considered waxing the top to finish it off but I like the way it turned out so much that I didn’t want to risk changing it. So far it has held up well!

So what do you guys think?
Aniko, again thanks so much for having me here today!! I hope you all enjoyed this fun and easy furniture makeover.
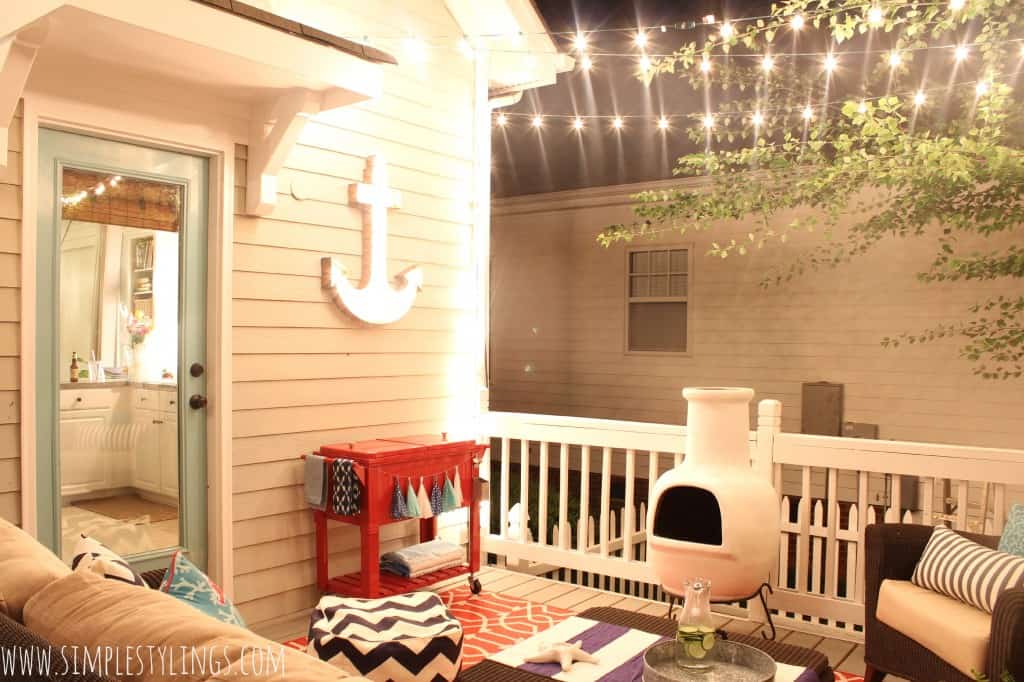
I would love for you to stop over at Simple Stylings and see some the rest of our projects like our DIY herb garden and our deck make over!
Have a great week y’all!
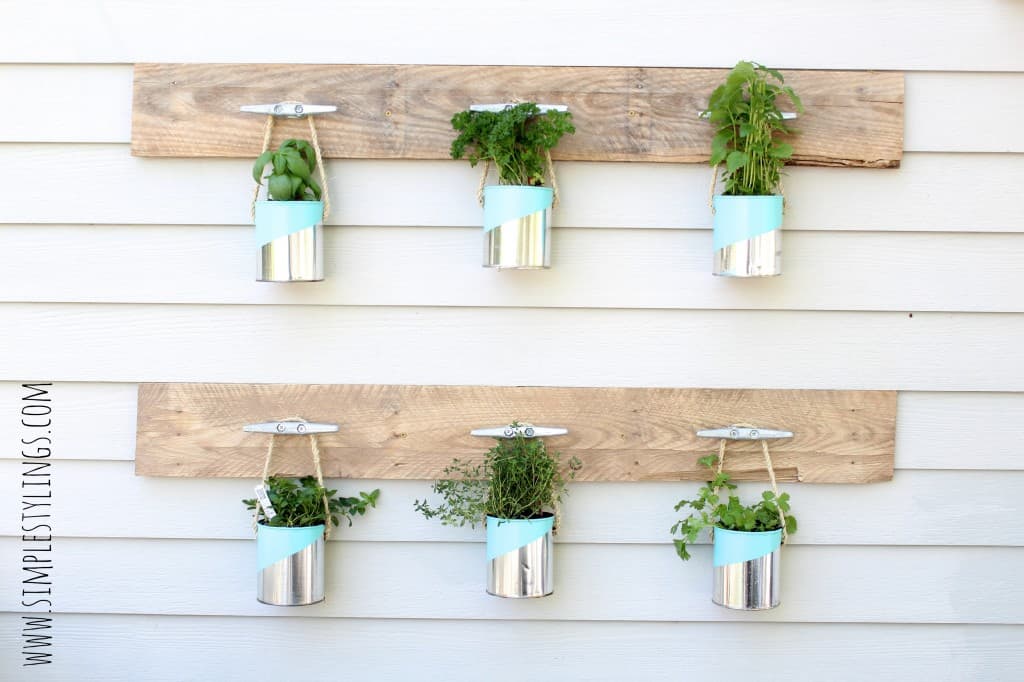
Check out that herb garden! Amazing, Summer!


Love, love, love it! Simple and beautiful. Thanks for the inspiration Summer!
This table is gorgeous, Summer and Aniko! I love everything about. The colors are perfect. Pinning!
I love Summer and I adore this project! Thanks, Aniko and Summer for sharing!
I actually just found this blog and then happened upon this post in my reader and LOVE IT! I felt so inspired by the affordability and the design of the project. Love the gold too!