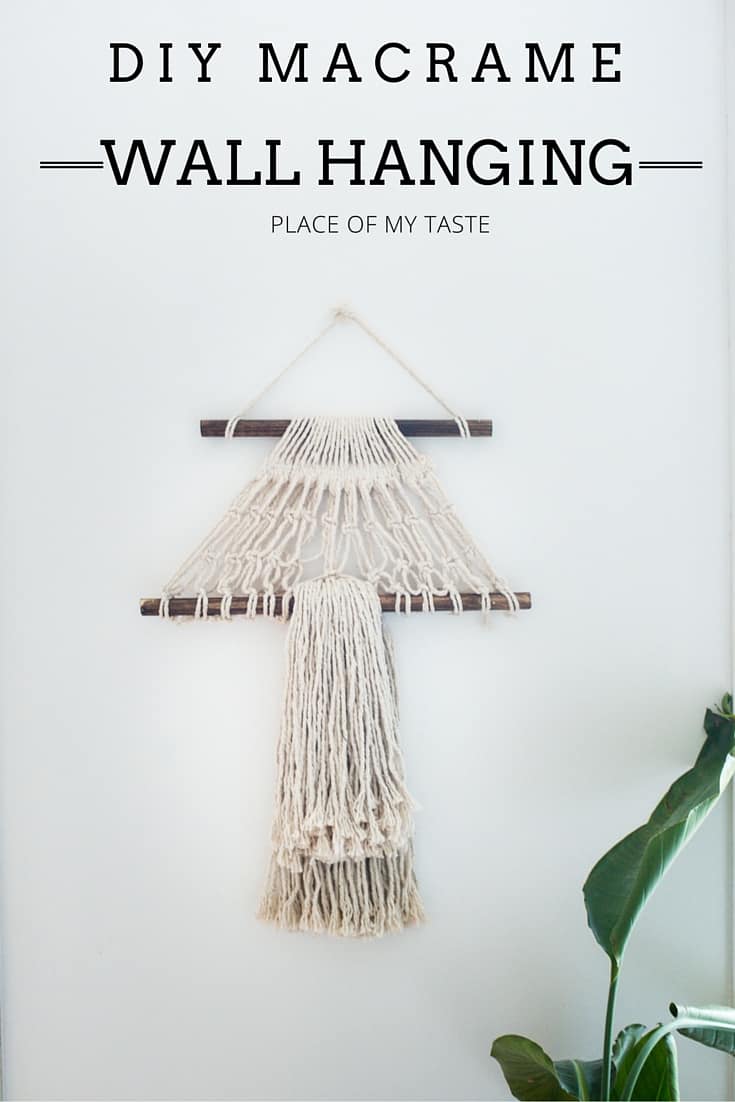
DIY MACRAME WALL HANGING
DIY macrame wall hanging. YUP! That is today’s agenda, friends!
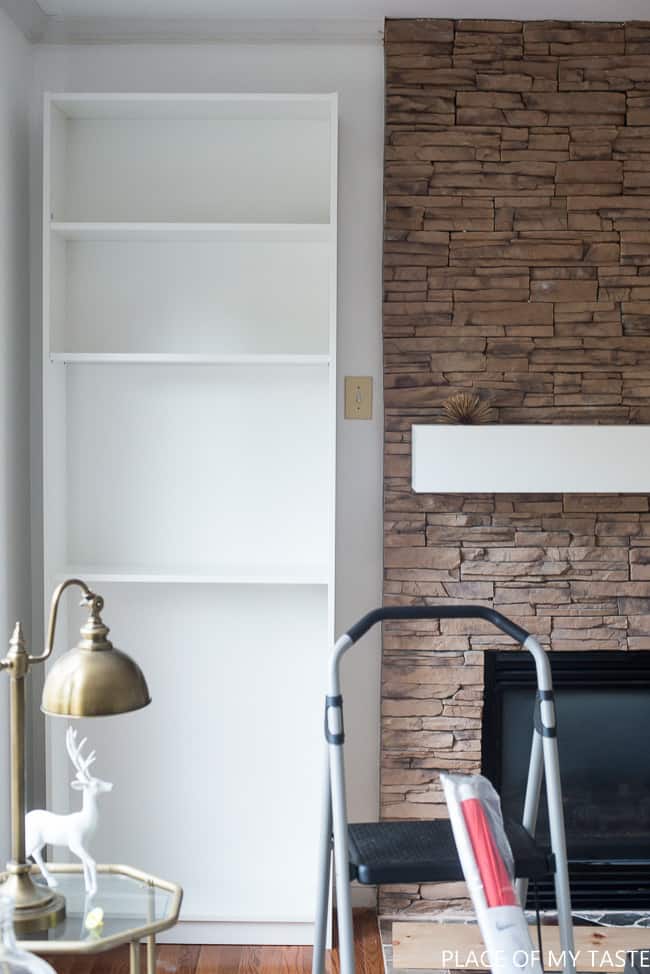
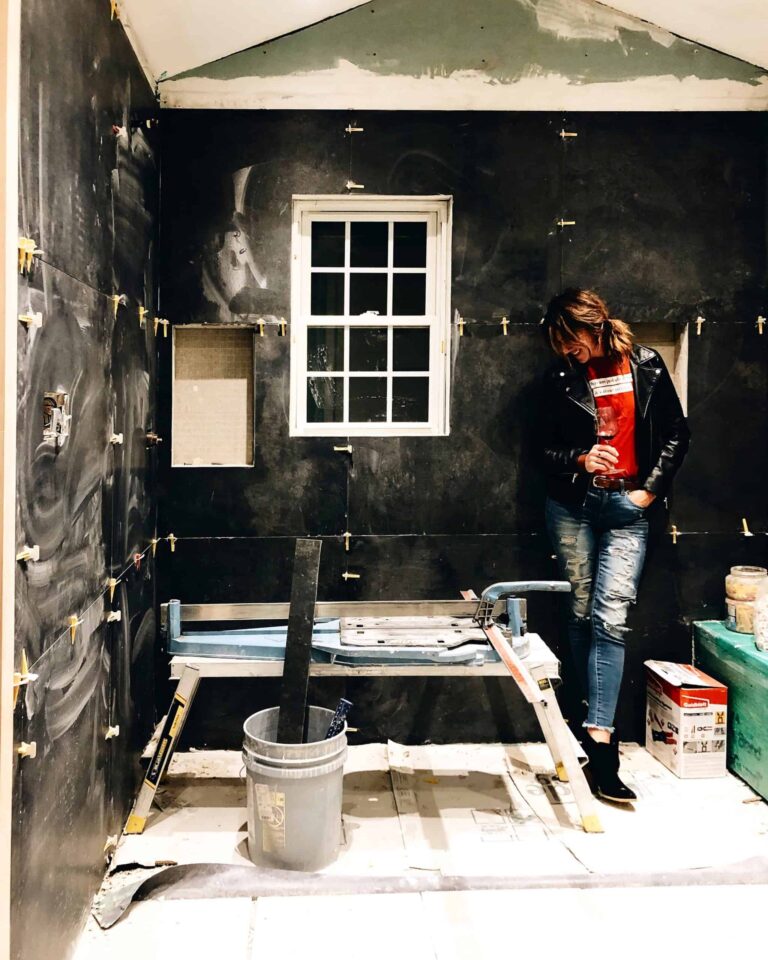
 I made a DIY macrame wall hanging – but I cheated a little bit:-) ( You will see why I say that when you scroll down 🙂 )I can say that I am obsessed with Macrame wall hangings and woven wall hangings and I always wanted to try weaving but this time I chose an easier route. Today is One Room Challenge ( if you are new here, learn more HERE) day and here is my update you all. We started working on our built in shelves last weekend but phew, it’s going to be a bigger project than we thought. Here is where we at right now. The Billy bookcase is up and standing now we only have to build around it, which is the big and challenging part of the project. But it will be gorgeous, I am sure!
Here is where we at right now. The Billy bookcase is up and standing and now we only have to build around it, which is the big and challenging part of the project. But it will be gorgeous, I am sure!
So back to the wall hanging. A couple of weeks or maybe months ago I spied this awesome wall hanging on FB, and I loved it. It made my brain spinning right away, and I knew I need to try this.
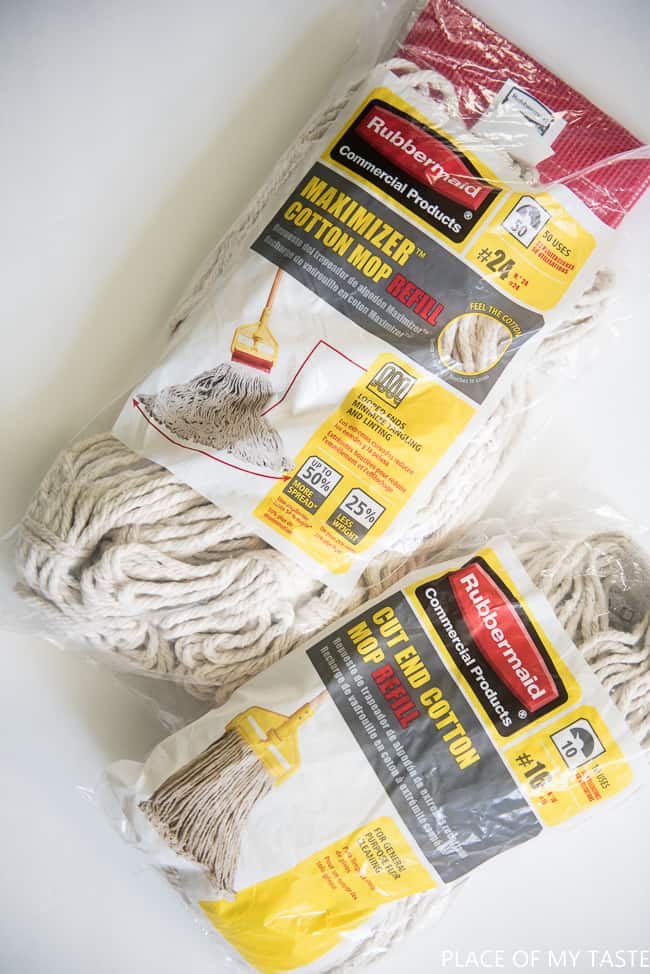
Then I built a really fun and modern Herb hanging planter for my herbs last week, and I had a piece of wooden dowel left that I used for this macrame project. I took a quick trip to The Home Depot, and I got some mop refills.

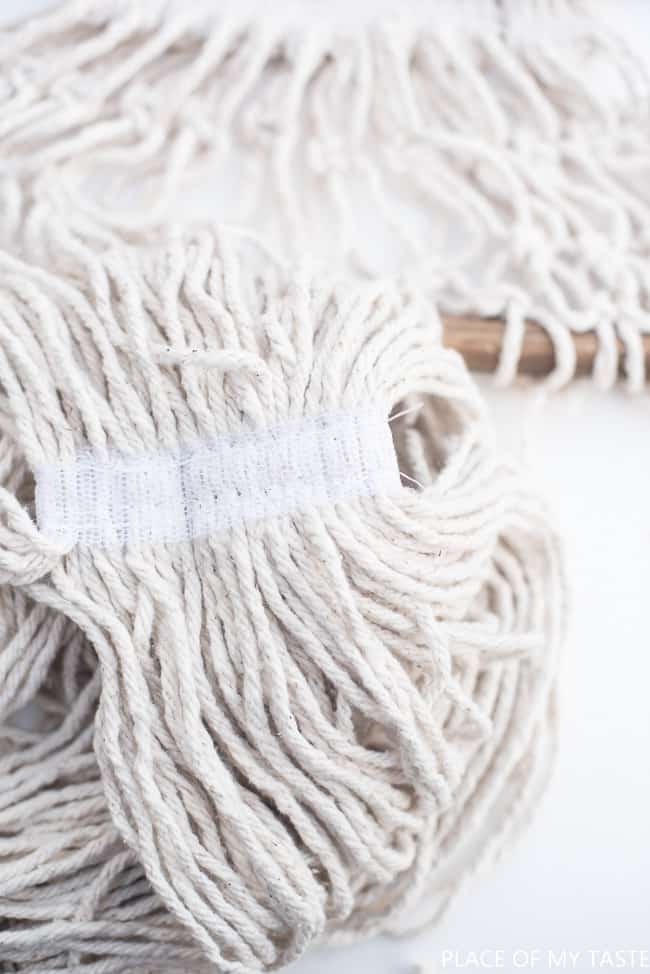
Yup! Two cotton mop refills, to be exact:-) Two different kinds. One Maximizer cotton mop refill, and one Cut end cotton mop refill.
Are ou ready to see how this DIY macrame wall hanging was made? Here is the list of things you’ll need:
- Maximizer cotton mop refill
- Cut end cotton mop refill
- Dowel
- Dark Walnut stain
- Scissors
That’s is really what you need and maximum 1 hour to create the project( I was doing other things in between, and it took me about an hour).
STEPS
I cut my dowel to one 15″ ( top wooden piece) and one 25″ ( lower wooden piece) then I stained them with my favorite dark walnut wood stain.
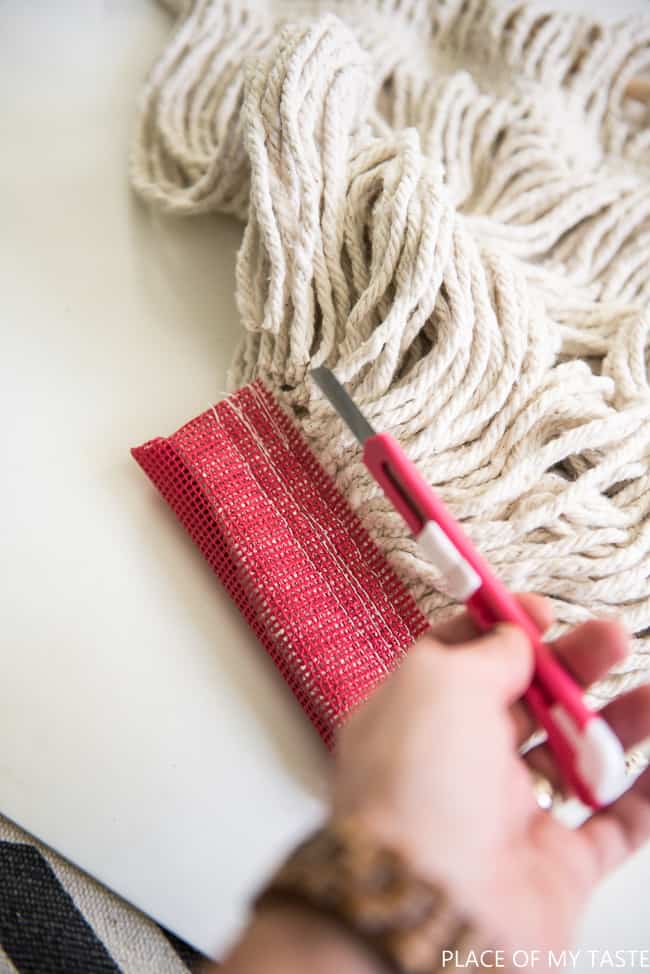
I opened my Maximizer cotton mop refill and cut the end off of it then I cut off a chunk for the project.
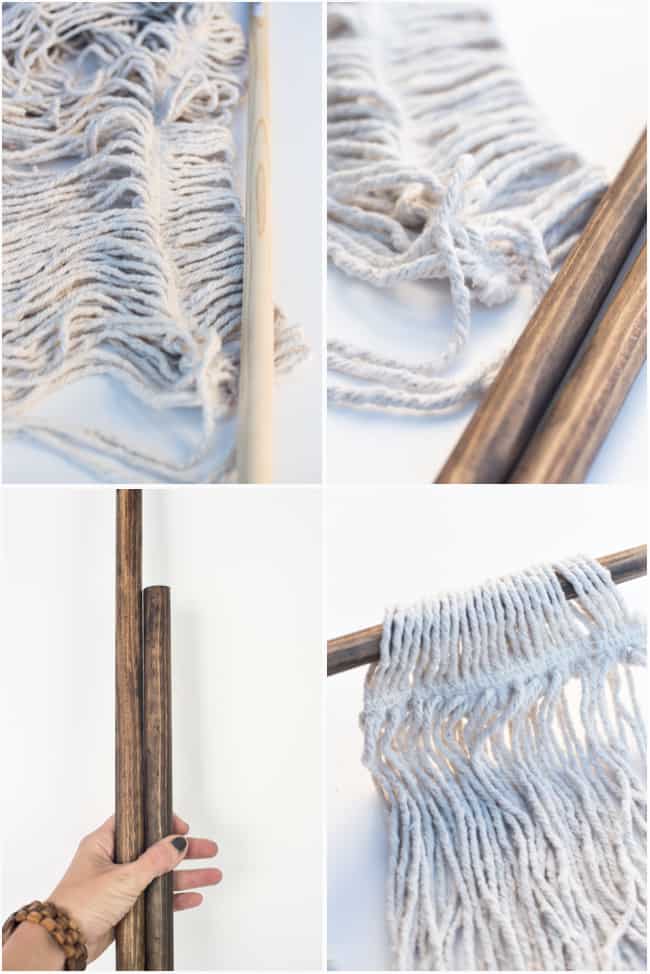 Then I slipped the dowel through the top hooks of the mop refill.
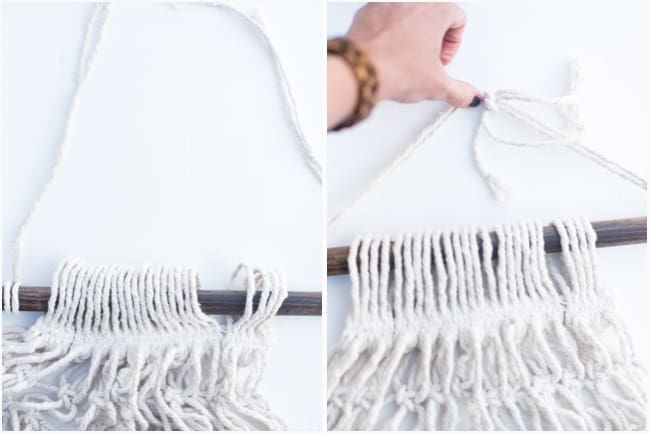
As a next step, I secured the dowel with a piece of duck tape onto a flat surface so it would not move while I was working on my design.
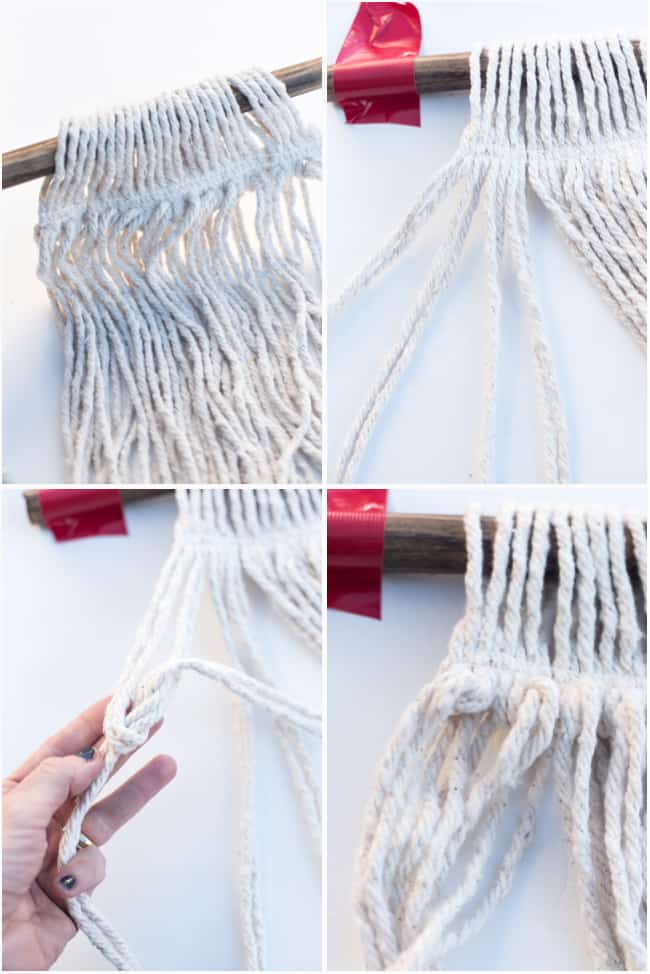
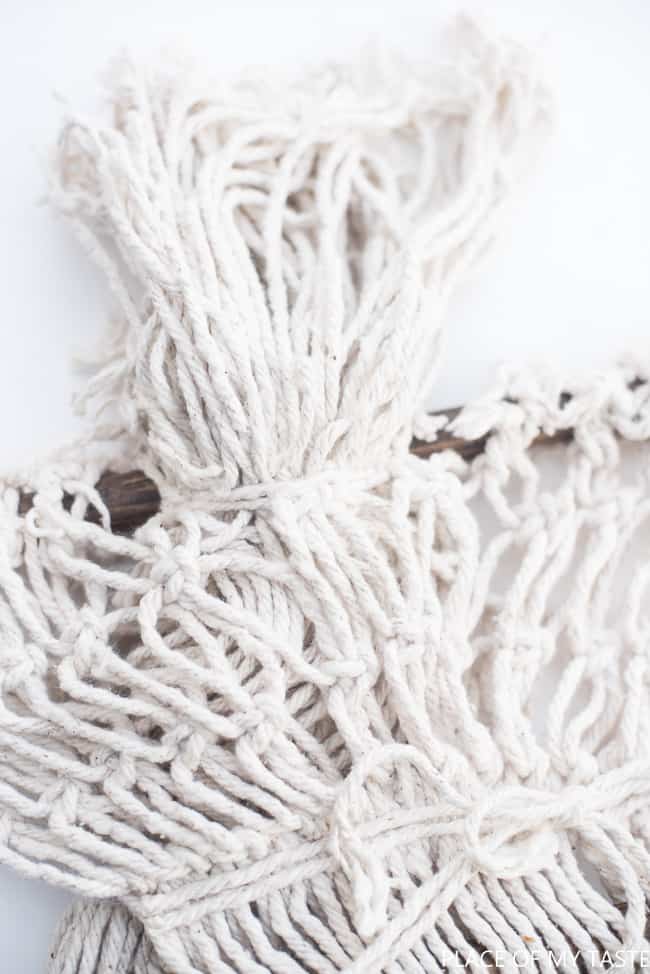
I separated the mop’s yarn pieces to fours then I tied a knot using two pieces of yarn. This just created a nice and even look at the top (you can leave out this step if you wish).
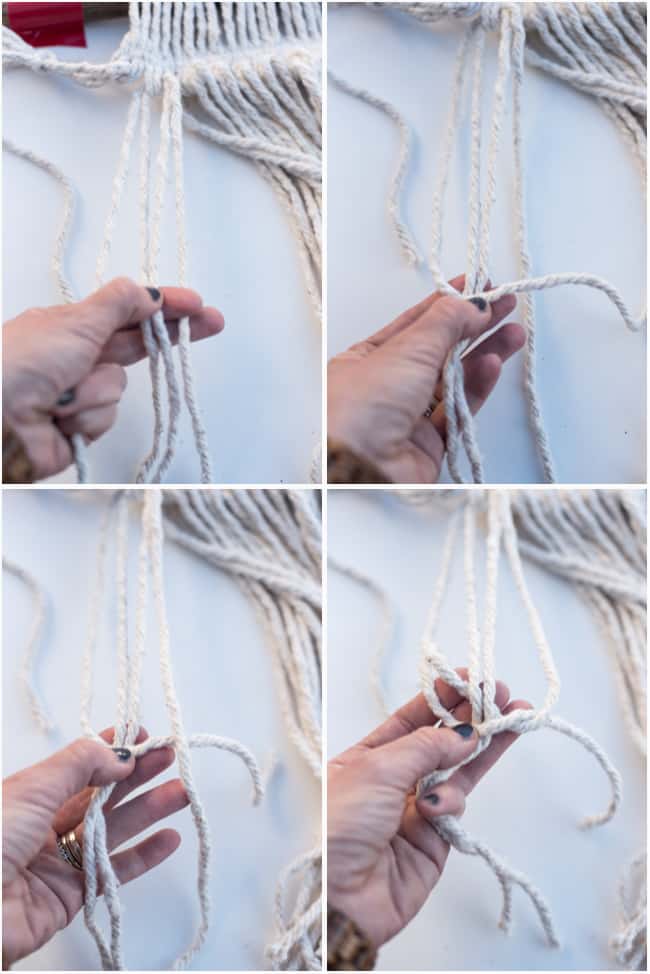
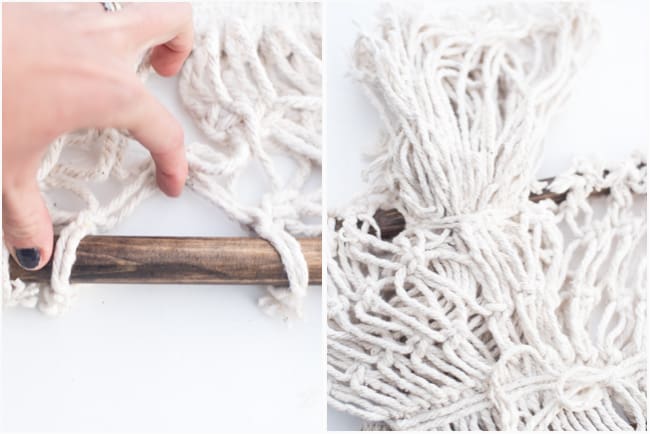
After that, I started working on my design making basic macrame knots. Which looks like this.
Macrame knots from Aniko Levai on Vimeo.
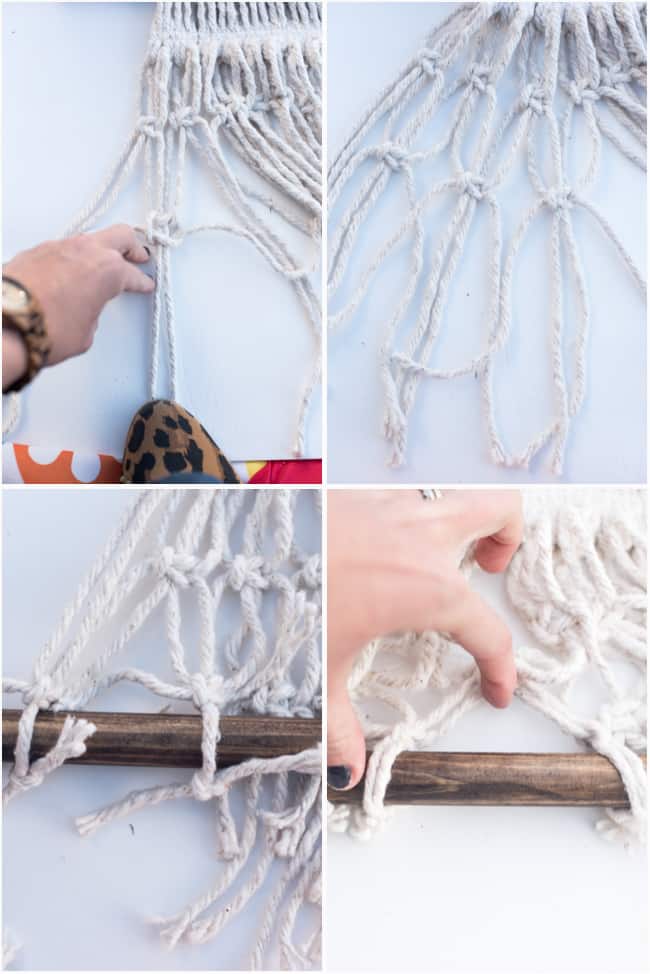
 I made the first-row tieing knots. Then I made the second and third row of making the same knots. As you see on the image below I helped my workflow with stepping on the middle pieces of yarns ( not so professional but it totally helped).
I opened the second bag of Cut end cotton mop refill.
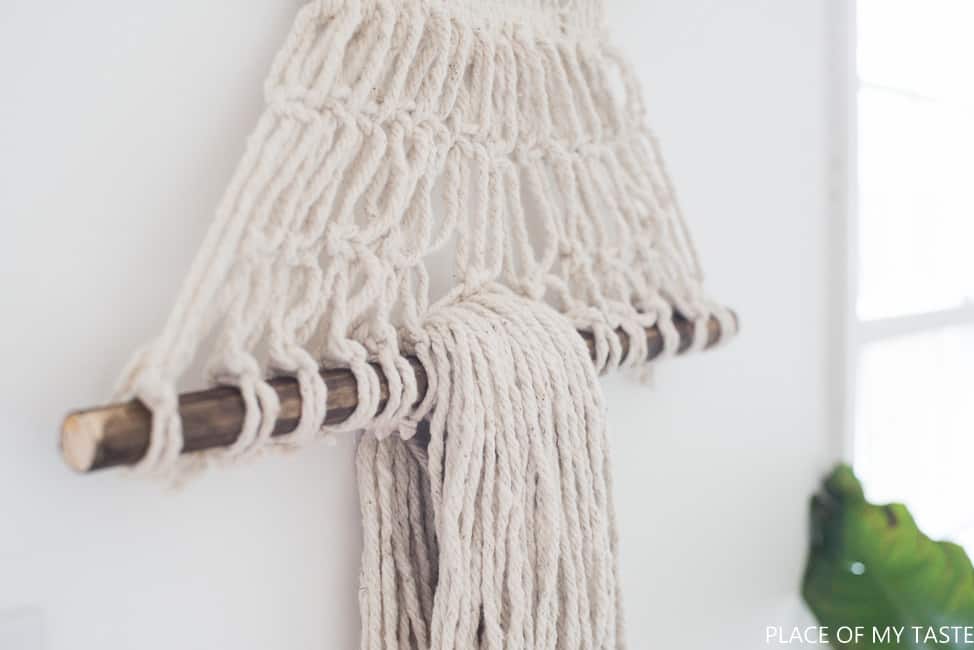
I pulled two pieces of yarn out of the bunch, and I made a hanger for my design (The Cut end cotton mop refill pieces were longer than the other mop refills)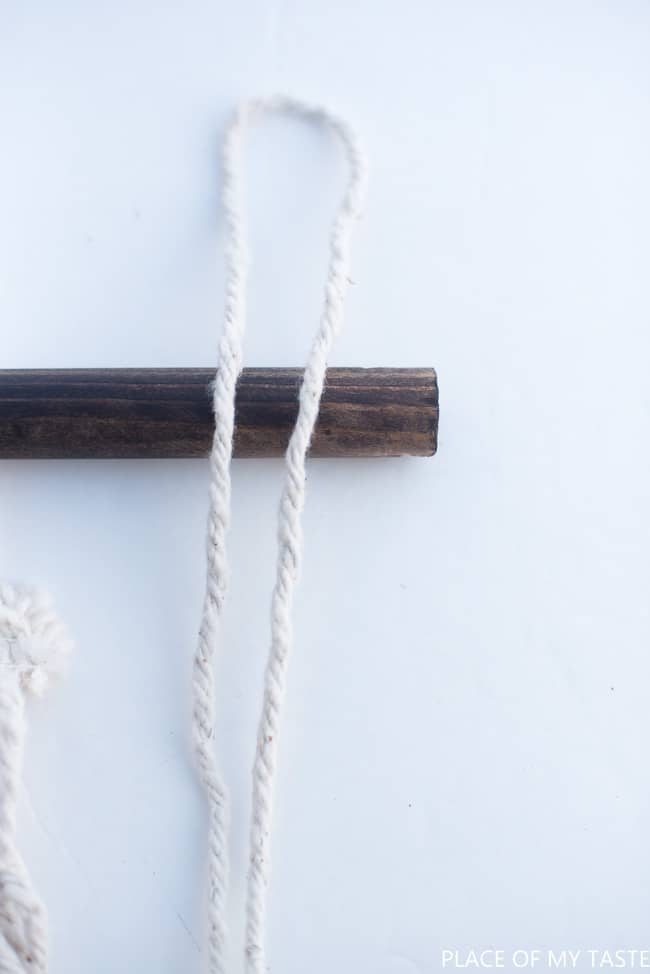
And as the last step, I pulled the whole piece Cut end cotton mop refill through the middle of my macrame design. It wasn’t a huge hole, but I was able to pull the mop refill over.
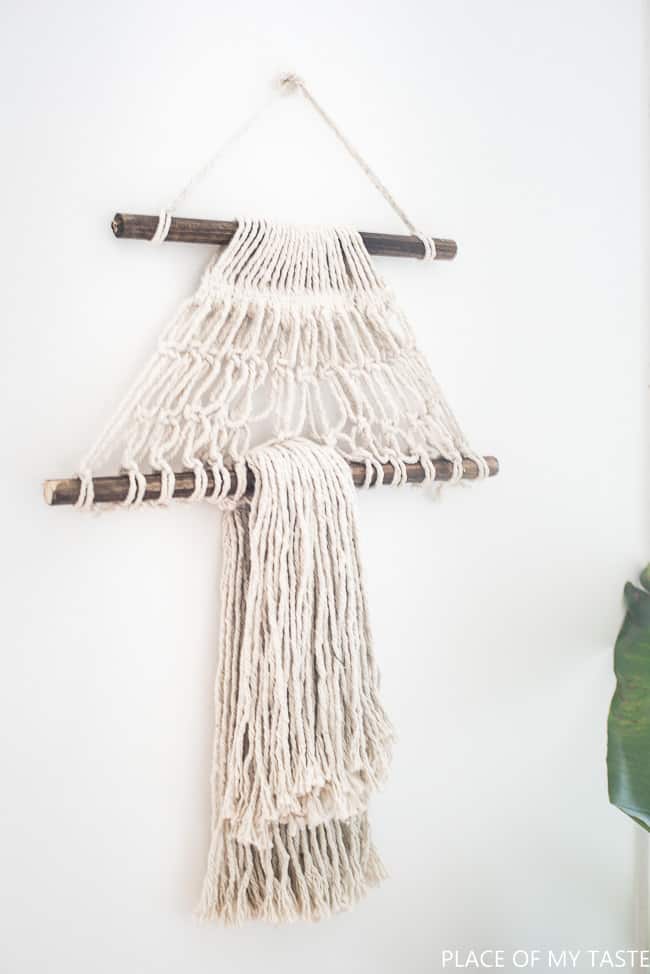
….and Tada!! I hung my pretty wall hanging and it looks fabulous. Or at least I think so:-)
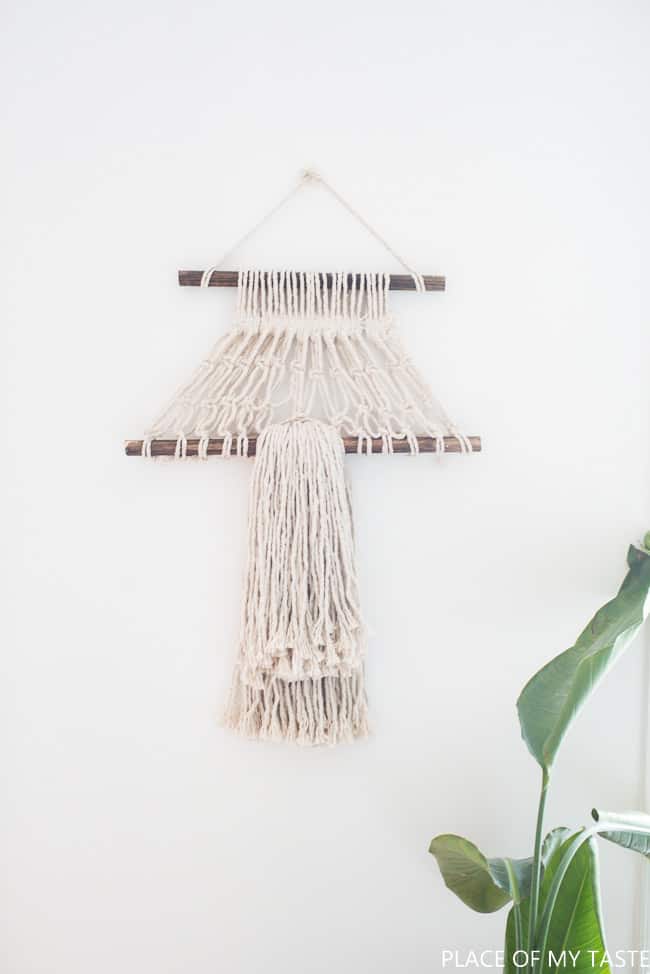
What do you think?
I saves some time for me using mop refills as I did not need to cut the yarn pieces:-) It was a fun project!
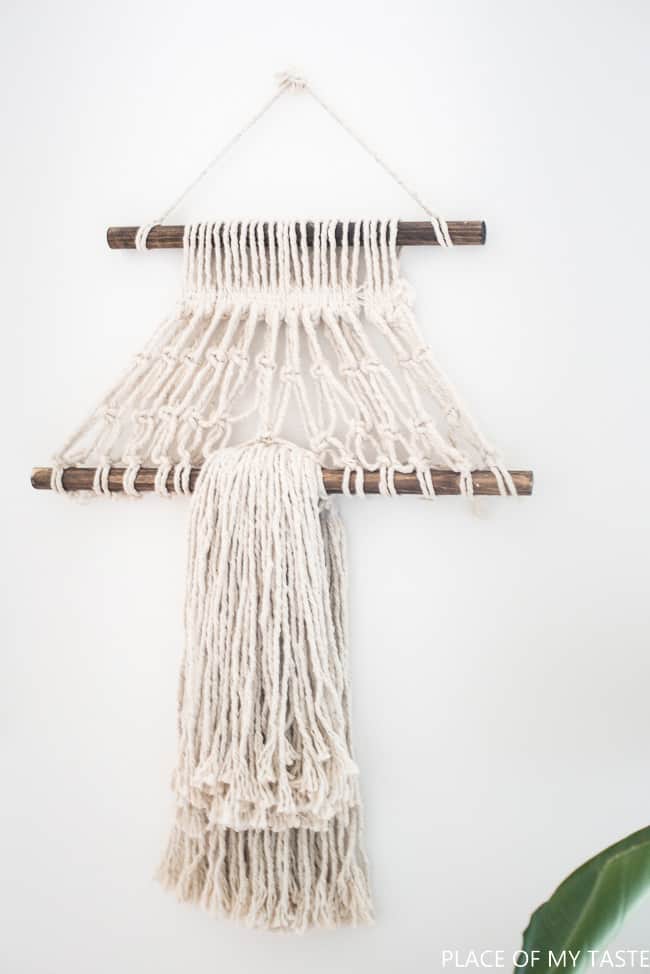
As you see on this last image I arranged the top hooks little closer to each other. It looks great both ways!
**UPDATE**
It’s funny how much we learn over time! Since this VERY first macrame thingy ( which wasn’t really a macrame thing at all), I have self thought myslef to macrame like a pro and I have had workshops taught as well. Check out my latest macrame projects HERE.
Check my room plans you all; it’s fun!
FAMILY ROOM PLANS FOR THE ONE ROOM CHALLENGE
I hope you got inspired to do your own wall hanging!
Cheers to a fabulous day!
Aniko


Great DIY project!
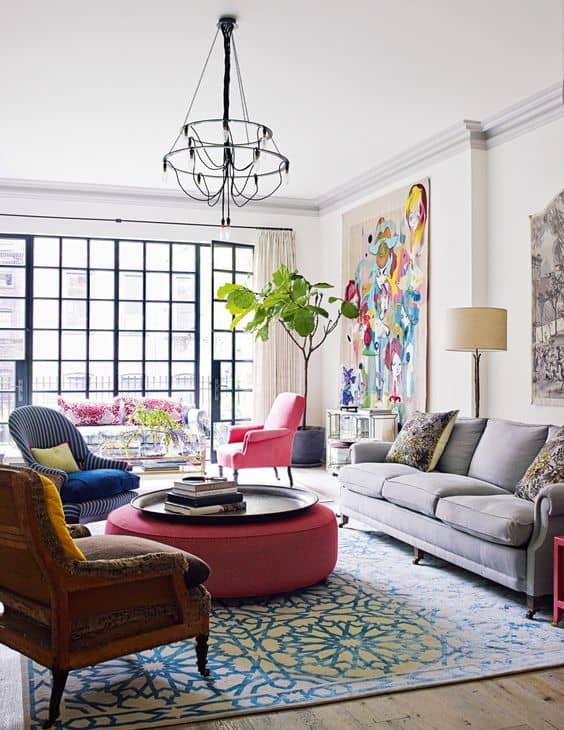
P.S. Is this on the last photo your living room? It’s very nice…
I am obsessed with wall hangings too and yours is so cute!
Thank you. I think it turned out perfect! Have a great day!