STENCILED DECORATIVE PILLOWCASE
This is a sponsored post by I love to Create and Tulip. All opinions are 100% my own.

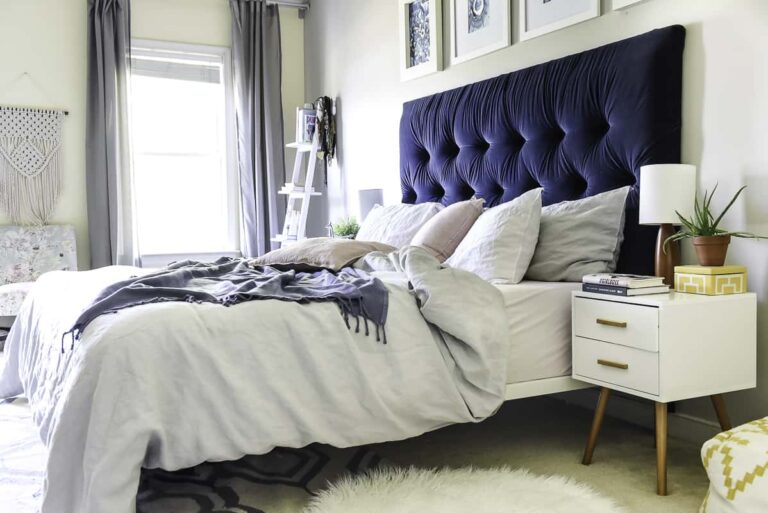
I have to confess my Friends! I am working on another room in the house. Actually, I am working on this room for quite a while now, but it looks like it’s never going to be finished.
It is my home office.
You are going to see colors ( just as in every other room in the house) in this room as well. Adding decorative pieces to my house are always a great way to freshen up. Tulip for your Home is a new product line and they have cool stencils and fabric paints. You know how much I love to DIY, right? I had to try this fun 2 layered stenciled technique myself. I love stencils. They make life so easy and the great thing about them is that you don’t have to be an artist to create something very stylish. You can use them on literally everything in the house.
TODAY, I WILL SHOW YOU A STEP BY STEP TUTORIAL OF HOW TO MAKE THIS STENCILED PILLOWCASE.
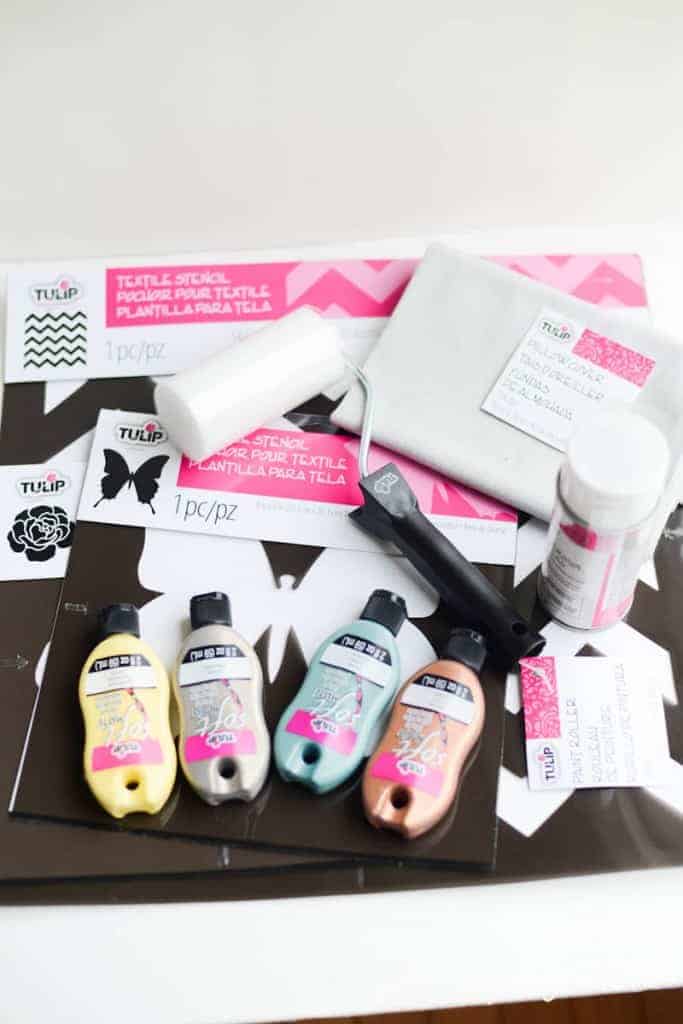
Things you will need:
– pillowcase
– TULIP large stencil
– TULIP small motif stencil
– TULIP fabric paint
– TULIP stencil spray adhesive
– TULIP paint roller
– wax paper
Are you ready to make your own stenciled pillowcase? So exciting!
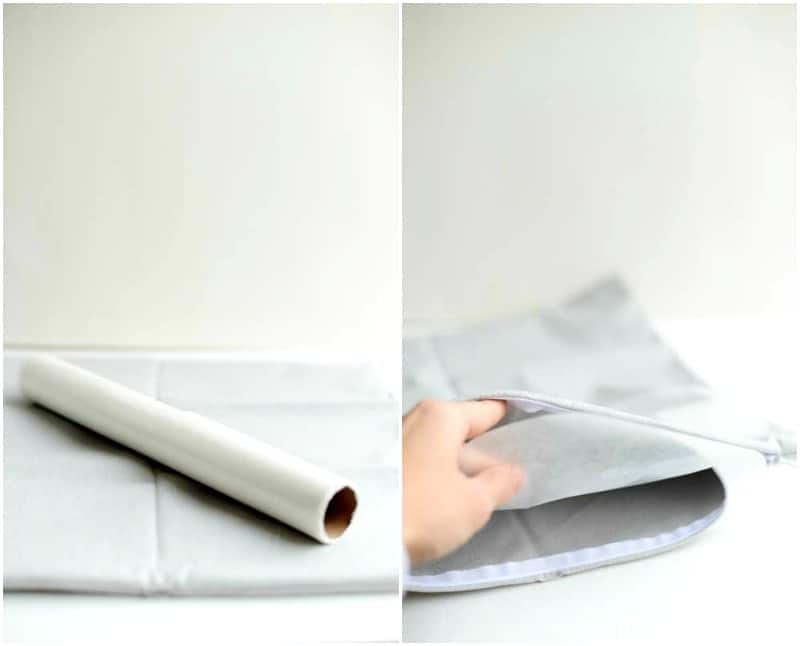
Let’s start with putting a piece of wax paper into your pillowcase, so the paint won’t wet through the fabric. It’s an important step, so be sure to use a piece of wax paper.
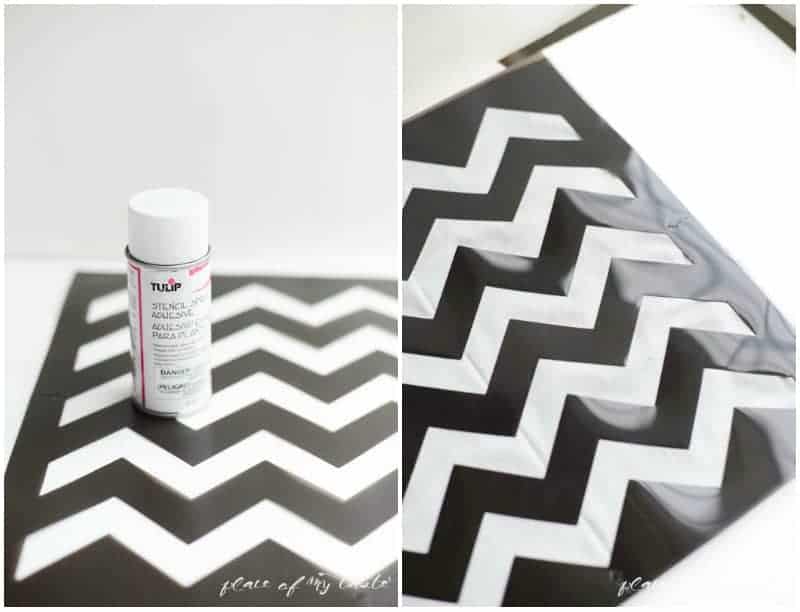
As a second step, spray the back of the stencil (not the shiny one ) with the TULIP stencil spray adhesive, so it will stick perfectly onto your pillowcase and it won’t move around while you apply the paint.
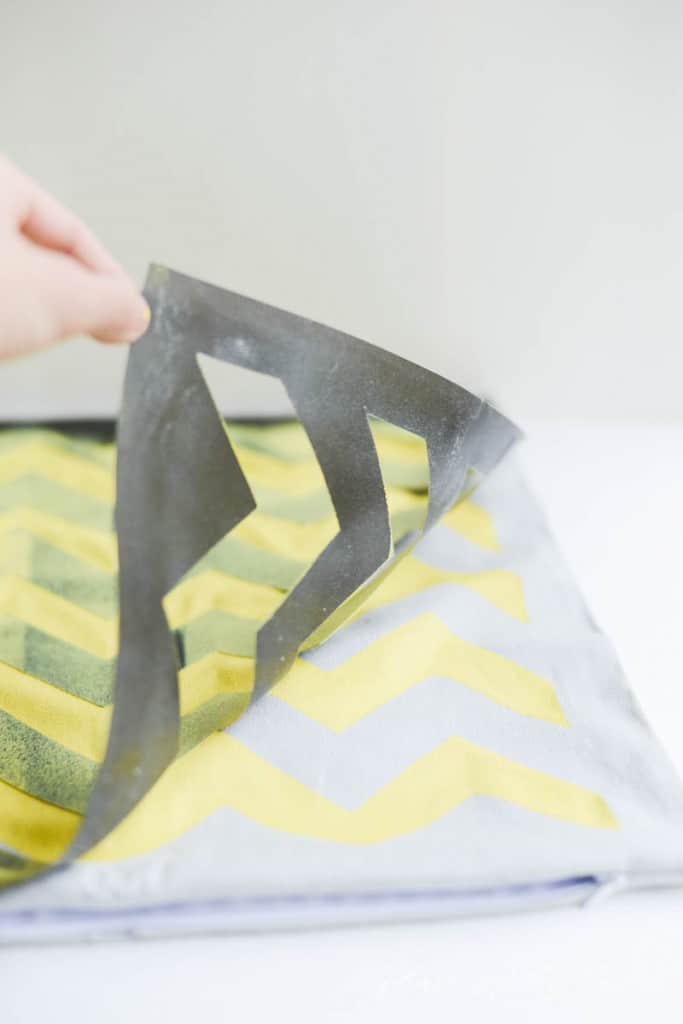
Once the stencil is attached to the pillowcase, using very little paint on your roller, roll on a coat of paint. You can always add more paint if needed, but do not use a lot of paint initially.
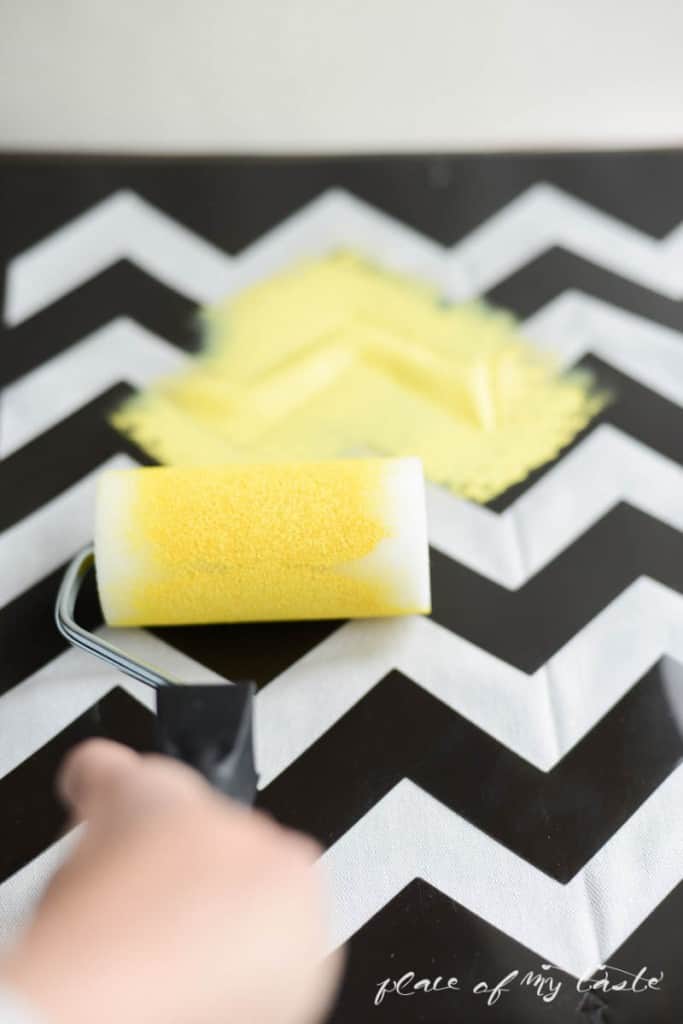
The paint will dry pretty quickly. Peal your stencil off of the pillowcase slowly and let the paint dry completely.
And now the fun part…
Place the smaller stencil on the top of the already stenciled pillowcase and paint over with a different color.
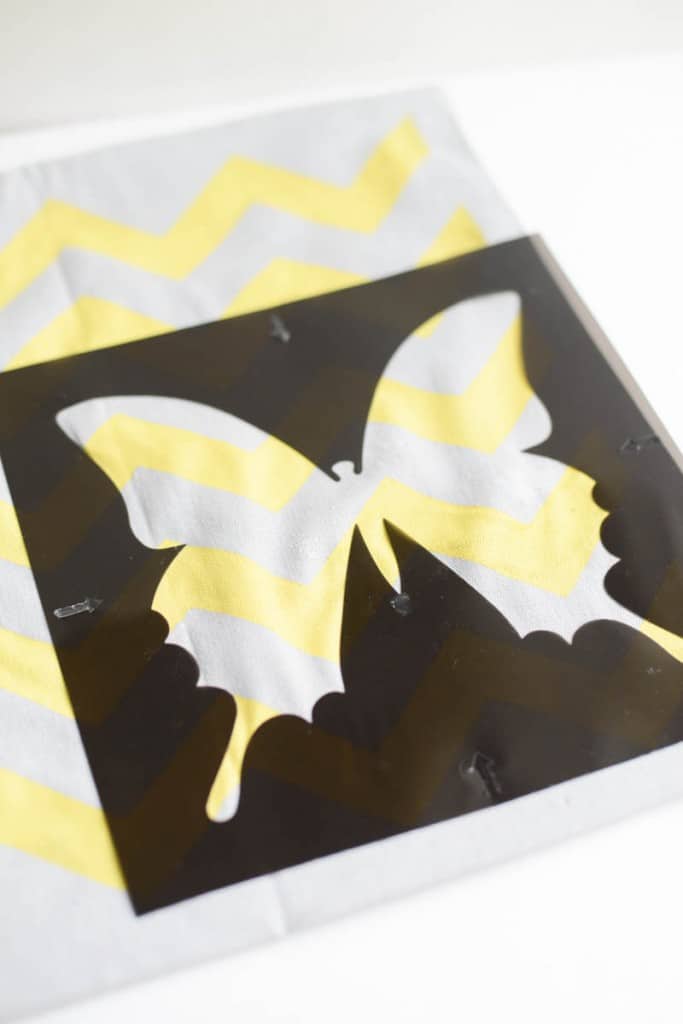
Isn’t it fun?
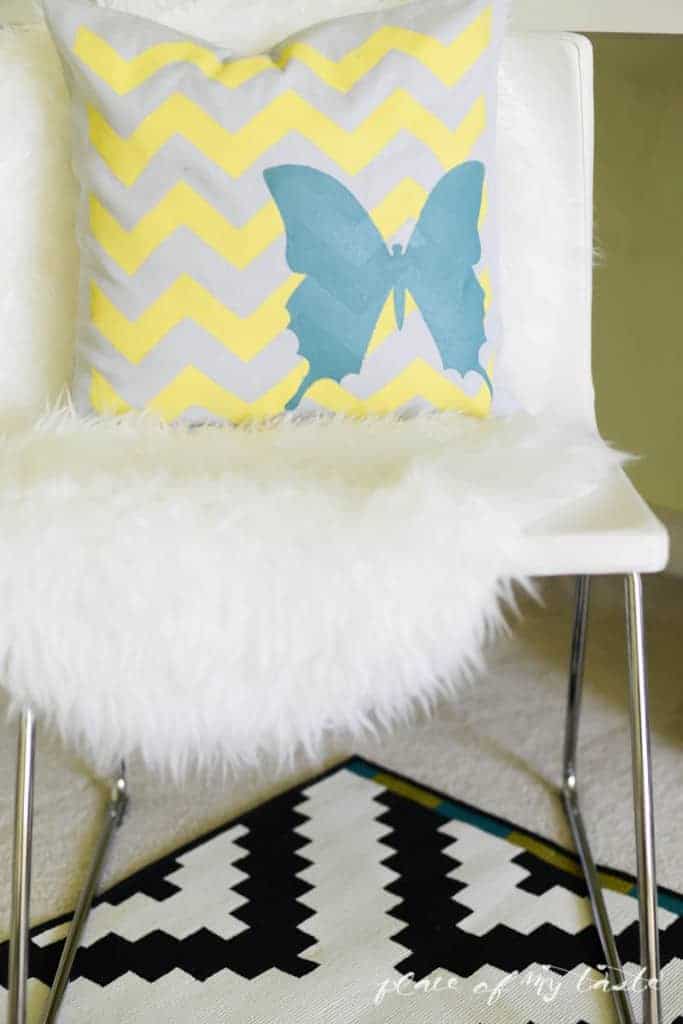
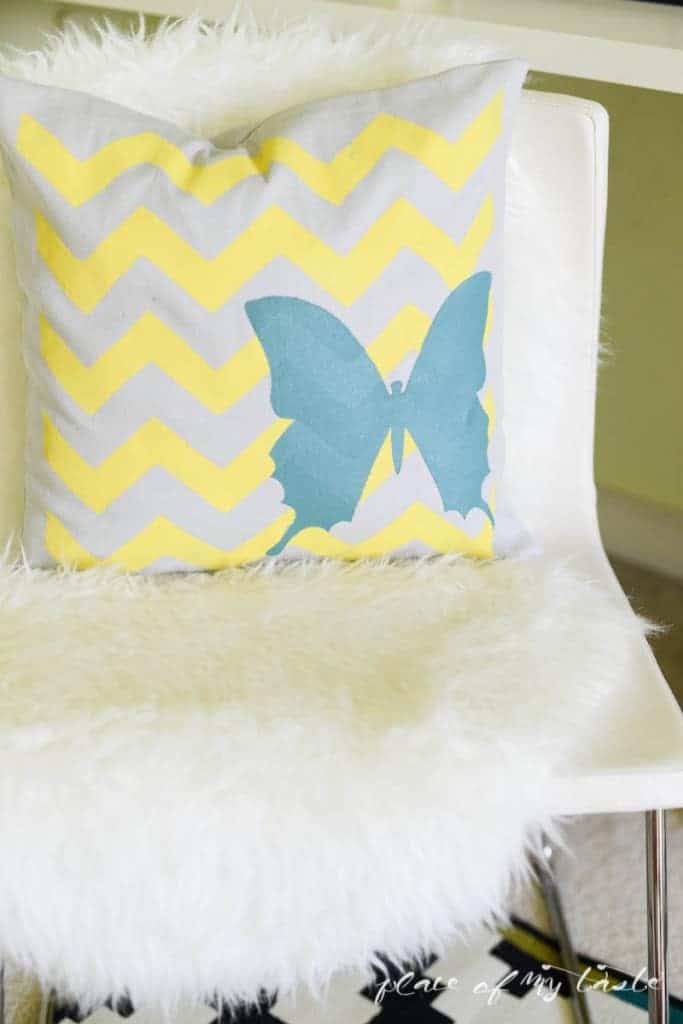
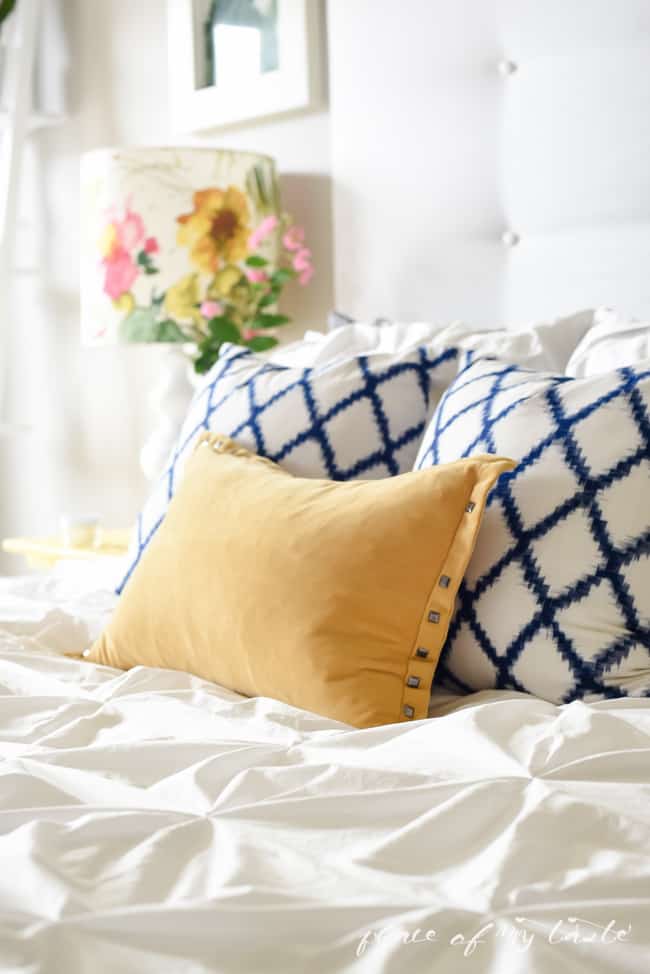
I think my new, super colorful and spring-y pillowcase turned out just perfect for my room! 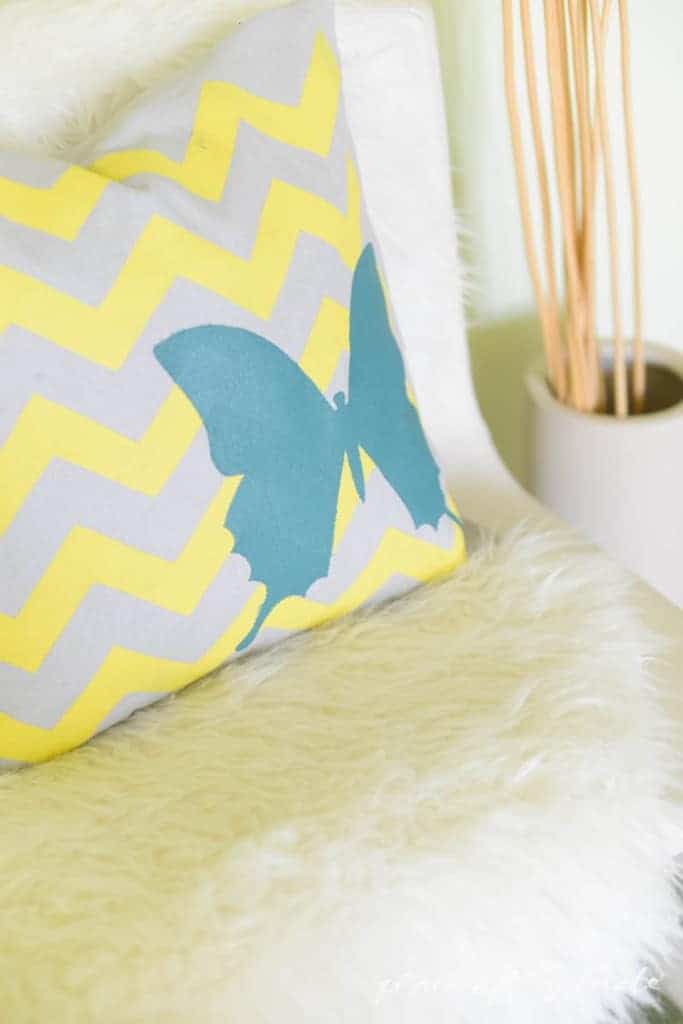
Check out I Love To Create for other amazing ideas and follow them on
Facebook | Pinterest | Twitter
There are other fellow bloggers out there experimenting with these stencils…check them out, they are all amazing!
Thanks for stopping by today!
Xoxo~


Totally fun Aniko! It turned out great!
This is very pretty, I just love the colours.
Thank you for stopping by, Maria!Have a wonderful week!
I love how you always use bold pops of color Aniko! What a great product. Your pillow is awesome. Thanks for sharing at The Makers this week!
Thanks for hopping over, Corey! Yes, I am sure you can tell how much I love colors!:-) Have a nice week, Friend!