MID-CENTURY MODERN DRESSER MAKEOVER
Happy 1st of July!
I have been waiting to share this piece of furniture forever. I put my hands on a gorgeous Bassett dresser back in November { shared it on Insta HERE }on a local antique auction. I typically don’t do auctions but I wanted a mid-century dresser for our new bedroom so badly, that I had to go that route to find what I wanted.

I was drooling over some West Elm dresser online, they are so very pretty – but I wasn’t too happy about ther price tag ( $999.00).!
I looked on Craigslist every day for months, but I could not find anything that really caught my eye or if there was something I liked, it was way overpriced. You know that mid-century modern furniture can be pricey. Sometimes very pricey.
So anyway, I got this gorgeous piece ( you may not thin it is gorgeous if you look at the pic below)for $75 dollars. YAY! I knew that was a good price for it and I knew that this is definitely a piece that I can turn into something pretty.
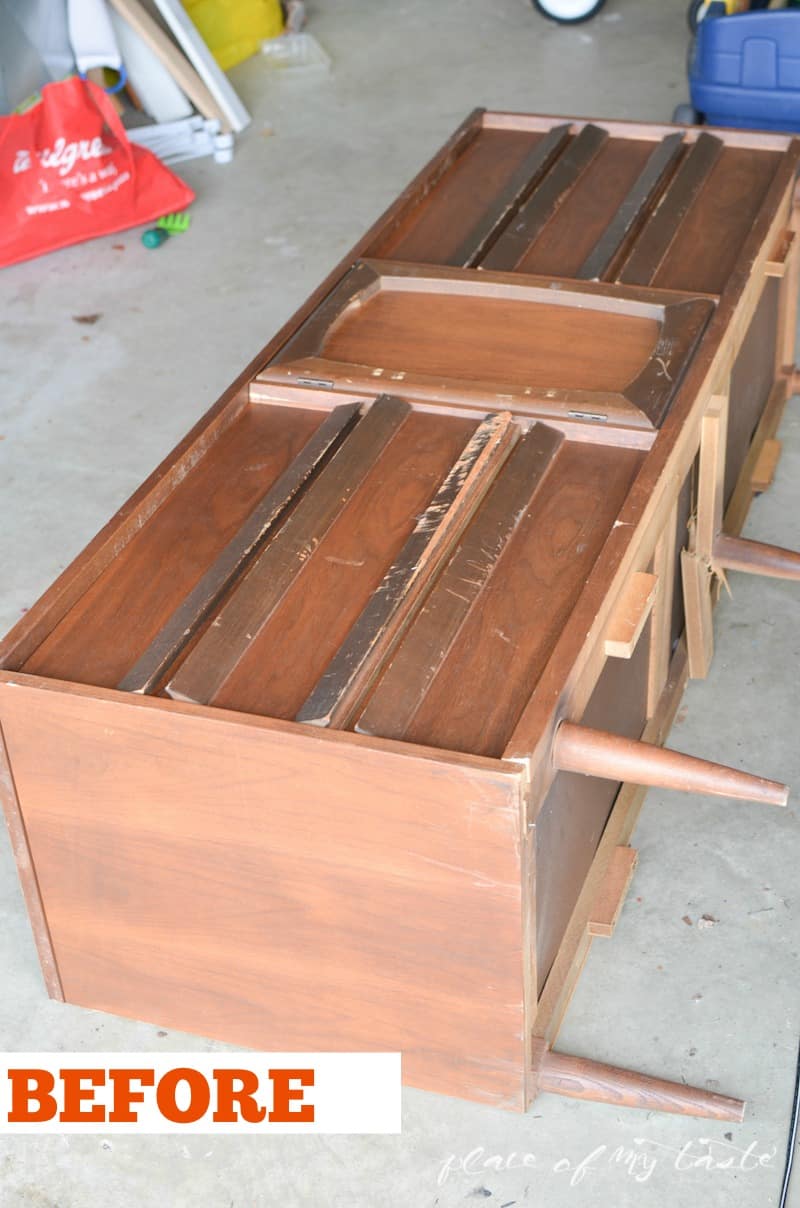
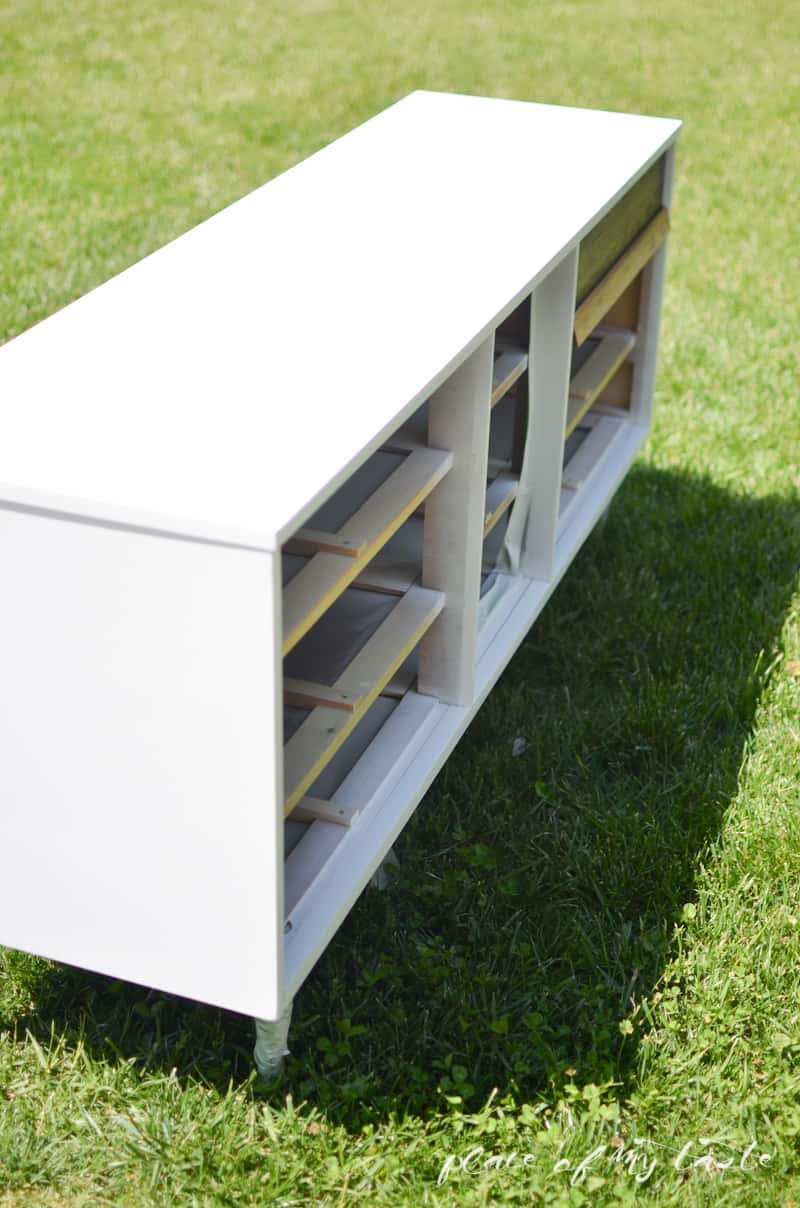
It had minor scratches on the front, some broken pieces on the bottom and a couple of destroyed wood trims.
It took a few months of waiting to be able to start working on our project due to the cold winter months. “She” was sitting in our garage. After a few weeks, I almost put this dresser on the market because it smelled horrible. You know that OLD smell. I just could not stand it and I could not imagine this piece in my bedroom with this strong smell. I contacted Sarah (from Sarah M, Dorsey Designs ) as I knew she had multiple dresser makeovers on her list, to see if she could advice me some sort of solution for the smell killing. She sent me this link (from Young House Love ) where they advice to use vinegar to get rid of the smell. On the first sunny day I took all the drawers out and wiped them as well as the body inside with vinegar. I let them completely dry then I repeated it 2-3 more times. Indeed, the smell was gone.
The destroyed trim needed to go, as it wasn’t fixable. The trim was secured with small nails to the drawers so they were removed.
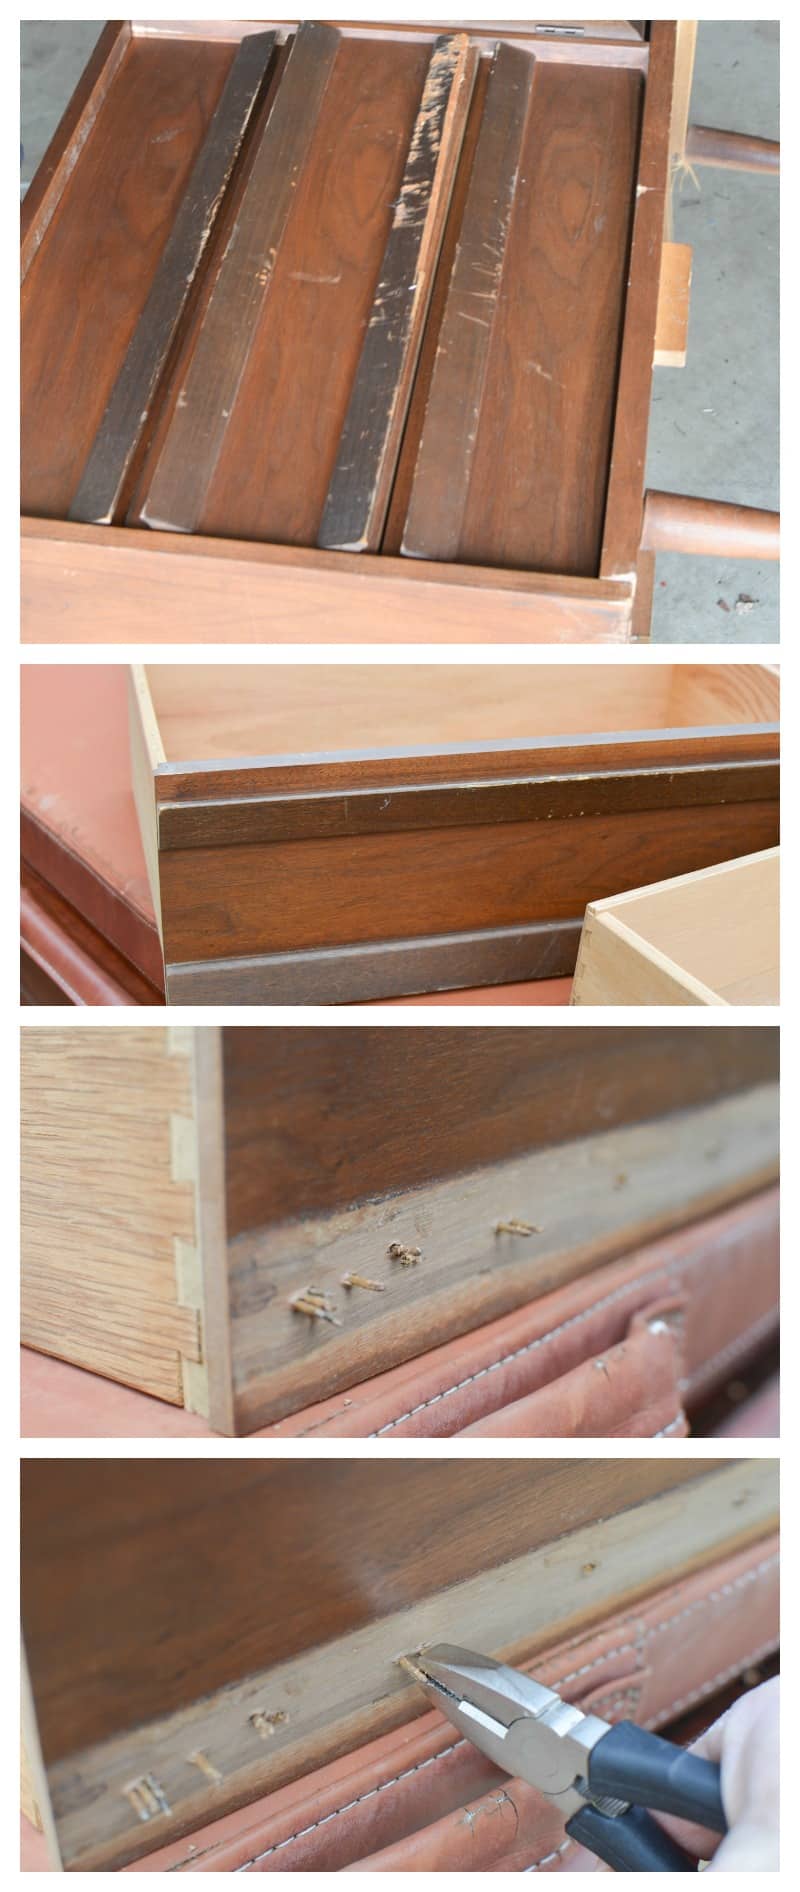 Then we filled the small wholes with wood filler.
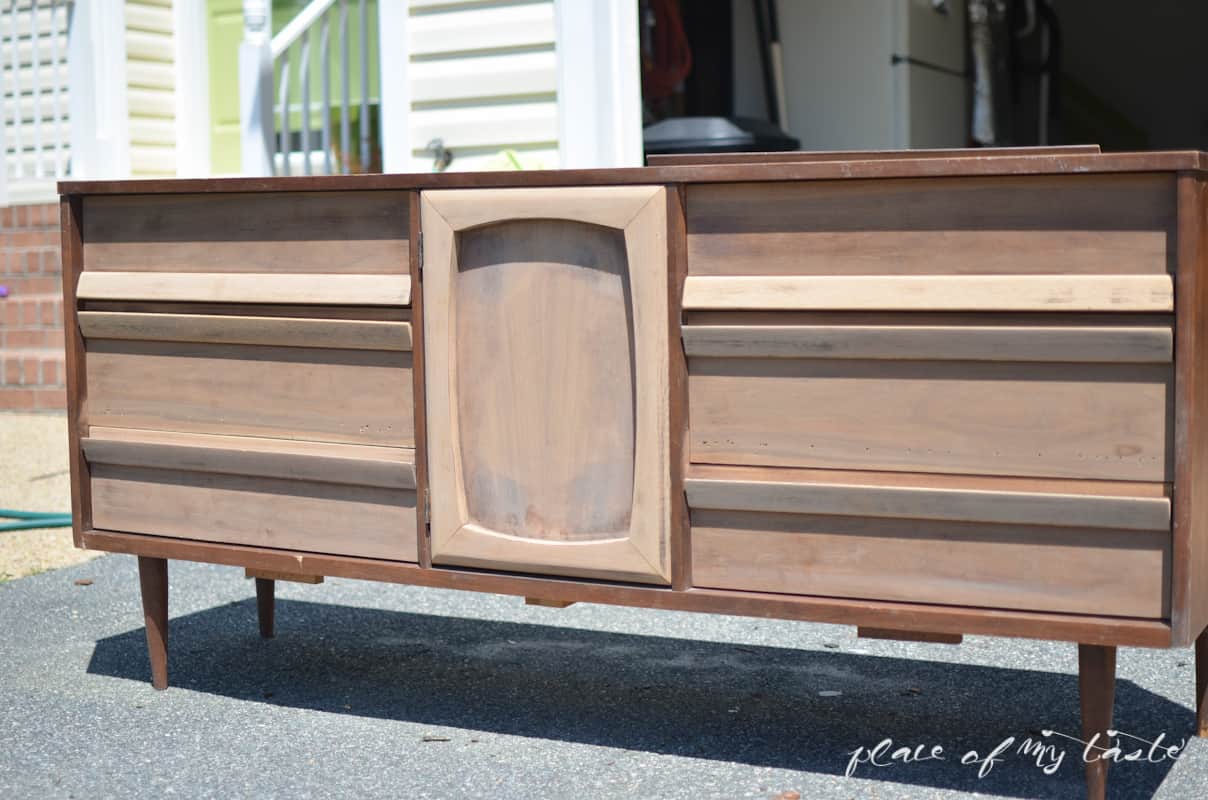
 After the wood filler was dry, came labor. Labor of love my friends. Sanding this piece took hours…yep! Hours! This guy below was a huge help!!

YAY!Sanded all the way!
 My hubby is an expert of spray painting, so he sprayed the sides and the top of the dresser with white flat paint /primer. Covered really well.
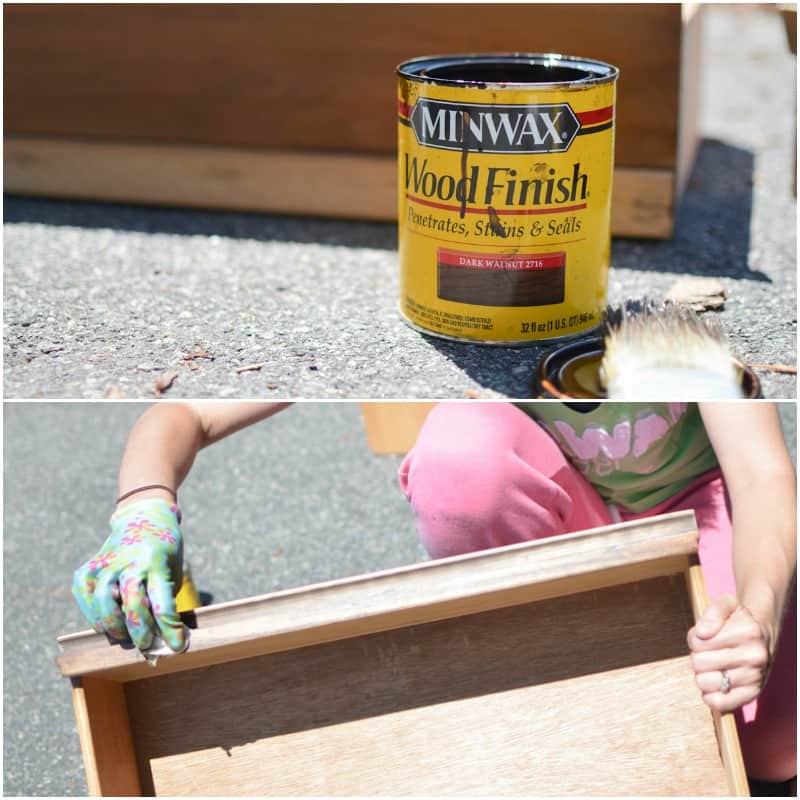
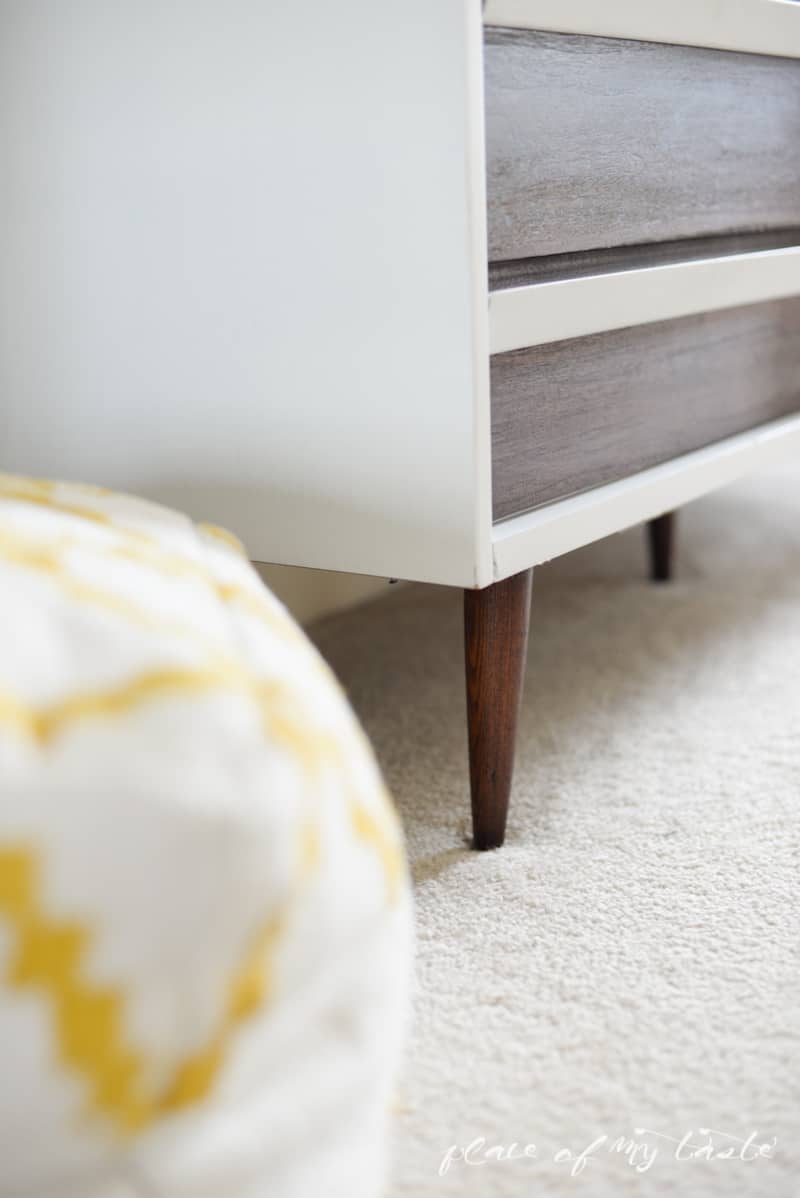
While he was painting, I put a coat of wood stain on the drawers. I chose dark walnut…so pretty!
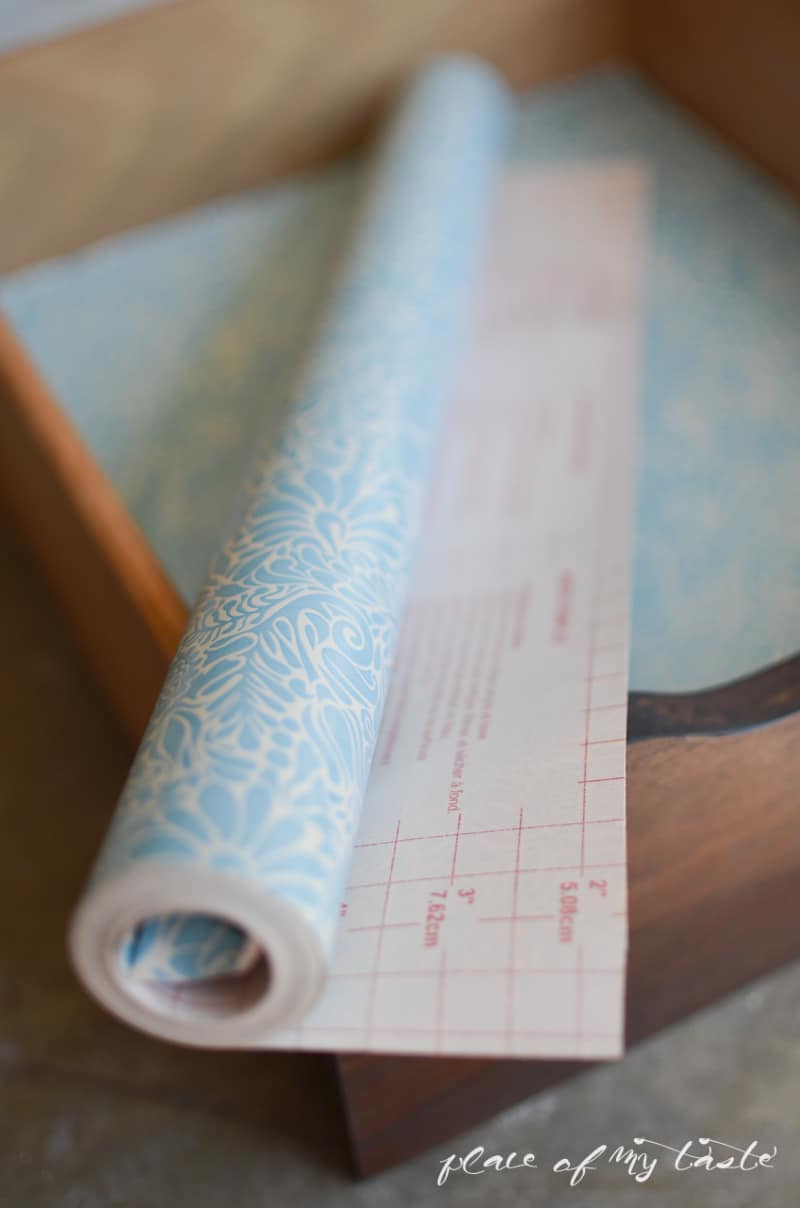
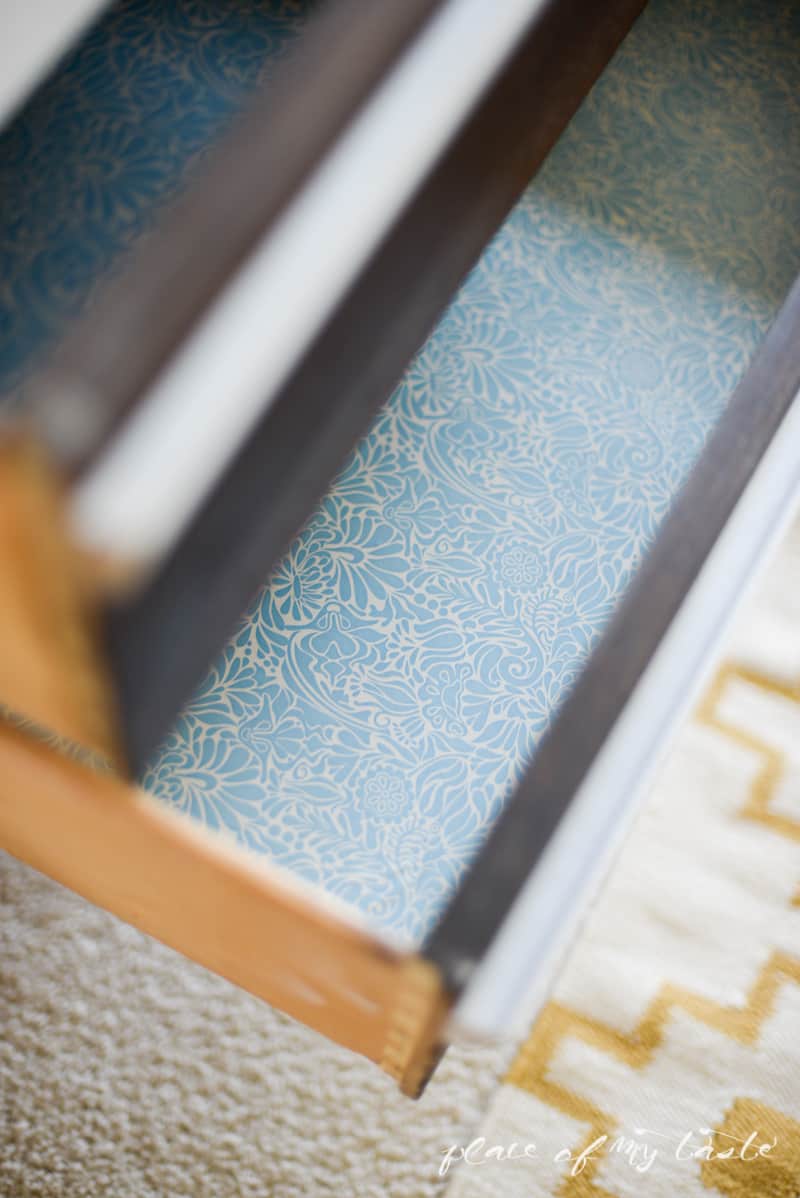
And finally, I got some nice adhesive paper at Target to make the inside of the drawers look nice and clean.
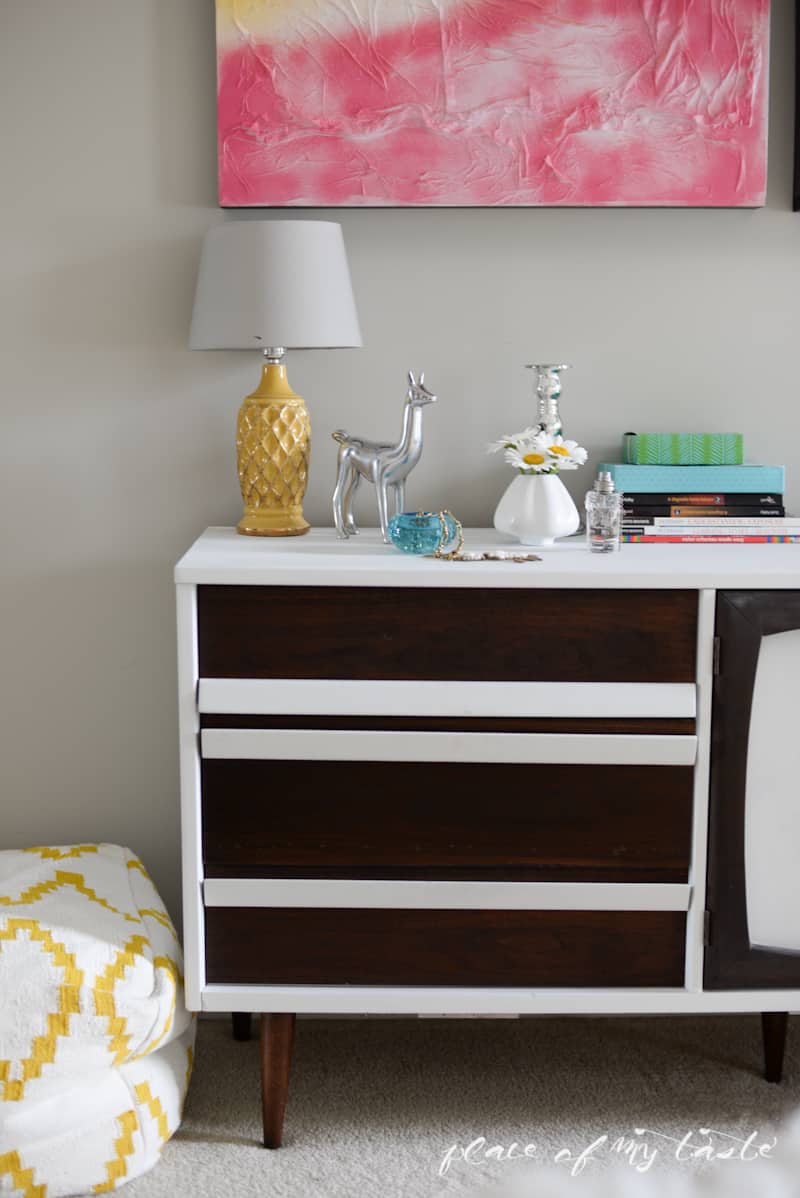
It was all worth the waiting, the sanding, the painting because our dresser turned out gorgeous. I am totally in love with this dresser. Makes me happy to look at it every morning when I open my eyes.
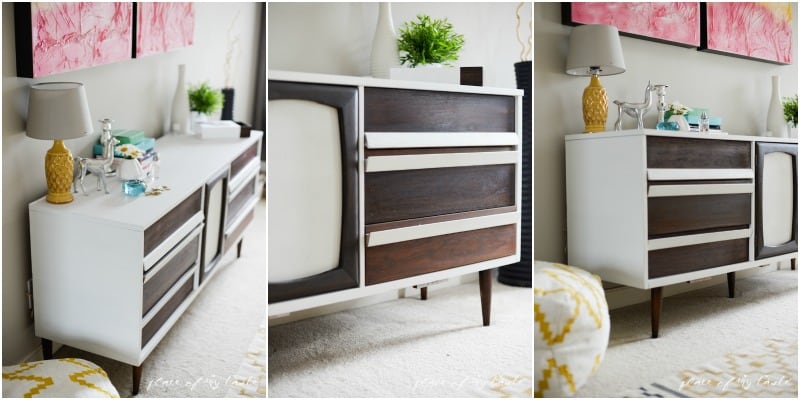

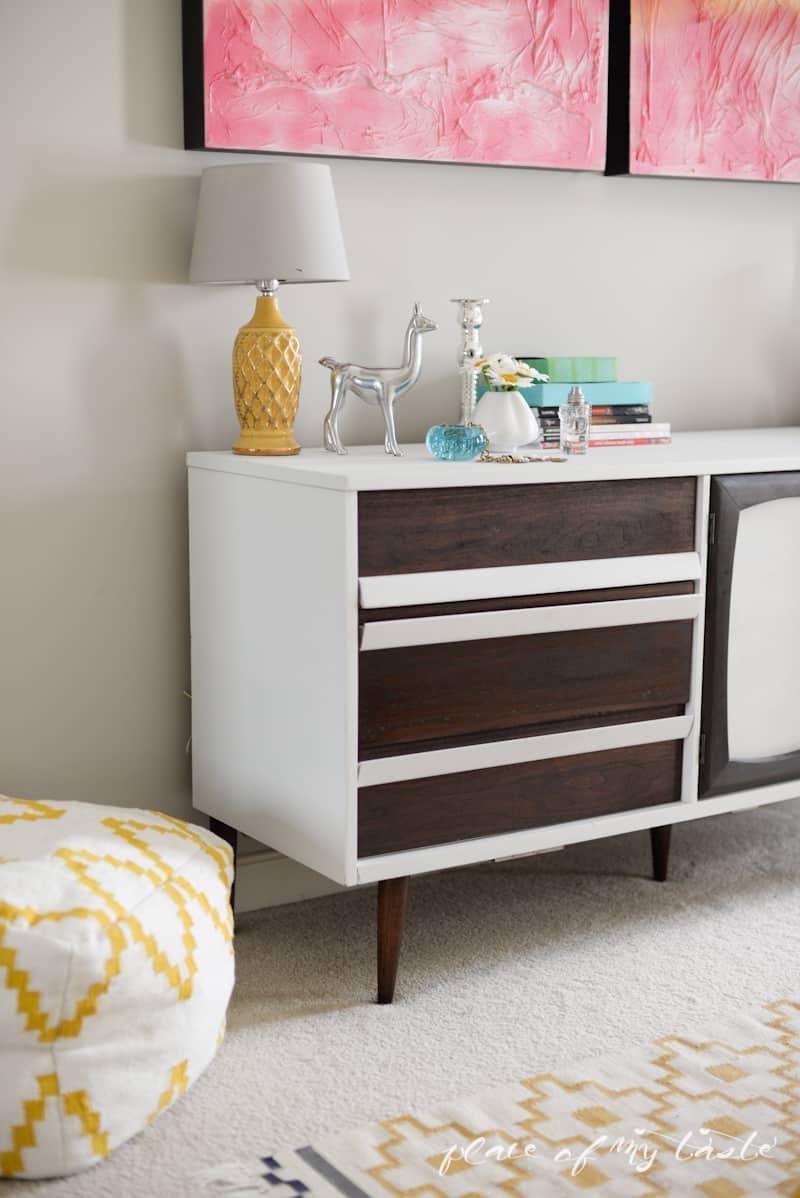
So what do you think? Yay or nay?

Our bedroom is slowly but nicely coming together and I will be sharing some more tutorials and the total makeover soon!
Check out my painted IKEA vases, part of our bedroom as well

or the IKEA MALM Headboard Makeover

Thanks for stopping by today!
Xoxo


In think a Warmer stain might have looked nice. The contrast is really harsh.