IKEA HACK -TV STAND HACK
Woah! This IKEA HACK– IKEA TV stand turned out amazing! I will show you how we did it, so you can too!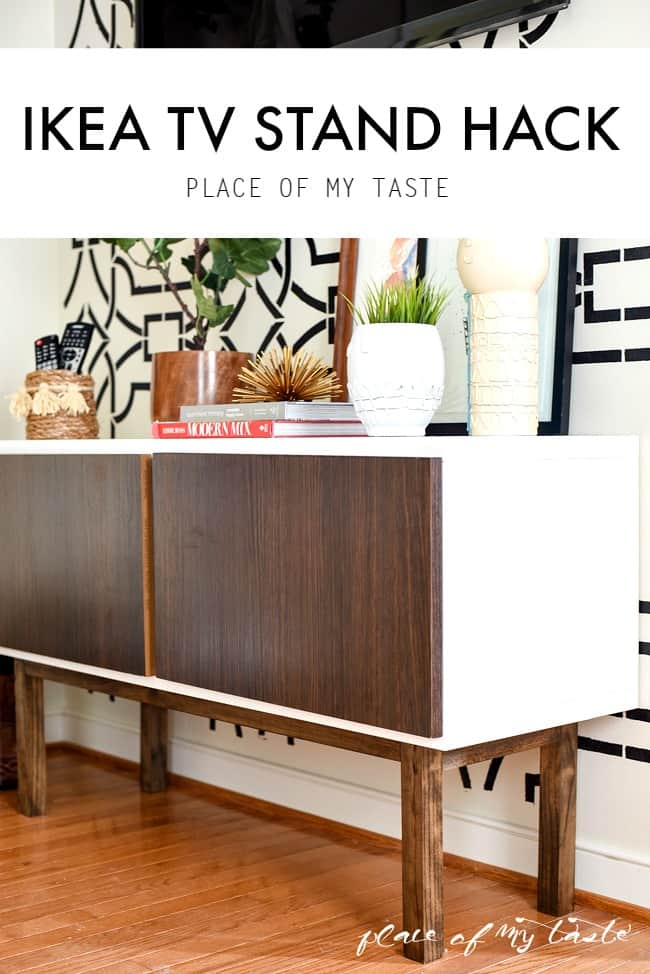
The weeks are flying by like CRAZY! I am dropping in to share this excellent piece of IKEA HACK with you all today as part of the One Room Challenge. What did I think when I signed up for this challenge again…?? I must say that I have a problem. I am continually racing with time and time-sensitive projects. Sometimes I even wonder how is my hub can put up with my craziness.? Seriously.
If you are new here and would wonder what a One Room Challenge is, here is a quicky: Linda from Calling it Home hosts this fun event twice a year; In the spring and the fall. There are fantastic designers who participate and also awesome bloggers ( like me :-)) who are linking participants. We pick a room, and we’d makeover the room in 6 weeks. Well, really in 5 weeks as the 6th week will be reveal time.
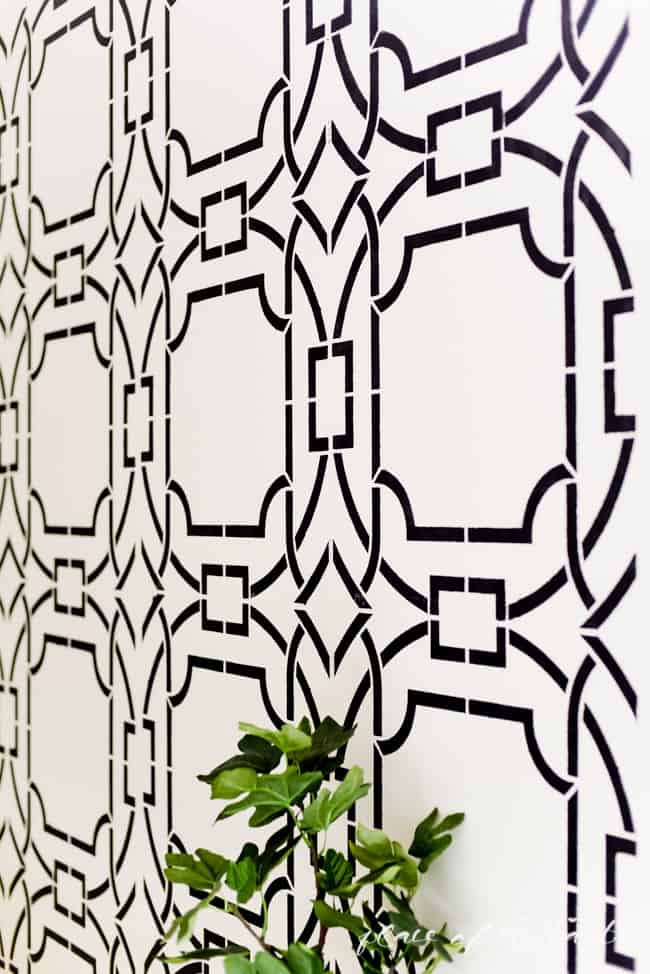
So I am working on my living room makeover. I pictured a sweet, boho chic modern room in my head. Hmm. Lots of goodness! Last week I shared my dramatic stenciled wall that turned too cool!
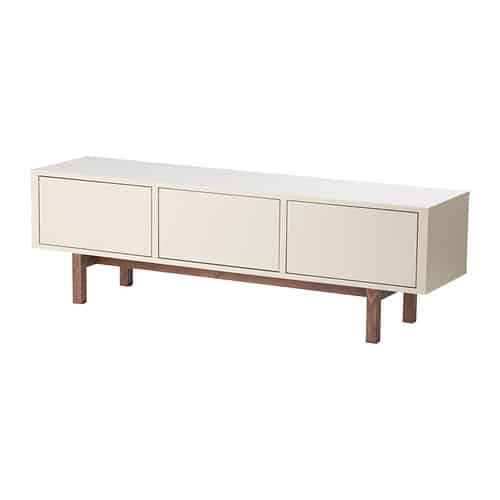
I spied a very cool looking TV stand at IKEA, but I wasn’t crazy about the price tag. I overspent my budget on the leather sofa ( Shhh….I will be sharing it soon) so buying a $400 TV stand was not an option! Every IKEA has an AS-IS section, did you know? It usually is my very first stop at IKEA anytime I get to visit there. IKEA is about an hour drive from where I live, so I don’t get to go often.
So this my inspiration piece:
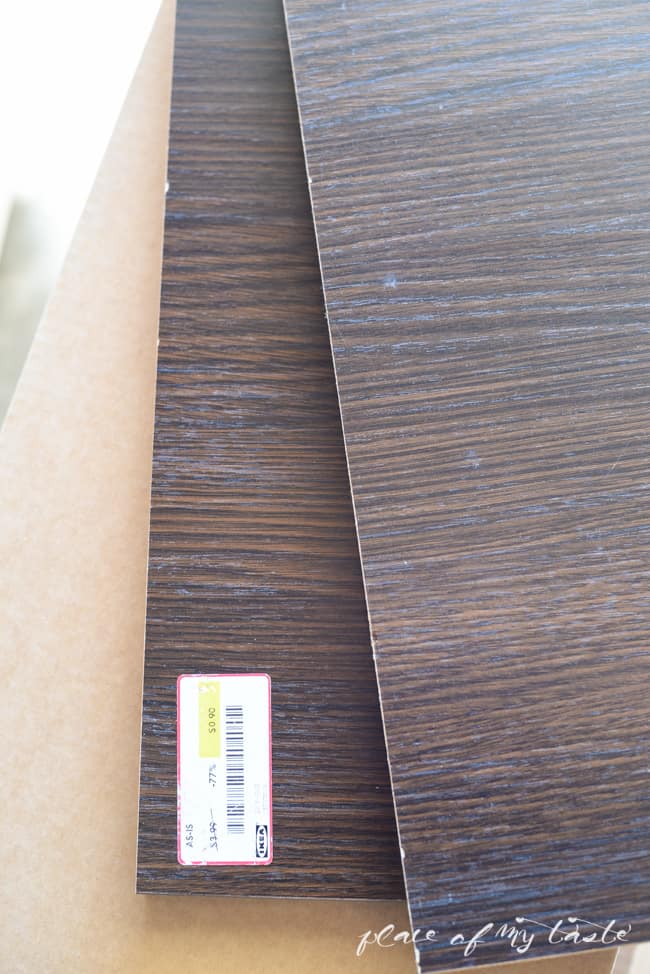
I was lucky to find this shelf unit ( BESTA) that was sitting on the floor in the AS-IS section, for $29. And then my brains started spinning, and I thought I could totally make a similar TV stand to the one I loved from IKEA if I added legs and doors to it.

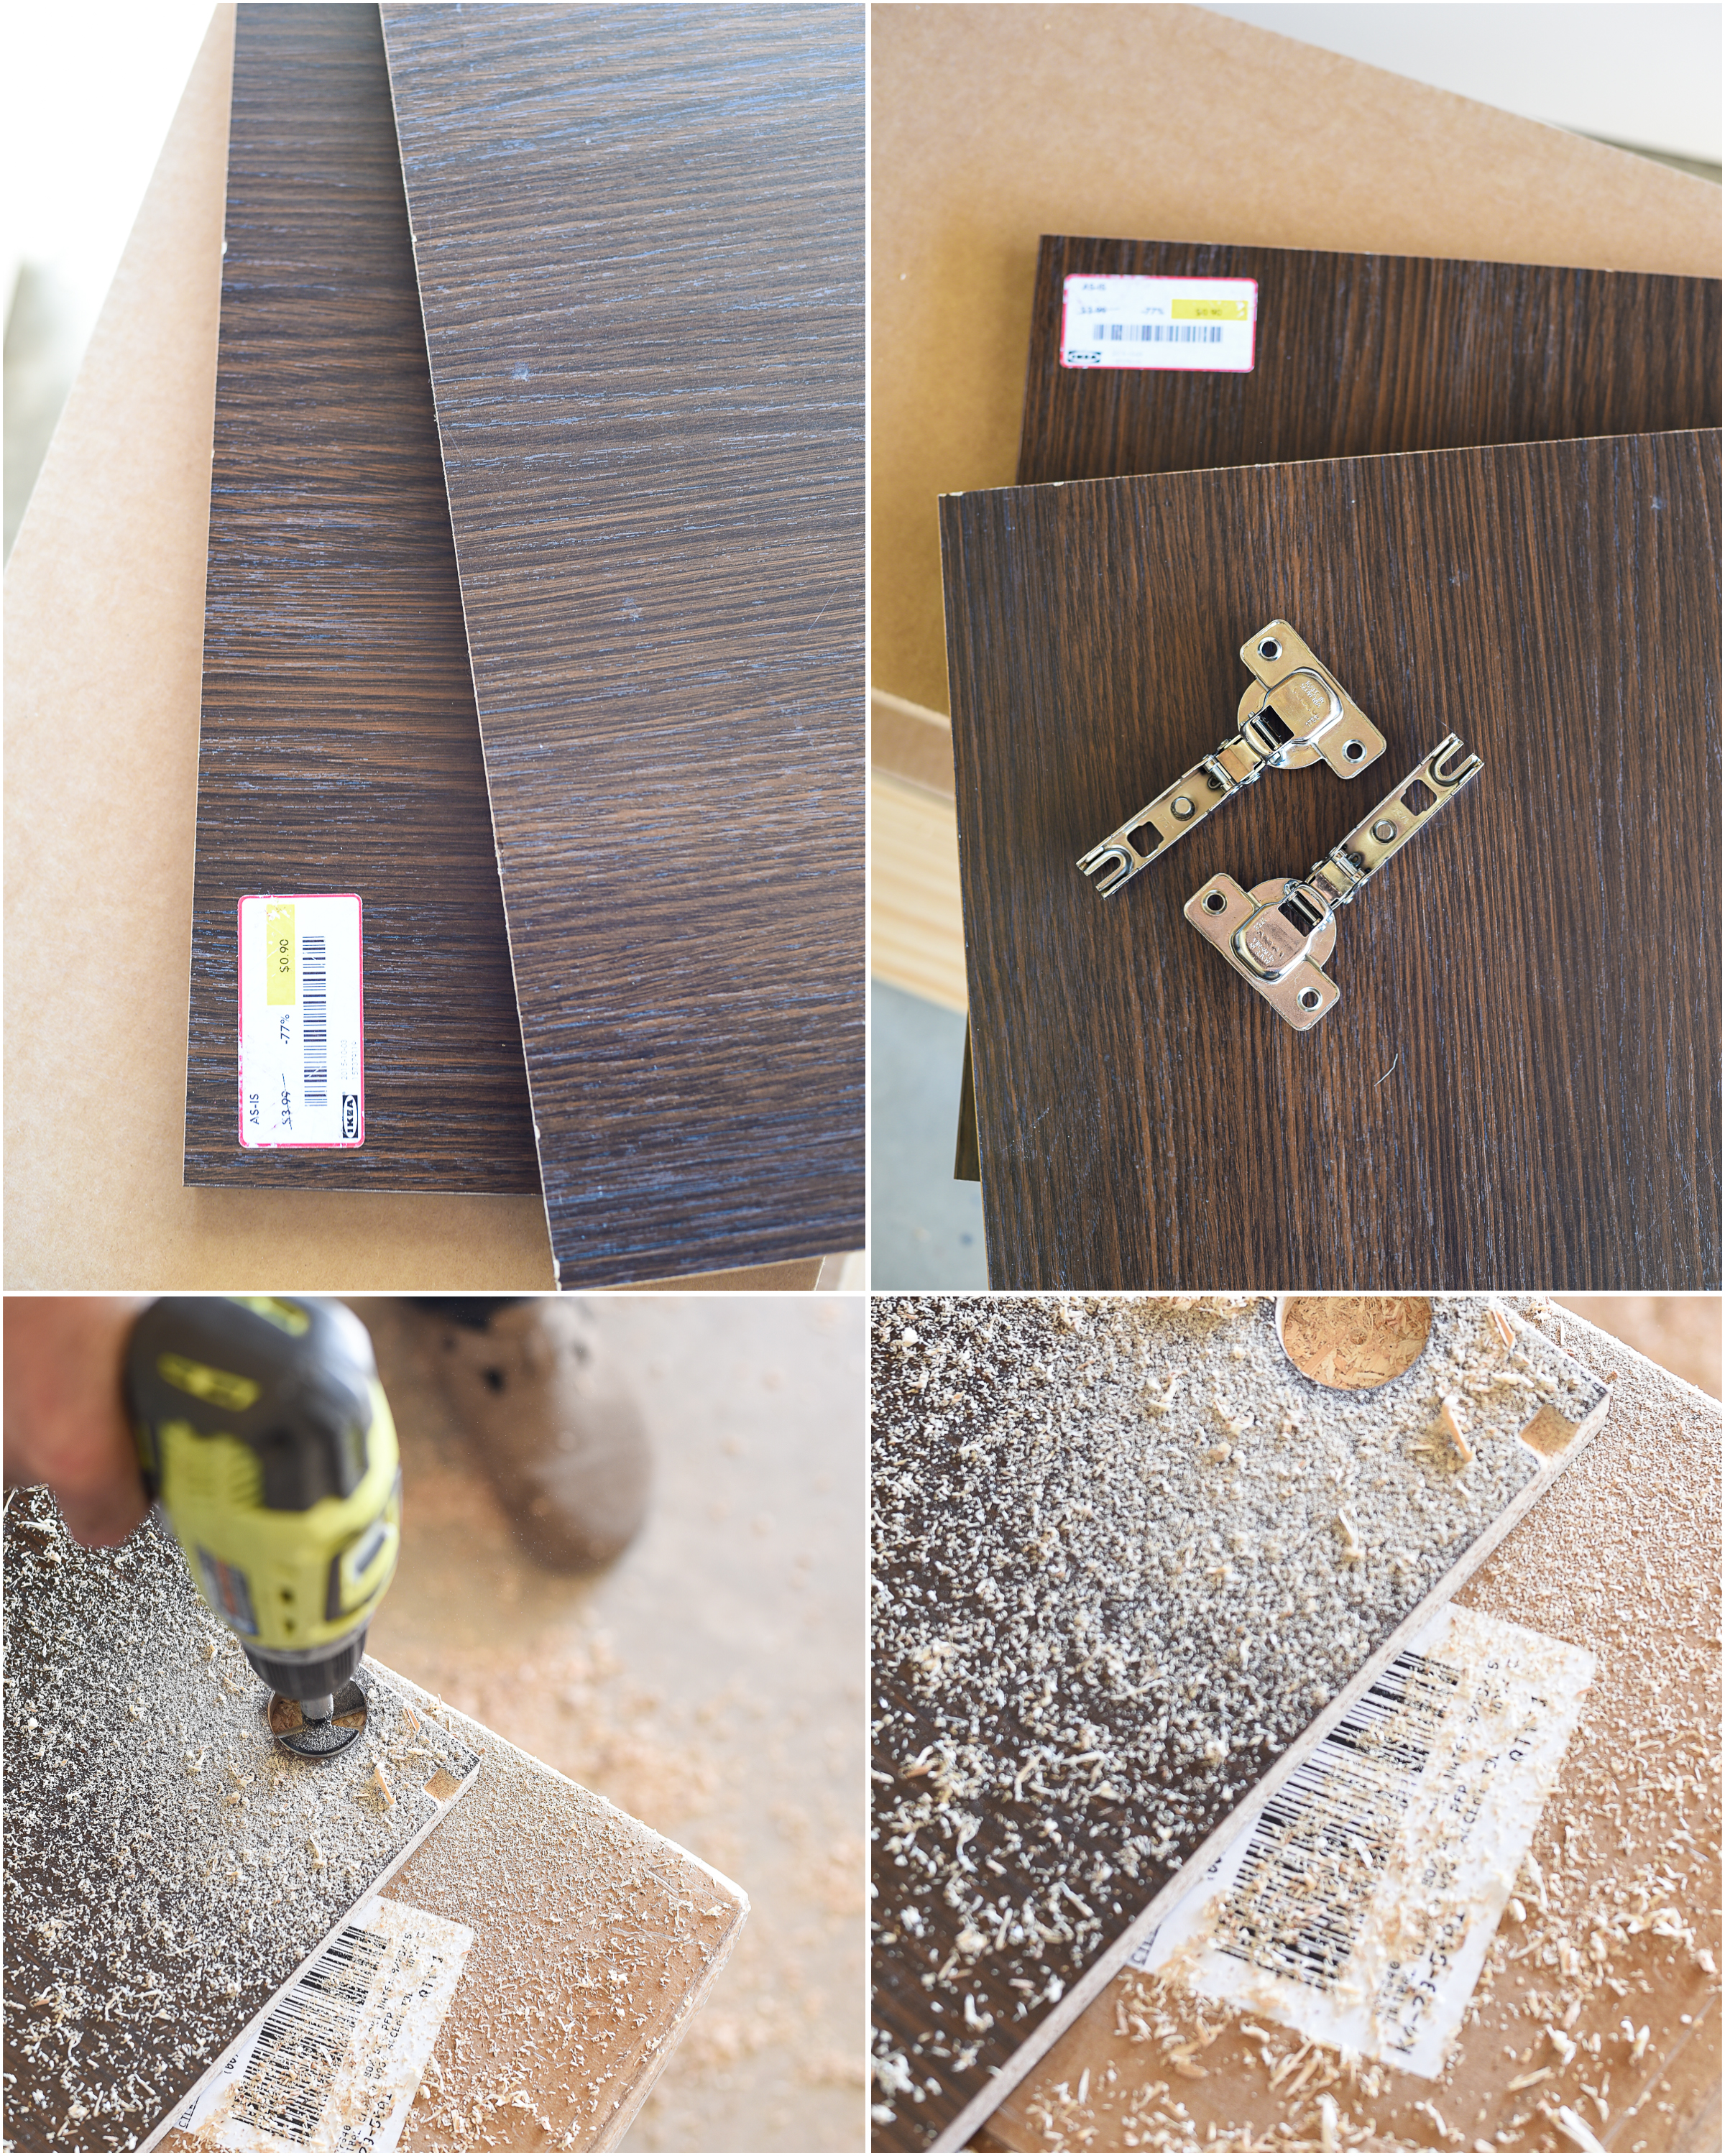
I also found some darn cheap doors ( 0.90c). They were just what I needed. The AS-IS section always has tons of doors and shelves. I picked out two brown shade doors as I thought the white and brown would look awesome together.
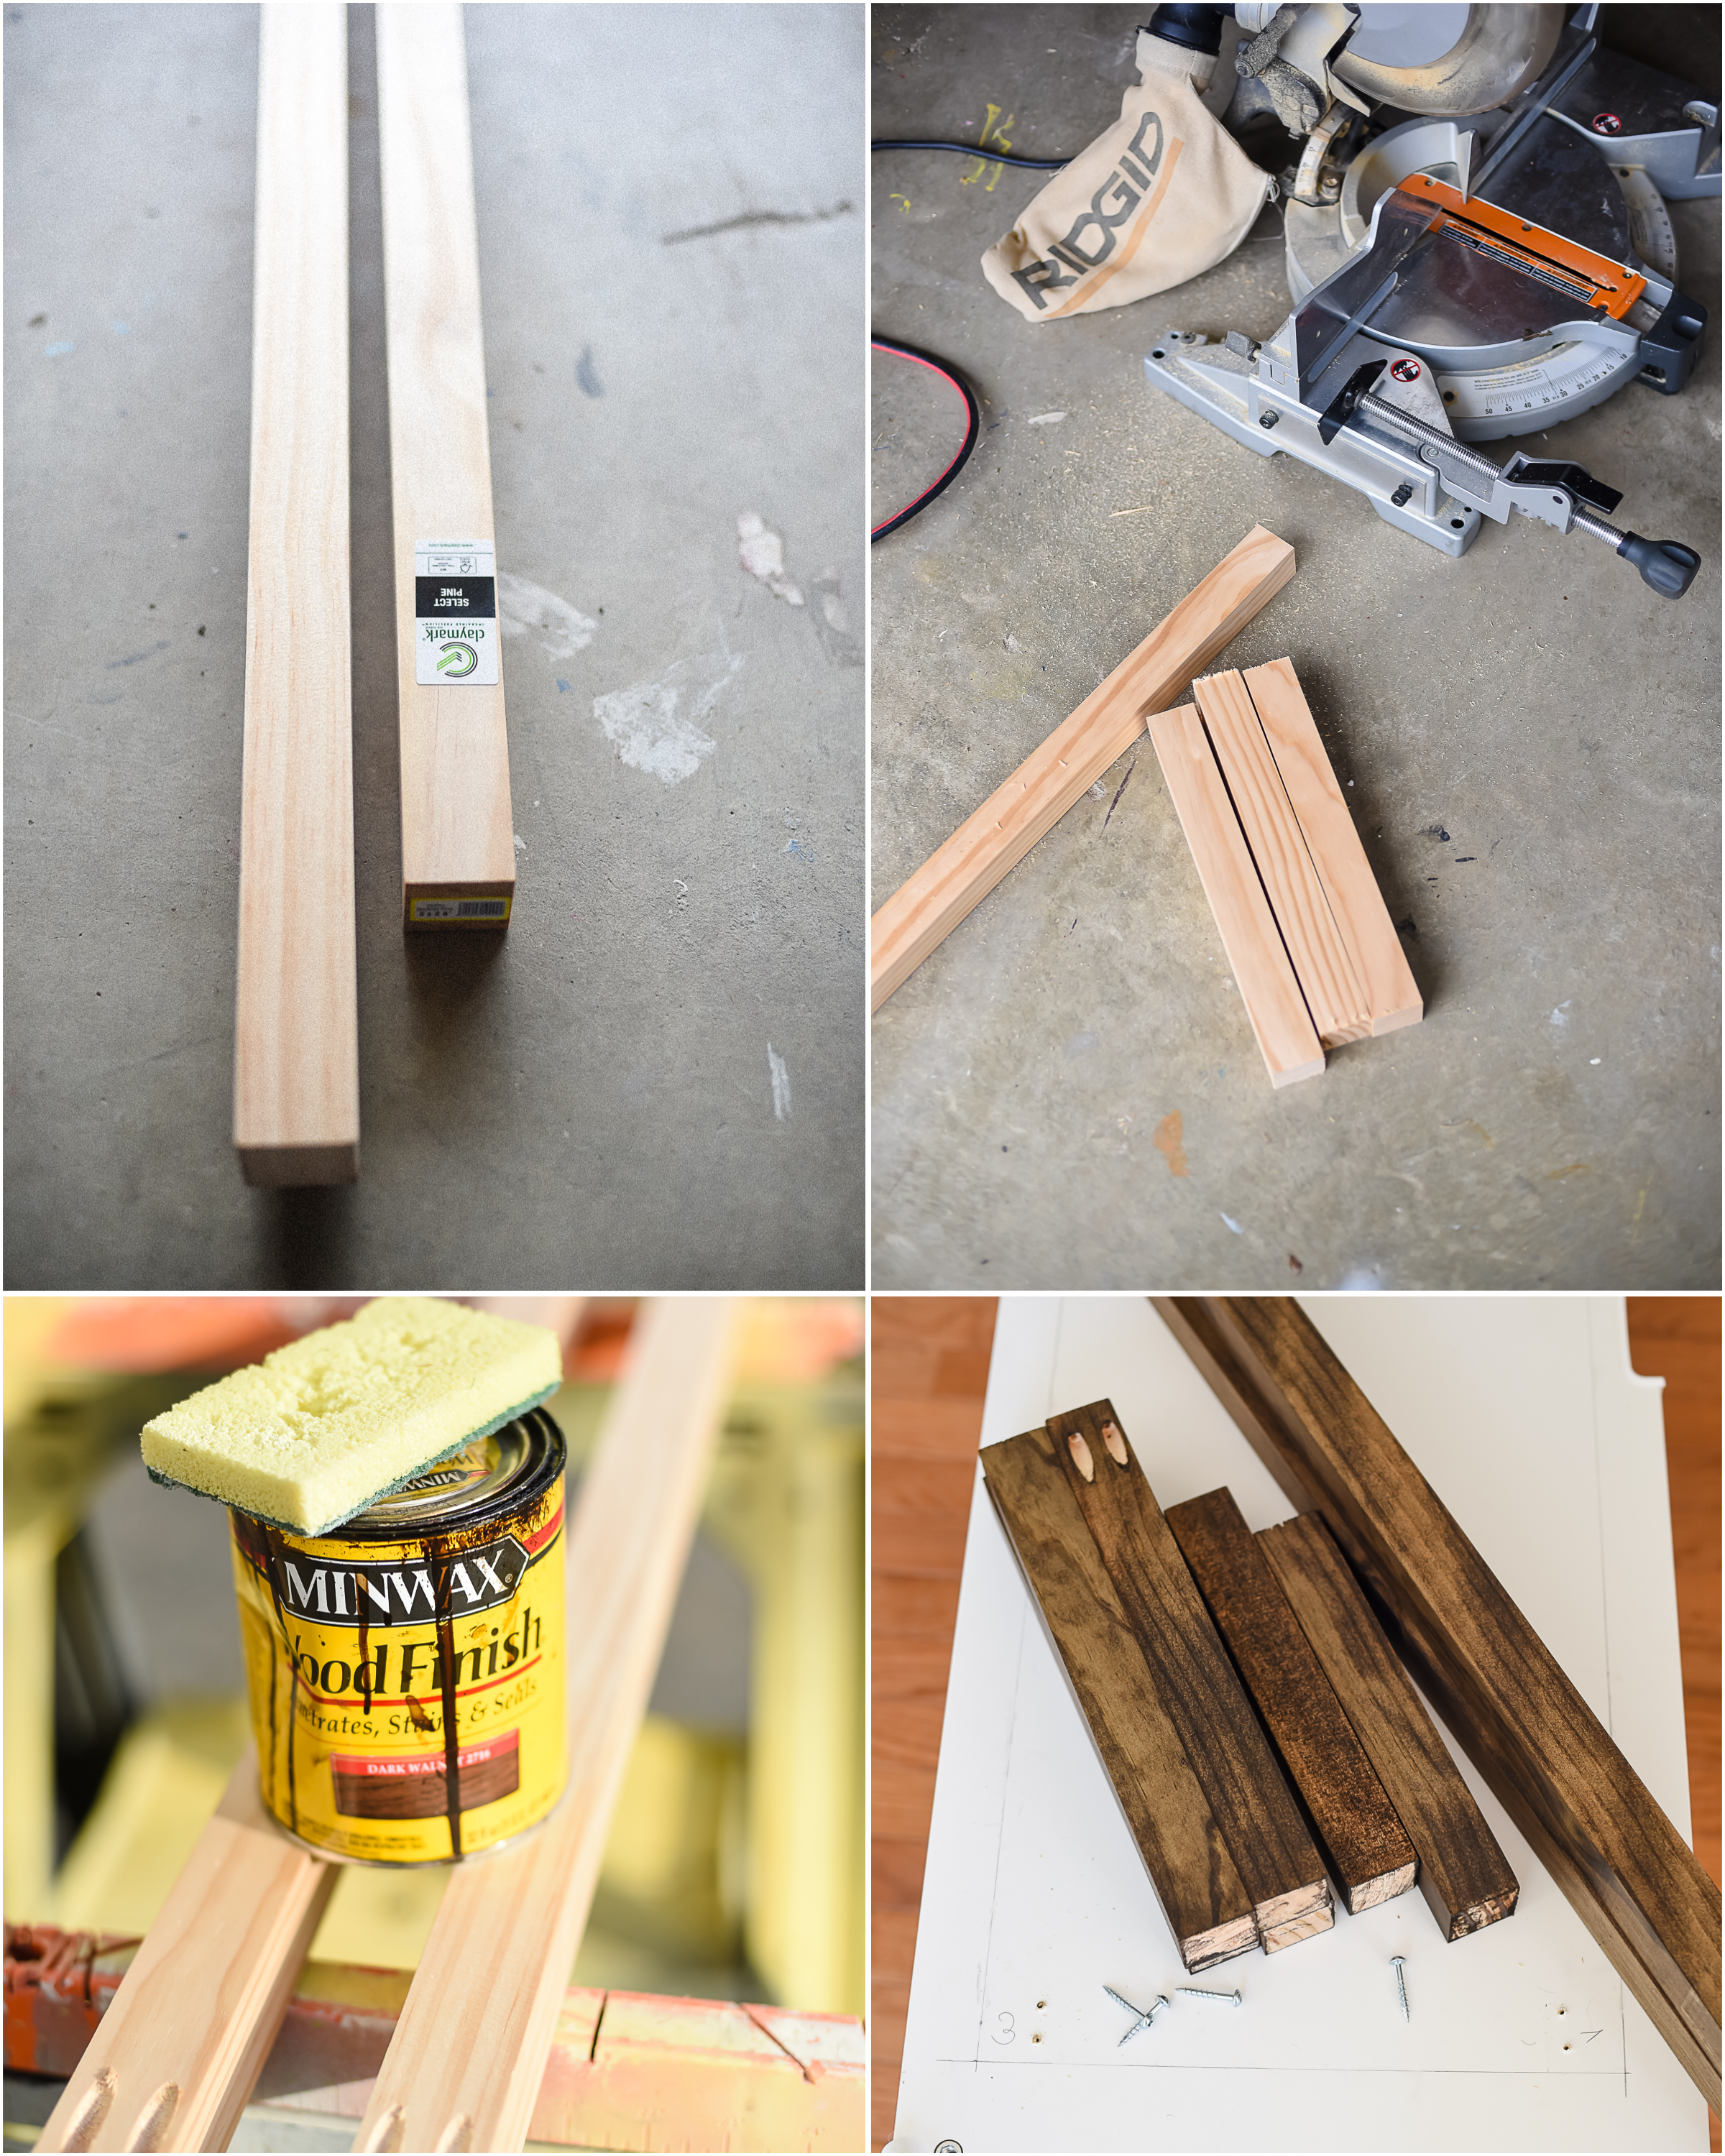
Alright, so here are a few other things I needed to make this TV stand look what it is today:
( affiliate links)
-4 HINGES
-SCREWS
-WOOD STAIN
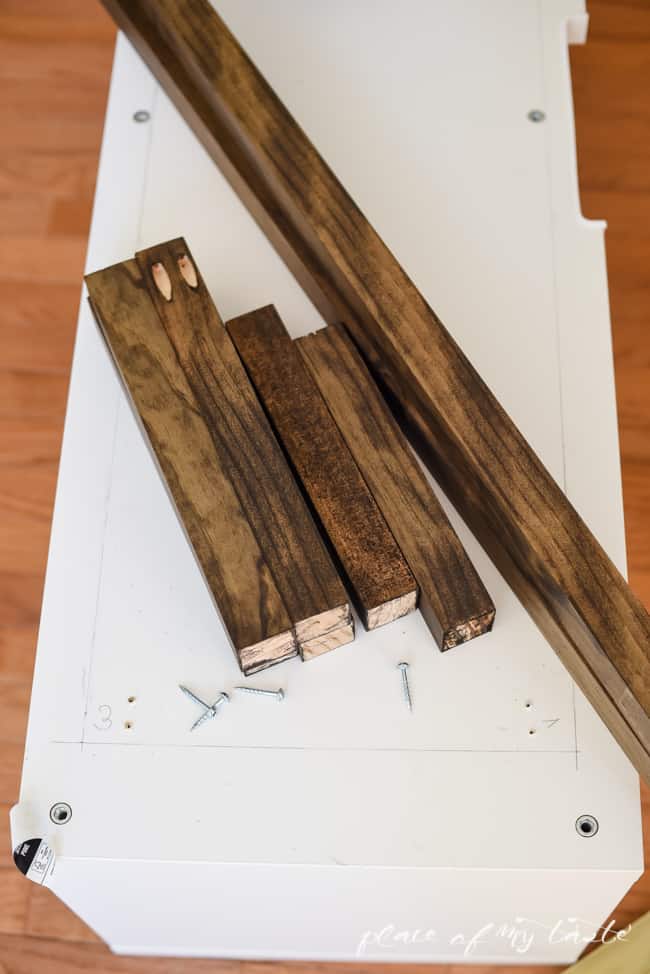
First, we decided what size the legs and the longer crosspieces will be then we cut them in size. Then with my awesome KREG JIG HOLE SYSTEM, we made holes on legs. I have this tool for a long time, but this was the first time to use it, and I loved it! Such game changer! I say that everyone who builds anything out of wood needs to have one of these hole systems. After we had added holes to each leg and longer piece wood, I stained them with dark wood stain.
As you see, we measured where the legs would go so they will be beautiful and even from the edges. We screwed all the legs and longer wood pieces to the bottom of the shelving unit.
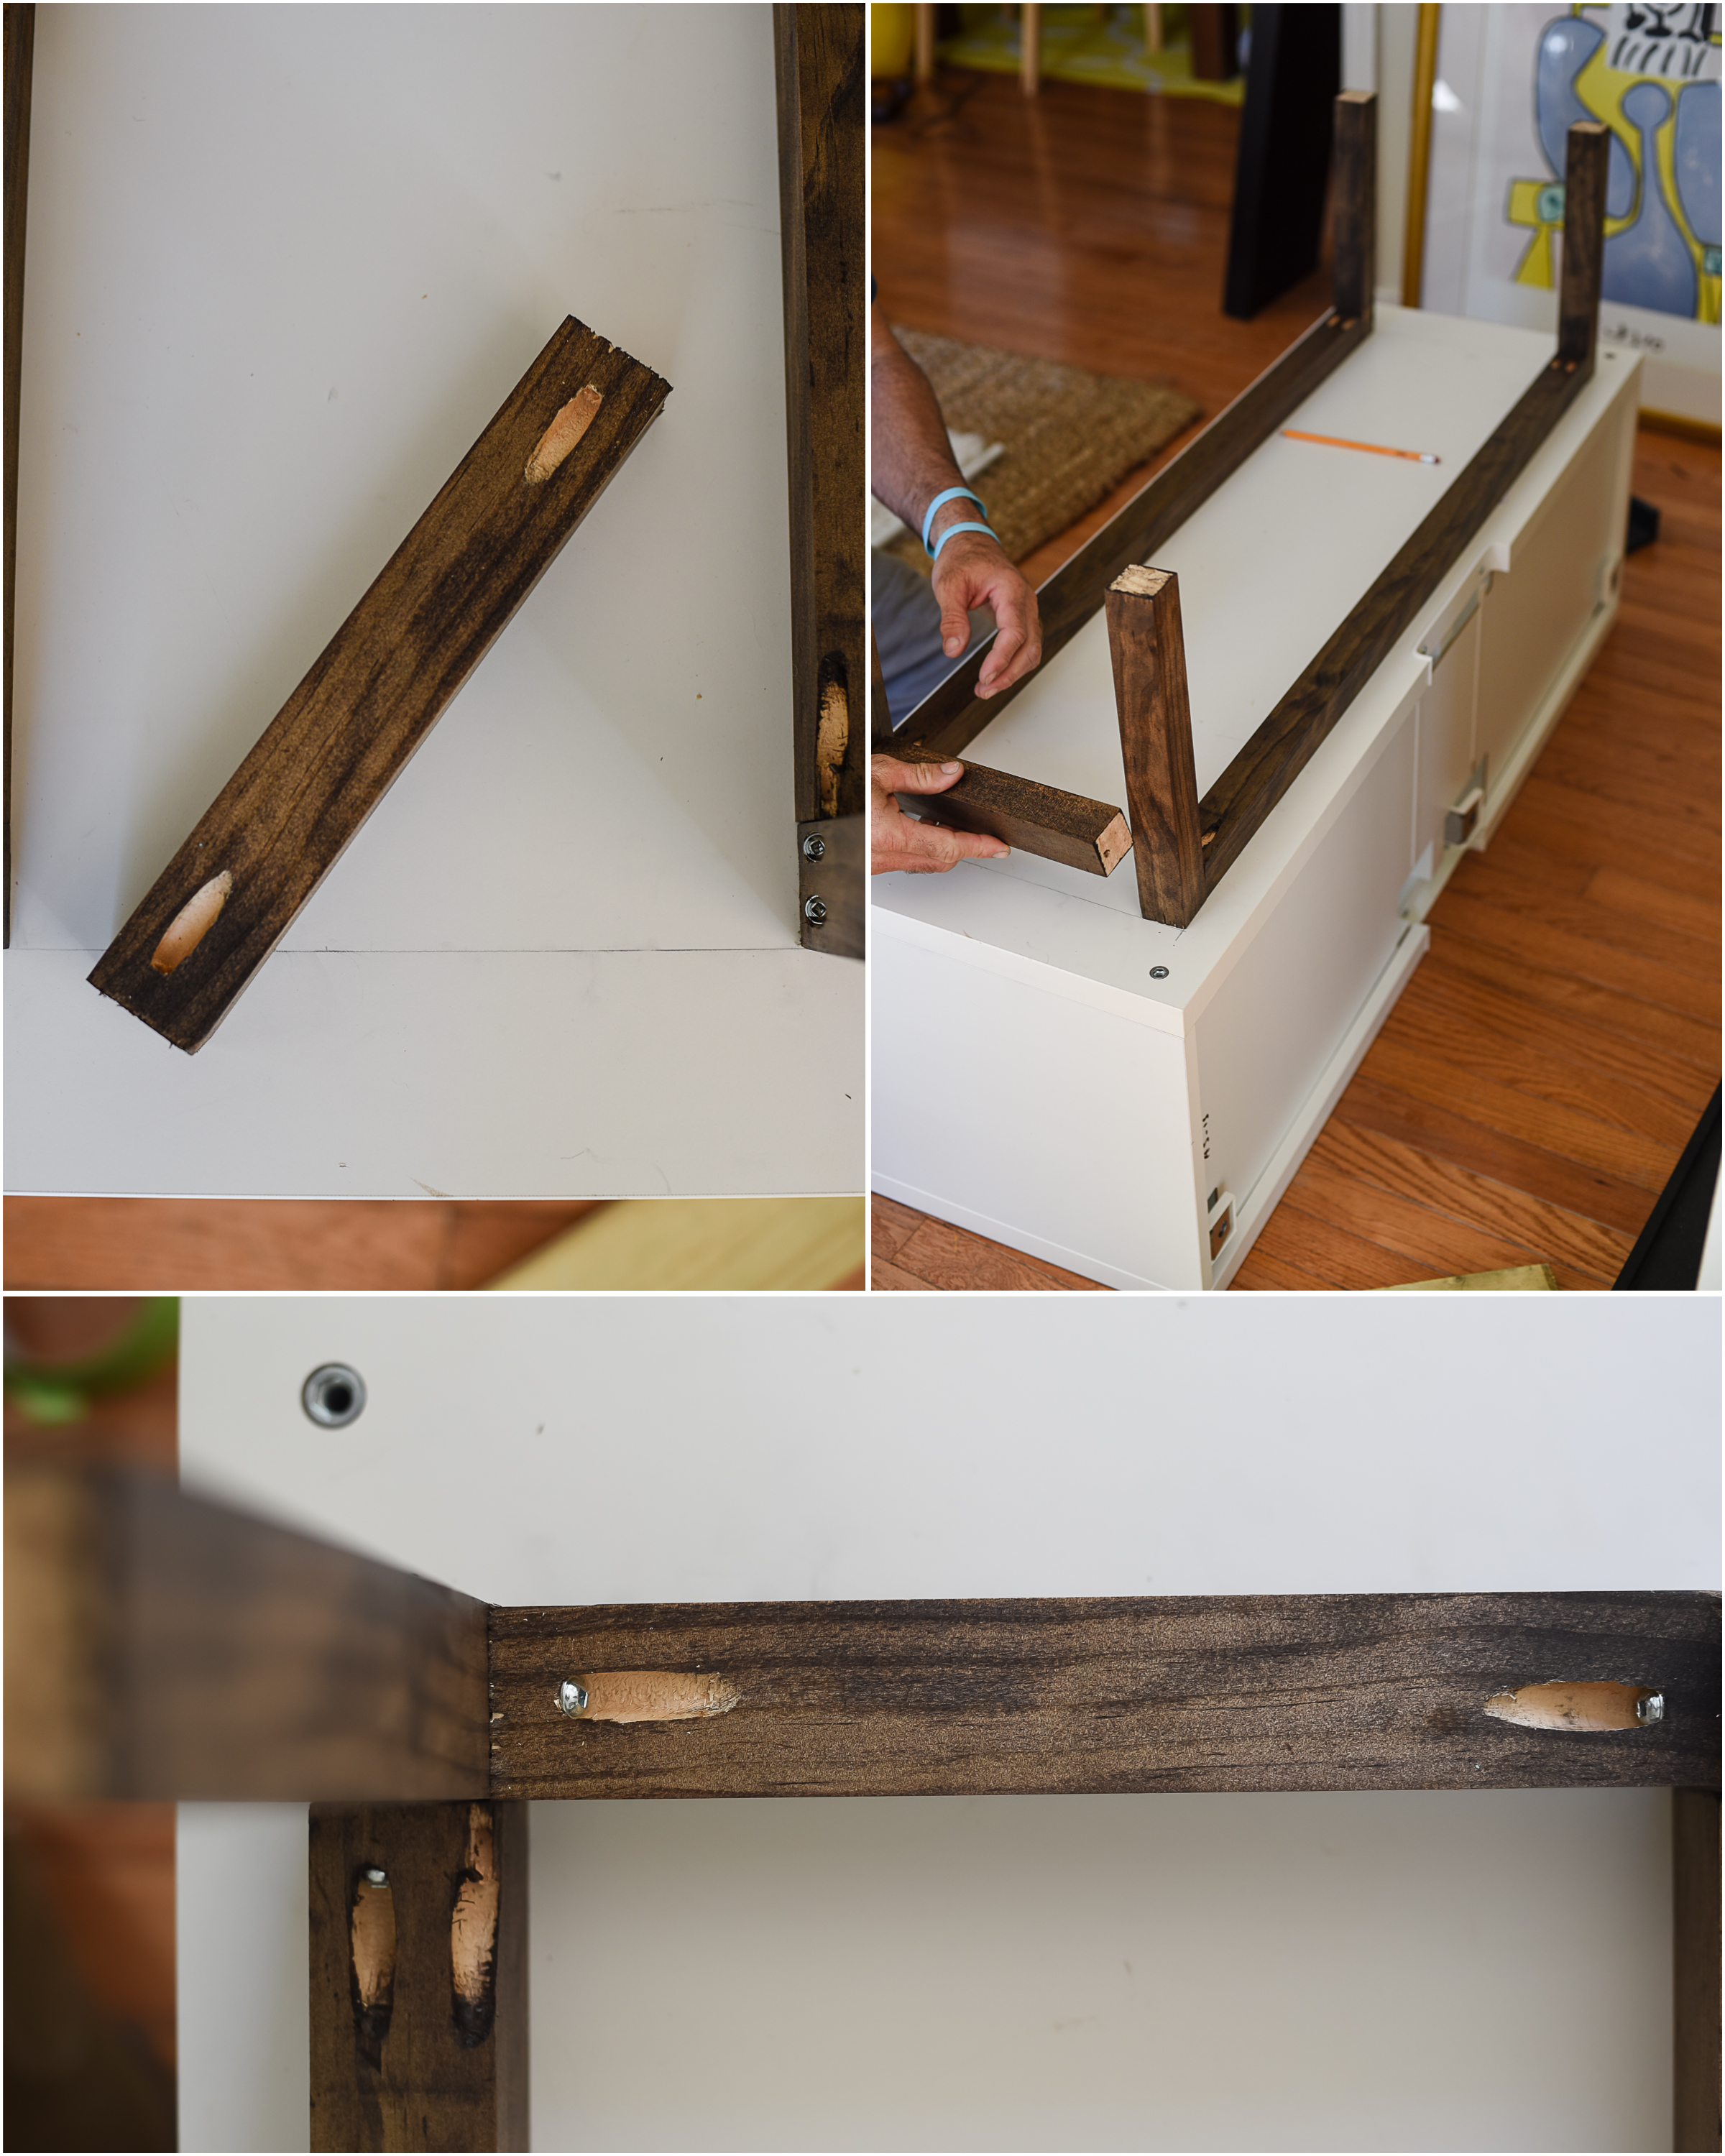
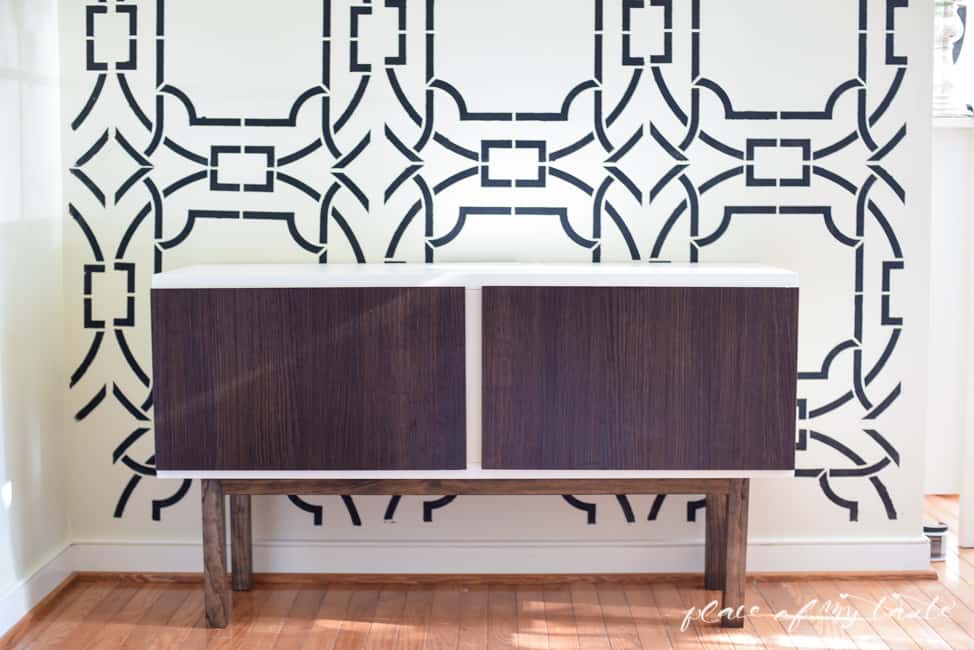
Cool! I got my legs on, all I needed to add the doors on!
I had some hinges from previous projects at home, but if you don’t have those hinges laying around, I will get the ones from IKEA. All we needed to do was to drill a hole in the doors to fit in the hinges.
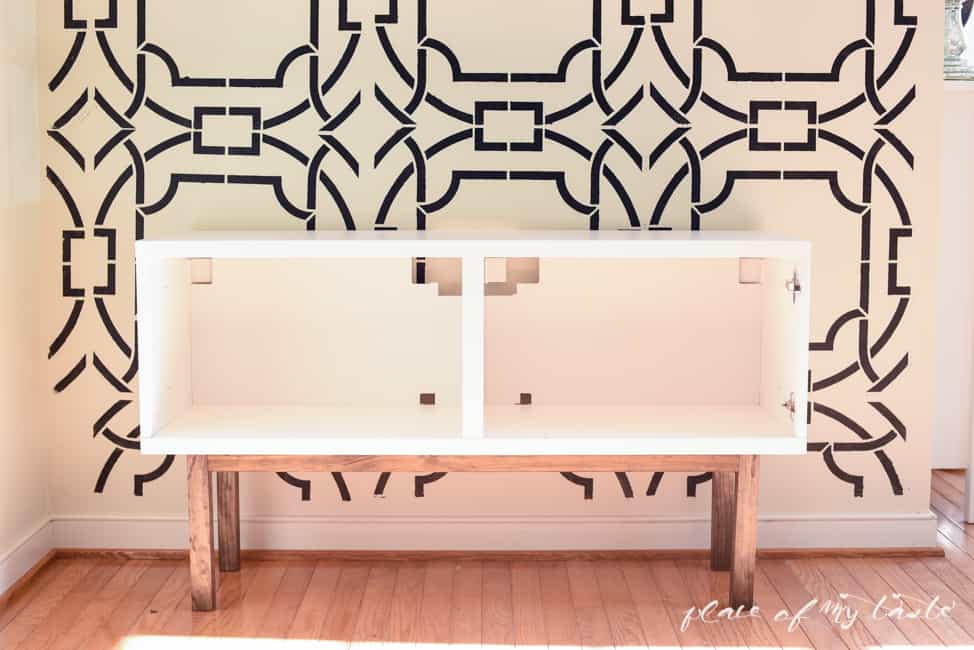
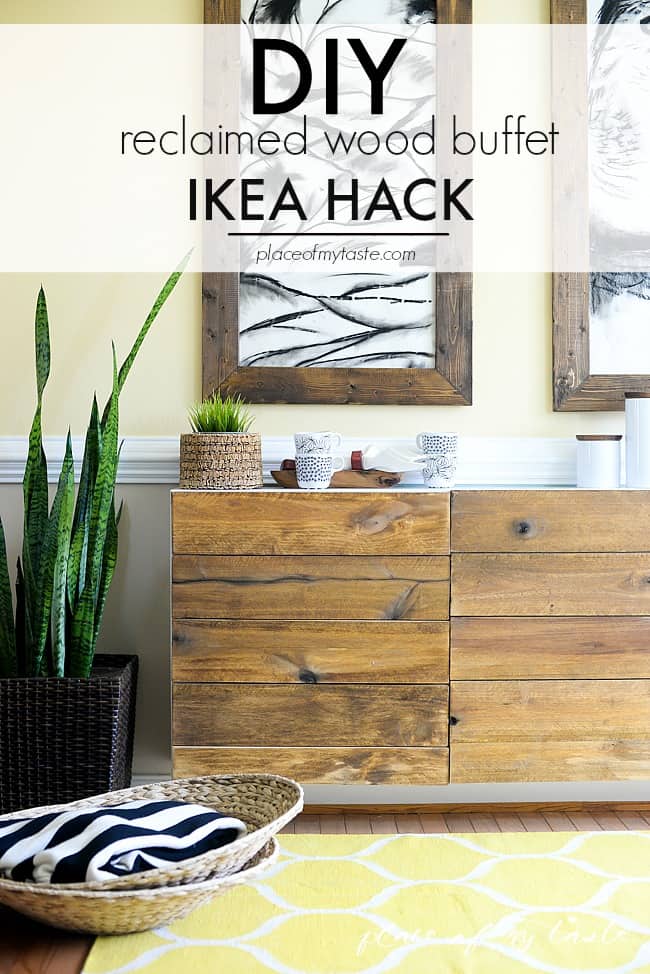
And this is how the shelving unit looks like with doors!
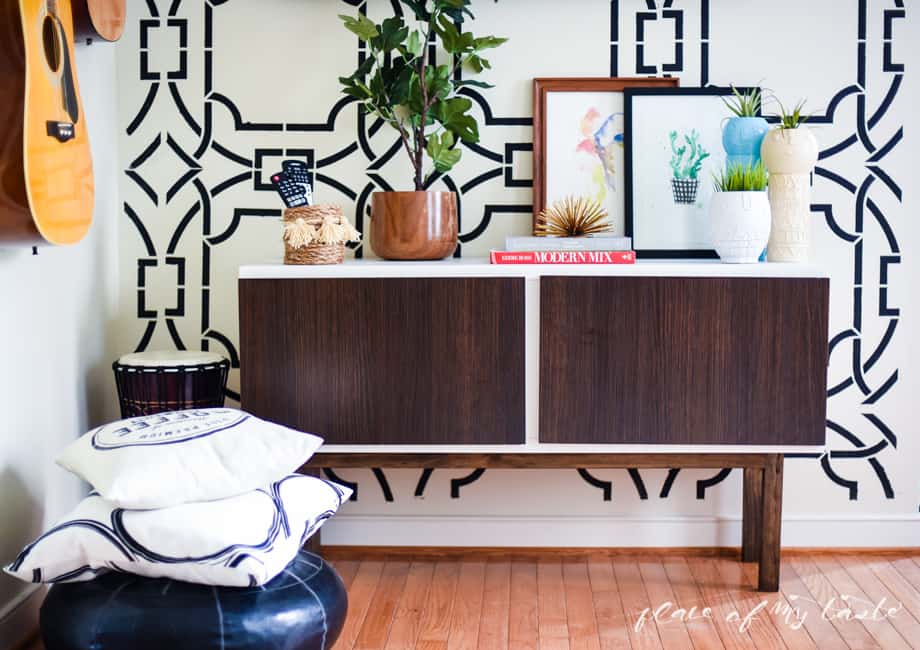
I only spent $40 instead of $400 on this cool TV stand! A lot of dollars saved!
How do you like this easy but cool IKEA HACK?
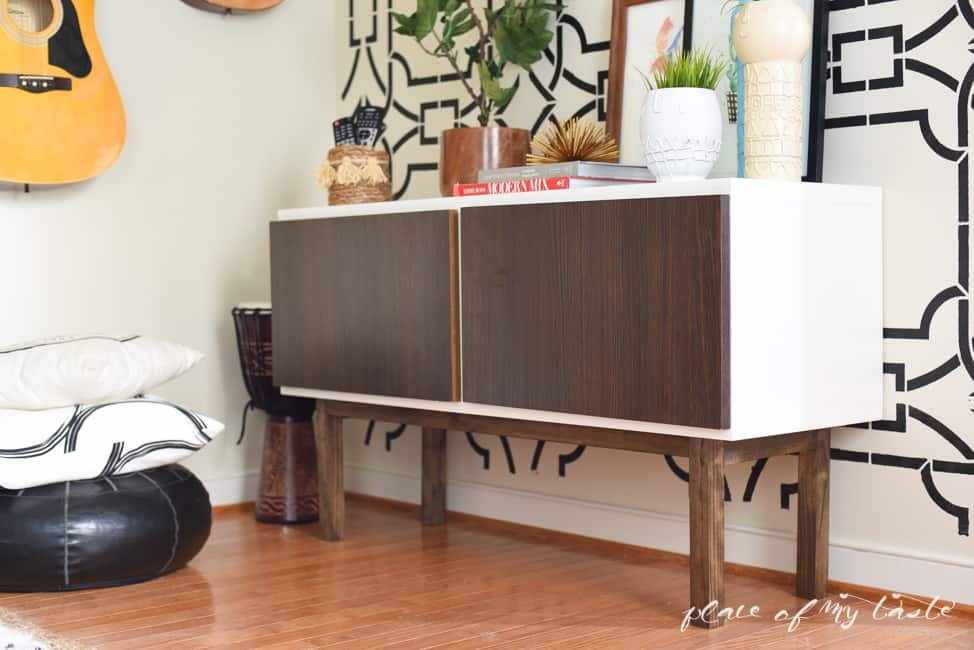
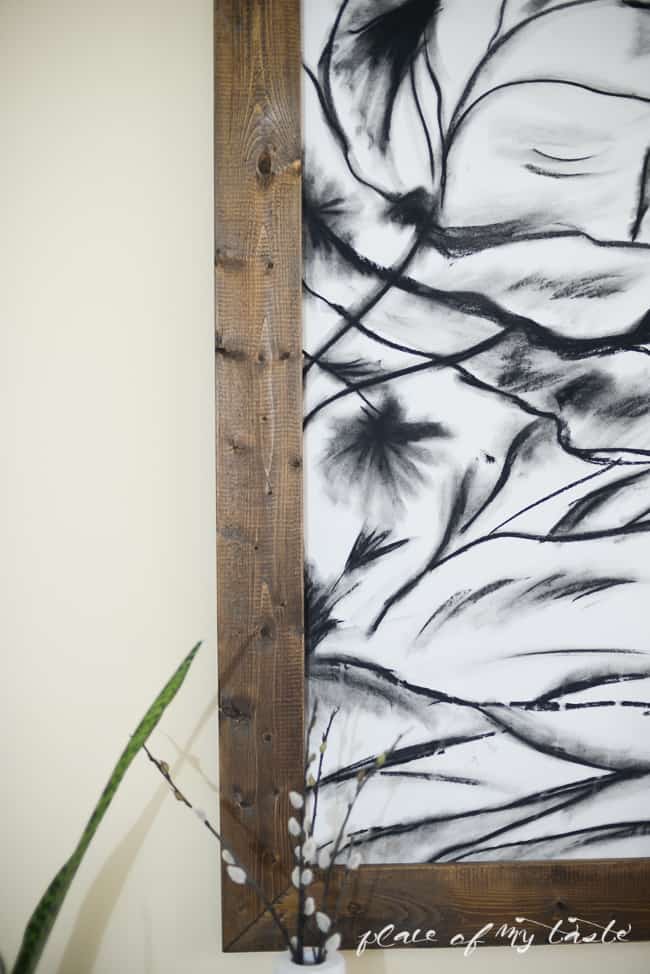
I feel like my little corner is looking good. The brown hues against the black and white wall look interesting, don’t you think?

 Alright. Next week I am moving on to the other part of the room. I can’t wait to show you the rug I got for this room so be sure to check back next Thursday!!
In the meantime, you might want to check how my friend created her own floating media cabinet or how I stenciled this dramatic wall. But if you are ready to DIY some more, this easy EASY DIY PICTURE FRAME UNDER $5 is a good one too!
HOW TO STENCIL WITH CONTEMPO TRELLIS WALL STENCIL
Or hop over and see one of my favorite projects of all times. It’s an IKEA DIY, too:-)


Oh my gosh Aniko this was such a great find but your vision for it is what blows me away. Love it!
Amazing job- it looks fantastic and I love the stencil so much!
Girl! You are kidding me with this! A-MAZING!!!! I wish I could dream up stuff like this!
Seriously, this is the best IKEA hack I’ve seen in a long time. Nicely done!