EASY DIY PICTURE FRAME UNDER $5
This is love, you guys.! EASY DIY PICTURE FRAME! Not only because I put the most precious picture of my son to this frame but because it’s a DIY that ANYONE can do! And let’s face it. Picture frames are fantastic decor items that can easily dress up an empty wall/area. I am a huge fan of simple decor items around the house/ or my RV. In this specific post, I will focus on large-size picture frames, but you can turn this tutorial over and make different sizes of photo frames as well. The dimension is up to you. You can make it small, large, one or two, or even make it to a great gallery wall if you feel spending a little more time on DIYing.
Why DIY picture frames?
I am a huge fan of easy DIY projects.
And now that we are closer to the holidays, I think these easy DIY picture frames would make an amazing Christmas gift to someone with the perfect photo in it! Or maybe even an artwork. As a photographer and artist, I always choose family photos and handmade gifts over any other gifts. Especially if I am gifting my close family members. Taking pictures these days has gone out of control as we can use our phones to do so ( which is really great!), but most people would share them on social media and forget about them. I always encourage people to display more of their photographs in their homes. It’s so special.
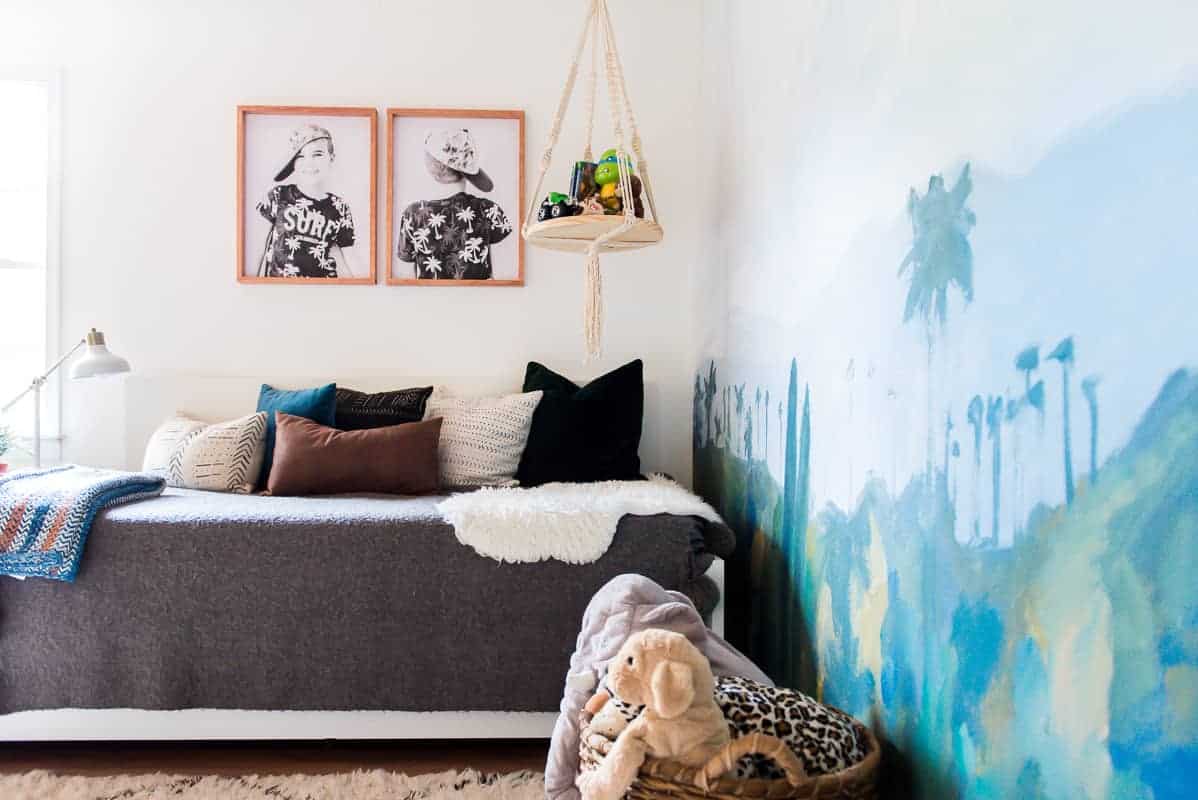
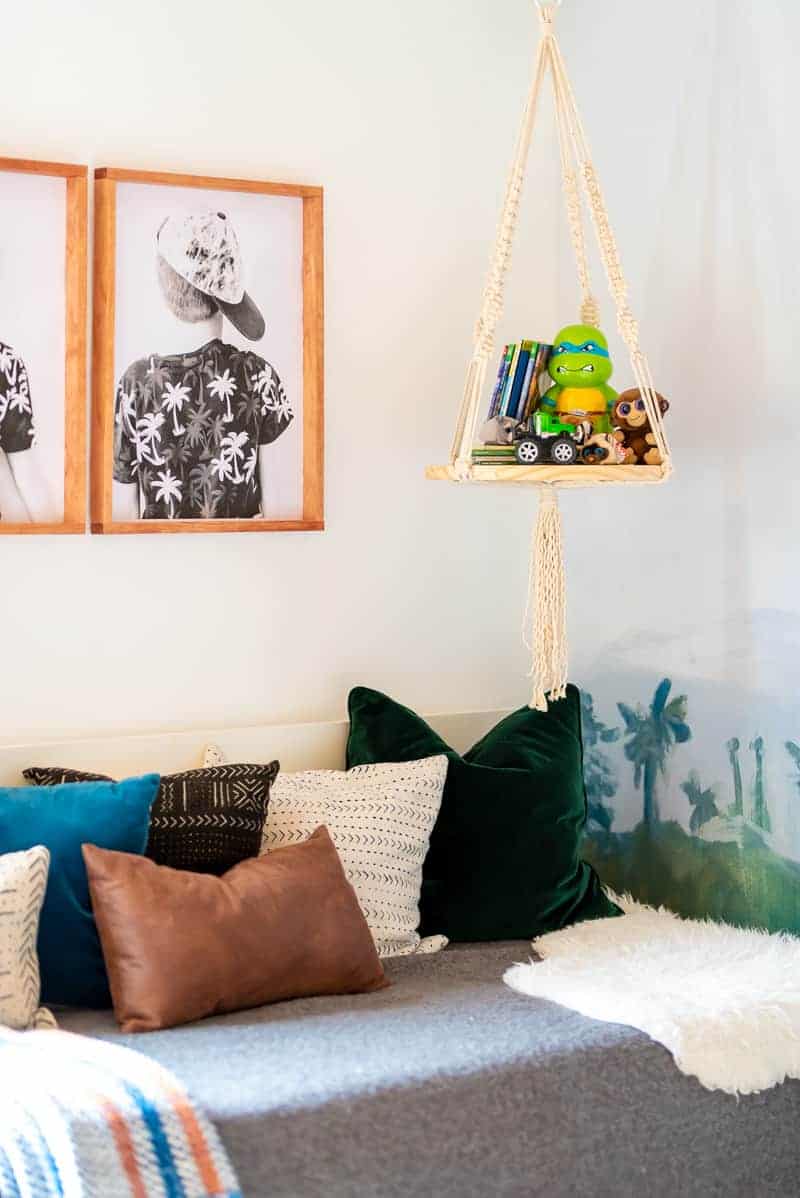
We recently redid our son’s room, and I installed the COOLEST WOOD SLAT CEILING! I also made these fun and easy DIY pictures frames to hang above his bed. I just want to mention this here, in case some of you are feeling paranoid -like me – about hanging stuff above the kids’ bed.
I rarely hang anything above the kids’ bed. Nothing that heavy or glass. For safety purposes. But I had no concern hanging these picture frames – as I knew they are light and are not breakable.
Wood Picture Frame
I love to display a wood picture frame for several reasons. Not only do I love the look of warm-toned wood, but knowing that I can create easy and simple projects from scrap wood is always a plus.
DIY Picture Frame Tutorial
Ok. so I am sharing the tutorial on making these custom picture frames in NO TIME!
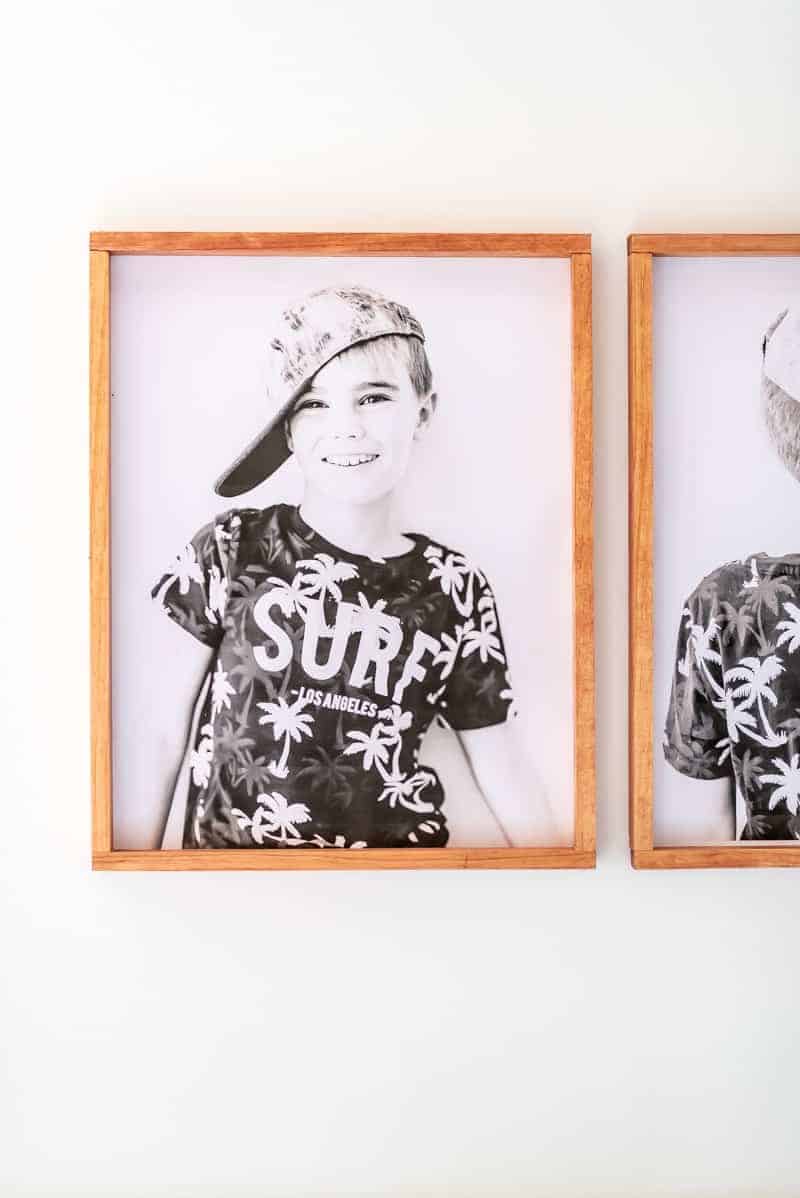
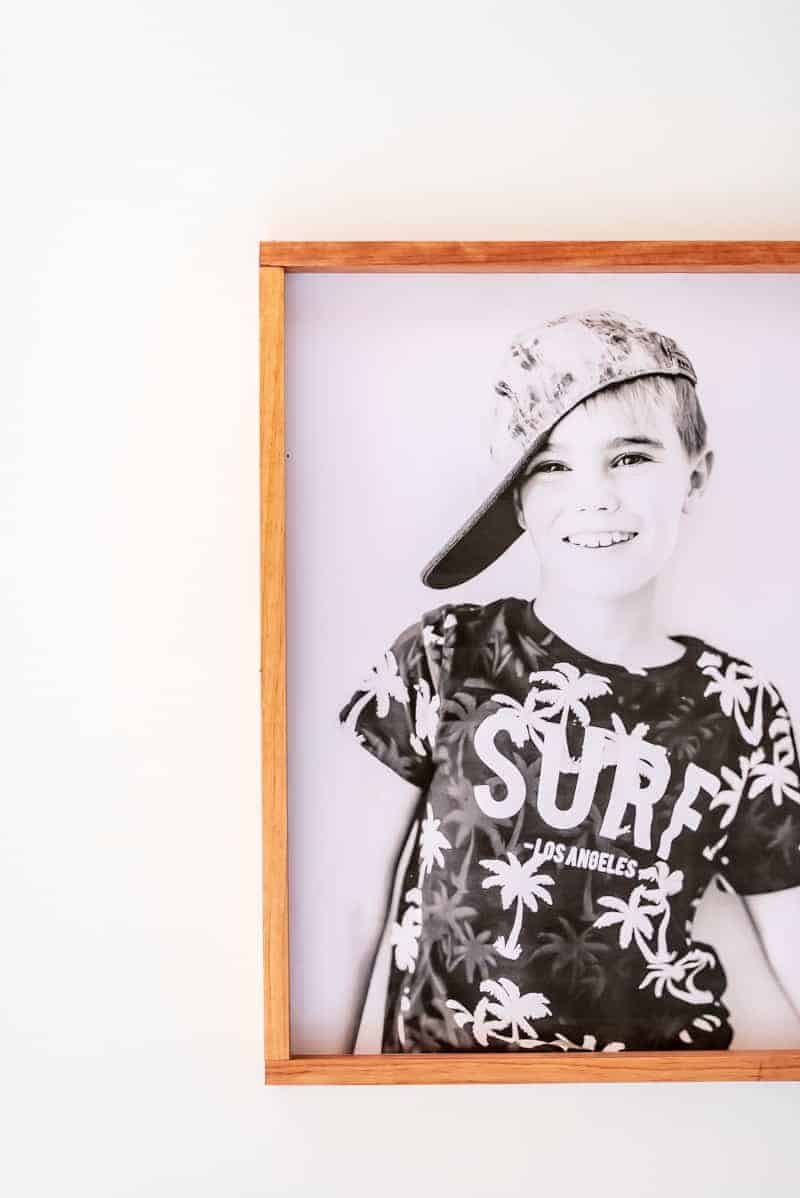
The idea was that I wanted to display HIM.
HIM!
To show off my son’s personality….and if anyone who knows my little P reading this blogpost would know that I hit the nail on the head with this shot. He is that real boyish boy with the most irresistible smile. Anyways…I am biased, of course, but he is a true cutie pie.
Ok. So back to the DIY PICTURE FRAME…
I whipped up both of these frames in literally less than an hour, including the staining part. And they only cost me $5 each. Yep! Isn’t that hard to believe? I know! Some days my DIYs literally cost me more than if I bought them in the store but not this fun and modern DIY picture frame.
MATERIALS YOU WILL NEED TO MAKE THESE EASY DIY PICTURE FRAMES!
Head to the hardware store and pick up these things if you don’t have them handy.
- pine boards ( ft 1×2 pine board from The Home Depot)
- screw
- screwdriver
- clamps
- tape measure
- pencil
- wood stain ( the color of choice!)
- wall hanging hardware ( can be found in The Home Depot!)
- I used The Dremel Ultra Saw– which is one of my favorite tools for completing easy and small DIY projects.
- (you could use wood glue as well to assure stability- optional!)
STEPS TO MAKE THIS EASY DIY PICTURE FRAME
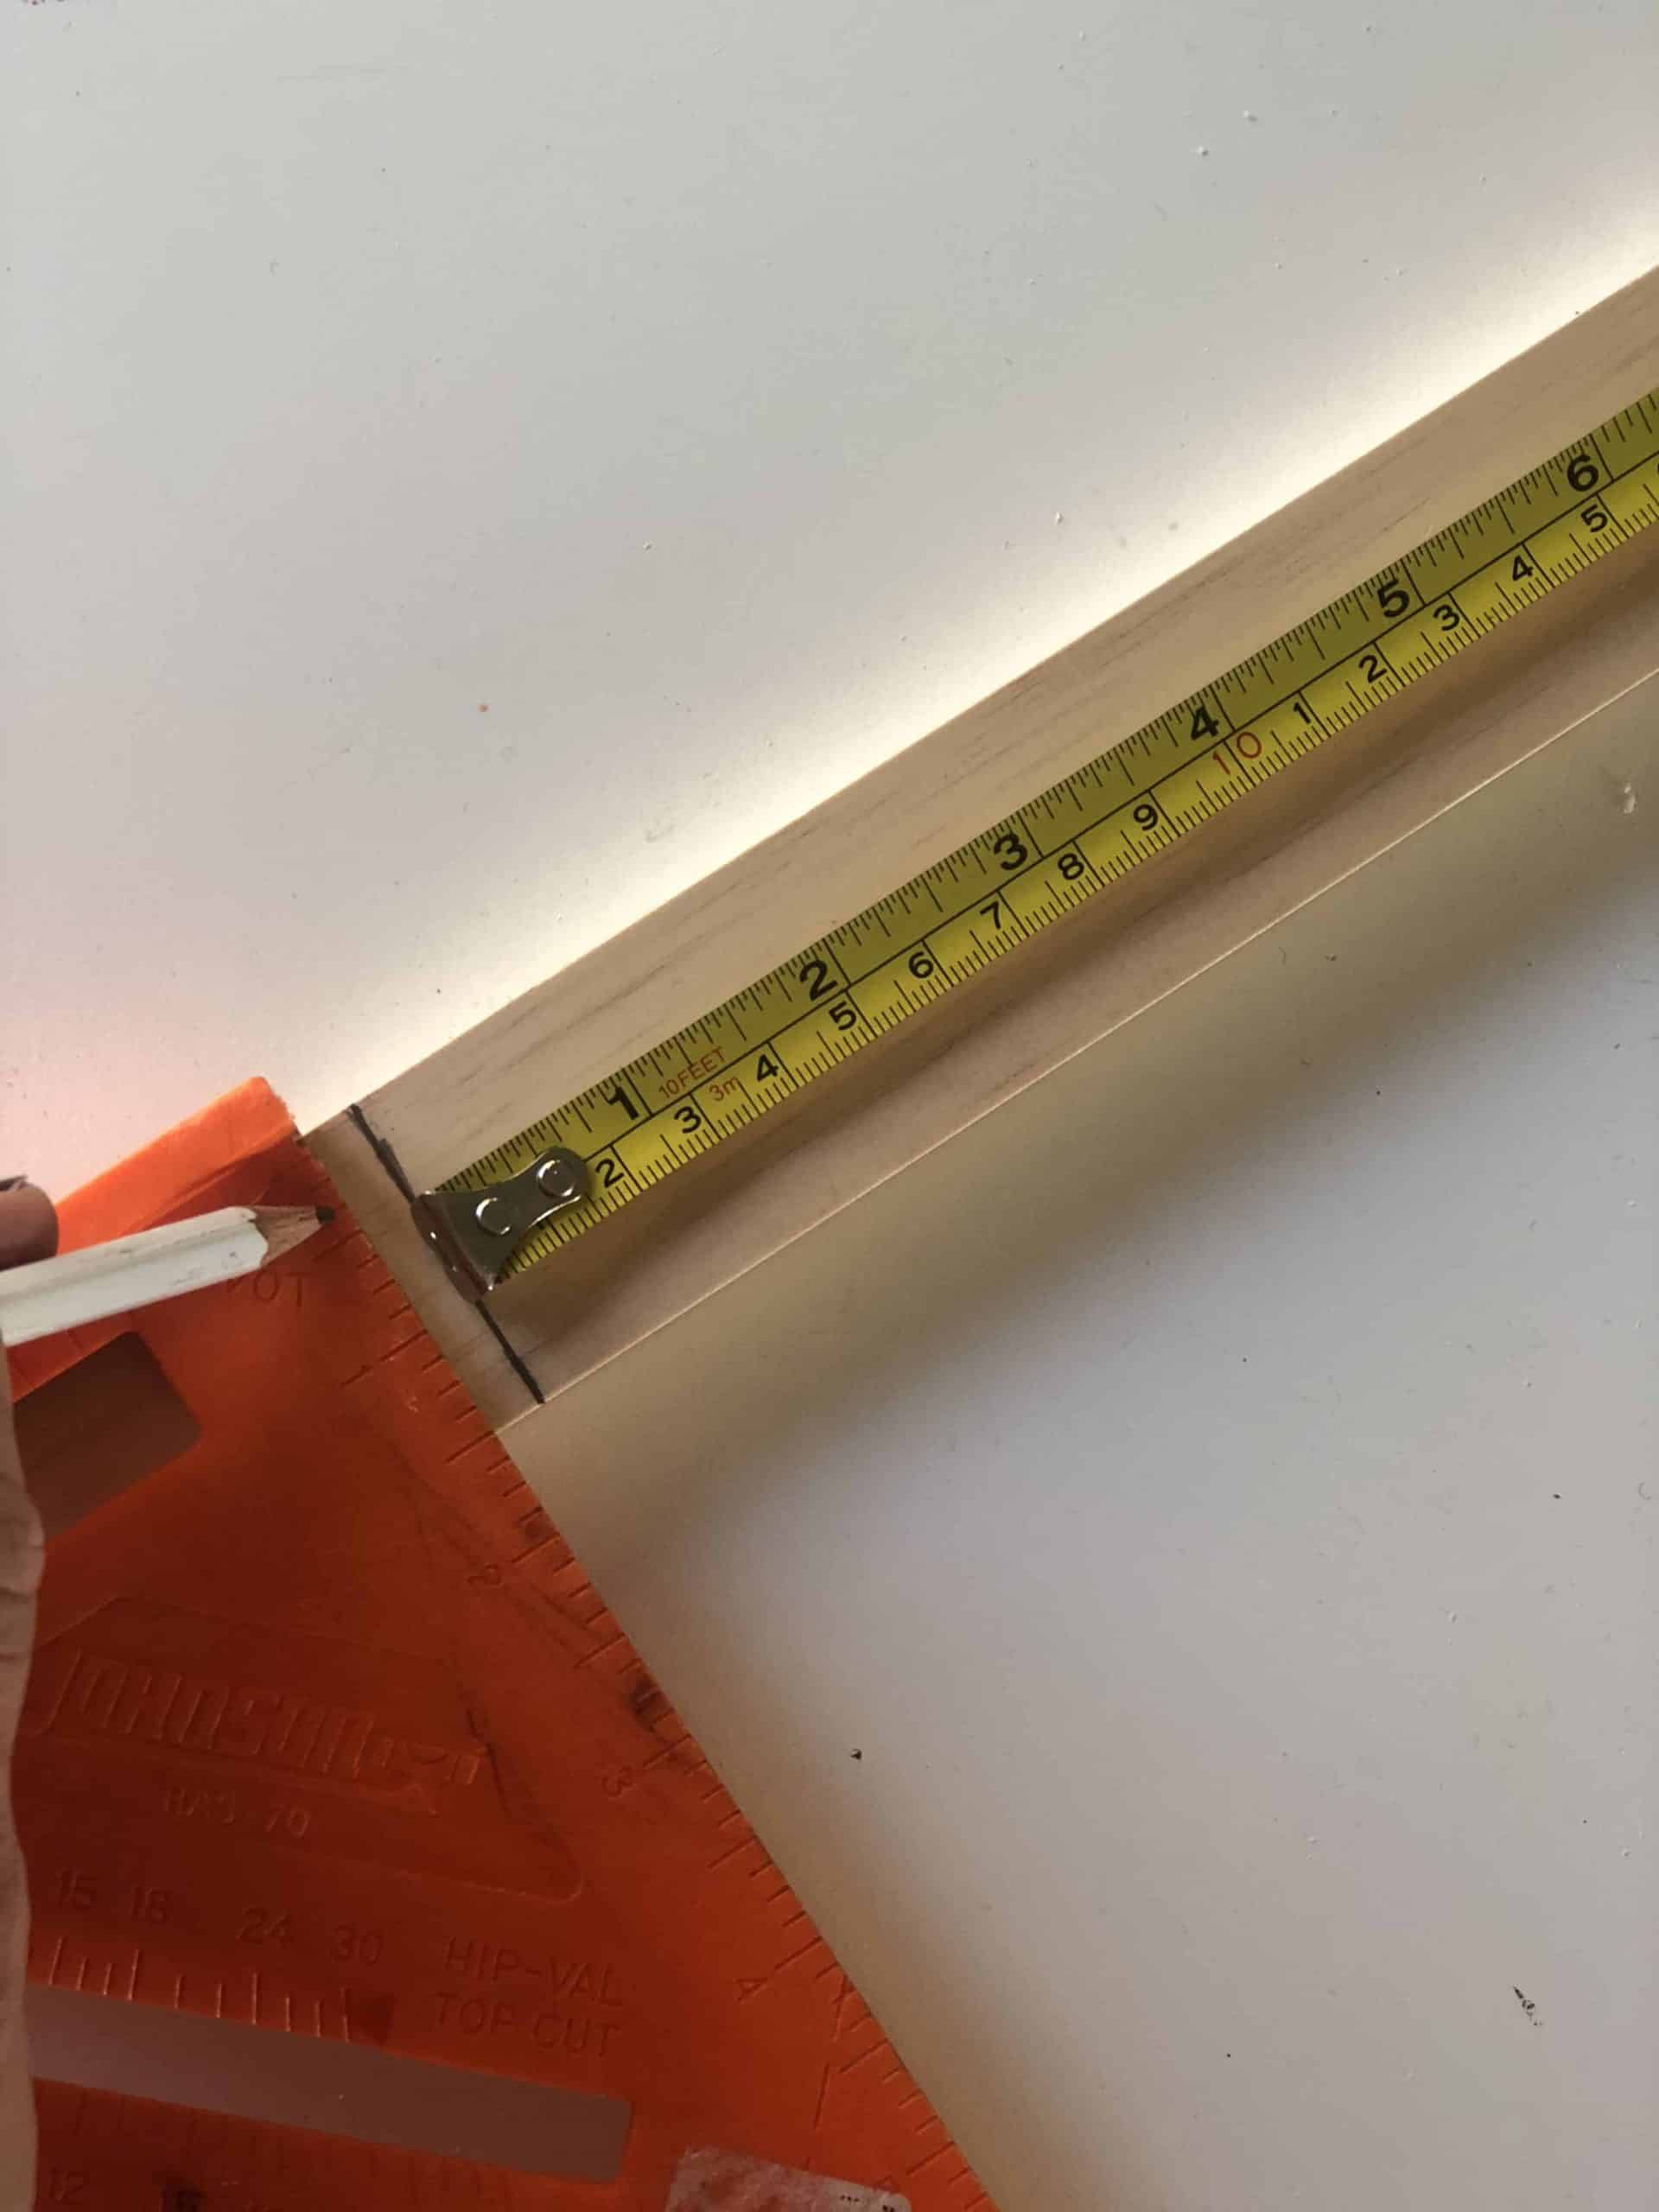
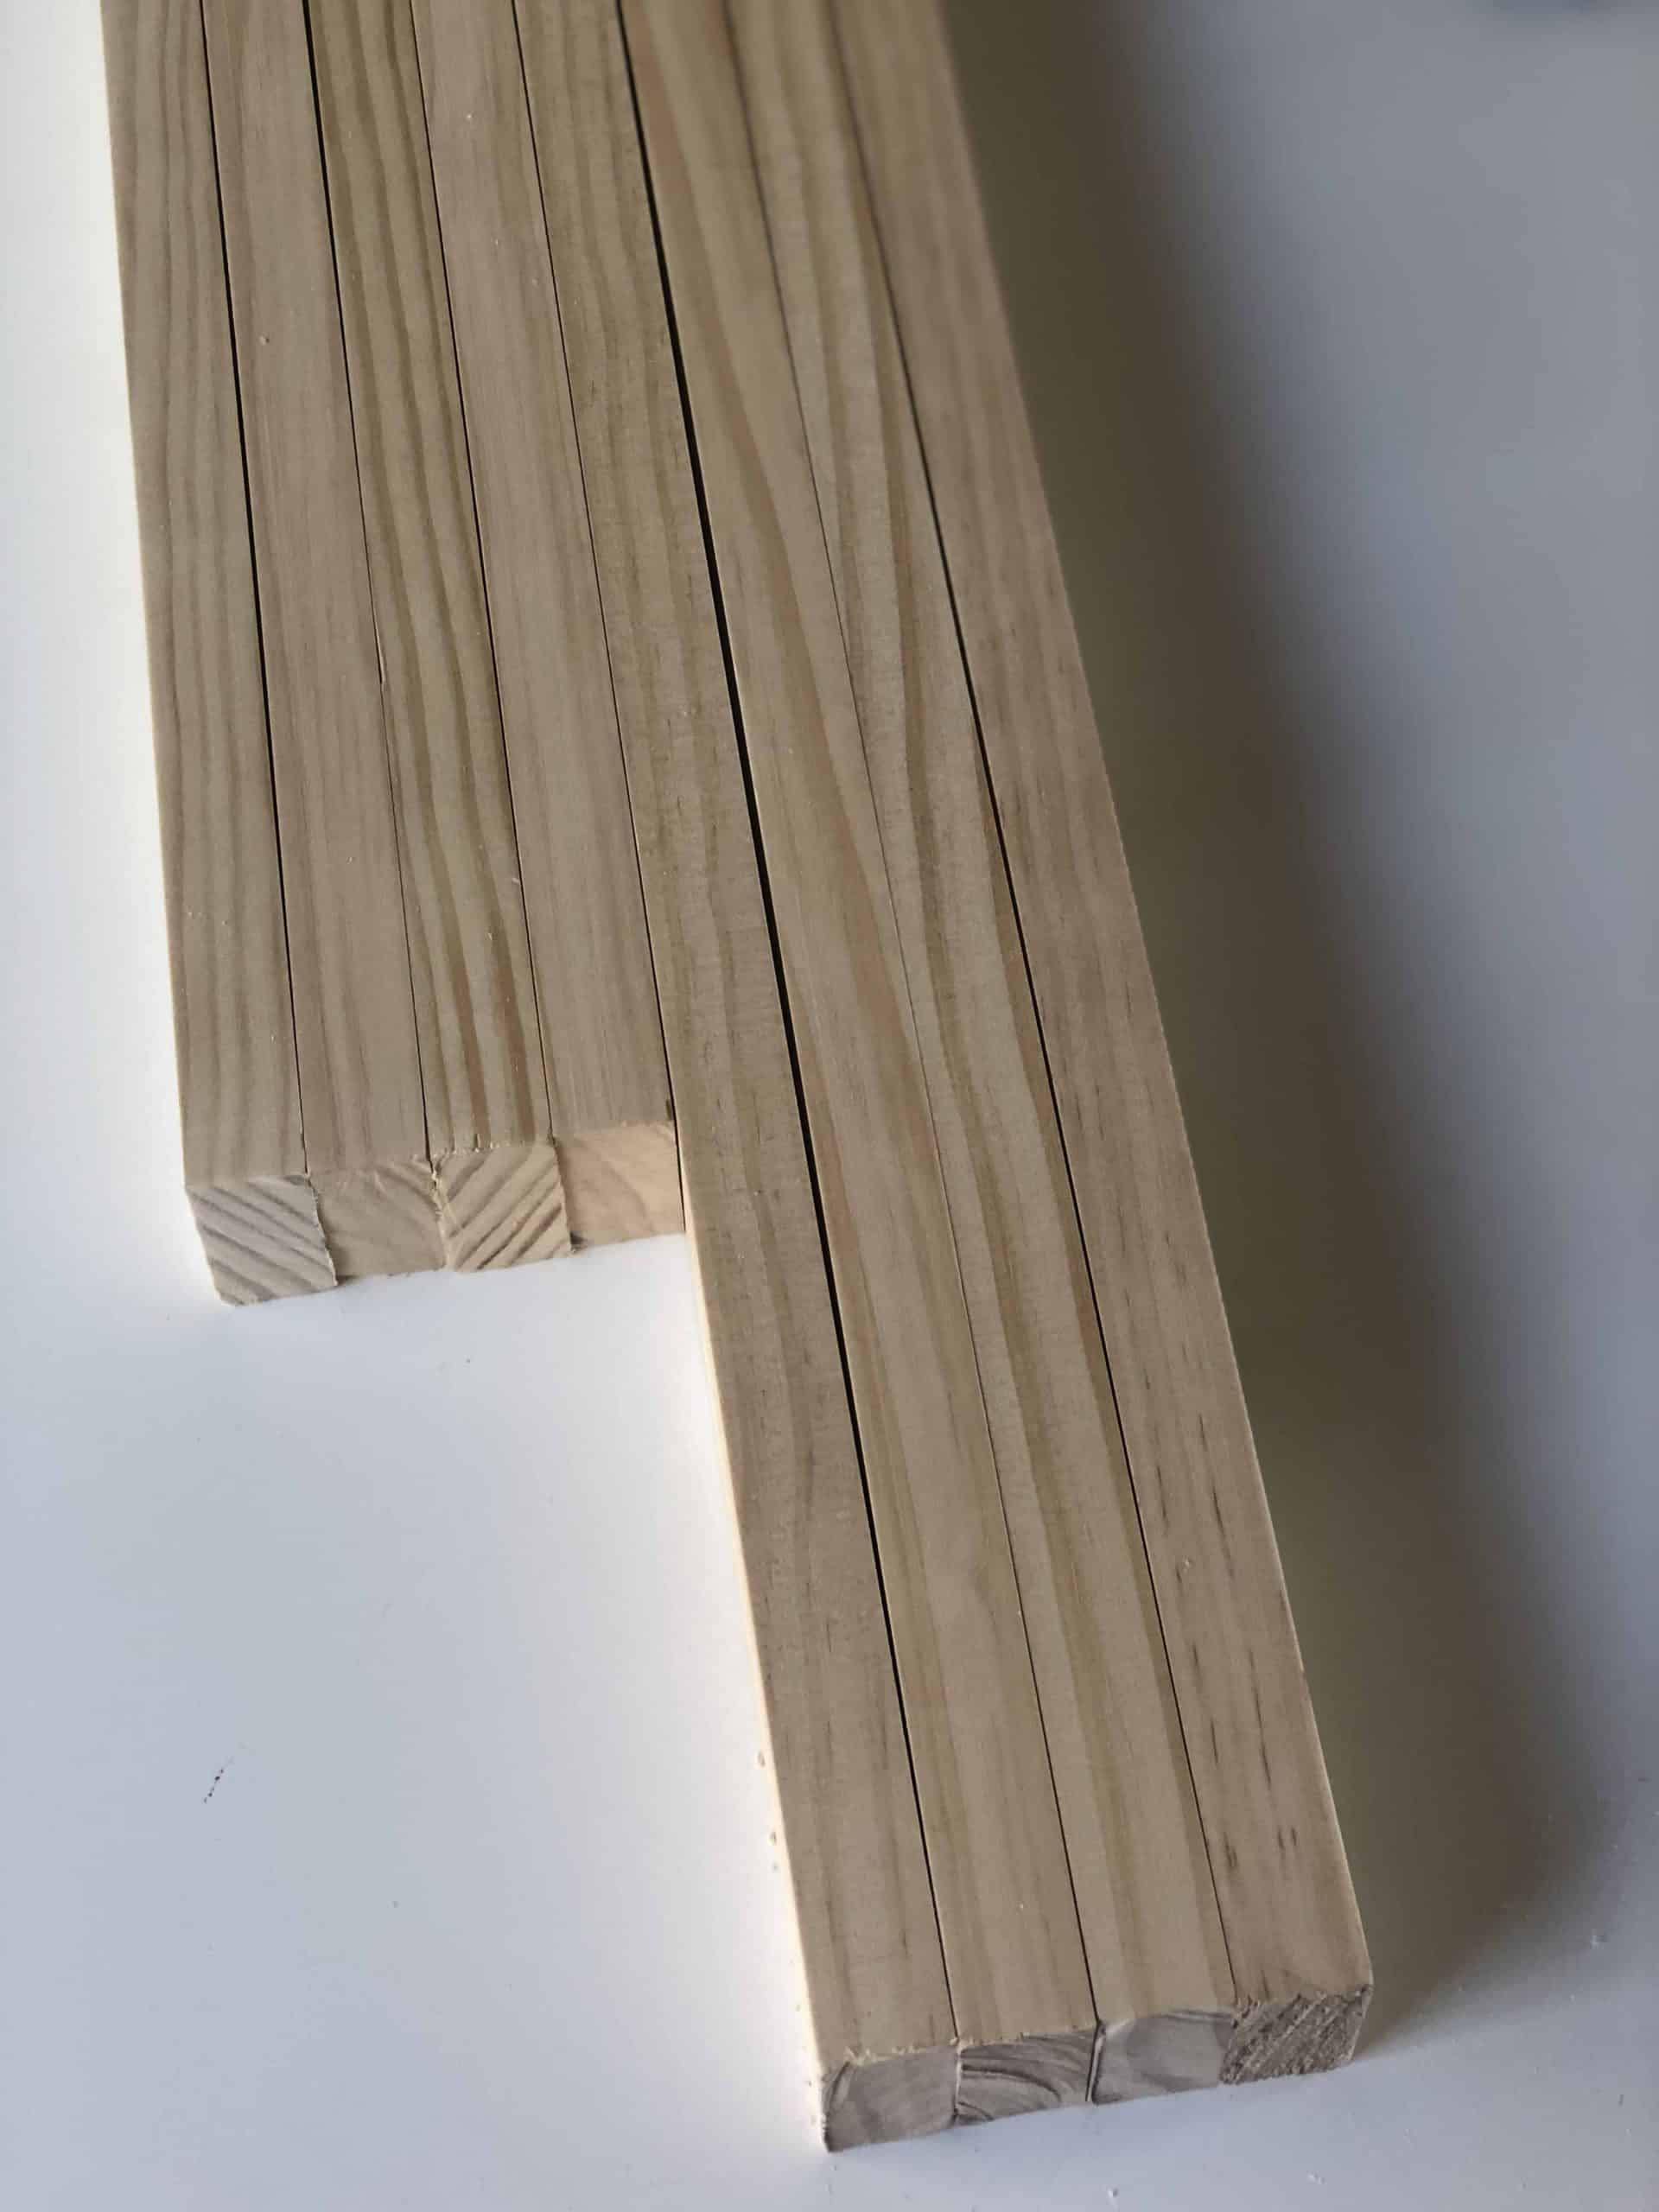
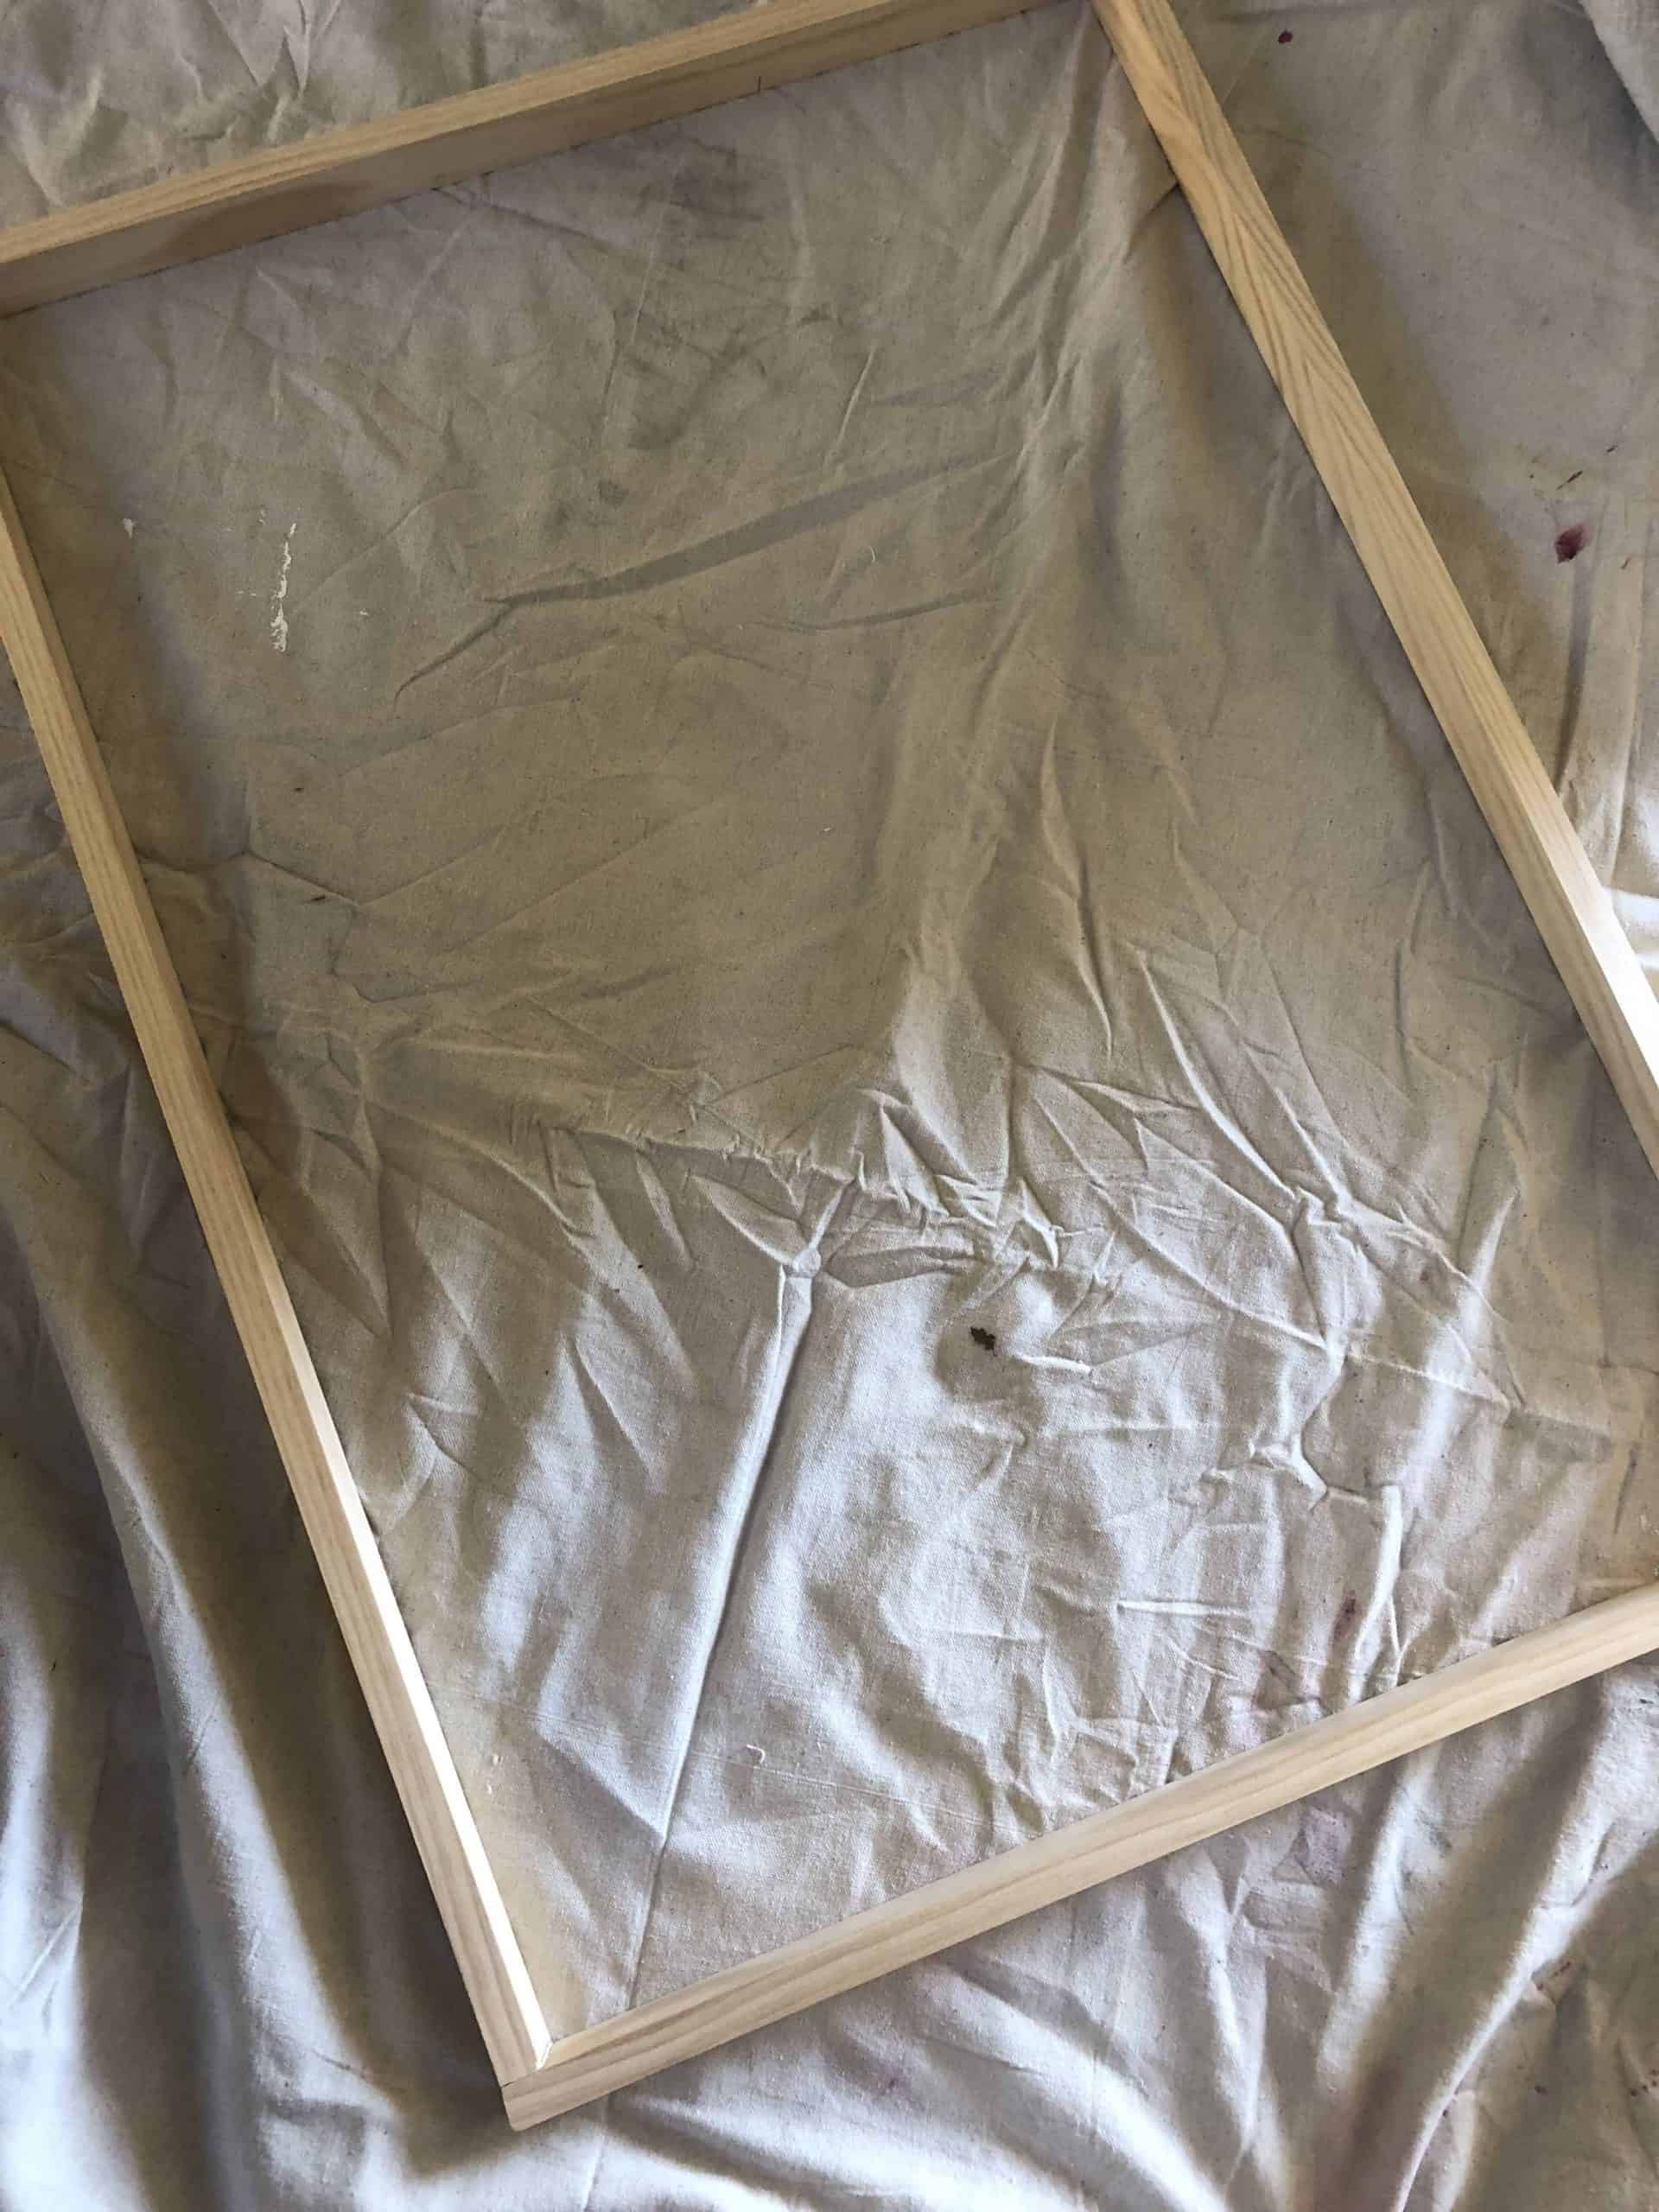
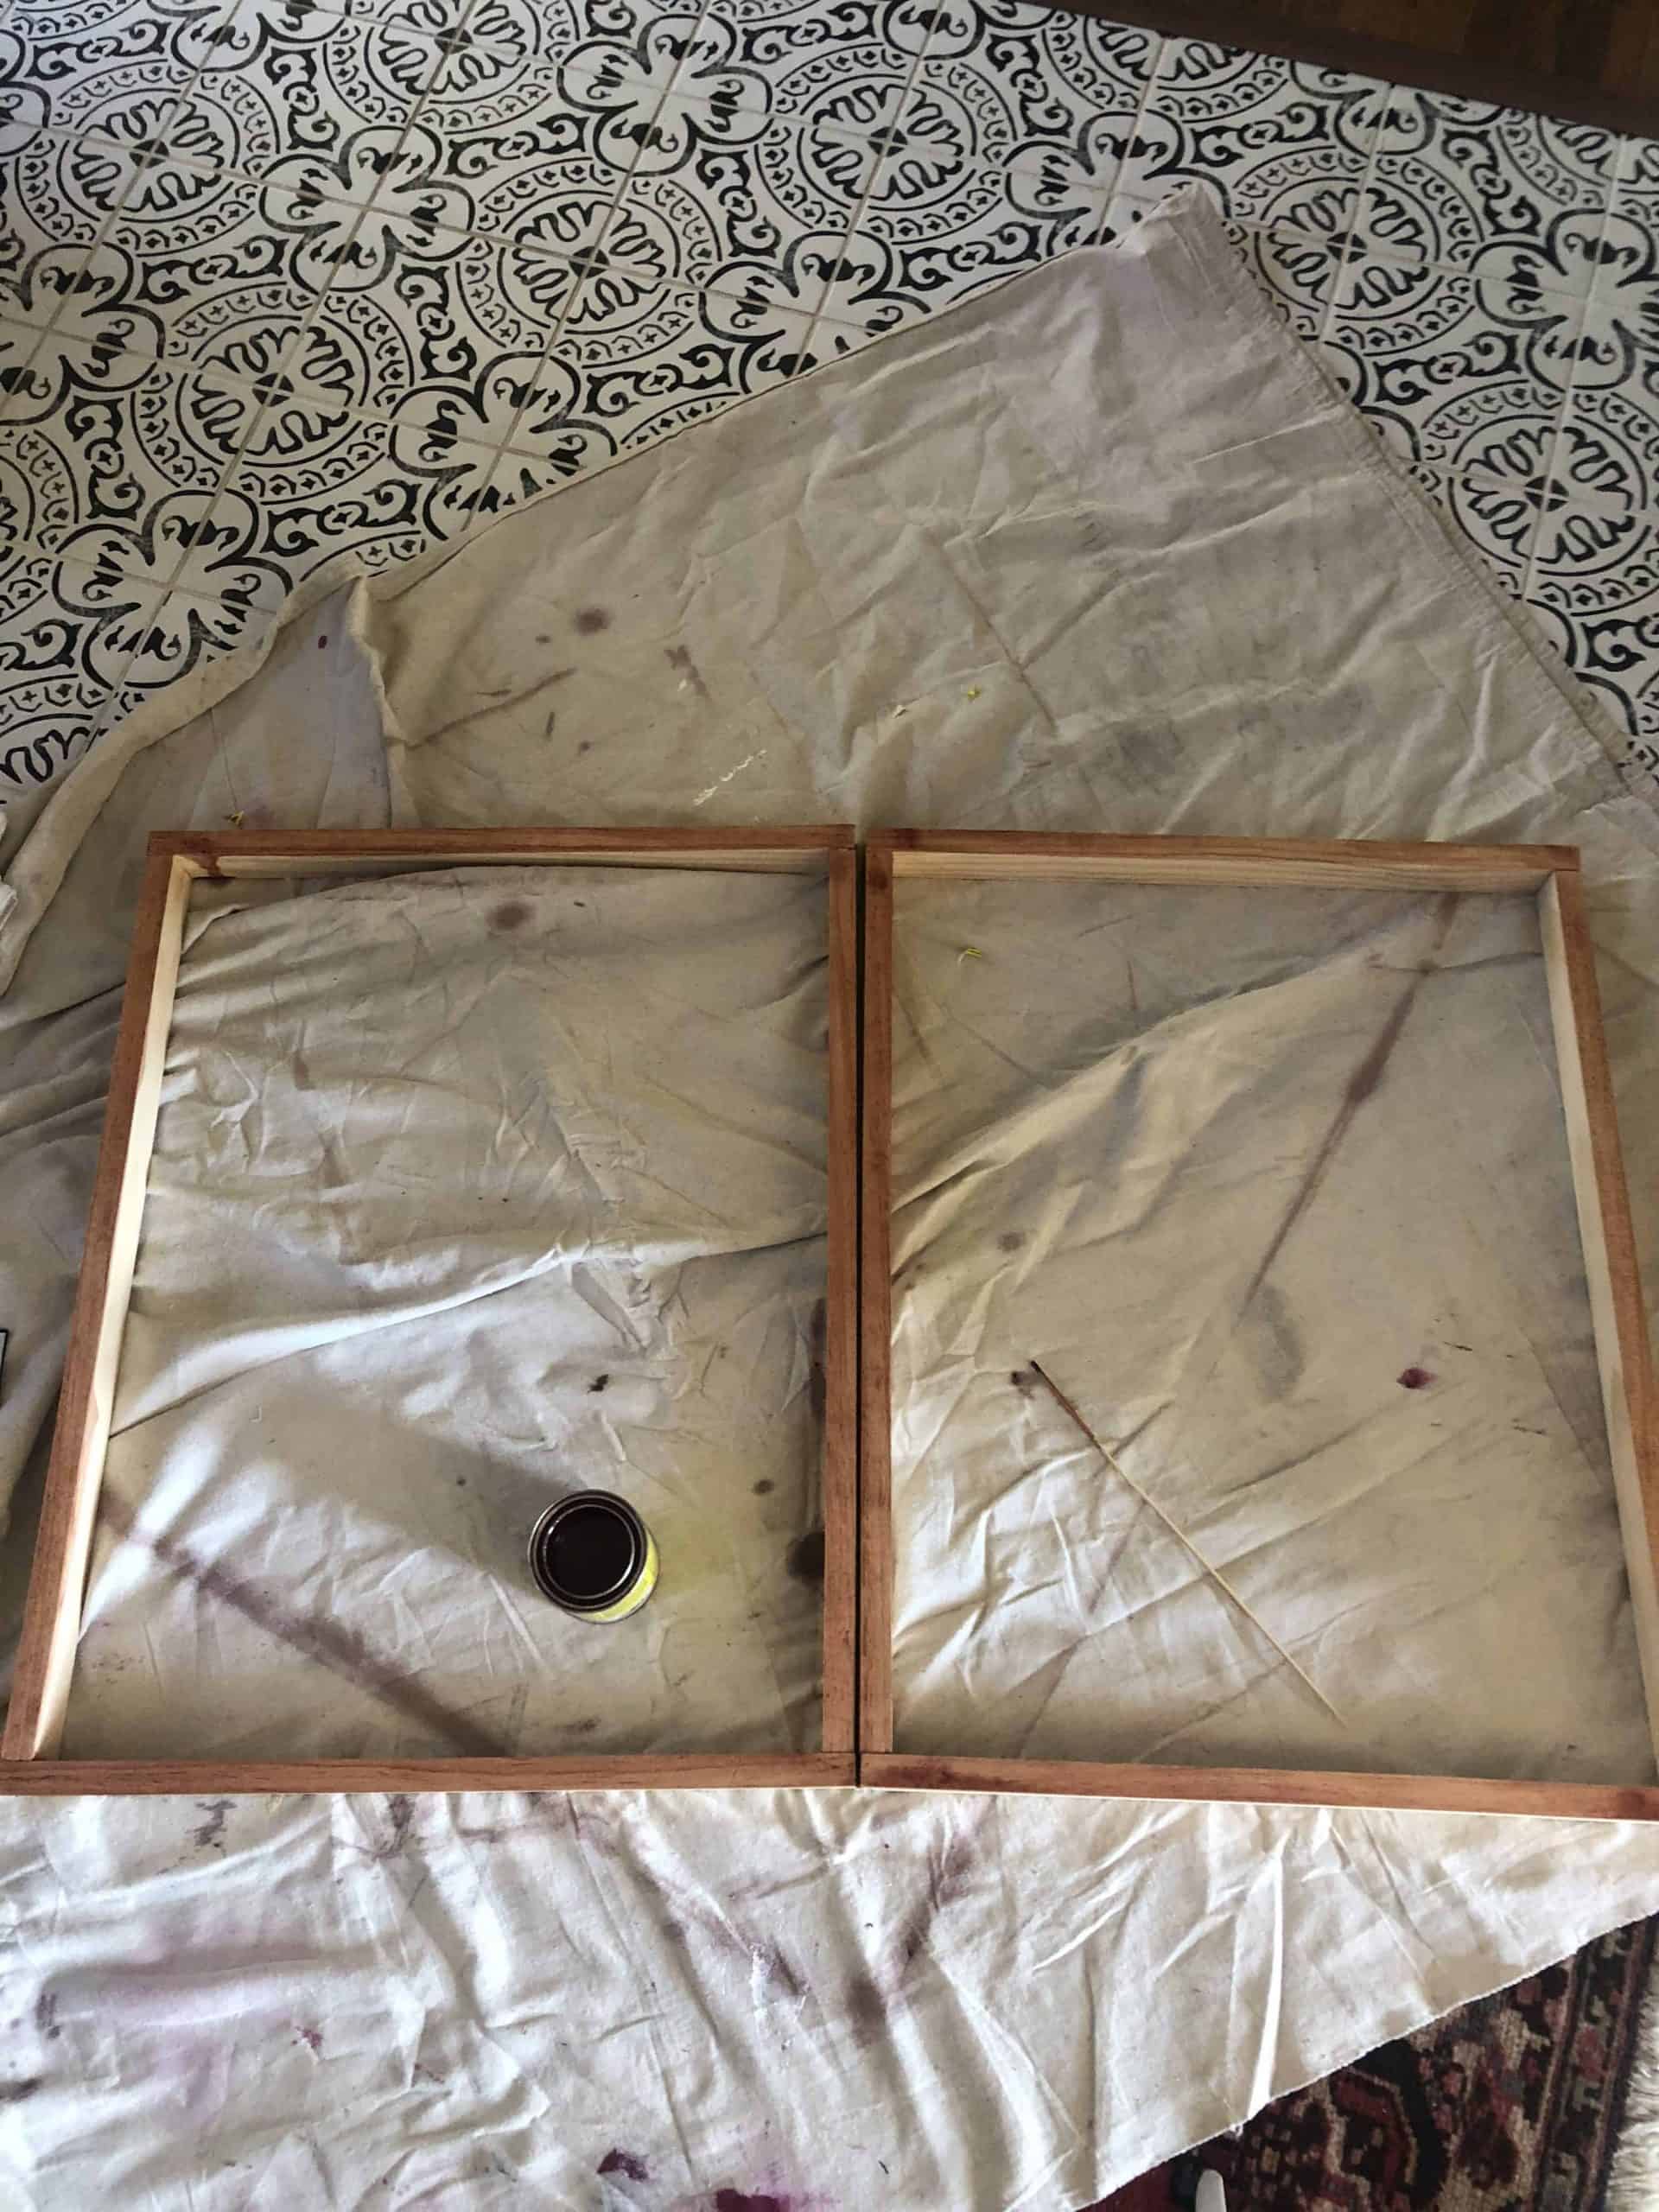
Measure and cut the boards.
My frame is 24″x20″. Measure carefully! Measure the length and the width of the board but don’t forget that 1″ that will add because you are attaching the corners!
You will end up having four long ( for the side of the frames) and four short (for the top and bottom of the frames) boards.
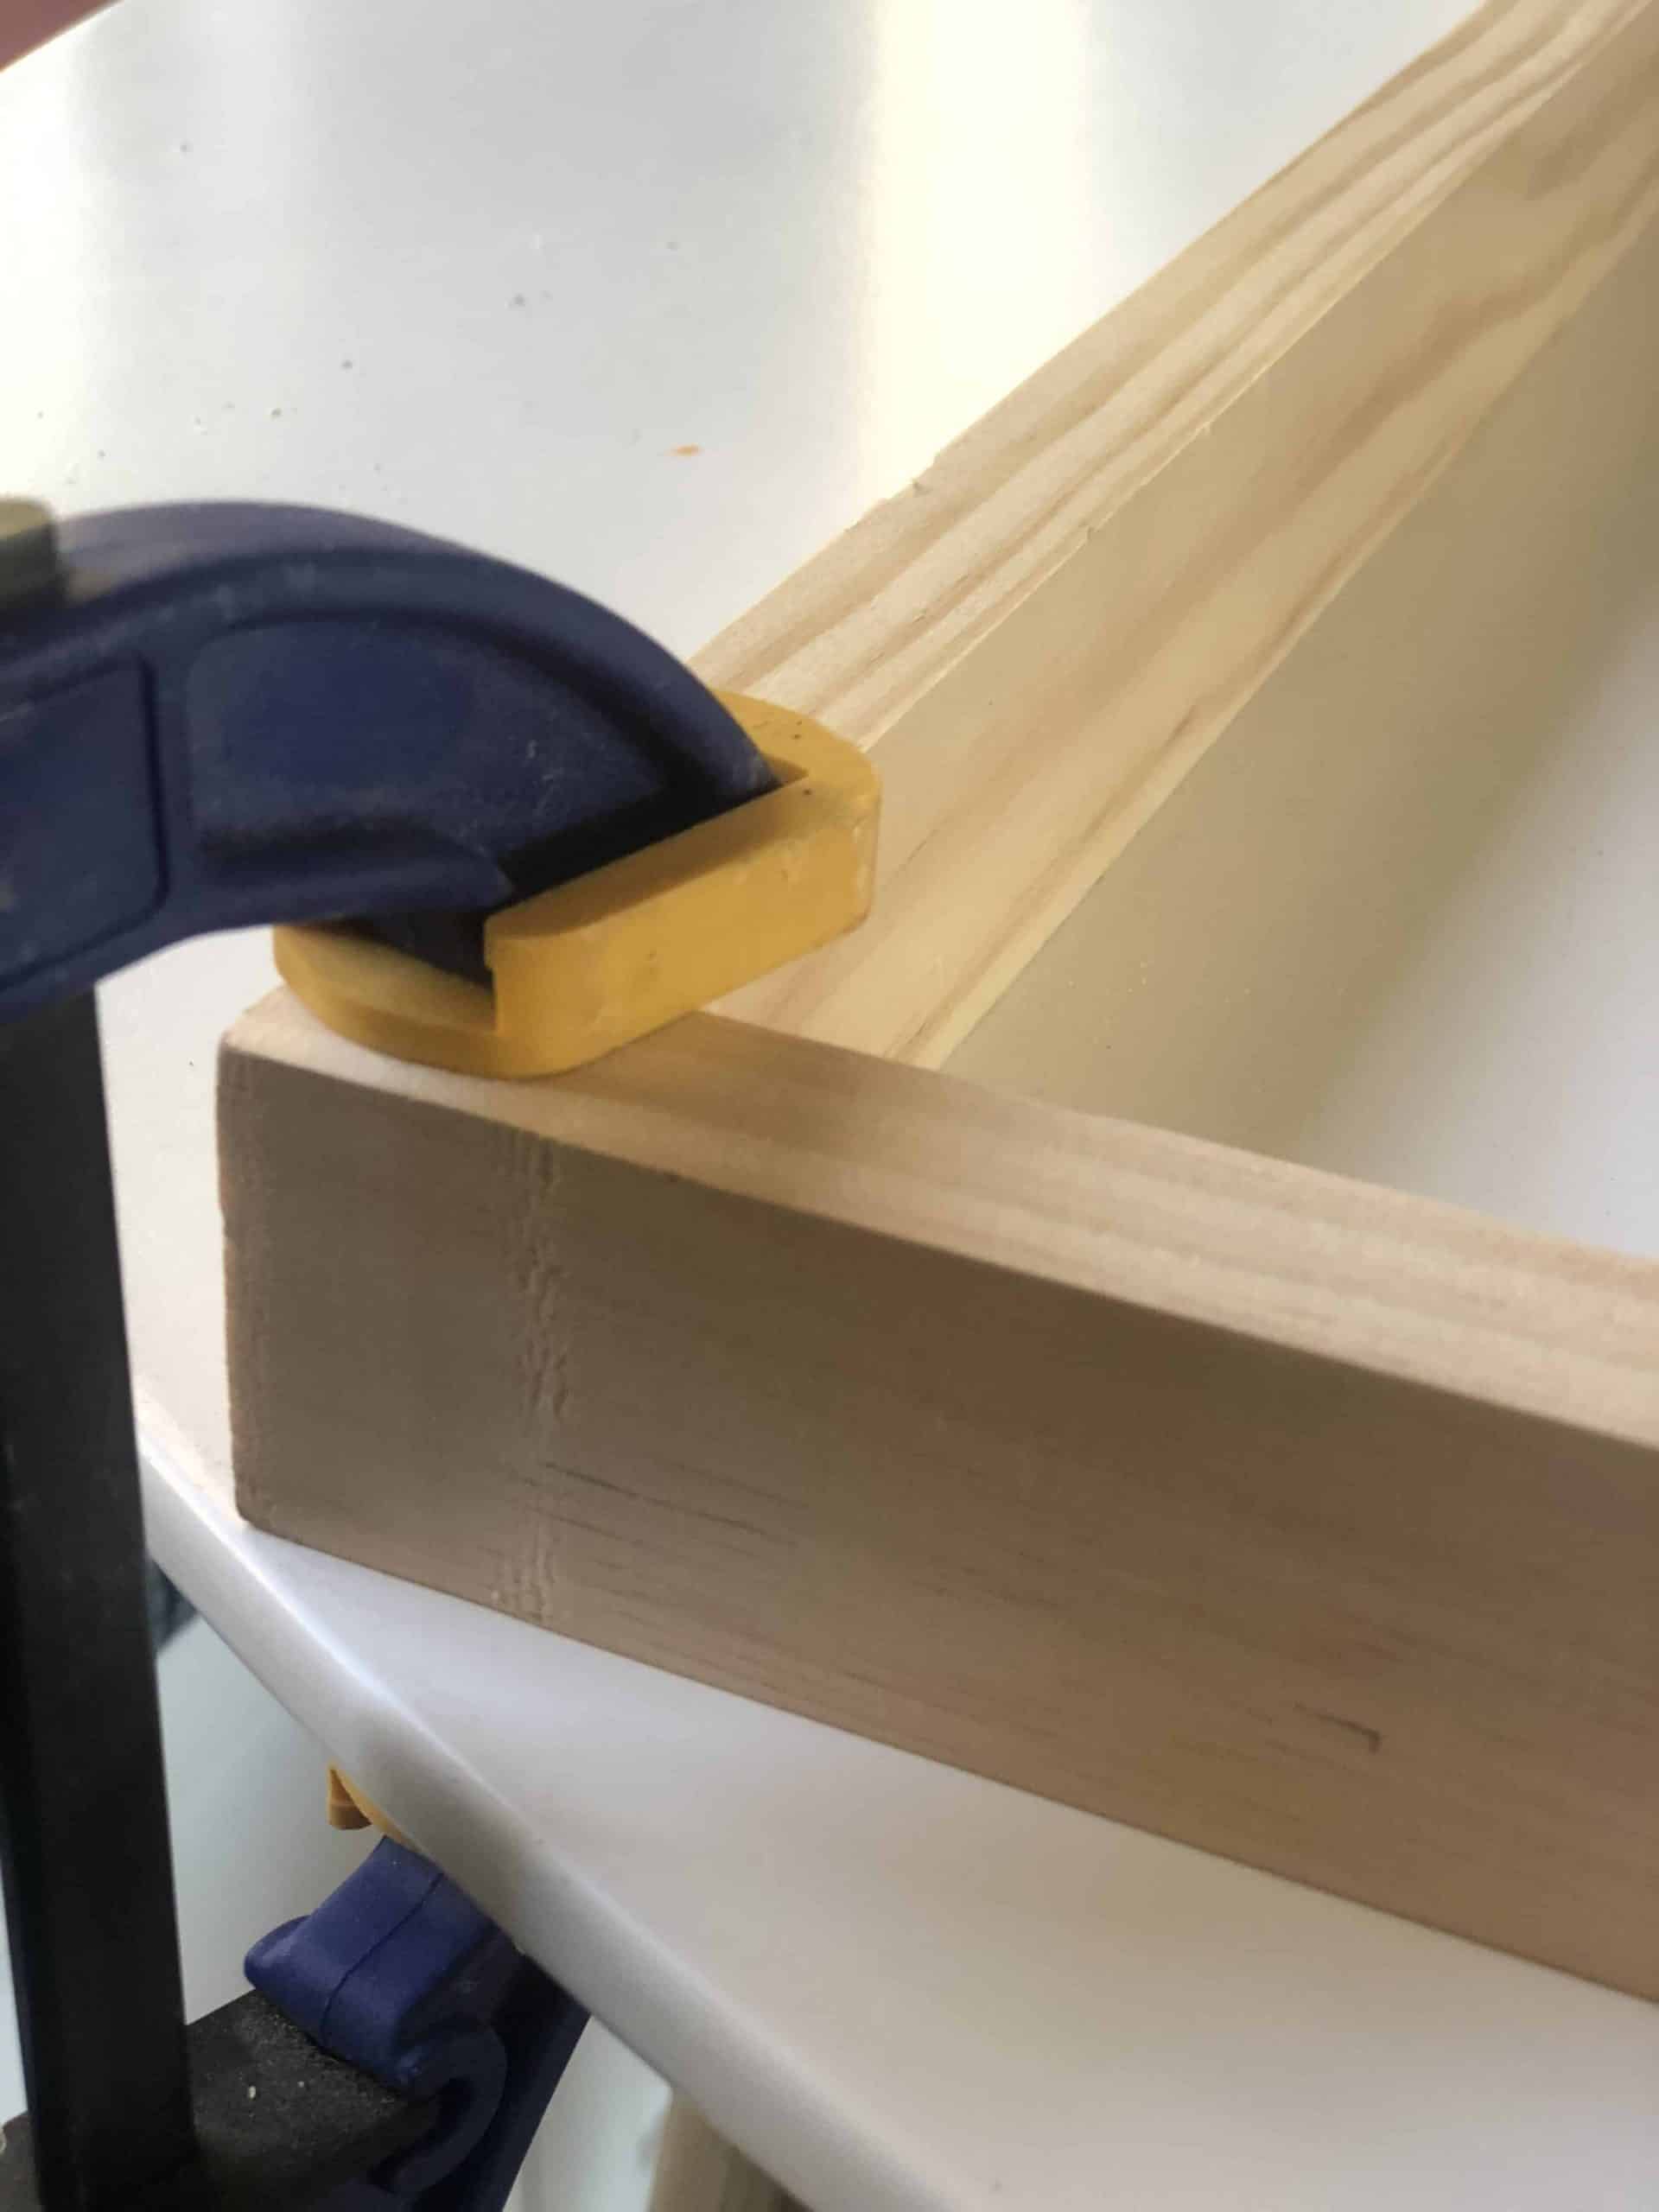
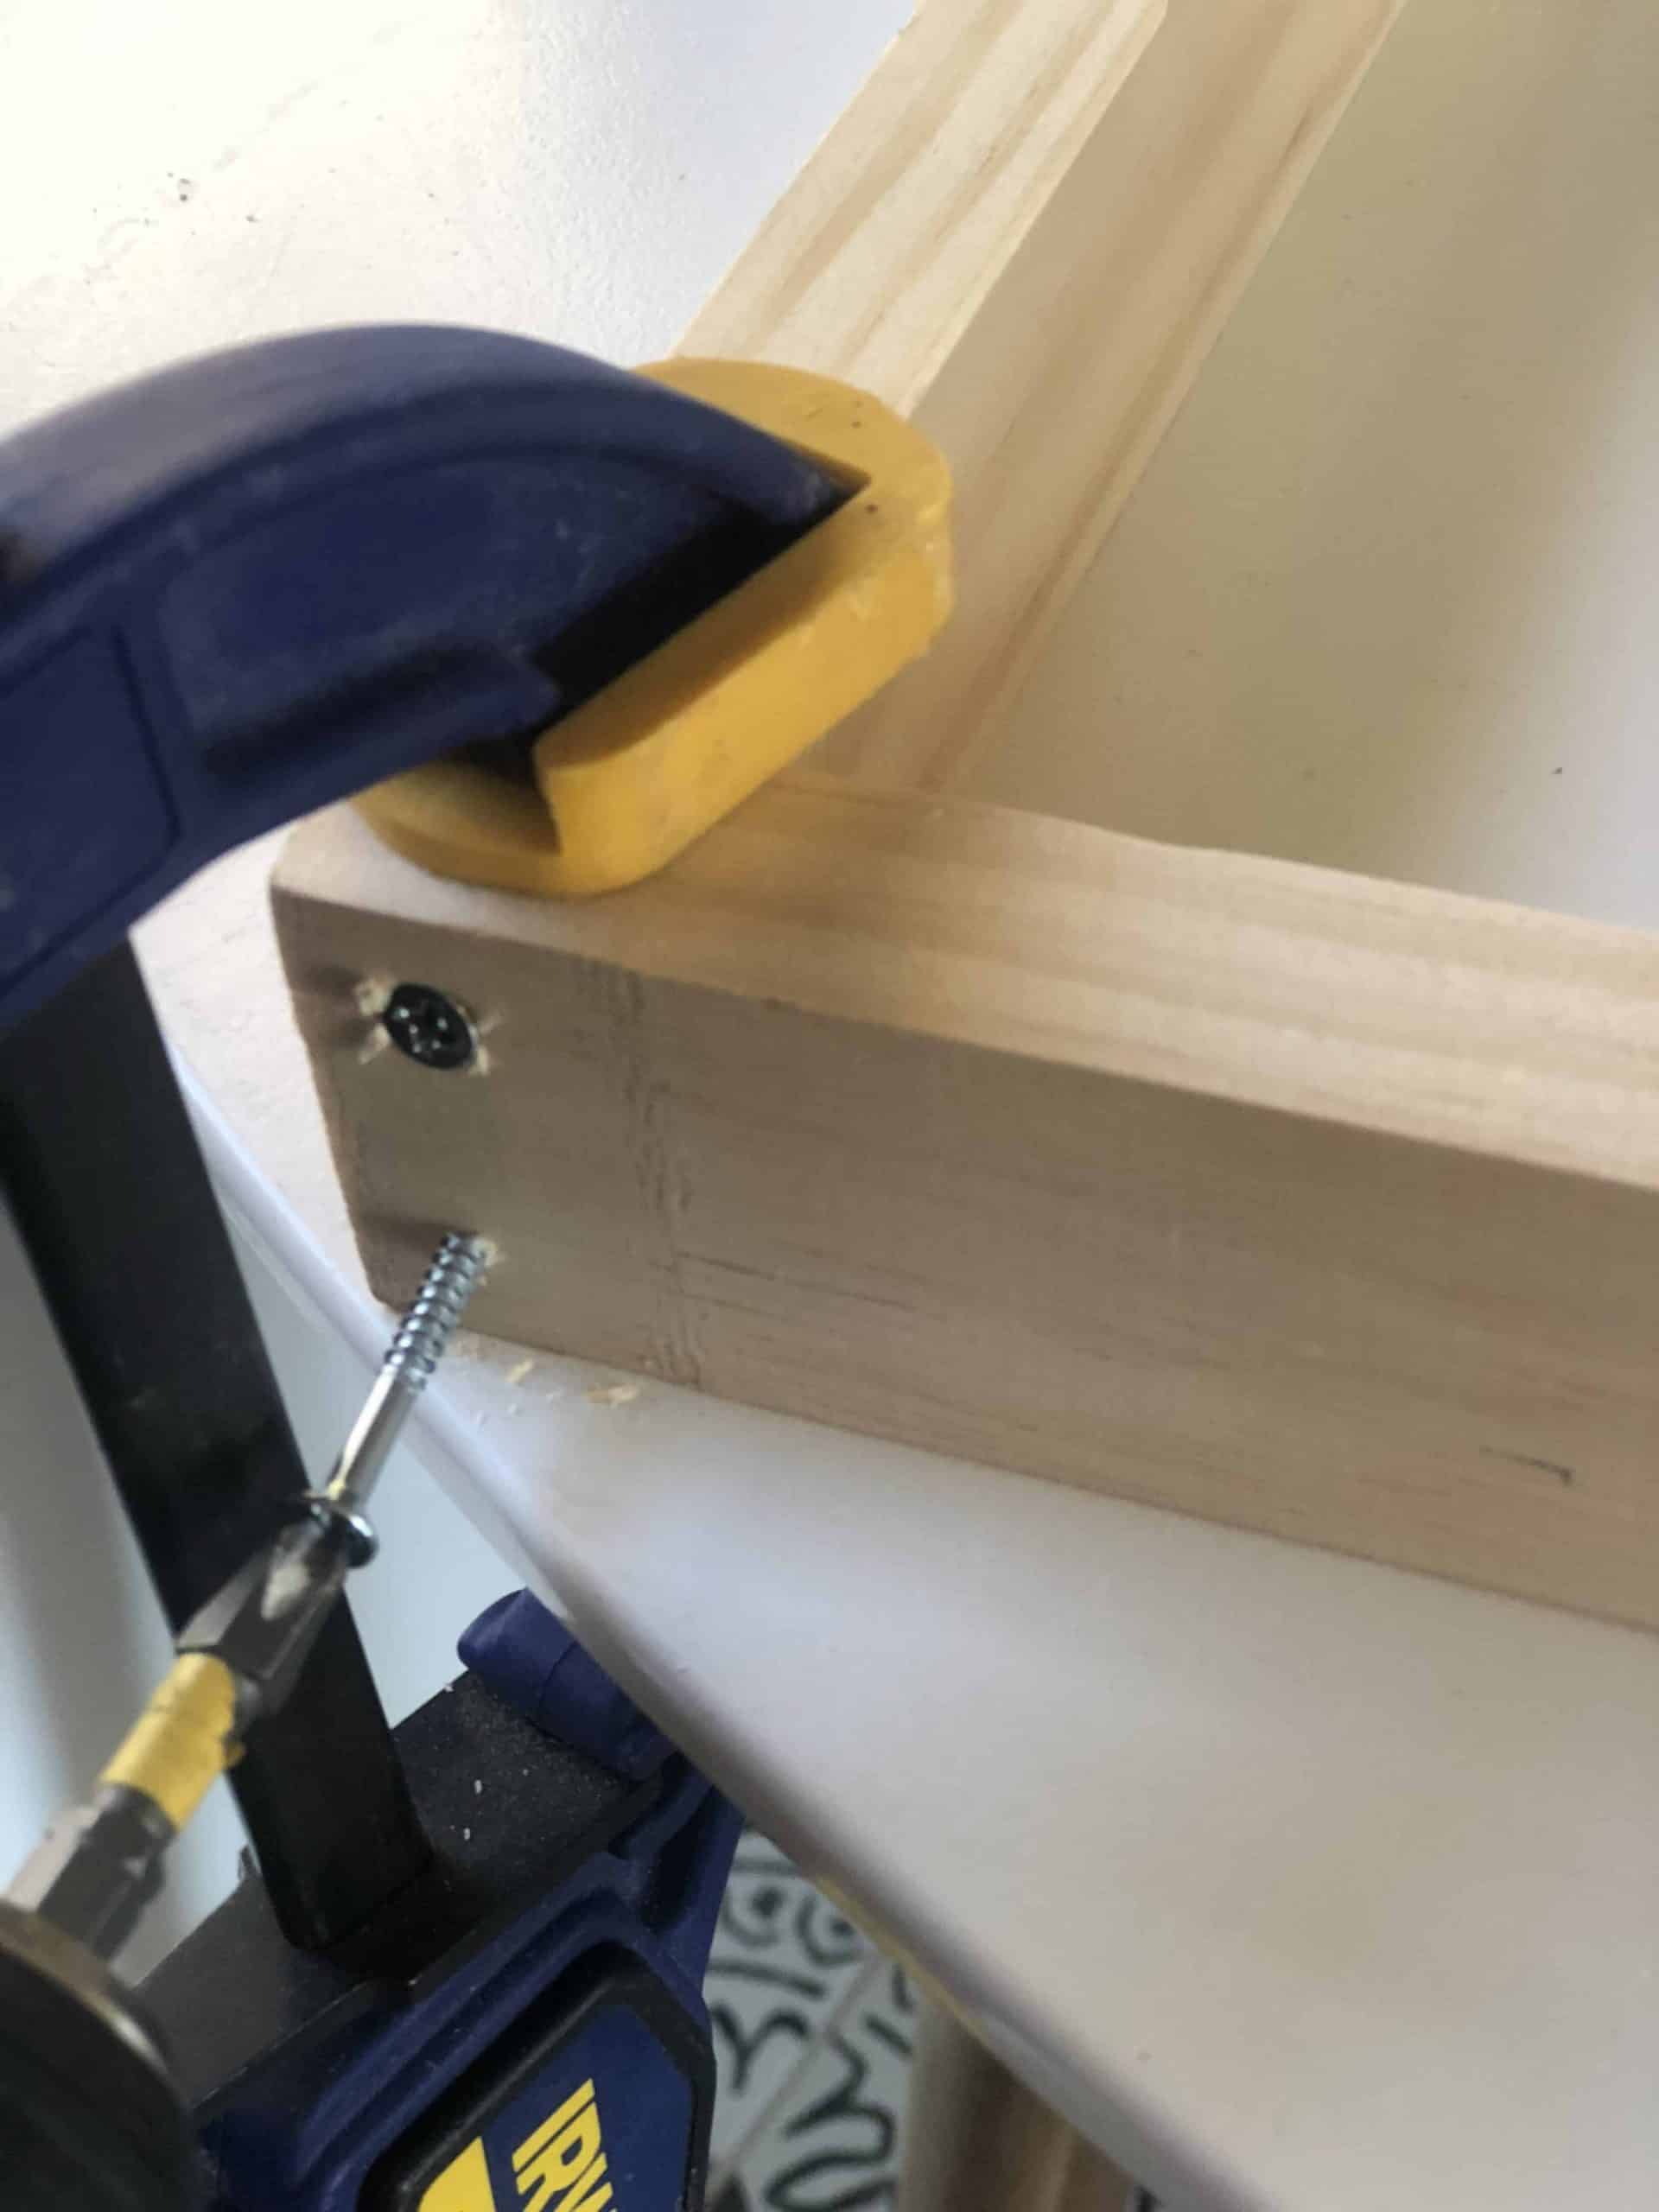
Attach the corner of the boards
I decided to go the easy way, and I tried to avoid using a miter saw. I am not an expert on using large tools (or not without my hubby being around!), so I chose the easy (and perfect way by the way!) way to attach the corners. Just be sure to keep the 90-degree angle.
How-to: Secure the boards to a flat surface or on a worktable using clamps. Clamp the boards tightly together, and using a wood screw, screw through from the bottom to the sideboard. If you feel better, you could pre-drill a hole, but it’s not necessary.
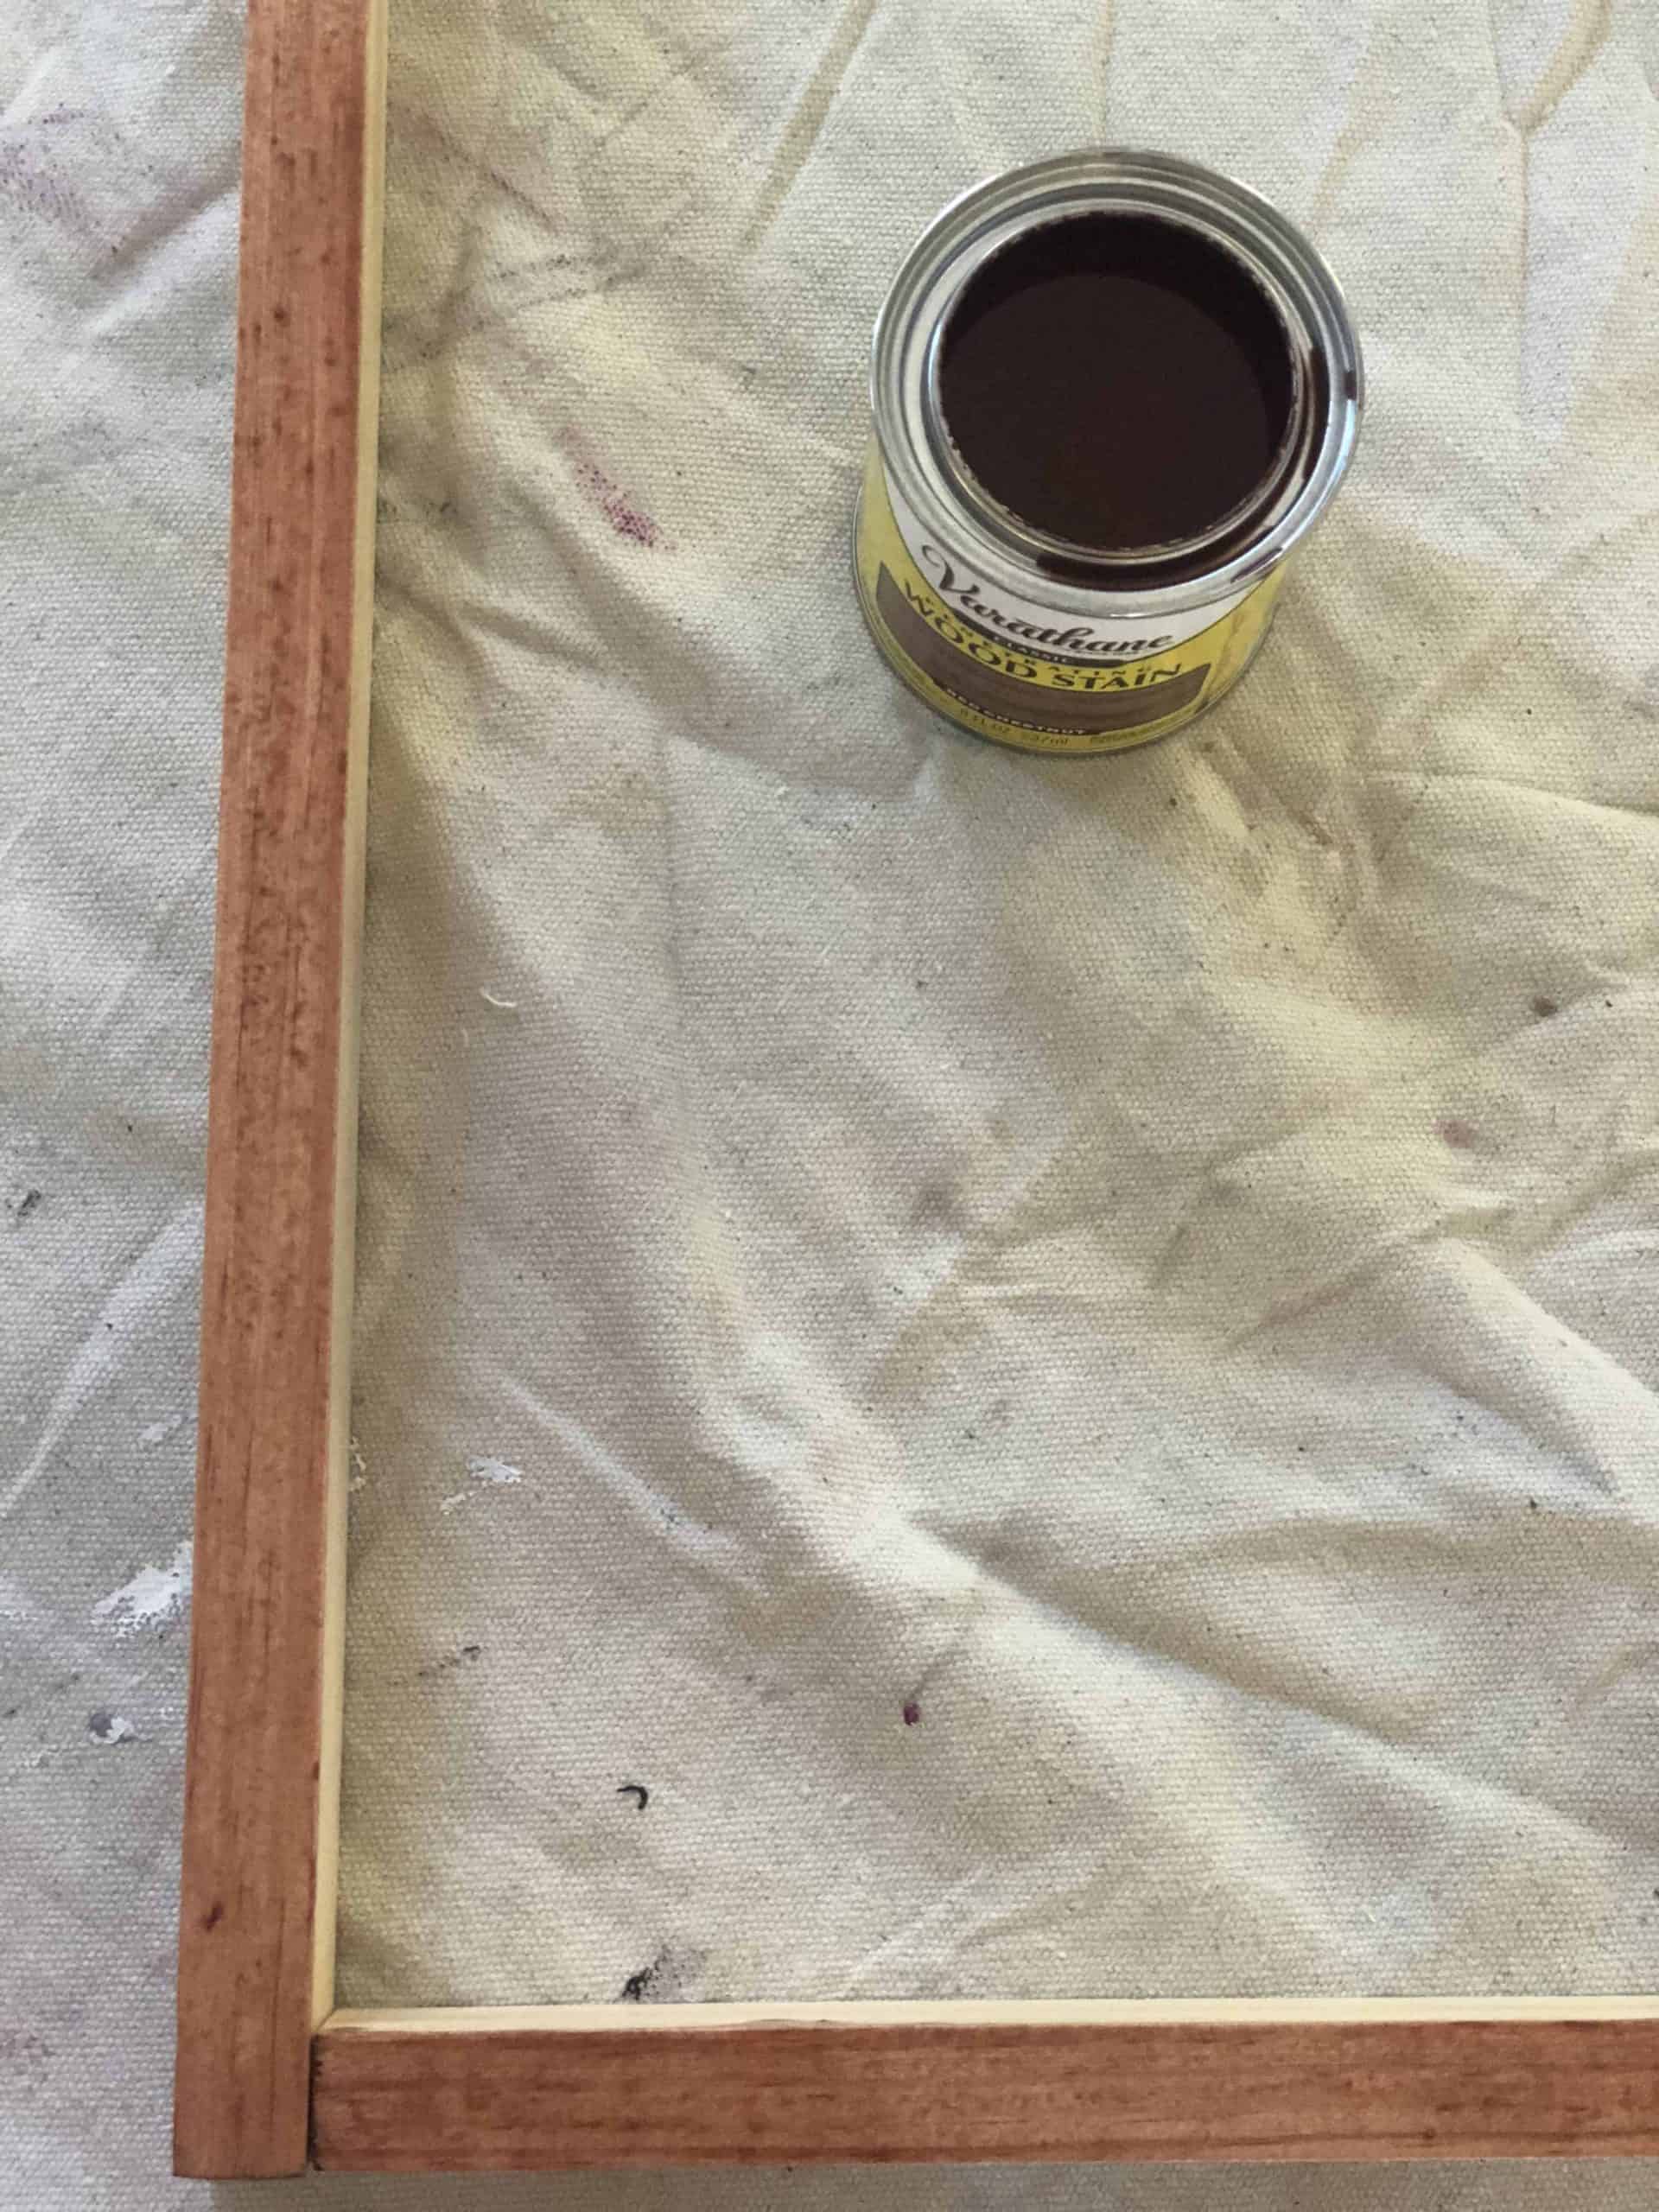
Stain the wood picture frame
I chose a lighter wood stain (Chestnut), and I loved how it turned out.
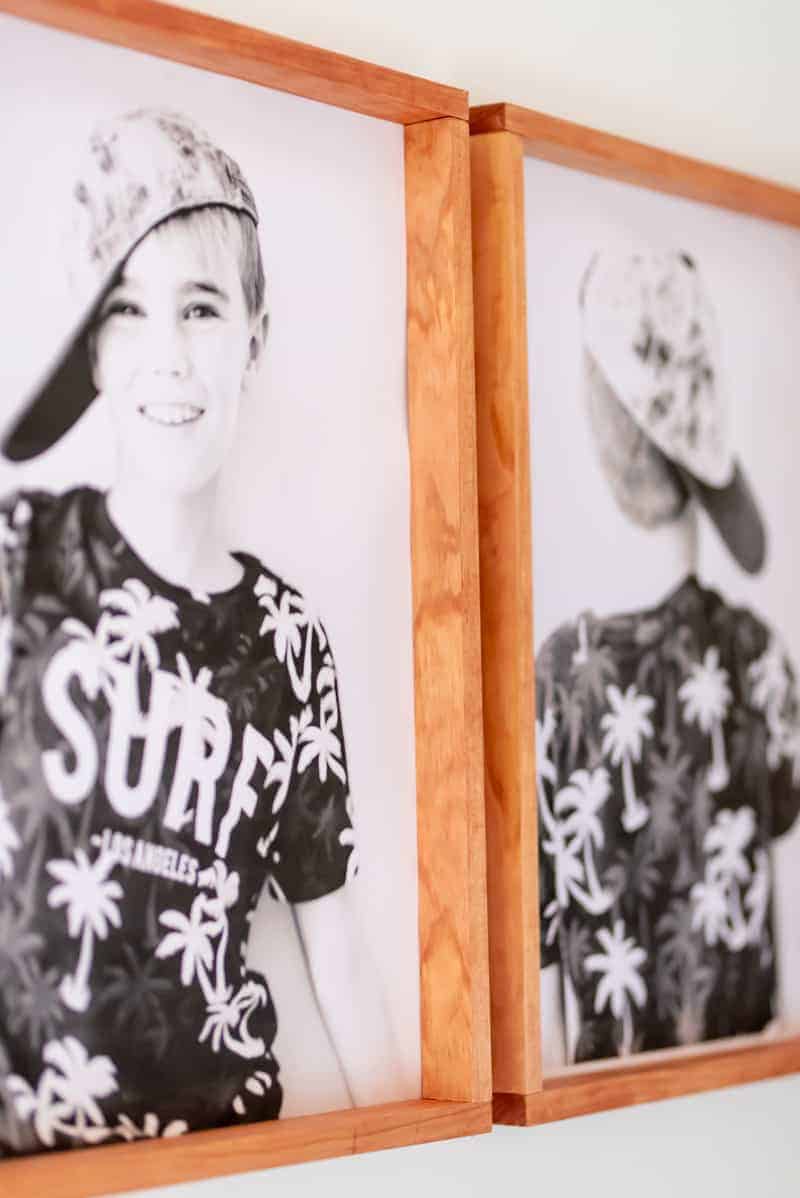
Staple your art or photograph onto the back of the DIY Photo FRAME!
I was so excited to finish up the project and I totally forgot to take a photo, but all you need to do is to flip the frame and staple your piece of art or photographs to the back of the frame. And voila, you have your picture/art inside of the frame.
I love black and white photos, and I got my 24×20 photo printed at Staples ( for super cheap!!).
Once the photo is stapled, add the hanging hardware and TADA!
Guys! I can’t tell you how much I love these frames! The hubby was on the fence when I told him about this easy DIY, and he loved it after all.
I will surely make more of these DIY wood picture frames in the future as it was a piece of cake to make them.
I think it looks absolutely PERFECT in my son’s room. What do you think?

Guys! I can’t tell you how much I love these frames!
What did you think of this frame idea?
Will you try this DIY? I know you can be headed to the thrift store and pick up a few inexpensive frames but making it at home is always my first choice.:-)
I will surely make more in the future as it was a piece of cake to DIY these awesome frames!
I think it looks absolutely PERFECT in my son’s room.
Here are some other ideas in case you are looking for ways to display your photos around the house!
- LARGE DIY WALL POSTER – PRINT A PICTURE ON MULTIPLE PAGES
- MODERN PHOTO WALL – HOW TO MOUNT PHOTOS ON FOAM BOARD
- LARGE PHOTO DISPLAY
- DIY DEEP PICTURE LEDGE
THANKS for checking in!

DIY PICTURE FRAME
Equipment
- screwdriver
- clamp
- tape measure
- wall hanging hardware ( can be found in THD)
- Dremel Ultra Saw
Materials
- pine boards
- stain
- screw
Instructions
- My frame is 24″x20″. Measure carefully! Measure the length and the width of the board but don’t forget that 1″ that will add because you are attaching the corners!You will end up having four long ( for the side of the frames) and four short (for the top and bottom of the frames) boards.1. Secure the boards to a flat surface or on a worktable using clamps. 2. Clamp the boards tightly together, and using a wood screw, screw through from the bottom to the sideboard. If you feel better, you could pre-drill a hole, but it's not necessary.3. Stain the wood picture frame.
Best-
Aniko
Such a fun and practical DIY guide! I love how you’ve made framing accessible and affordable. For those interested in more budget-friendly framing ideas, Thanks for sharing these creative tips!
So easy and creative! Looks great. Thanks for posting.
Thanjs for the frame inspo!!