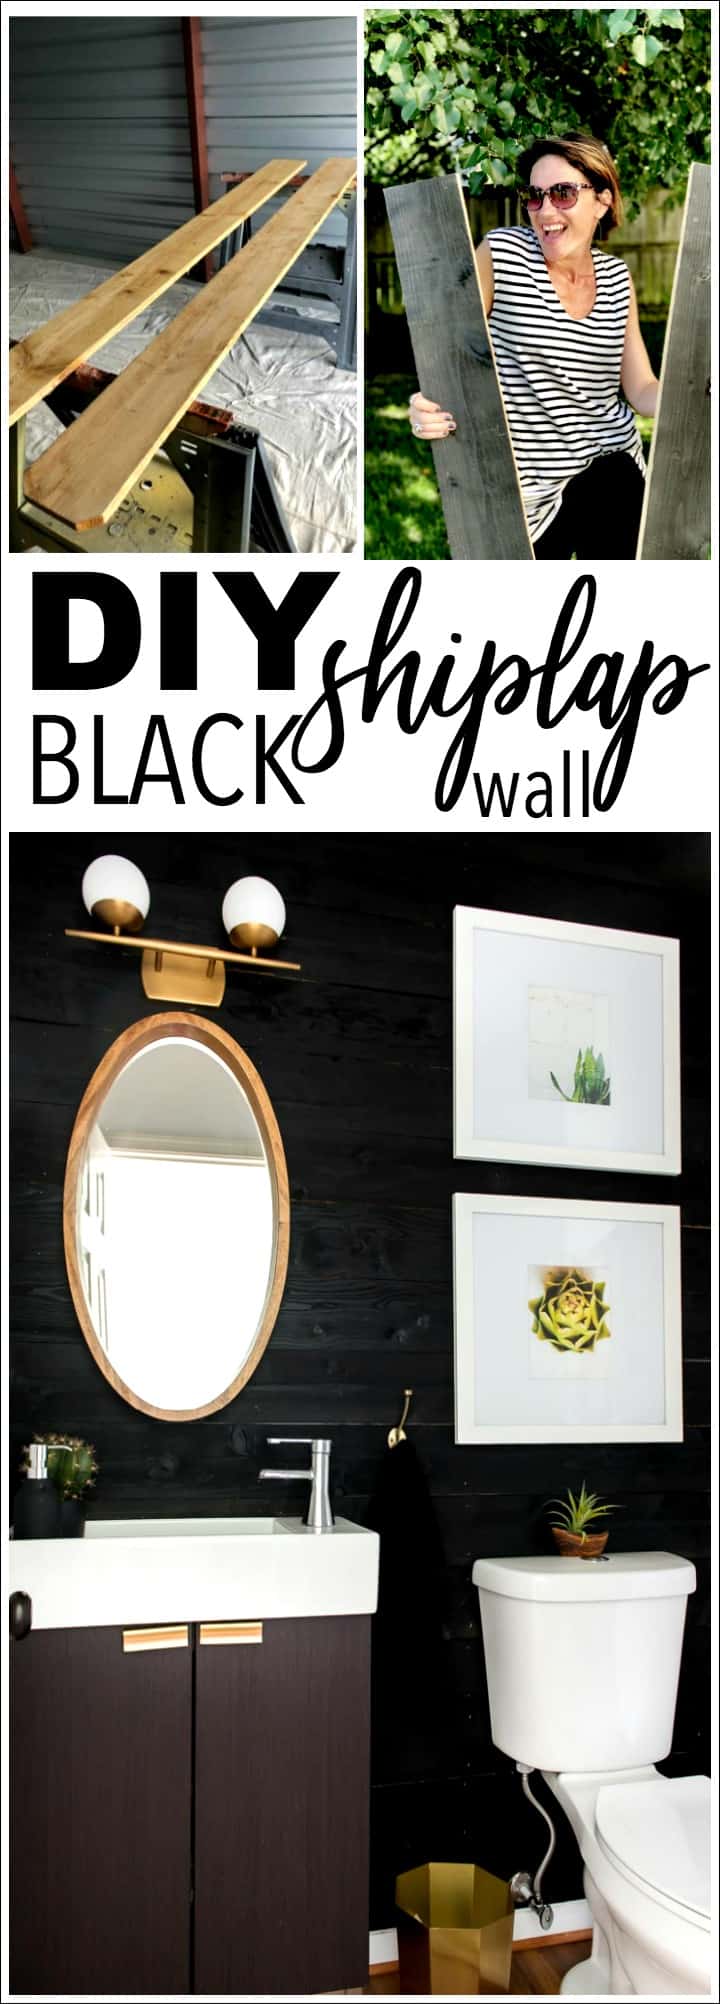
DIY BLACK SHIPLAP WALL UNDER $50
Well, well… I’ve realized once again, that my last minute, spontaneous projects are far my best projects! Today I am sharing the story behind this amazingly stylish DIY black shiplap wall that we tackled under $50! Yup! You read that right, my friend! I know you can’t wait to check out the deets and begin this easy and oh so hip project in your home!
So let’s get to it!

The black shiplap wall story begins with our laminate flooring project…
A couple of weeks ago we were ripping out old carpet and laying laminate floors! Fun! We had to have everything out of our spaces while redoing the floors. It was a HUGE project to take on but we super in love with the outcome. The floors turned out beautifully, and we couldn’t love them more…
And then… the NEW idea!
So while we were arranging rooms and spaces back to normal, I had this genius idea ( oh dear! ha ha!) – why not to give this small powder room a little LOVE before we reinstall the toilet. Right? It’s a genius idea! I’ve been crazy about dark walls, and I’ve been eyeing the BLACK SHIPLAP on Pinterest for a while, so I decided last minute to give it a shot, and create a BLACK SHIPLAP accent wall in our half bathroom. I stumbled upon on a few articles about HOW TO shiplap, like this HERE and HERE and I wanted to give it a go! I chose the least expensive way, of course- because why spend more when you can get the look for less right?! 🙂
Unfortunately, I don’t have a before picture of this half bathroom as I wasn’t intending to redo it before we took it apart for the flooring project, but I snapped a pic before we started planking… Except for the vanity it was pretty plain and boring…
And here is the dramatic before and after.

We had a few years old paint on the walls, so that was ready for an update anyway, but I wasn’t going to change the vanity. I had already personally picked this vanity just a few years before as it was suitable for the small space. I thought I might paint the vanity with a lighter color to contrast the black accent wall but I ended up loving the way they looked together!
MATERIALS YOU NEED FOR THIS EASY BLACK SHIPLAP PROJECT:
- fence boards
- nail gun
- wood screws
- black paint
I picked up some fence wood planks and a can of black paint from The Home Depot and started on this simple and affordable project on a sunny afternoon. Trust me, you can totally do this project! It’s easy enough!

I selected 20 pieces of fence wood planks (nice ones) that cost $2.29/each and a can of Rust-oleum Flat Black paint.

The wood planks were slightly wet as they were fresh cut when I picked them up at THD, so after I painted them, I let them dry in our storage space for a good two weeks. I had a few pieces that were leaning against the wall, and some were laying on the ground.
TIP: I think having them leaning against the wall made them warp a bit- so that was a mistake- be sure NOT TO DO THAT!
Some of the planks got crooked, and those were a bit harder to install. You can also see that the edges weren’t even in the corner ( see pic below) of the room due to some of them being crooked. If you let the cedar planks dry before you install, be sure to lay them out on an even surface. But to tell you the truth, If I’d have to do it again, I would install the wood while it’s wet.
I had a few pieces that I had to trash because they were really too warpped to use, so I installed a few top pieces right after I painted them. They were beautiful and flat when nailed into the wall, but they were drying, the wood planks just shrunk and spaced out a little bit, leaving a small gap in between the planks. Probably not a bad thing to allow for a little seasonal expansion and contraction anyway.
We used a nailgun to install the planks onto the wall after we cut them to size.
It was fast and easy to plank the wall from bottom to top. We had a few pieces that were deformed a lot, and for those, we used long wood screws to pull them flush against the wall.

Tip: I touched up the gaps with some extra black paint and no one can tell that there is a gap in between.
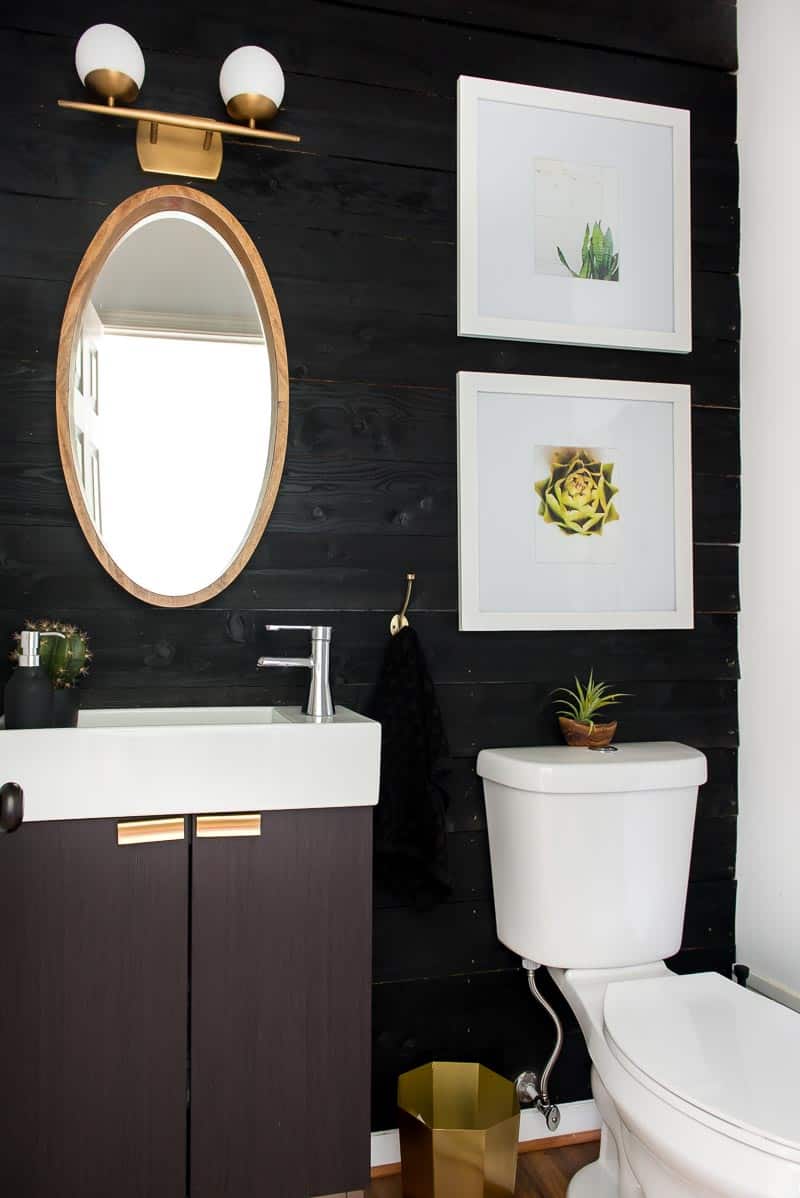
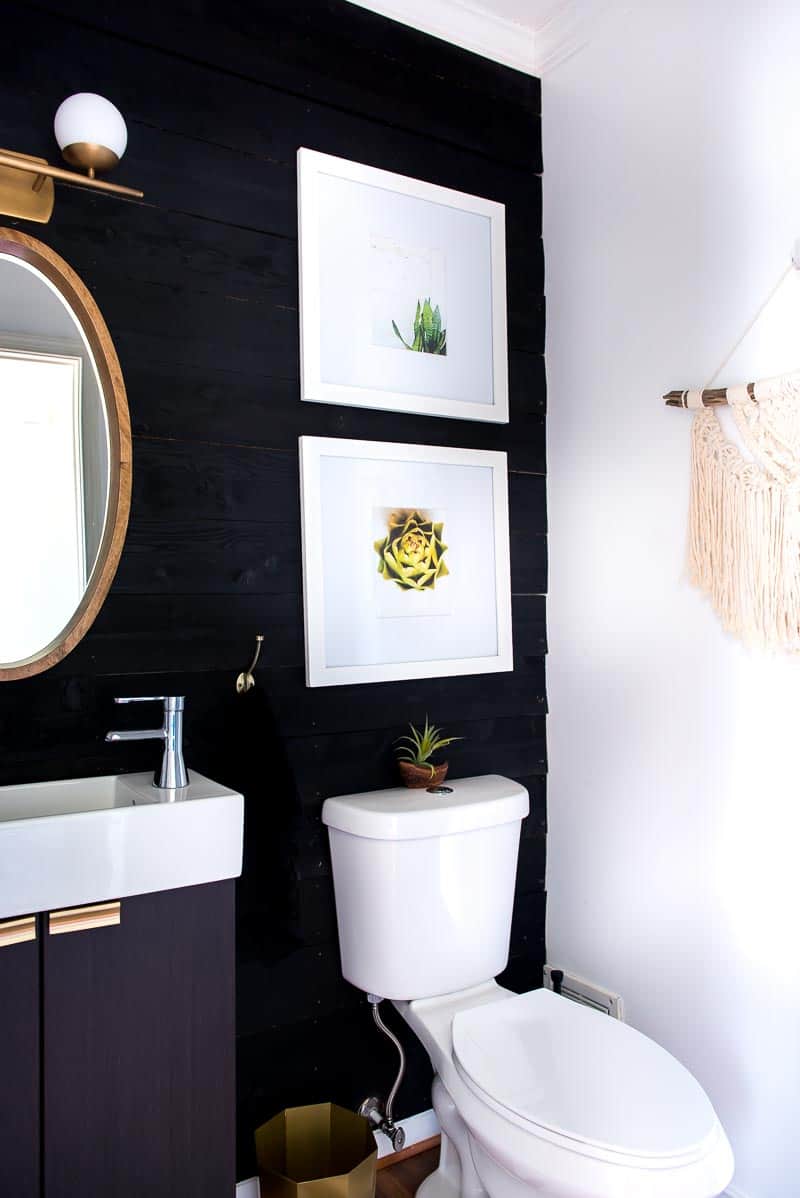
Overall, I think the wall looks authentic and amazing! I love the contrast between the black wall and the light art pieces that I hung up there.
I ended up changing the mirror as I was aiming to bring in something with a wooden tone and I, of course, got that spanking hot lighting fixture to bring the space together.


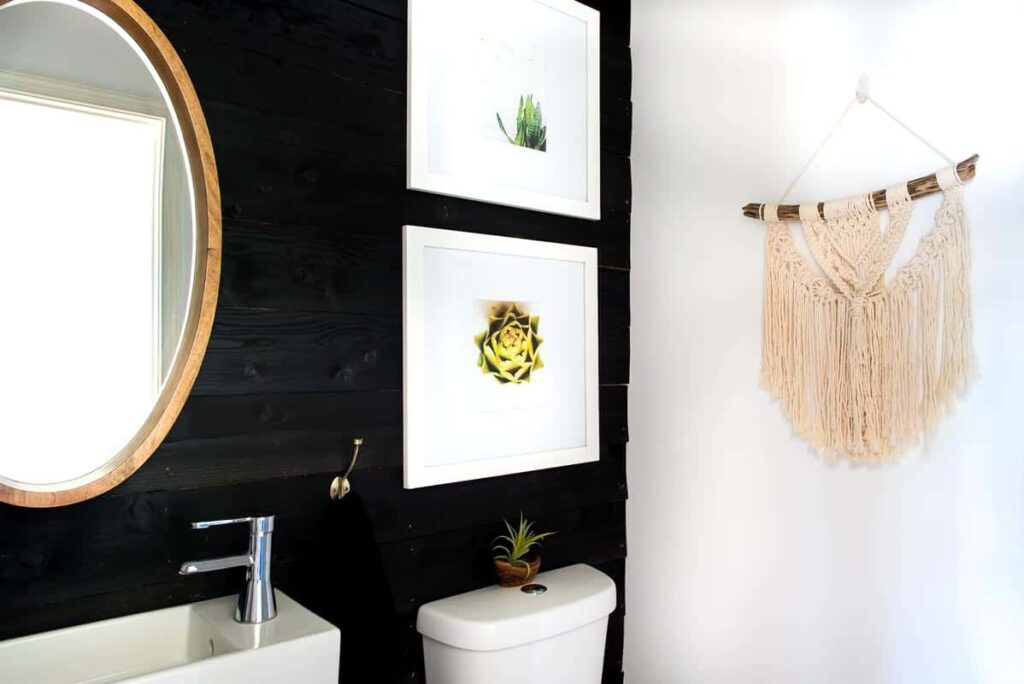
I hung a macrame on the side wall- because you know macrame and me are like peas and carrots!

I changed the pulls on the vanity, and I added a brushed bronze hook for towels.

So what do you say? Yay or nay for black shiplap?
I think now I want to black shiplap the whole house!
Just don’t tell the hubby lol!
Pin it for later!
Be sure to check back tomorrow as I share these cool FREE PRINTABLES so you can grab them and maybe hang them in your space with a black shiplap!
GRAB THESE AMAZING PALM PRINTABLES HERE

Cheers friends!
Aniko


Loved this tutorial! I just finished my own black shiplap wall project and it turned out amazing! The cost is so affordable, I was able to get all the materials for under $40. Your instructions were super easy to follow, thank you for sharing!
What did you do with 2 cut off corners of the fence boards? Did you square them off ?
It looks so nice! I probably would have hung the light fixture upside down, even though your way is totally spanking hot! It looks like a pair of eyes and a mouth! lol
Looking for ideas to cover our dining room wall. Love your taste in decor!
Absolutely Gorgeous!! I’m renovating my whole house and you just gave me the best idea ever for one of my bathrooms! Thank you so much!!
Great! I am glad I inspired you! Good luck!:-)
So do you feel like you can see the white wall underneath? I want to do a whole wall in my living room but am worried about having to paint the wall and the sides of the boards. Did you use a spacer for your boards at all?
Hi. Can you share where you found the succulent prints you used here in the bathroom?
I used to sell it in my shop but it’s not listed anymore. Those are my photographs. I might put them back though!
Love it all! May I ask where you got the vanity? ????
Its from IKEA! Super thin and cool!:-)
If you had painted the wall black before you nailed on the wood, you wouldn’t see the gaps!
Wow! The combination of gold and black looks fabulous!
I really like it. Such a change from just painting the wall black.
It turned out beautifully! I love the high contrast of the black with the art you chose.