DIY FLOATING SHELF – MACRAME VERSION
This post contains affiliate links. Please read my disclosure here.
I have a new version of my DIY floating shelf – a macrame version.
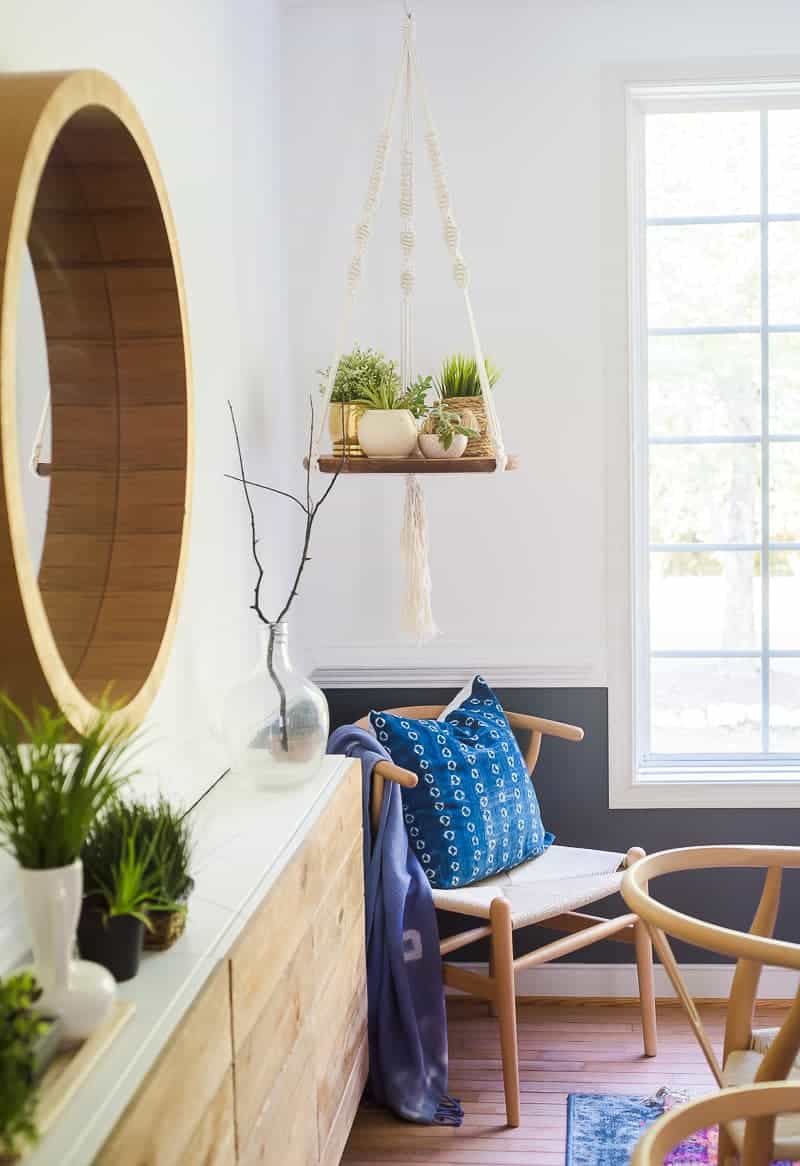
You guys! This summer flew by like crazy, and I haven’t been DIY-ing much of anything after we got done with our fabulous DIY OUTDOOR kitchen. That was a gigantic project, phew! We had visitors, we traveled, vacationed, camped and lived a lot in the past few months, and I think it was the best summer we’ve ever had! But today I am popping in here with a small project for you all! I will continue to share small DIYs in the upcoming months so be sure to check your emails ( if you are not a subscriber yet, you can sign up HERE) or hop over to the blog often.
A few years ago I shared a DIY floating shelf tutorial, and it has been one of my most visited posts on the blog. It was a super simple project, but yet very eye catchy and people seem to love it a lot. Back then I had no clue how to do macrame so when I made this fun floating shelf tutorial I used a simple yarn, and I didn’t make the strings look anything special.
The other day I was rearranging a few things in the dining room, and after listening to my awesome followers on Instagram, I took down the two large wall art pieces from beside the window an I prettied up that floating shelf I made a couple of years ago. I added new macrame strings and a stained tray/plate.
Just to remind you, here is the old version of the DIY floating shelf,
Ehh….this version looked pretty good too, but of course, I love the new version hundred times more.:-)
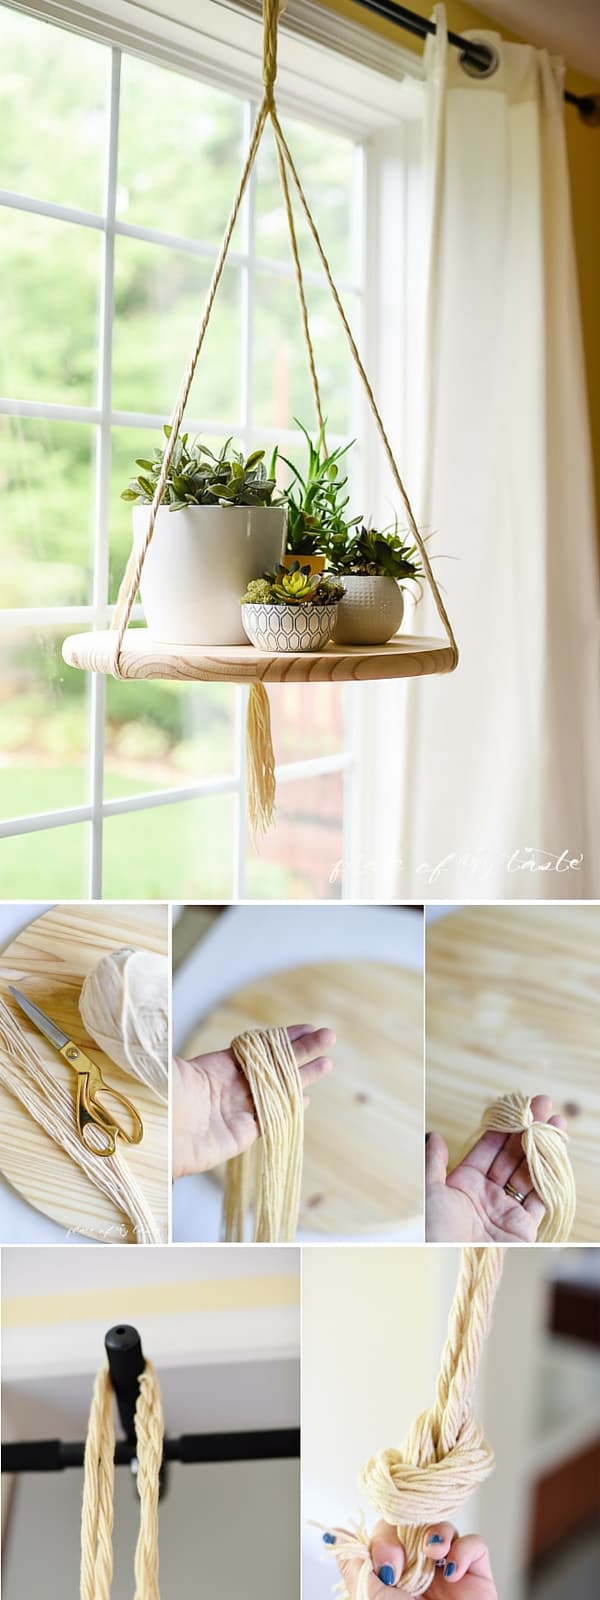
I wrote an easy tutorial on how to make this shelf HERE.
So this time, after I have been doing macrame for about six months, I decided to make this floating shelf special by adding some fun macrame knots.
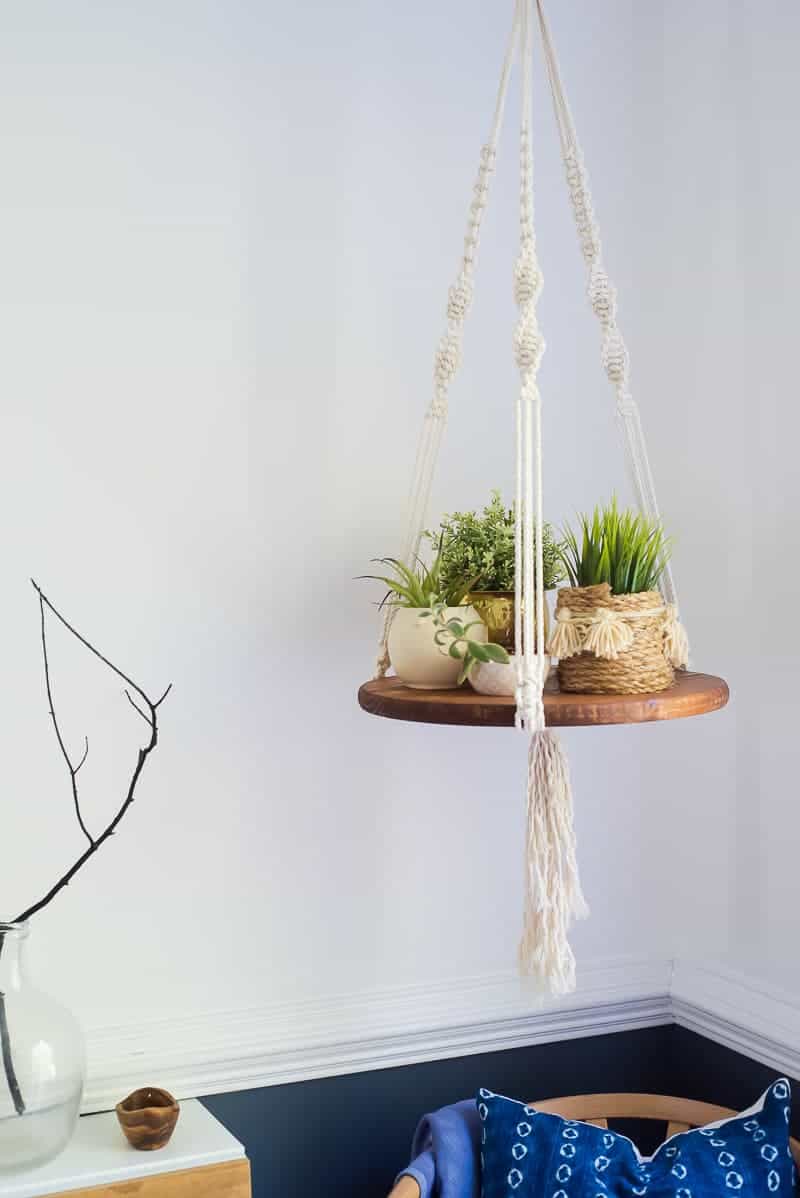
I stained the large wooden plate and I made the strings look fabulous-er!:-) Don’t you think it looks awesome?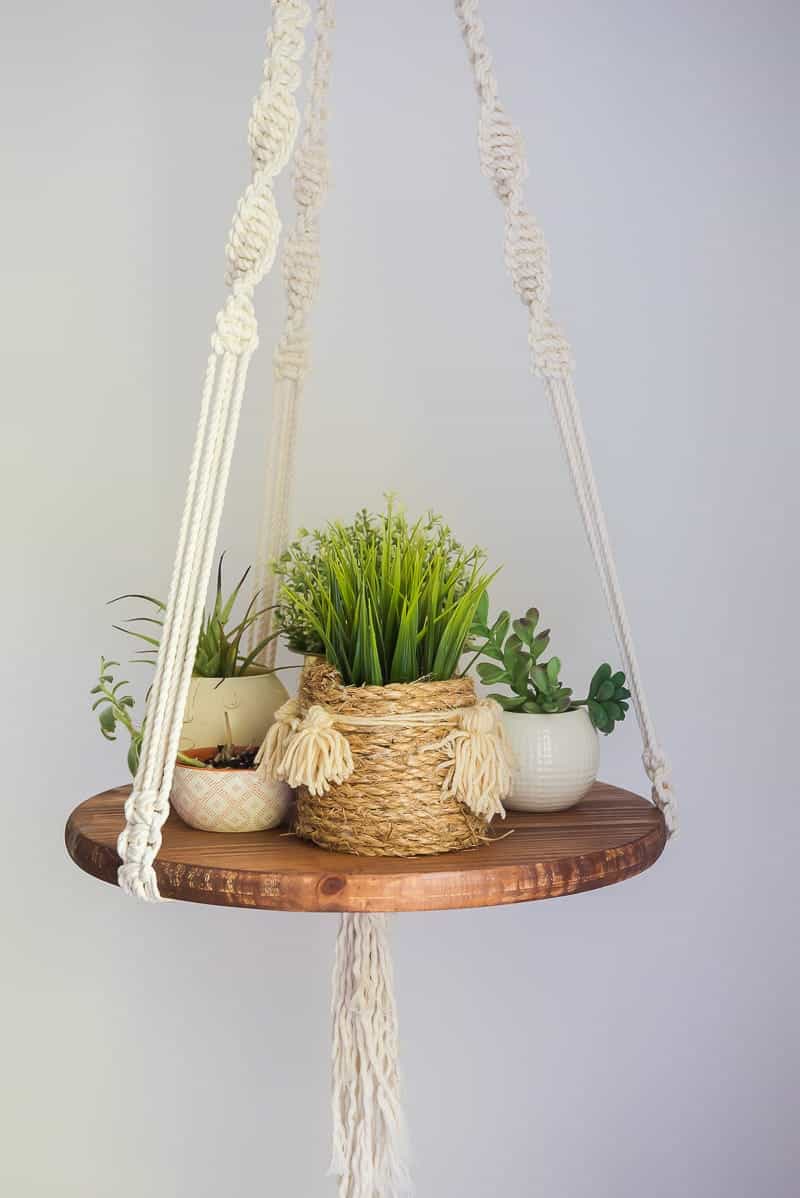
If you plan on making one of this shelf for yourself, you can still follow the easy tutorial on the link HERE, and by following my basic macrame tutorial HERE you can quickly tie some amazing macrame knots too!
MATERIALS YOU WILL NEED:
- 6 COTTON CORD STRINGS – 15′ LONG EACH
- ROUND WOODEN PLATE
- STAIN ( optional- you can leave your round plate a neutral color)
- WOODEN RING
STEPS:
Measure 6 pieces of 15′ long strings using cotton cords. I love the twisted cords. They look fabulous.
Gather all strings and pull them through the wooden ring.
Tie a whipping knot on the top and start tieing basic macrame knots. Leave the strings as long as you wish your shelf hanger would be and repeat the whipping knot at the bottom. Be sure to leave some length for the tassle.
Easy peasy, right?
If you are not ready just yet to make your shelf by yourself, hop over to my ETSY shop and order one of these beautiful boho shelves!
SHOP MY DINING ROOM




I love the floating shelf and really want to make it. I would like to know what size cording and wooden ring you used. I figured out that you used a 17″ wooden plate. Did you use 12 strings instead of 6? Thank you for clearing this up for me. Have a wonderful day and keep these great ideas coming!
What a great home decor idea!
What diameter cord did you use?
on the tutorial for the second table that is what I want
looks great!! how did you hang this?
You need to find stud in the ceiling and use a hook to hang it!
Hi. Size cord…and diameter of tray…thanks!!!
Love the macrame! Just a question, shouldn’t it be 12 instead of 6 cotton cords? I’m not quite sure how to follow the tutorial, thanks!
Hi thanks for sharing! Just wondering what diameter/size cord you used there? Thankyou!