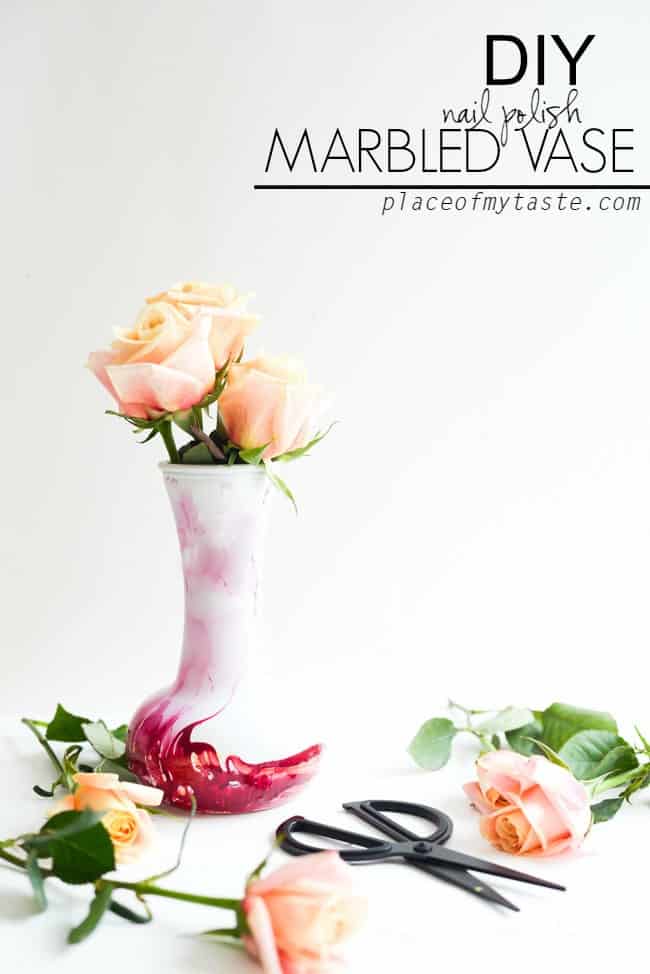
DIY NAIL POLISH MARBLED VASE
Learn how to marble a vase with nail polish today!
This DIY has been on my list FOOOREEEVER. Seriously! I have seen so many amazing marbled projects all around blogland, and I had to try it myself. Who knew that beautiful nail polish could not only make your nails shine, but a simple $1 store vase could look Ah-mazing after a little 2-minute transformation using some colorful nail polish.
Yup!!
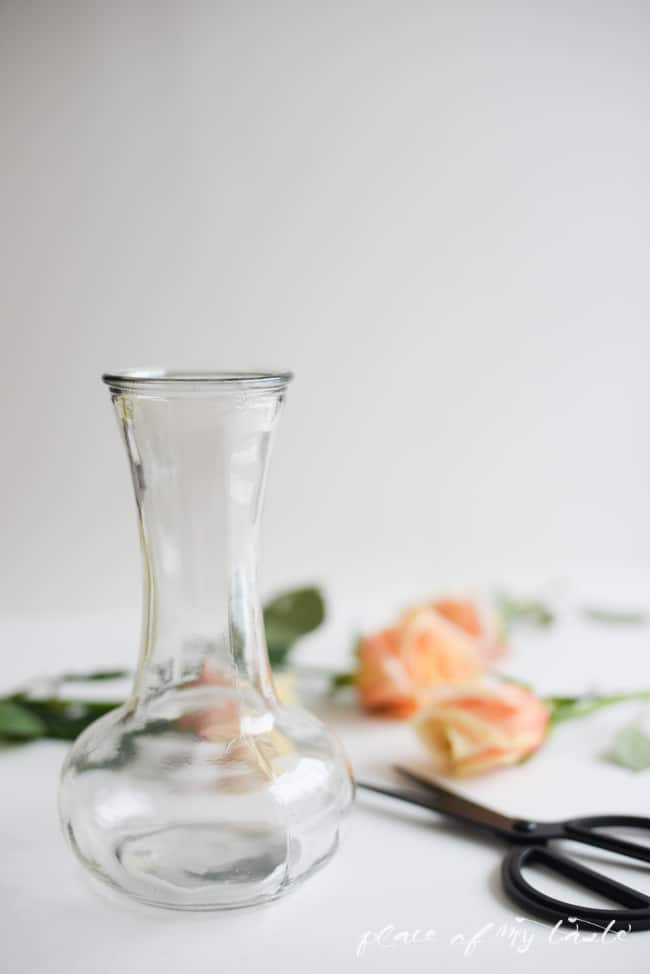
Marbling the vase took a few minutes. I bought this glass vase a few months ago at Dollar Tree because I loved the shape. I loved it. It looked OK with fresh flowers, but overall it was pretty BLAH…so I decided to make her look fabulous with some fun springy colors.
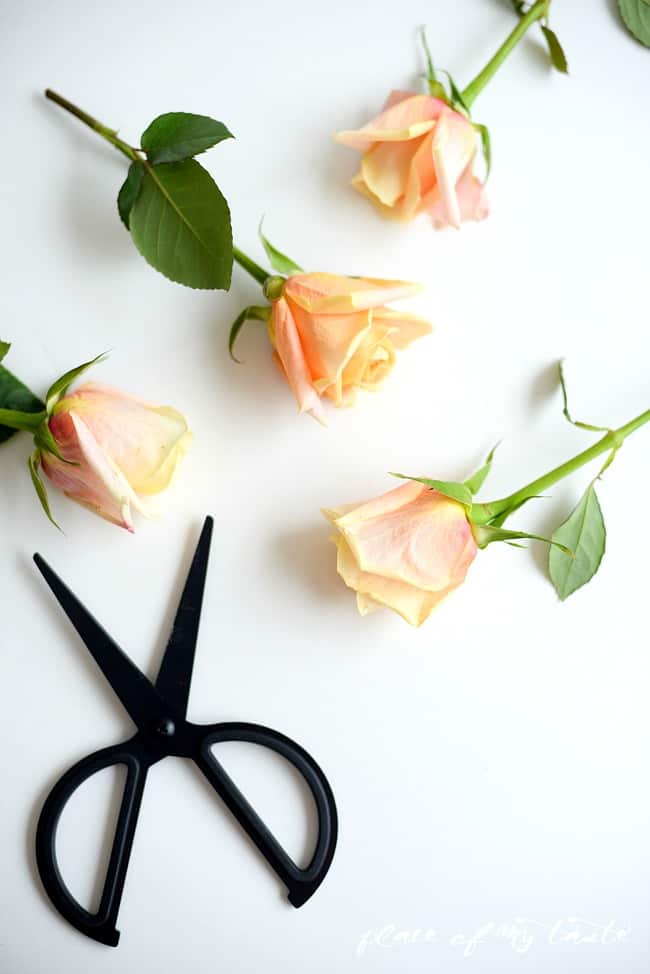
My favorite season, SPRING, is right around the corner and I can not wait for lovely flowers to start blooming. I got a bouquet of gorgeous roses at Trader Joe’s over the weekend for $3.99.
Say What..? Yes, that is how much I paid for a dozen roses. #myfavoritestore
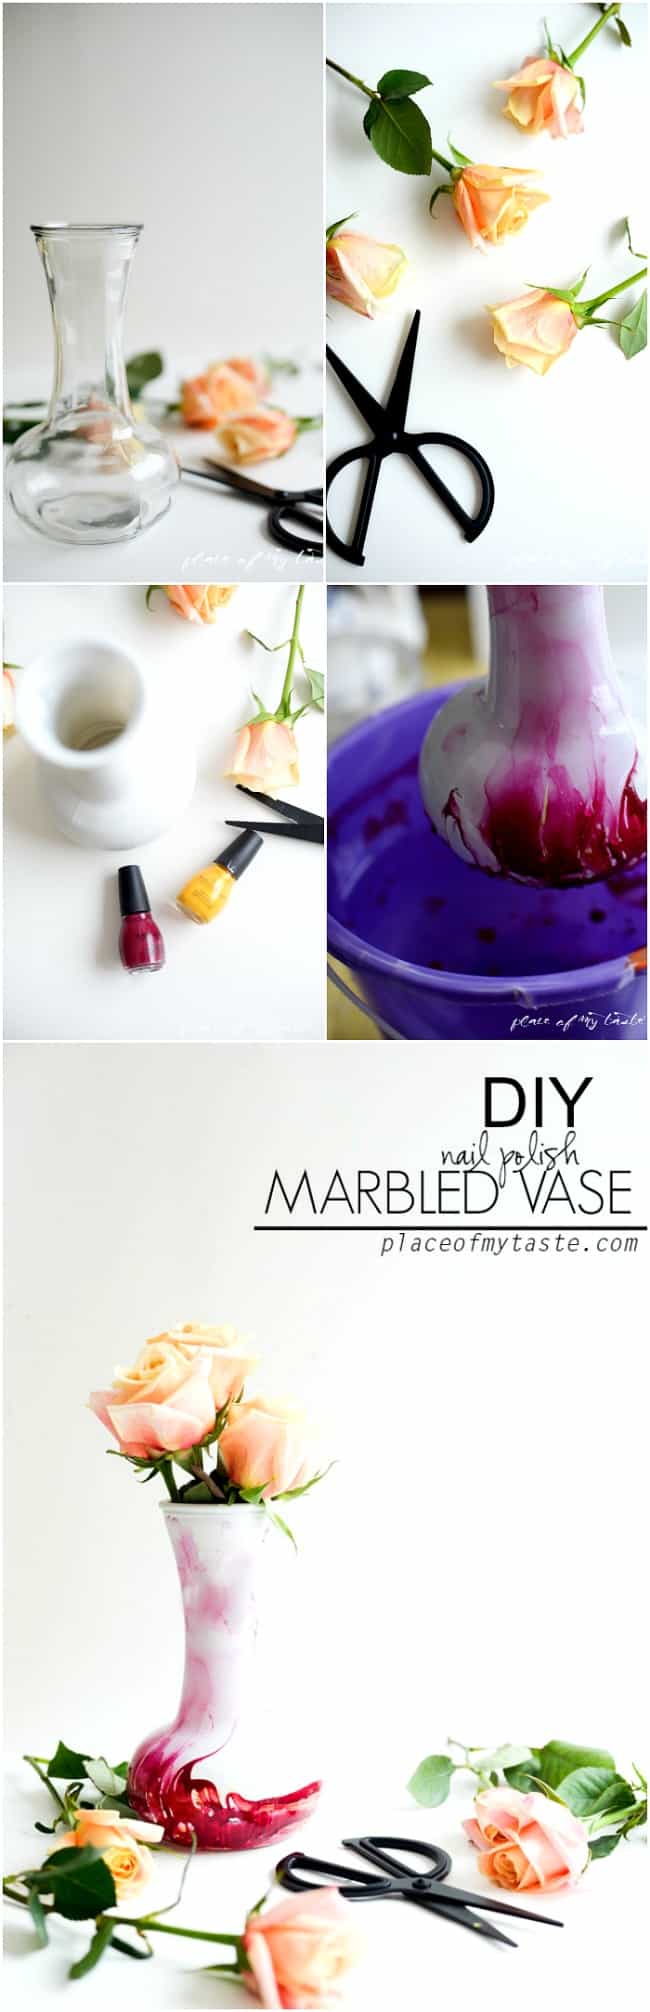
So here is my $1 – BLAH looking glass vase. Ehhh…seems ok, right?
But why not to make it look beautiful?
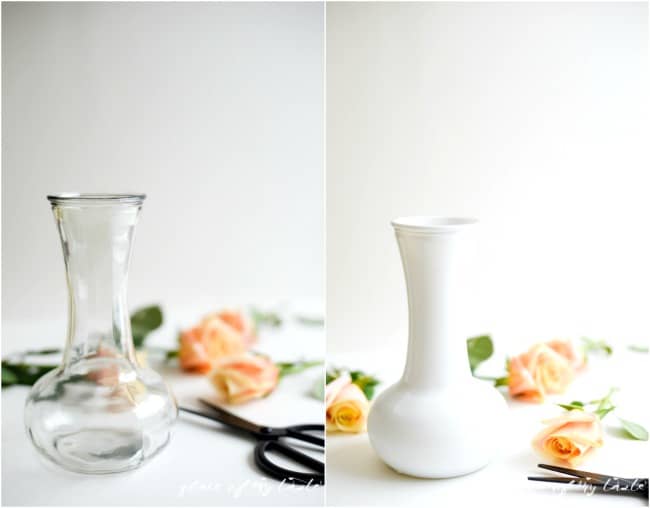
As a first step, I spray painted the glass vase white. I only spray painted the outside and a little bit of the inside ( the top of the inside only as it would not be visible anyway.)
I always have a bottle of white spray paint handy as I use it for everything. My favorite spray paint is the Rustoleum primer and paint.
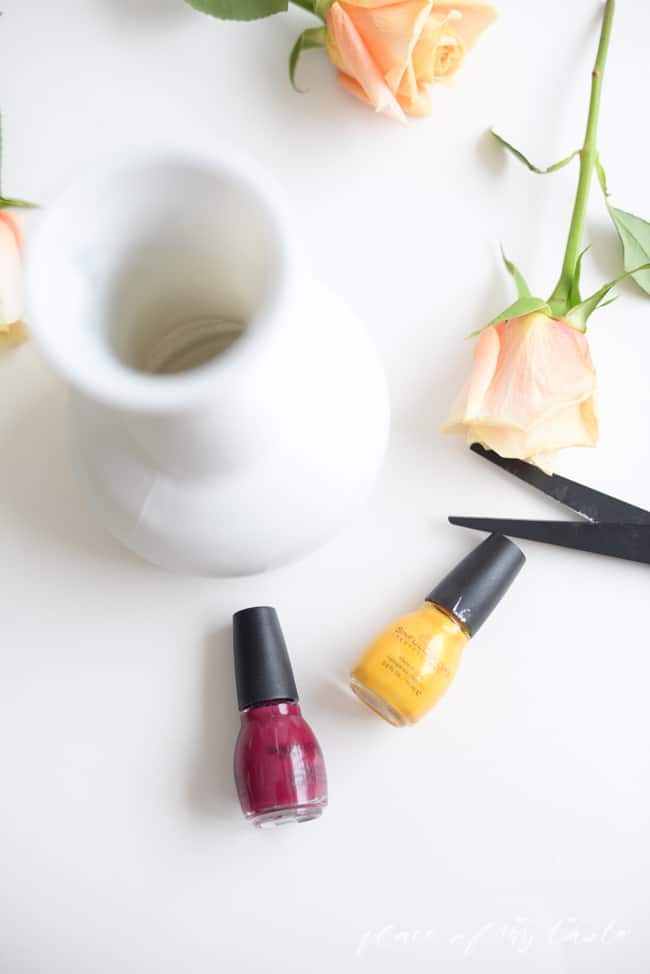
Then I got my nail polish out.
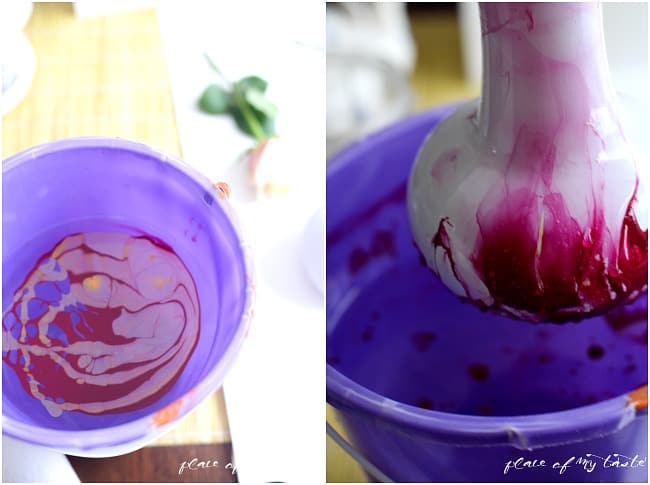
In a big plastic bucket (larger size bucket than my vase- so the water would cover the vase all the way when I’d dip it in) poured water in. The water temperature should not be too warm or too cold. Normal temperature water is perfect!
I added two colors of nail polish into the water.
Note: Get ready, it will have a really strong smell.
This is my very first nail polish marbling project, so it was sort of like an experiment. ( I already have my next project in my mind, though, so stay tuned:-).
Now I know that I could have added more nail polish into the water to have more colors shown on my vase. I only put a few drops into the water (see in my bucket, it spread in the water right away). So don’t be afraid to add more nail polish!
Then you need to move fast!!!
I dipped my vase in the water and removed it immediately.
The nail polish sticks on the surface of the vase, creating a beautiful marble effect. So easy and amazingly pretty!
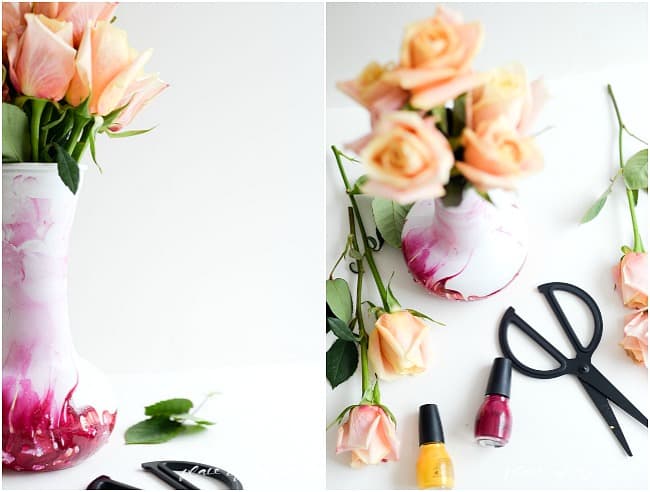
I placed my vase onto a paper towel to dry.
Update: Reader’s Question: “How did you dispose of the leftover nail polish…?”
As I put so little nail polish into the water, almost all of it went on the vase. The rest of the nail polish can be taken out from the water with a stick, or with a piece of paper towel, so you don’t drain it in the sink.
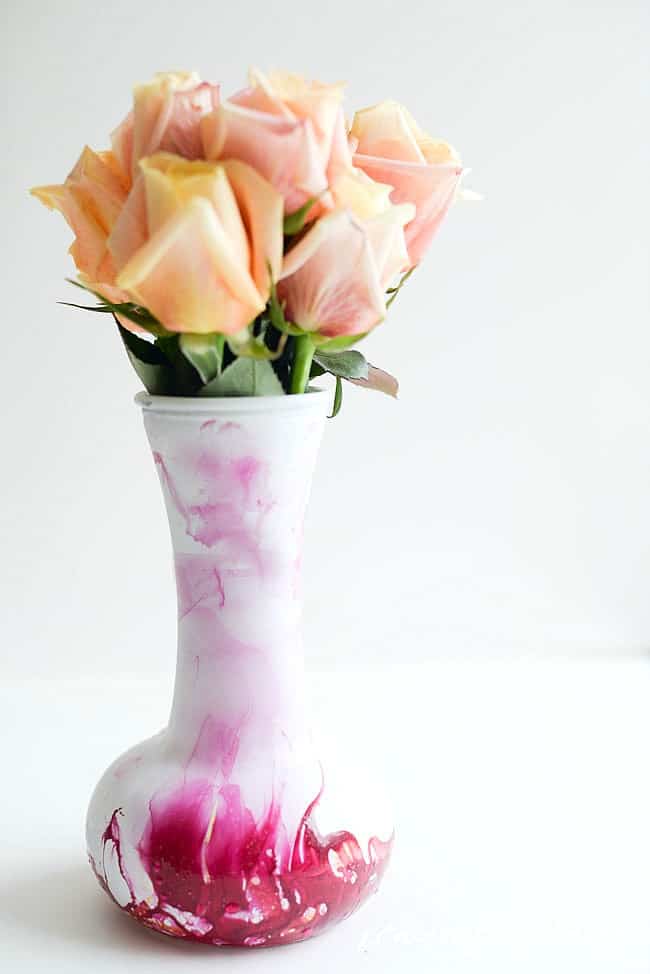
The yellow color is visible only in a few spots, but it gives a little twist to the dark color.
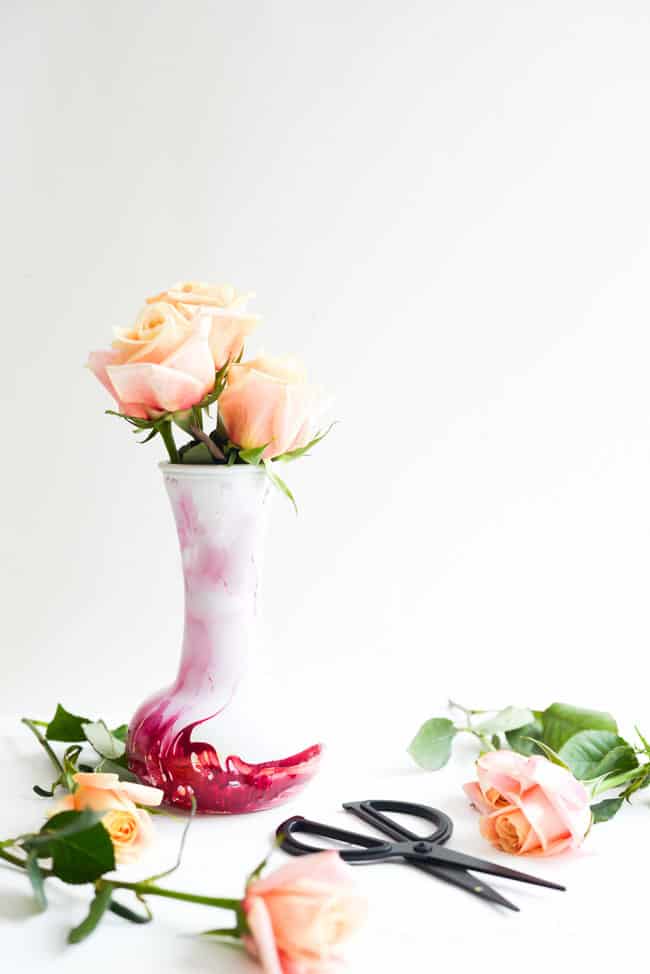
$1 store vase turned into an expensive looking piece.
WOW!
Isn’t it beautiful?
I never knew that it would be so easy to do marbling.
I hope I inspired you to get those nail polishes out from your drawer and marble something gorgeous today.
Pin it to remember for it later
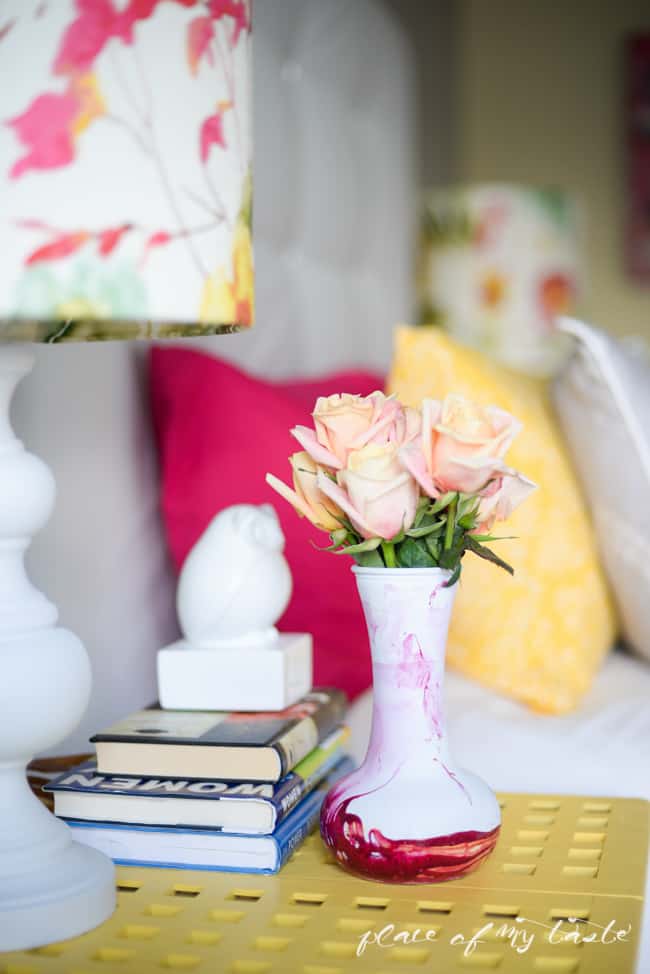
And “she” found her place on my nightstand, freshening up my bedroom beautifully.
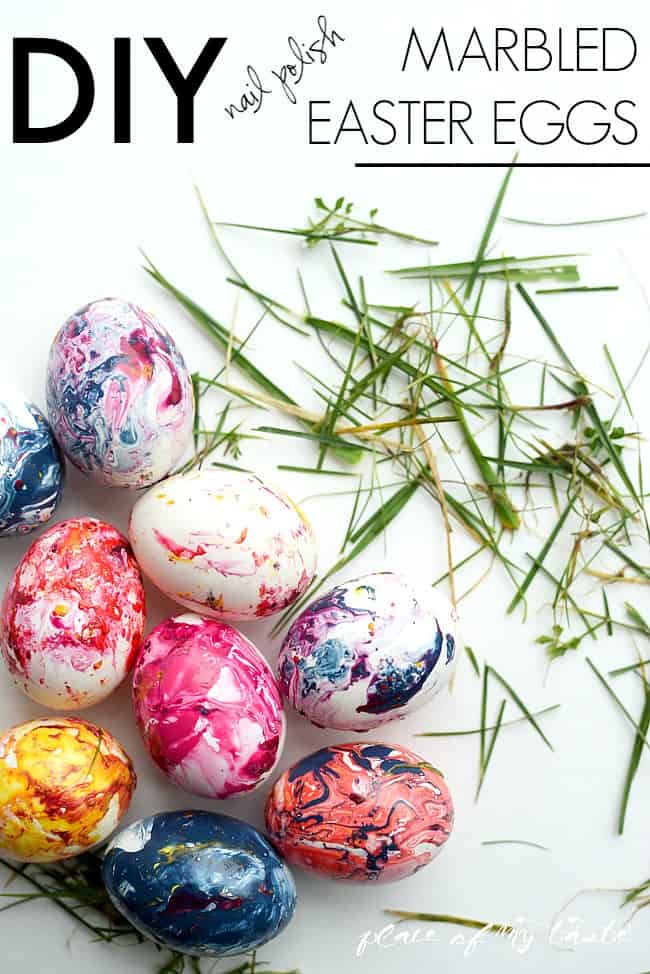
Here you can see a little sneak peek of my next post:-)
Check out my Marbled Easter Eggs (fun)
Happy marbling my friends!
If you are feeling a little more crafty or creative, be sure to check out this simple video of how to arm knit a blanket! You will love it, as much as I did! I bet!
Download your FREE floral desk calendar!


GORGEOUS, Aniko!! I love this SO much! You’ve totally inspired me, and now I’m scheming on what I can marble. Ha! Thanks so much for sharing this!! 🙂
I need to know what I did wrong. I followed the directions, but when I put the nail polish in the water, one color dropped to the bottom of my bucket immediately, the other color (black) thinned out really bad to a grey color. I dipped the vase into the water and all the color stayed on the “bottom” of the vase, with very little coming up the sides. Is there a particular nail polish that you used? I just used the cheap wal mart brand spray paint too. Is that a problem? Help, I love this idea and want to make some for my home.
Nita….I wish I could tell ya what and why that happened. It was my first try and it turned out to what it is at first try. If you see my vase, mine also had the most colors on the bottom of the vase ( that went in first to the water) and on the neck of the vase I did not have much colors. I also used a cheap (1.99) color, so that probably not what the issue was. I will experiment more with it and let you know what I find. All DIYs are trials and errors…all it matters that we have fun with it:) Hope your Monday is going well and you won’t give up experimenting marbling! Xo
I’m thinking this would be really fun to do with those glass globe Christmas ornaments they sell in craft stores for DIY projects. So many possibilities. Thanks for sharing.
Uh…sounds like a fun idea.Show me what you got once you try it, Sylvia! Have a great week!
Do you spray paint the inside and outside of the vase?
Jodi, I did not spray paint the whole inside, just a little bit of the neck part as it is not really visible.Hope you are having a fabulous Friday!
thank you
Aniko this came out just gorgeous! I have been wanting to tackle this to for a very long time but usually too much going on around here and haven’t had the chance yet. I have everything I need but it has also been too cold here and I won’t spray paint in the house or the cold. I love the colors you used for this and that hint of yellow just sets it off beautifully! Great Job!!
Thank you Shirley! Once the weather be better I hope you can get your hands on this project. Tag me a picture once you done it:-) Have a great week!
How did you let it dry? Did you set it on top of waxed paper perhaps?
Judy, I will include this inTO my tutorial- thanks for the question! Yes, as soon as the vase was out of the water I placed it onto a paper towel, but I think wax paper would do it as well. Hope this helps! Have a great week-END!
Anika this is beautiful. My question is, when you dip the vase and when you take it out of the water, do you just hold it with your fingers or do you use some kind of tongs? I love this look.
Teri- I hold it with my fingers on the very top ( almost on the edges) and it was just a quick dip into the water so I took it out right away holding the vase on the same position. Hope this helps. Have a marvelous day!
Love love love this idea Aniko!
Thank you Marie:-) Hope you are having a fabulous Friday!
Beautiful work! Do you have to swirl the polish once it is in the water?
I did not but you certainly can.You can also add lots of different colors to get a colorful marbling effect. It was my first marbling project and I need to experiment more:-)Show me your project once it is finished.!Xo
Just wondering how do you dispose of the remaining water with the nail polish in it?
Shelia, I added so little nail polish to the water that pretty much all of it stick to the vase.The remaining nail polish, if there is- can be removed from the water with a wood stick so you don’t have to wash it down in the sink. Hope this answered your question. Have a great night!
Will the nail polish stick if the vase is left unpainted? I like the idea of having a clear vase with the swirls.
Thanks.
I would sure think it would;) give it a try and let me know!!;)
It looks amazing ❤
I just posted a new DIY on my blog as well if you want to take a look.
http://curlymade.blogspot.pt/
Thank you love! Hope you are having a beautiful day!Xo
What kind of white spray paint did you use? Does it adhere to the vase easily, in 1 coat?
Oh I thought I mentioned..;) i use Rustoleum prime+paint ALL the time..i love it! Covers well!
Oh, you said you used Rustoleum primer and spraypaint, now for the white vases with the little gold hearts- where do you find old bsed sharpies?I just have the regular ones sold in office supply stores.thanks for the pretty and easy accessory ideas!
I found the oil based sharpies at Michaels;) but i think Target has them too! Hope it helps;)
So pretty Aniko! So inspiring and a perfect spot for spring flowers!
This vase is super gorgeous, Aniko! I’ve been meaning to try the marbling with nail polish. Thanks for the inspiration! PS. Where did you buy those fab scissors? xo
Thanks girl!! I have been wanting to do this for so long!! I got the scissors at IKEA…I know you don’t have one around so I may surprise you with one in April;)Xo
Amazing Aniko!! Wow – it really is fabulous and I must try this now! Sharing:)
Thank you, Krista!…and its crazy east, too;-) Can’t wait to see what you create!xo
That looks so lovely! Pretty much amazing.
-FarZain
@http://colorsofourrainbow.blogspot.ae/
Thanks so much!!;)
wow- decorating with bleachpens, nail polish–I never would have thought of this, but its a great idea!you folks are so cretive!thanks!
They are beautiful. Thanks for sharing the technique –
Have a wonderful day.
Much love,
Rose
Glad you stopped by today, Rose! Have a wonderful week!Xo
Have you clear coated with spray paint after the nail polish dip? Not sure how the paint wears after use. Just started.
Holly, I have not coated the vase and it pretty much looks the same today as it was when I made it. It’s a decor vase tho so not much of a wear to it:-) I hope yours will turn out pretty as well:-)
I LOVE this! It turned out beautifully!
Thanks so much, Krystine!!