DIY NAIL POLISH MARBLED VASE
Learn how to marble a vase with nail polish today!
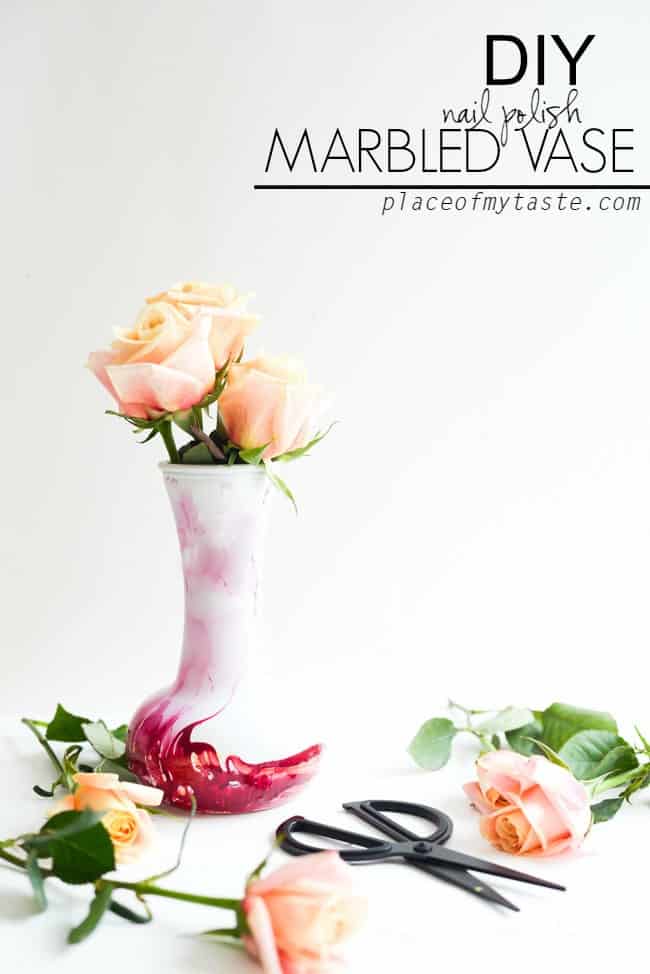
This DIY has been on my list FOOOREEEVER. Seriously! I have seen so many amazing marbled projects all around blogland, and I had to try it myself. Who knew that beautiful nail polish could not only make your nails shine, but a simple $1 store vase could look Ah-mazing after a little 2-minute transformation using some colorful nail polish.
Yup!!
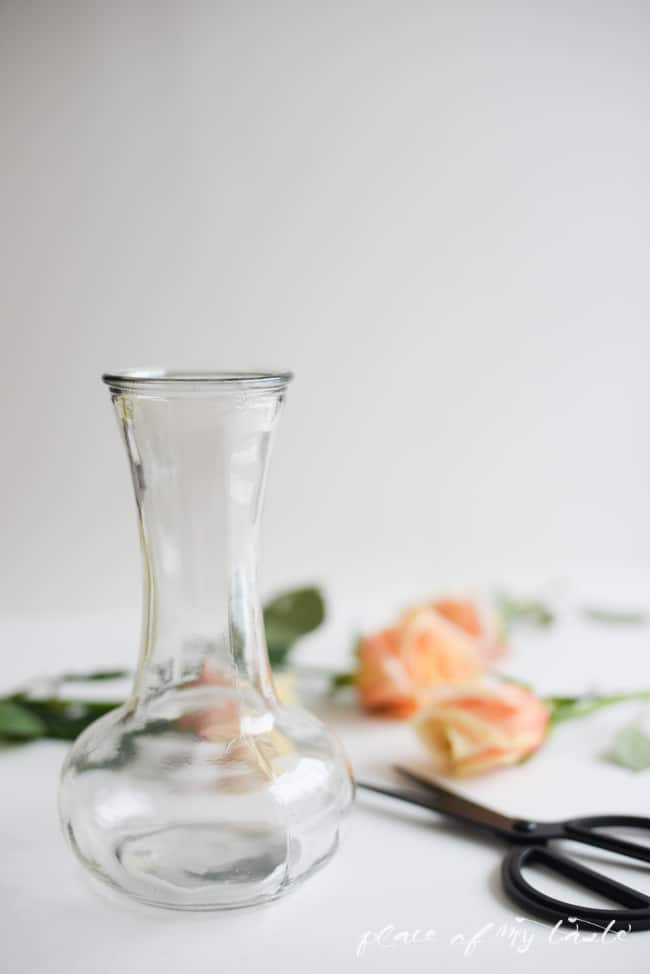
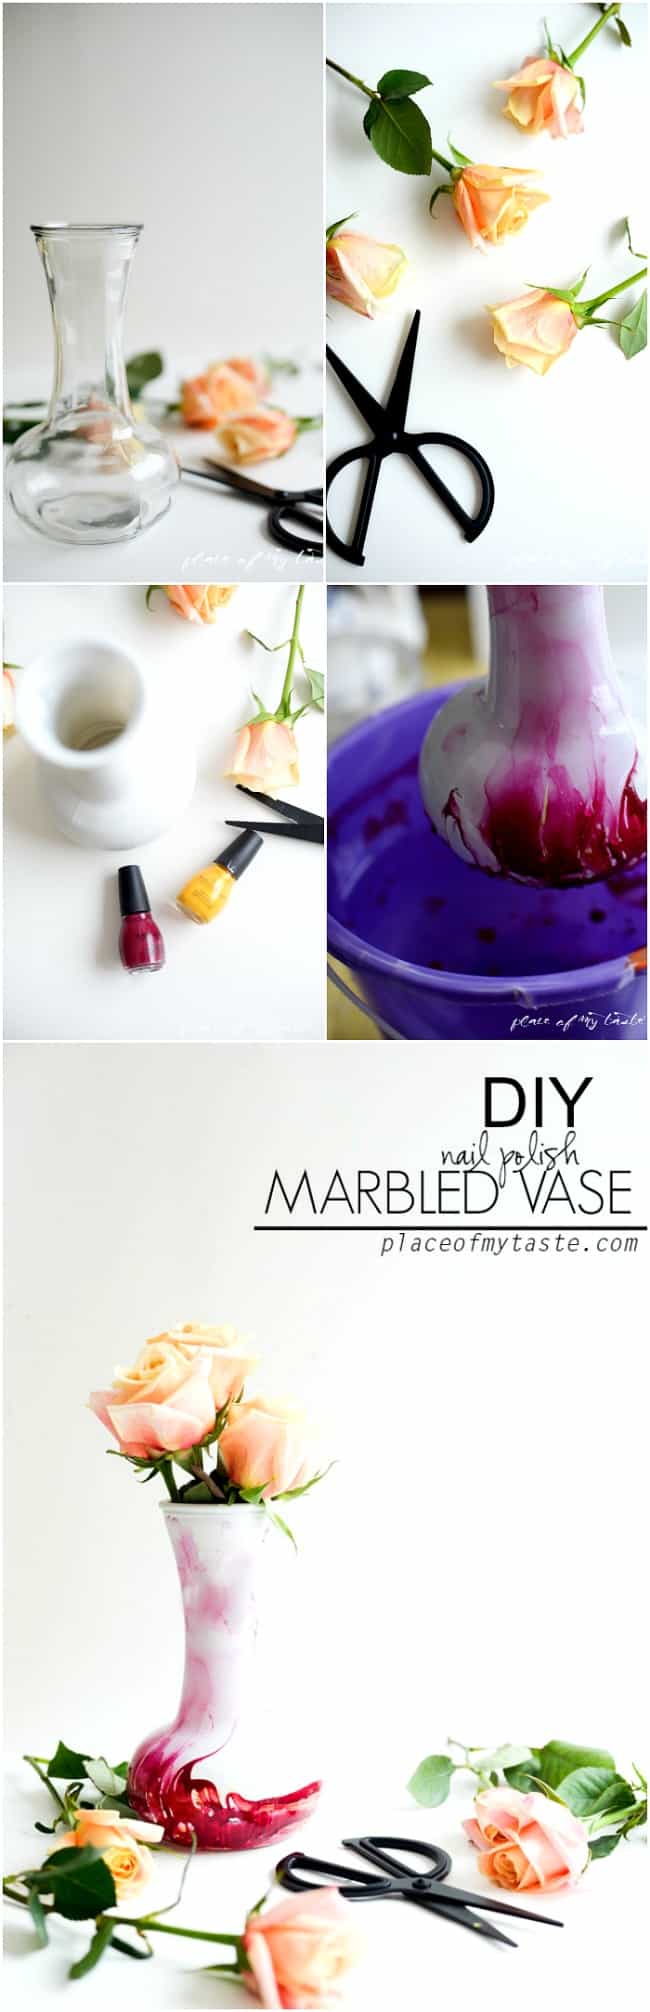
Marbling the vase took a few minutes. I bought this glass vase a few months ago at Dollar Tree because I loved the shape. I loved it. It looked OK with fresh flowers, but overall it was pretty BLAH…so I decided to make her look fabulous with some fun springy colors.
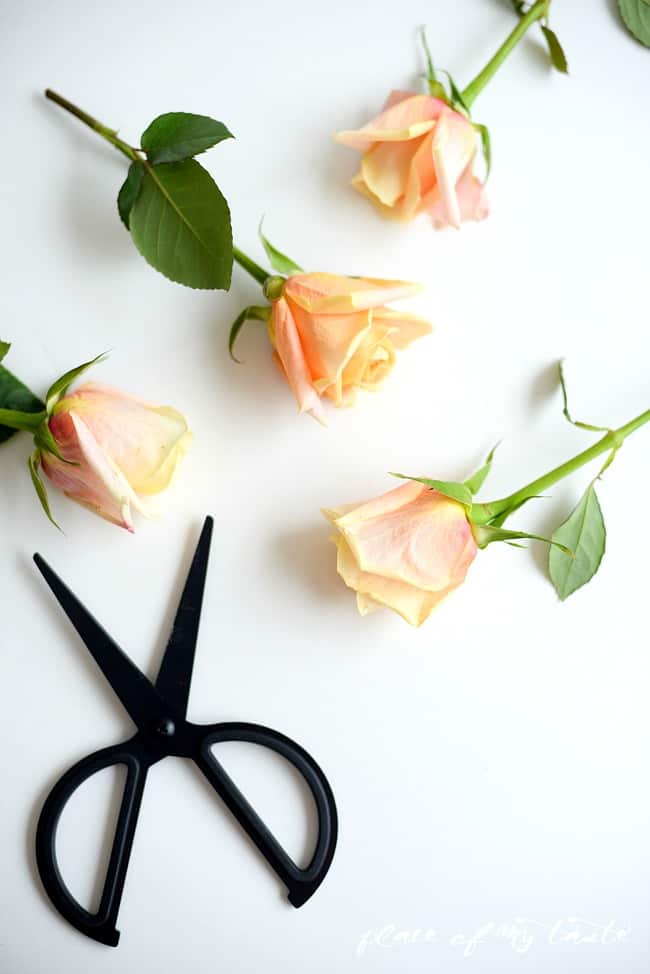
My favorite season, SPRING, is right around the corner and I can not wait for lovely flowers to start blooming. I got a bouquet of gorgeous roses at Trader Joe’s over the weekend for $3.99.
Say What..? Yes, that is how much I paid for a dozen roses. #myfavoritestore
So here is my $1 – BLAH looking glass vase. Ehhh…seems ok, right?
But why not to make it look beautiful?
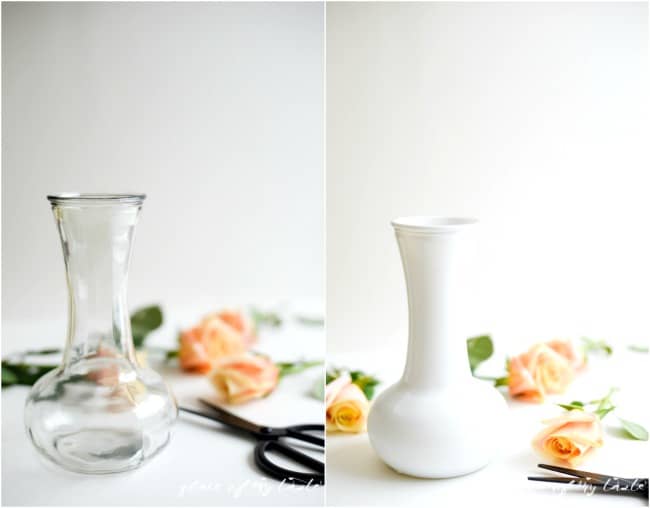
As a first step, I spray painted the glass vase white. I only spray painted the outside and a little bit of the inside ( the top of the inside only as it would not be visible anyway.)
I always have a bottle of white spray paint handy as I use it for everything. My favorite spray paint is the Rustoleum primer and paint.
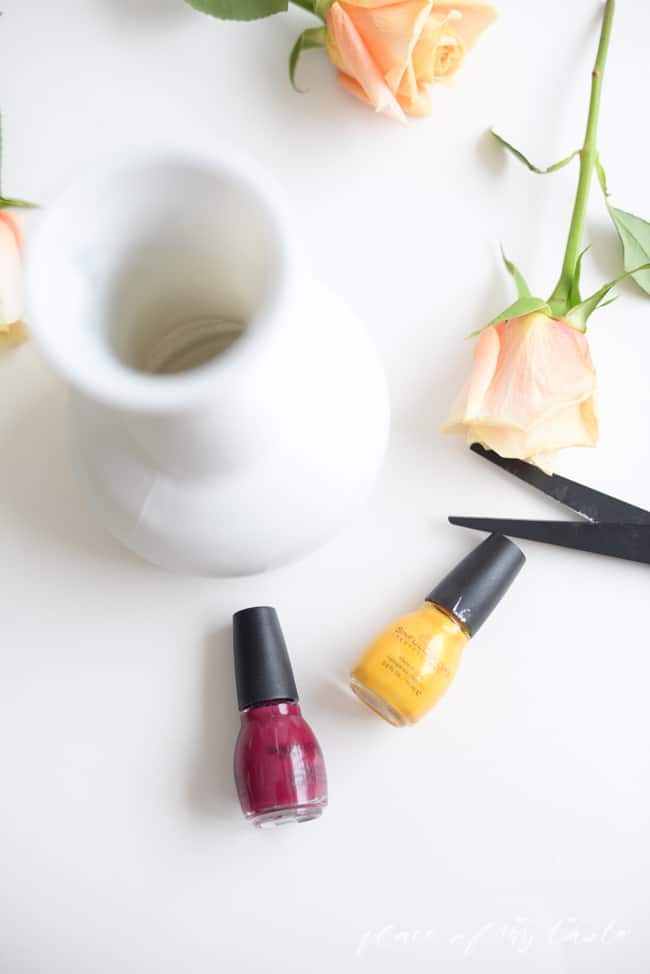
Then I got my nail polish out.
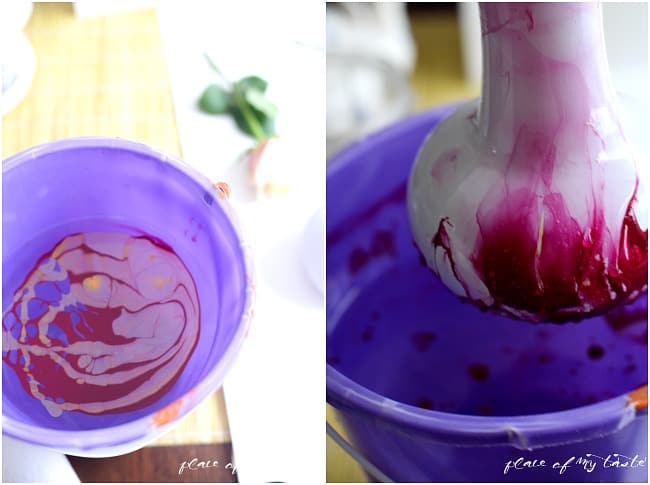
In a big plastic bucket (larger size bucket than my vase- so the water would cover the vase all the way when I’d dip it in) poured water in. The water temperature should not be too warm or too cold. Normal temperature water is perfect!
I added two colors of nail polish into the water.
Note: Get ready, it will have a really strong smell.
This is my very first nail polish marbling project, so it was sort of like an experiment. ( I already have my next project in my mind, though, so stay tuned:-).
Now I know that I could have added more nail polish into the water to have more colors shown on my vase. I only put a few drops into the water (see in my bucket, it spread in the water right away). So don’t be afraid to add more nail polish!
Then you need to move fast!!!
I dipped my vase in the water and removed it immediately.
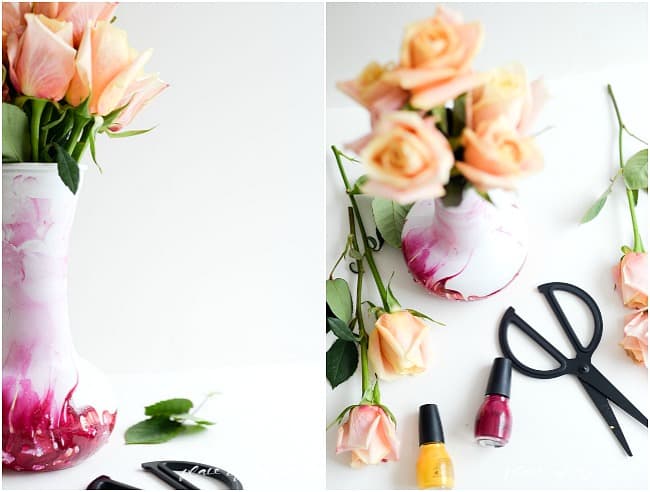
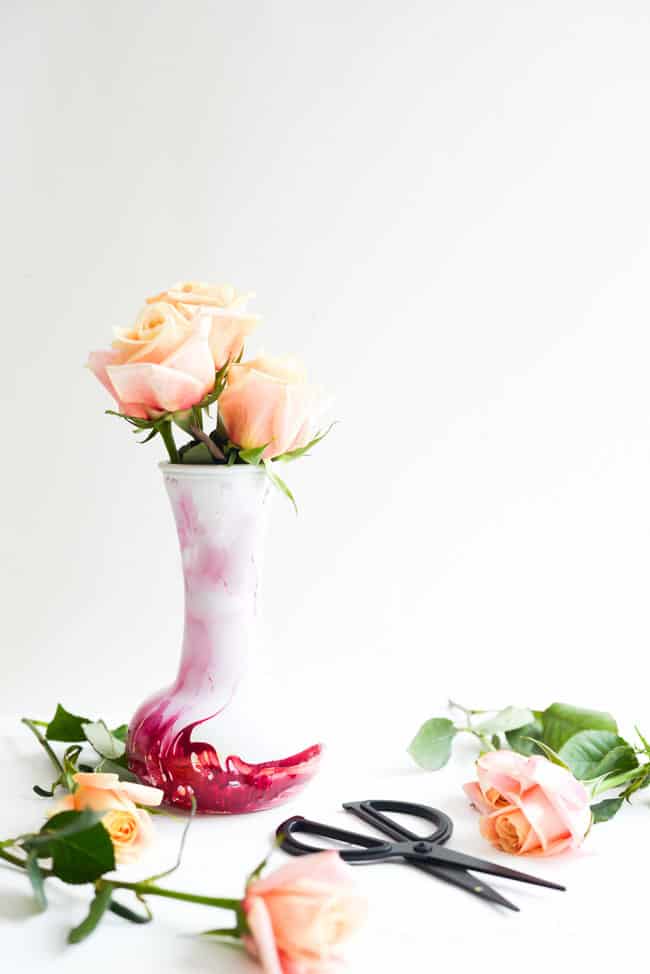
The nail polish sticks on the surface of the vase, creating a beautiful marble effect. So easy and amazingly pretty!
I placed my vase onto a paper towel to dry.
Update: Reader’s Question: “How did you dispose of the leftover nail polish…?”
As I put so little nail polish into the water, almost all of it went on the vase. The rest of the nail polish can be taken out from the water with a stick, or with a piece of paper towel, so you don’t drain it in the sink.
The yellow color is visible only in a few spots, but it gives a little twist to the dark color.
$1 store vase turned into an expensive looking piece.
WOW!
Isn’t it beautiful?
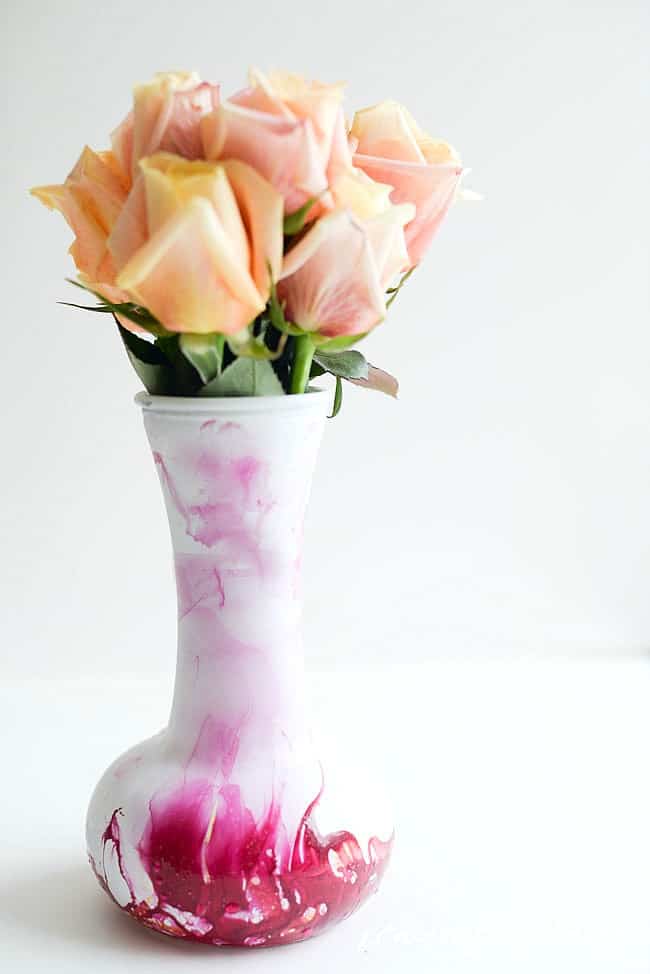
I never knew that it would be so easy to do marbling.
I hope I inspired you to get those nail polishes out from your drawer and marble something gorgeous today.
Pin it to remember for it later
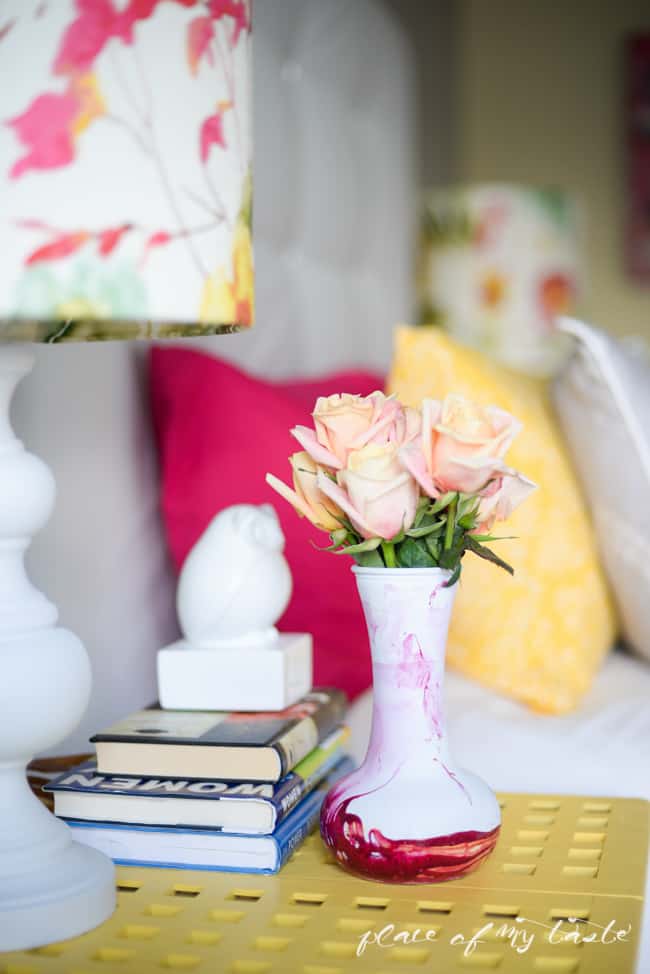
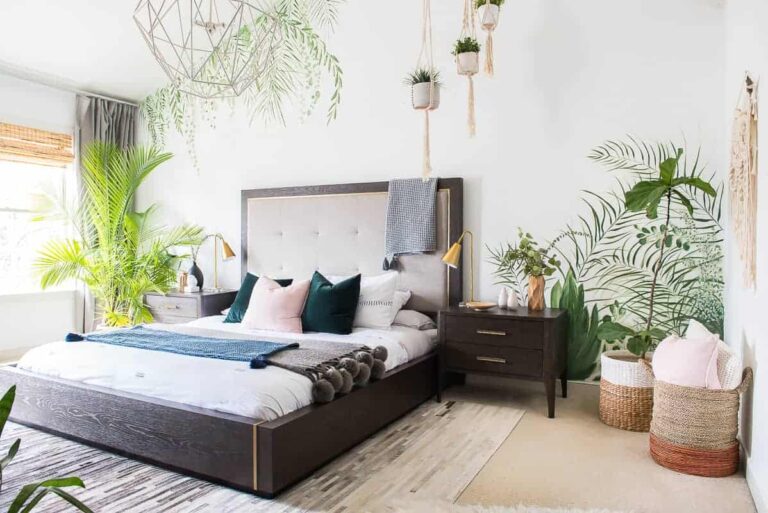
And “she” found her place on my nightstand, freshening up my bedroom beautifully.
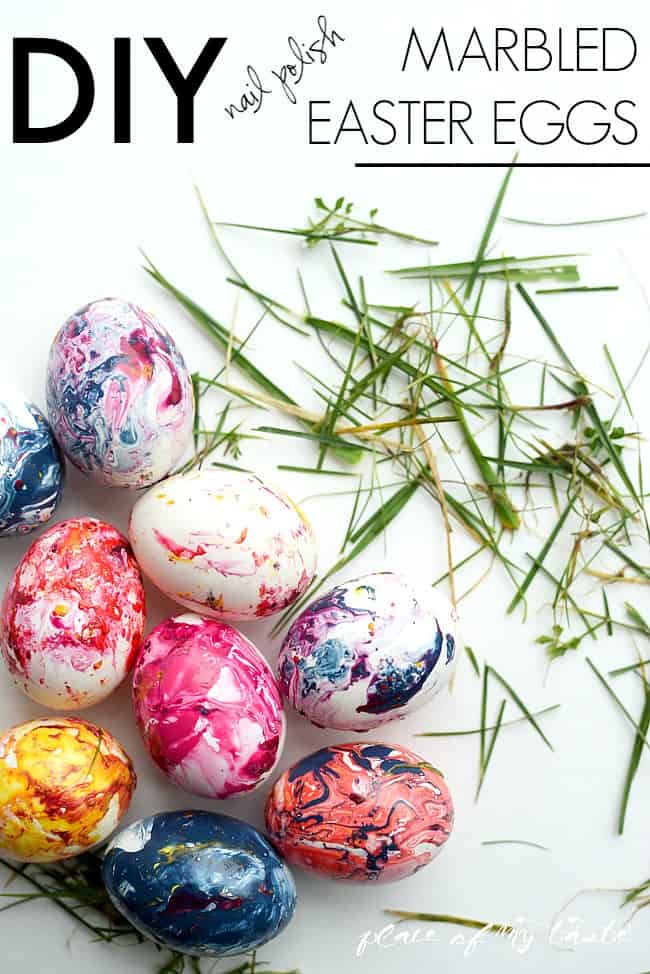
Here you can see a little sneak peek of my next post:-)
Check out my Marbled Easter Eggs (fun)
Happy marbling my friends!
If you are feeling a little more crafty or creative, be sure to check out this simple video of how to arm knit a blanket! You will love it, as much as I did! I bet!
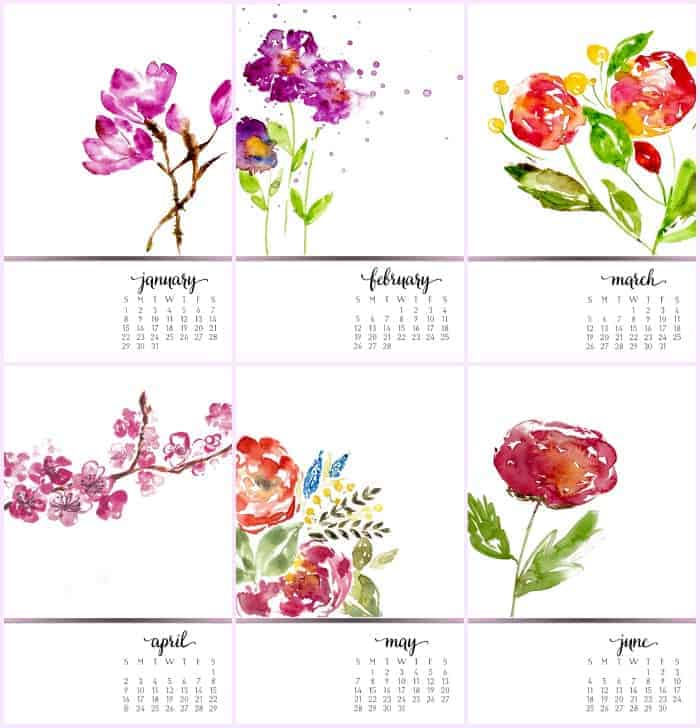
Download your FREE floral desk calendar!

Can this be used outside or is it indoor use only
I am pretty sure you can use it outside as well.:-)
What a smelly mess clumps of the nail polish here and there had to wipe it off as best I could and. Nothing to show but a headache from the smell
Aniko,
I have tried this several times, some with great results some not. I do know if you ever intend to wash these vases they need to be clear coated. I put a couple of mine in the dishwasher to see how they stood up, most of thecolor washed off. I did not paint mine white first so I don’t know if that would make a difference. Ii just dipped 2 vases a couple of days ago and I’m going to spray them with rust-oleum lacquer. Wish me luck.
I just read how to marbling with nail polish. I just have to tell you. that it was very hard to read it. The printing was so light that it was hard to read.
I appreciate you for letting me know! I will look into it! Have a blessed day!
I have to try this technique. Thank you sooo much for sharing with us. It certainly looks lovely. But … Could you tell us about the water temperature. Was it hot, cold, lukewarm or just room temperature?
Gloria! You will love this project. Use normal luke warm temperature!:-)
This looks fantastic. I love how you only used one color. I tried this on some ceramic tile (I didn’t want to muck up any of my pretty vases just yet), it was so much fun and turned out WAY better than I thought it would. You can check out my coasters here: http://www.geeksandglitter.com/2016/08/marble-nail-polish-coaster.html#.V7ENxzUpCUk
We love this! It looks great!!
Lovely results!!!!
I’ve tried marbling with nail polish and got very poor results. The polish ended up getting very bubbly; maybe I shook it too much before starting. I’ve read other tutorials about water temp making a difference (slightly warmer being better). What did you use?
This is beautiful!! I love the colors. Wonder what would happen with more colors. My question is, when you spray painted the vase initially, did you have to let it dry before dipping in the water?
And, what a treat to get roses for that price! I wish we had a Trader Joes around where I am. Anytime we visit family in VA. I stock up on some of my favorite things that I cant find elsewhere.
Thanks for sharing this. It really is inspiring!!
Rachel, I know…Trader Joes is a little bit of drive for me but I visit every week…for food, for flowers…I just love that store. To answer your question: yes, I let the vase completely dry before dipping in water. More color…more fun:-) I shared my super gorgeous MARBLED EGGS today…check it out, there I used more colors.:-) Hope you are having a great Monday!Xo