EASY PAINTED PLANTERS
Today I show you some pretty painted planters that ANYONE can recreate!
Yesterday I shared my “magical oasis retreat” ( -this was one of the comments on Insta, and I LOVED it) bedroom reveal, and I am still in greenery mode. This fun Spring projects/DIY blog hop is hosted by Krista over at The Happy Housie, and while you are going to see so many beautiful, pink, pastel, real springy projects throughout this hop, I am sticking my guns to the fresh and green projects.:-) Oh well. It’s only February, and we only had ONE real gorgeous day ( over 73 degrees), so I am genuinely not feeling the pinks and pastels yet. But this simple and super duper easy project that I am sharing today is for EVERYONE who loves house plants. I feel the need to have greenery in my home. I, to be really honest though, kill many plants and I am learning that I should probably never buy a Fiddle Fig Tree unless it’s fake. I just can’t keep up with it. But I found specific plants that are easy to care for, and still add airy and fresh vibe to the home.
The other day I was searching for planters ( I even asked my audience on Insta, and most people pointed out HomeGoods.)I figured that maybe I could make some on my own that I like. I found a few at HomeGoods too, like that big one on the image below but it’s a hit, or miss and HomeGoods is not too close to me.

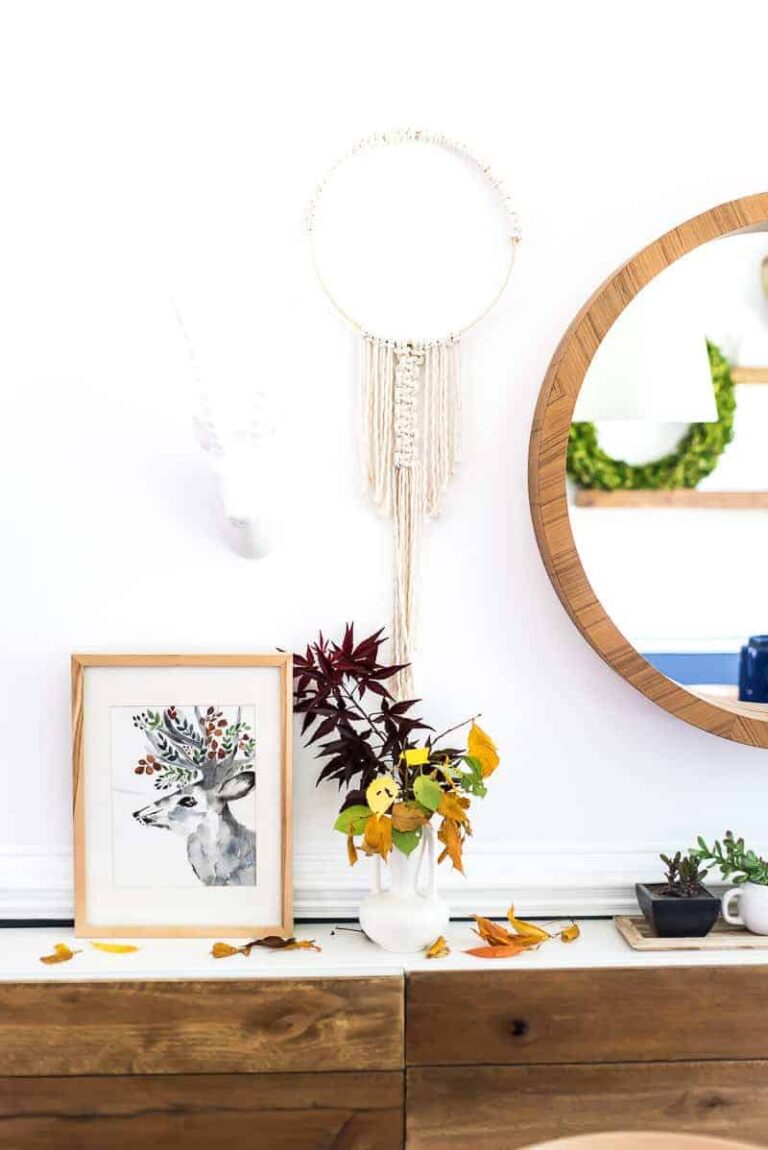
Yeah, guys! This is the Oasis Retreat I was told you about earlier haha. See more pictures of this fresh and new bedroom HERE.
But let’s focus on how I made these easily painted planters!
Few things you will need for the project:
- -plastic planters
- -spray paint (if you find while plastic planters, you can skip this step)
- -acrylic paint
- -paintbrush
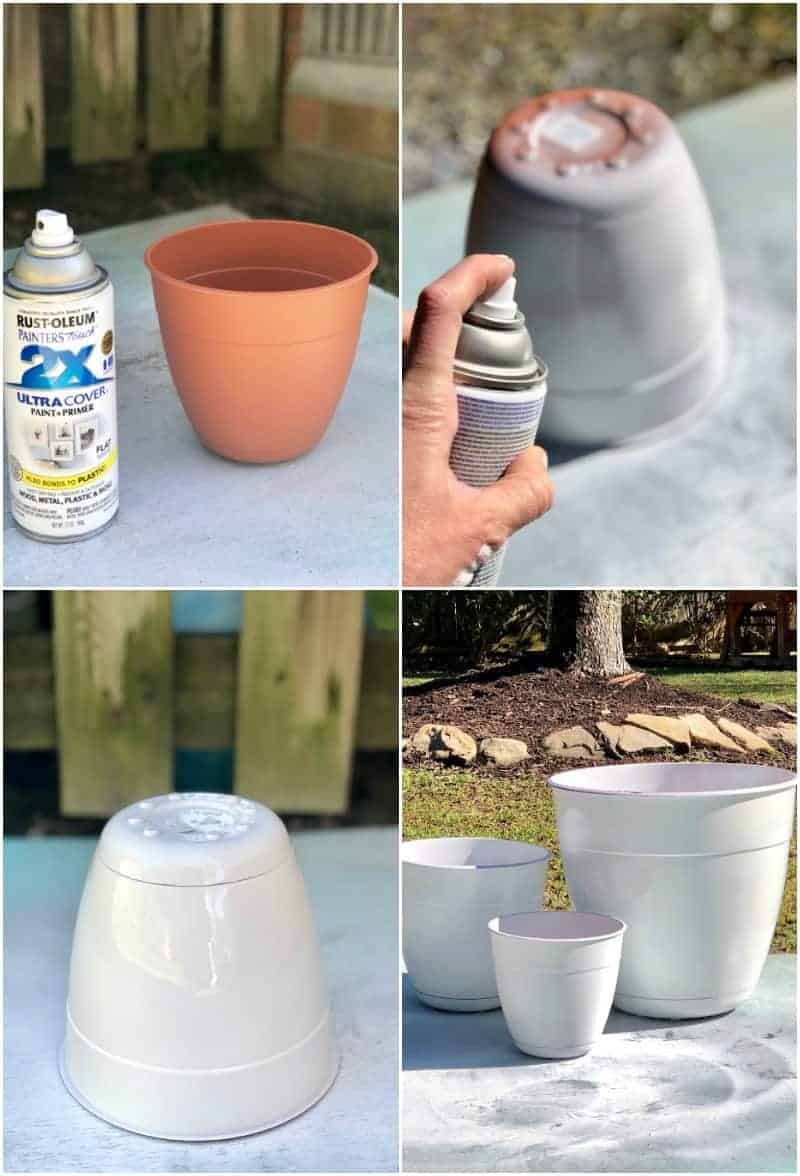
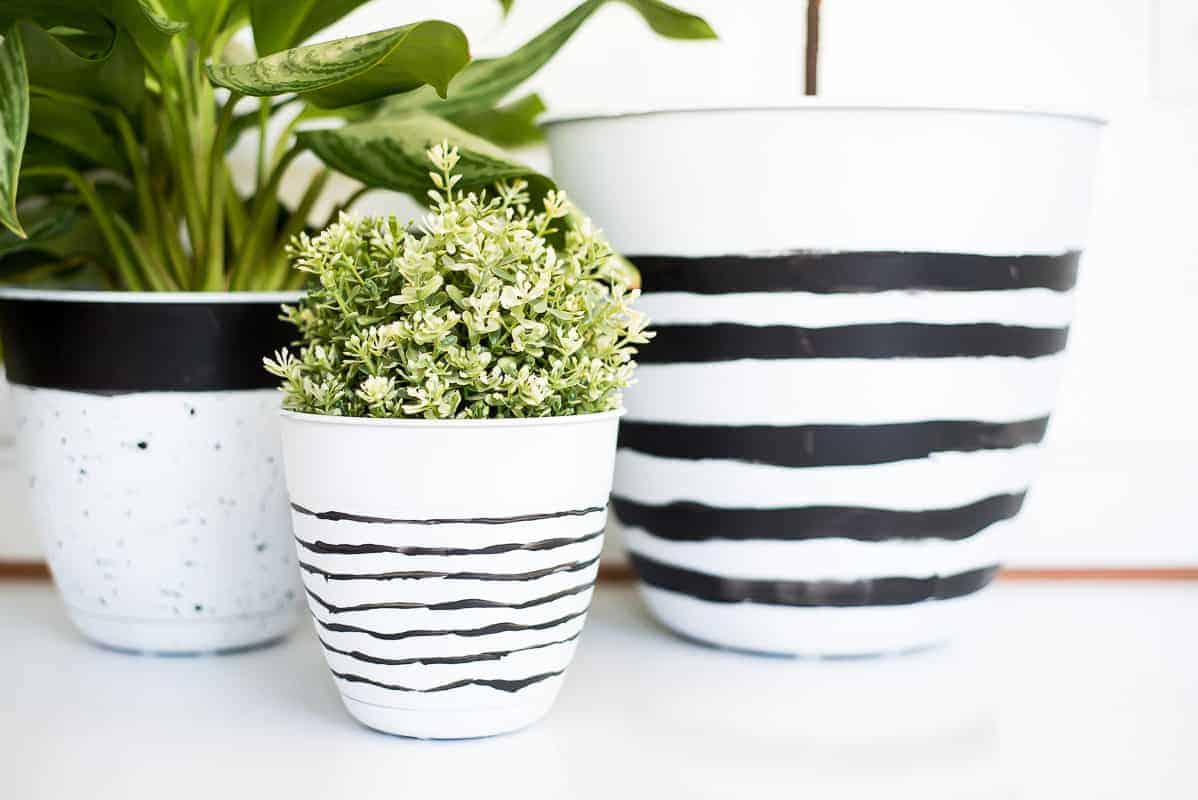
My local Home Depot did not have white planters, so I bought three different size plastic planters that I spray painted first with flat white paint. It took maybe 10 minutes.
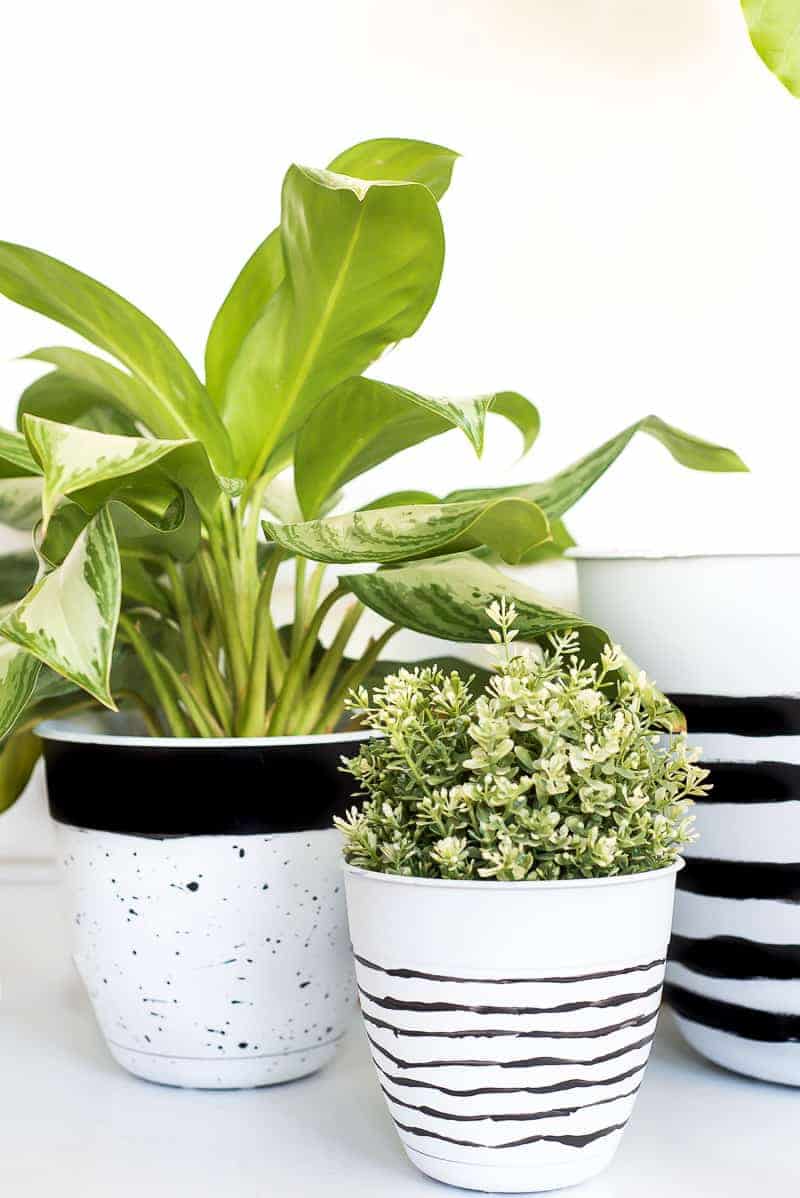
Then, this time my friends, I didn’t get too artsy. I just went with the flow and drew thin lines on the small planter and thicker lines on the large planter using acrylic paint. On the medium size planter, I splashed some paint on with the brush and painted the upper part of the planter.
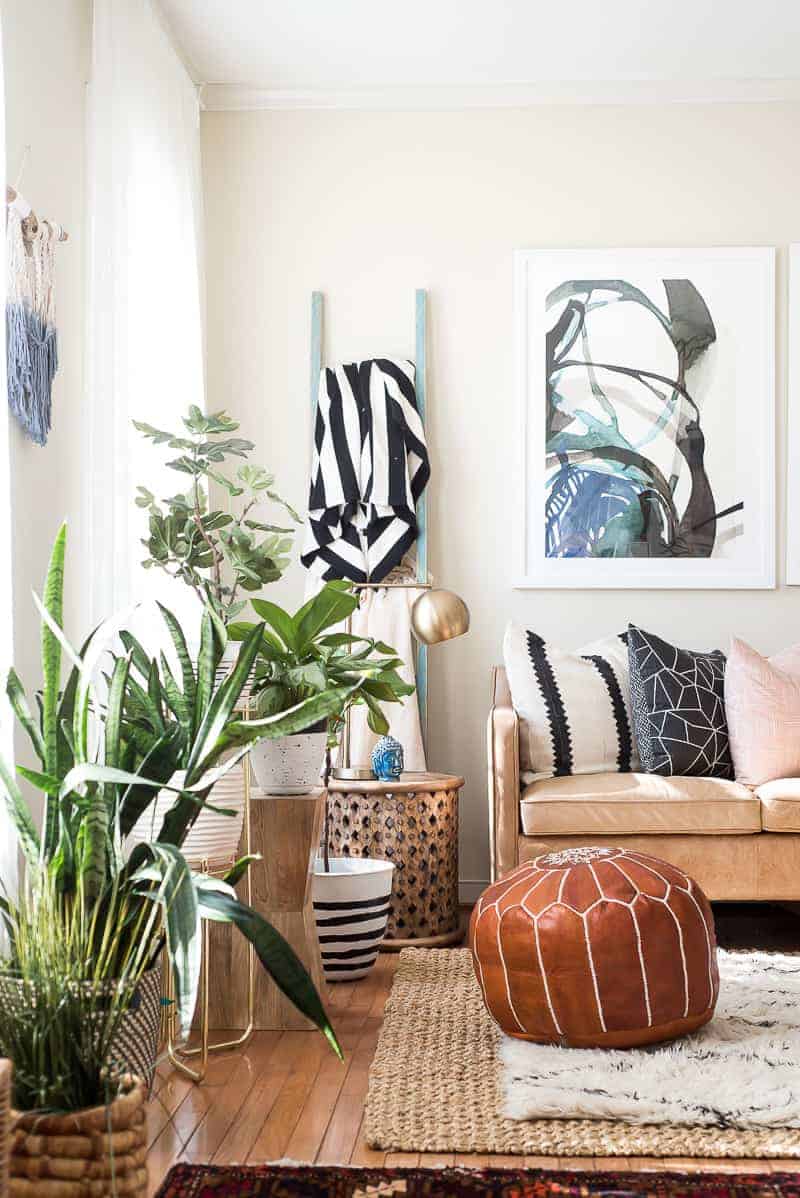
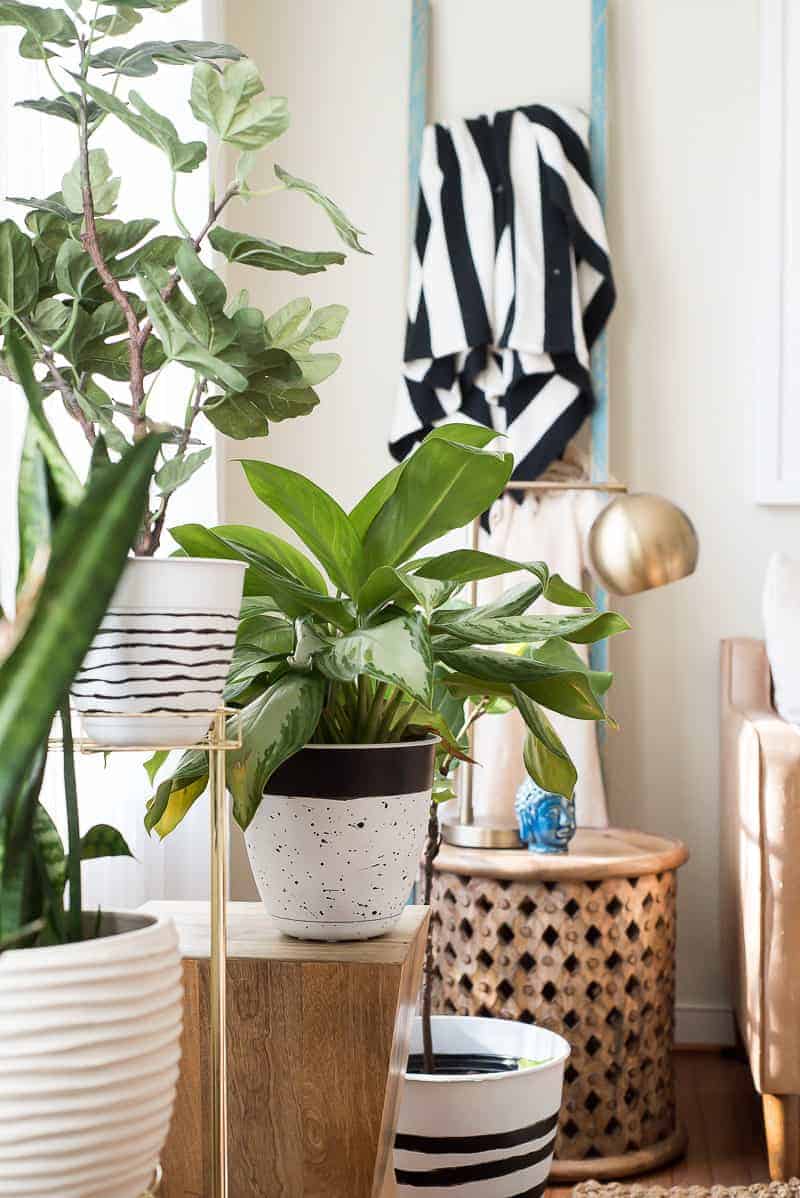
Okay! I told you that this is a project that ANYONE can make and it looks pretty decent with my plants displayed in my living room.
Tell me what you think? Yay or nay? I think it was worth my 16 dollars and 15 minutes to make these excellent planters!

Today some of my crazy talented friends are sharing their beautiful and inspiring spring DIY & Craft ideas! Head over to see what they have in store…
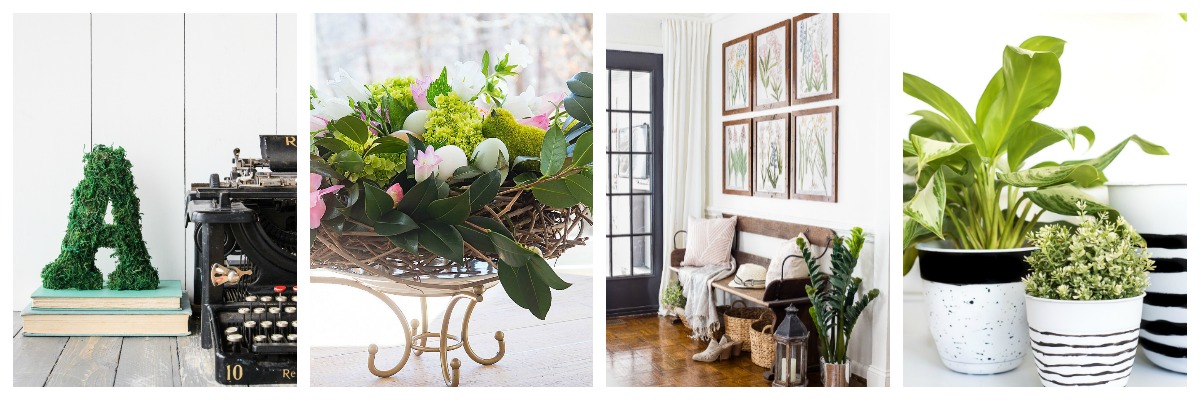
DIY Moss Letters at The Happy Housie
DIY Spring Floral Bird’s Nest Centrepiece at Duke Manor Farm
Spring Botanical Gallery Wall Printabls at Bless’er House
Easy Painted Planters at Place of My Taste
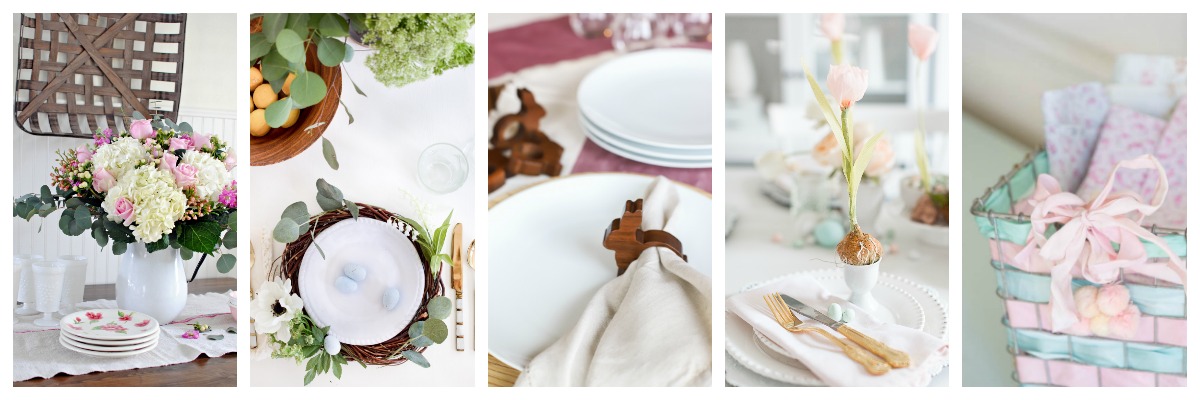
Spring Floral Arrangement at Town & Country Living
DIY Spring Plate Charger and Candle Ring at Zevy Joy
DIY Wood Bunny Napkin Rings at The House of Wood
Crepe Paper Tulip Surprise at Craftberry Bush
5 Minute Simple Spring Ribbon Project at Shabbyfufu
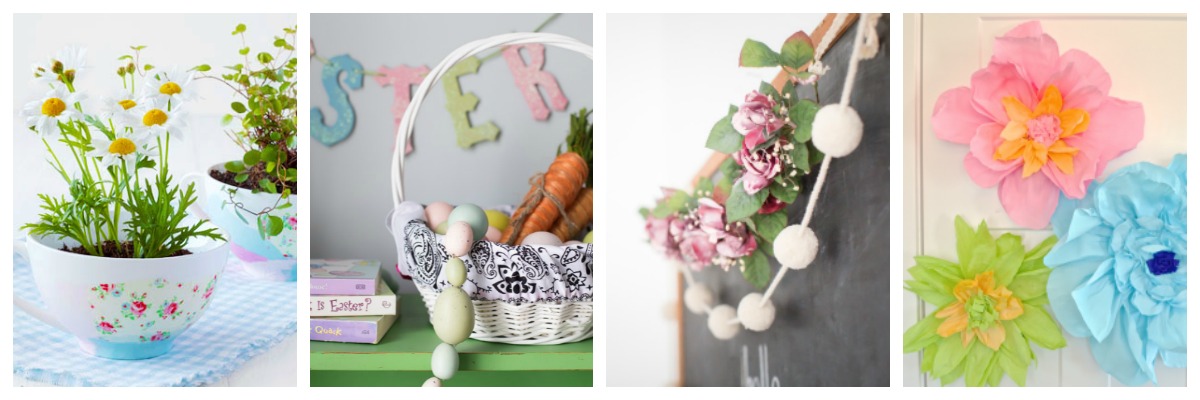
Decorative Tissue Paper Tea Cups at Paint Me Pink
$1 Bandana Easter Basket Liner at Heathered Nest
How to Make Giant Paper Flowers at Newly Woodwards
DIY Thrifted Garland Makeover at Amber Tysl
Thanks for checking in today!
Cheers,
Aniko

My local Home Depot did not have white planters, so I bought three different size plastic planters that I spray painted first with flat white paint. It took maybe 10 minutes.
The monotone design is really sleek and current looking. When it comes to interior design, you’ve got excellent taste. Wow, that was quite helpful.
I love how simple and modern it looks with the monochrome style.
You have good taste in decoration!
Thanks for sharing!
These are so adorable, Aniko – fresh and pretty and perfect for your decor. And your bedroom! Wow!!
So cute! I like the idea of painting your own pots to create a custom and personalized look!
What a clever idea, Aniko! I never would’ve guessed those are plastic pots! Gorgeous as usual. And hello – how did I miss your bedroom refresh?! Going to check it out now… xo
Thanks girl! Sometimes easy projects go a long way haha!:-) Can’t wait to see what you made! I bet it something AH-mazing!
Love the graphic black and white. These will look great all year!
Thanks, Kim! Have a wonderful day!
time well spent. they look so pretty in your living room space!
Little time, big impact.:-) Thanks for stopping by!