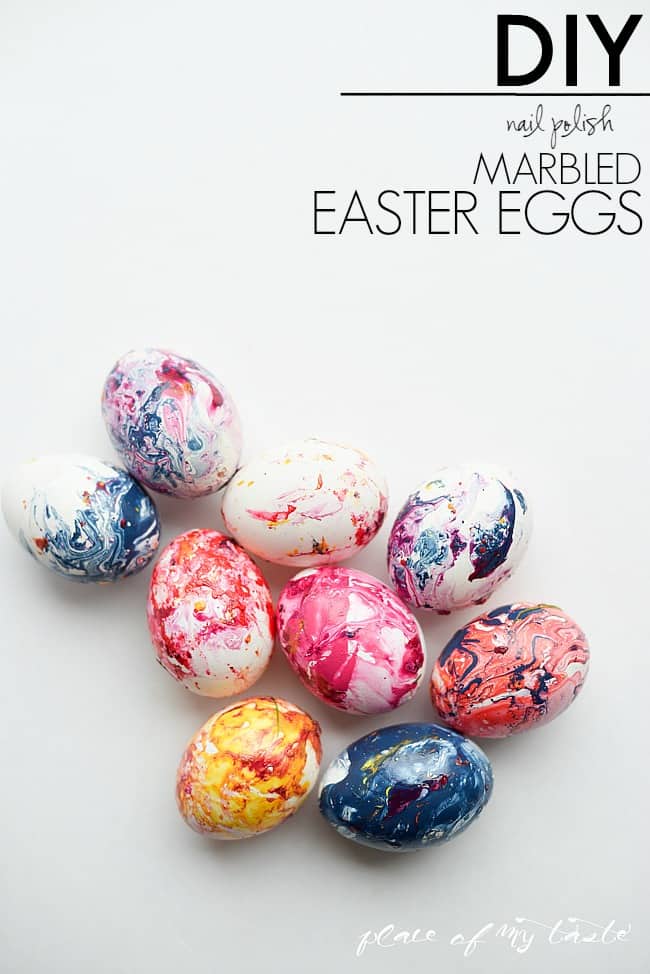
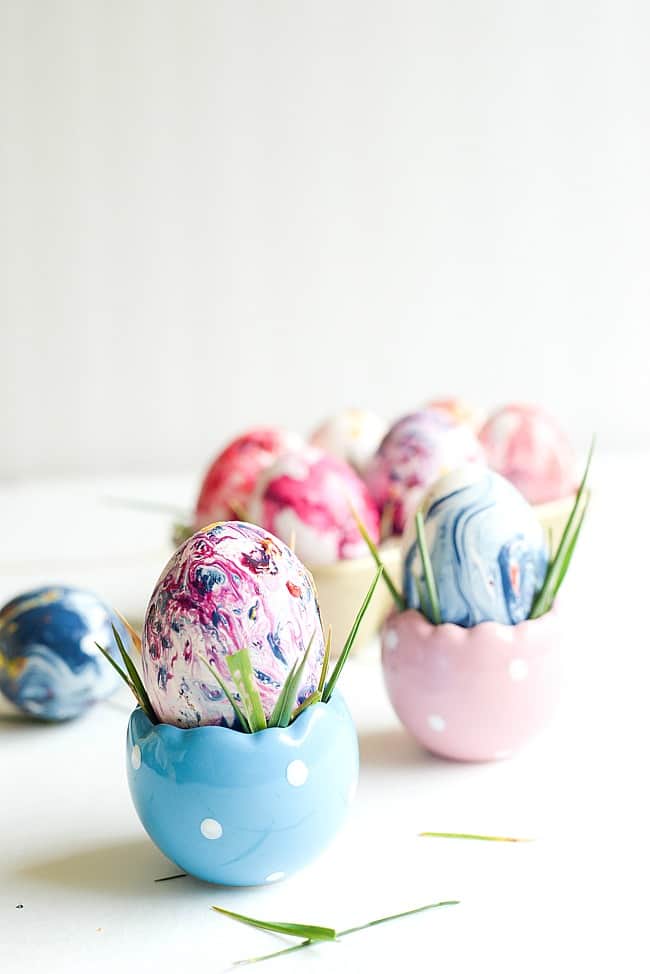
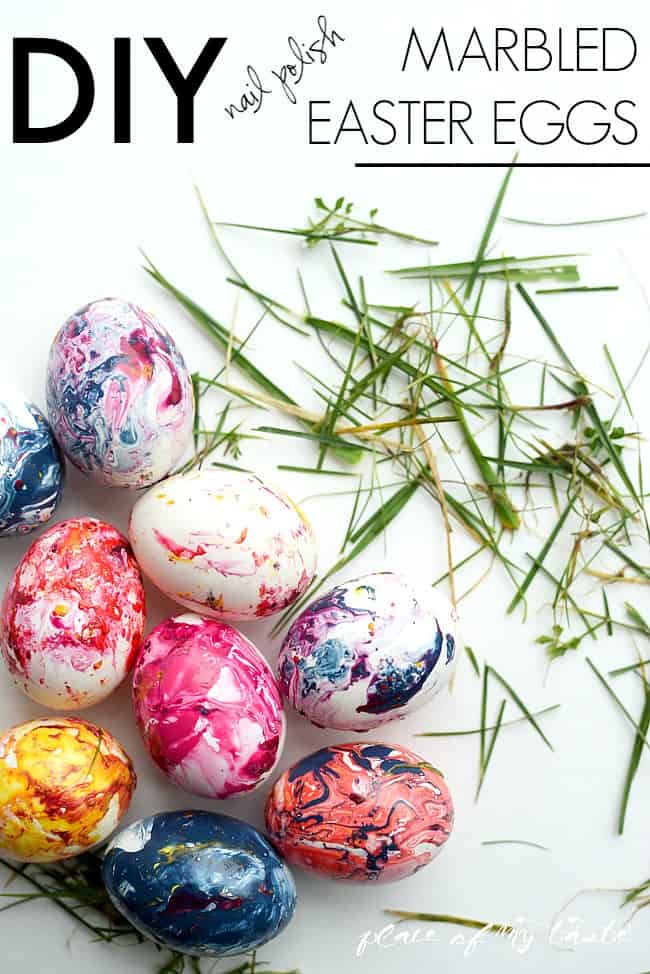
MARBLED EASTER EGGS
““This post is part of a social shopper marketing insight campaign with Pollinate Media Group® and All You® and Real Simple® but all my opinions are my own. #pmedia #SpringintoMeTime http://my-disclosur.es/OBsstV”
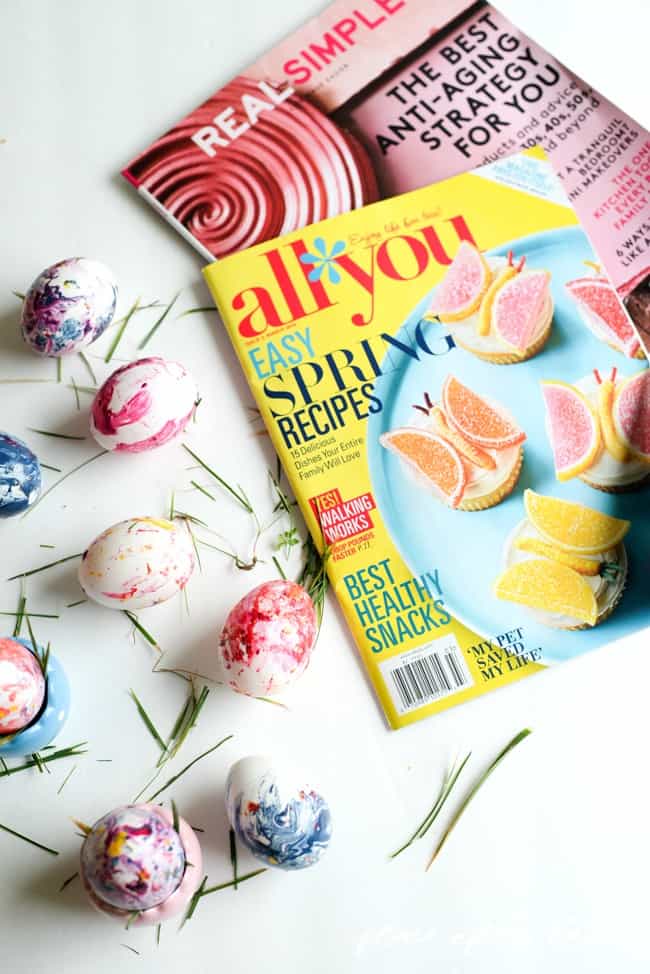
Happy Monday my Friends. I am sharing a super easy, fun, colorful DIY marbled Easter eggs tutorial today. Last week while I was shopping around in Target I grabbed a few shiny magazines for me to read on- All You® and Real Simple®, few of my favs. Me as a busy mom, business owner, photographer, wife – sometimes I feel completely exhausted from all life’s happenings and I can not function if I don’t get that little ME time. Me time for me is getting inspired and creating. I can create best when the house is quite, when there are no children pulling my pants, when there are no fights and screams in the background. That’s when daddy comes in the picture and takes the boys to a little energy out 1 hour either on a playground or just to the backyard. I love getting inspirations from pretty and shiny magazines. I spend so much time in front of the computer in the office during the day, then I do the same at night while working on the blog, so sitting down and turning real pages is an absolute treat for me. I really feel like there is nothing better than enjoying shiny prints while sipping on a cup of coffee. All You® magazine had some seriously darling Easter eggs projects that totally made my brain spinning right away.
Easter? Is it really a couple of weeks away and I have not shared any Easter project yet?Pssss.
I marbled a pretty vase just recently with nail polish and I thought I would try to marble eggs. Why not, right?
I really think that they turned out stunning.
I will show you a step-by step tutorial so you can make it yourself at home too 🙂
Materials needed:
1. White blown out eggs
2. Plastic cup
3. Water
4. Bamboo sticks
5.Foam block
6. Nail polish
7. Wax paper ( I used it to place my nail polish toppers and messy bamboo sticks on)

Step-by step tutorial:
1. Blow out your eggs by making two small holes on each side of the eggs- blowing out the eggs through a straw (takes 5 minutes)
2. Put luke warm water in a plastic cup.
3. Add a few drops of nail polish to the water ( mix up colors if you want)… stir nail polish with a bamboo stick to get the best result
4. Push bamboo stick through your small hole on one side of the egg ( this saves you from messy hand)
5. Dip the egg in the water and swirl it around until you get the desired pattern
6. Stand the bamboo stick in a foam block and let it dry completely
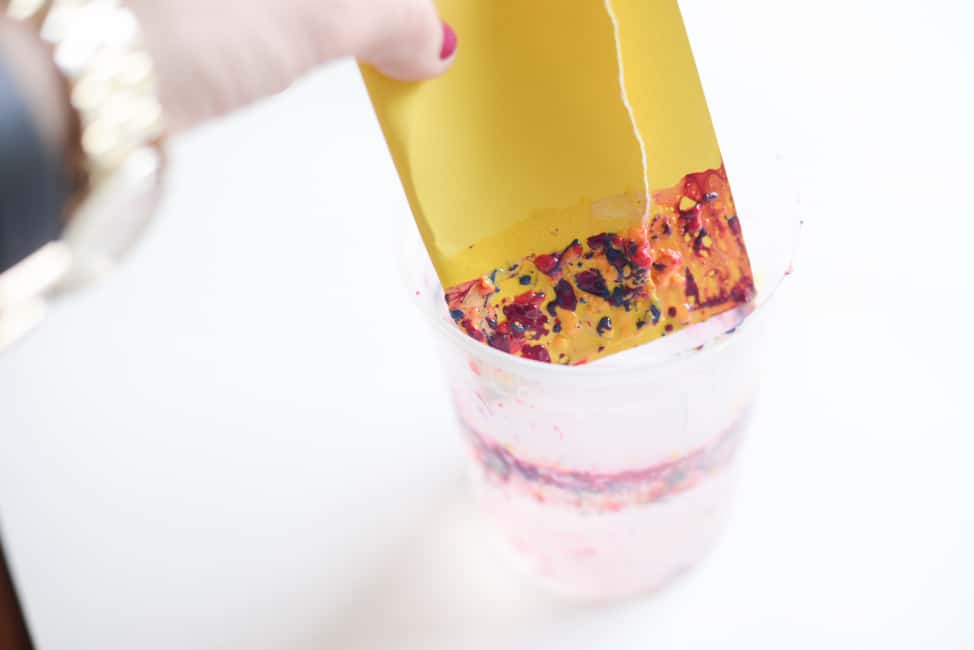
7. Once you are done with your project, dip a piece of paper to the water to get out the remaining nail polish ( it will literally remove all nail polish from water)
Note: Nail polish has pretty strong smell, so be prepared. Once the eggs are dry, the smell will be gone.
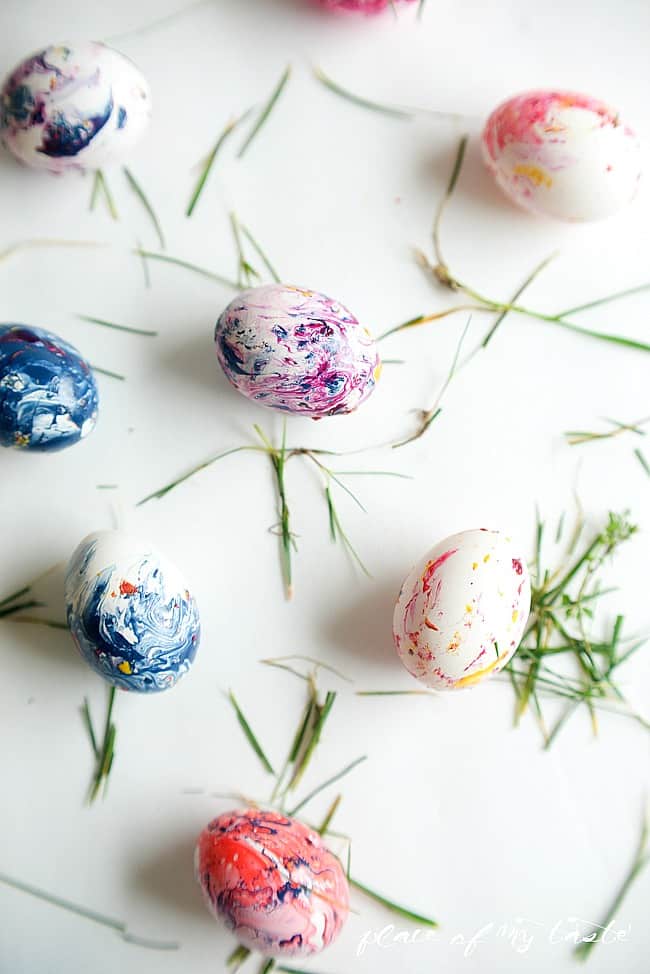
Pretty Marbled Easter Eggs were done in less than 15 minutes.
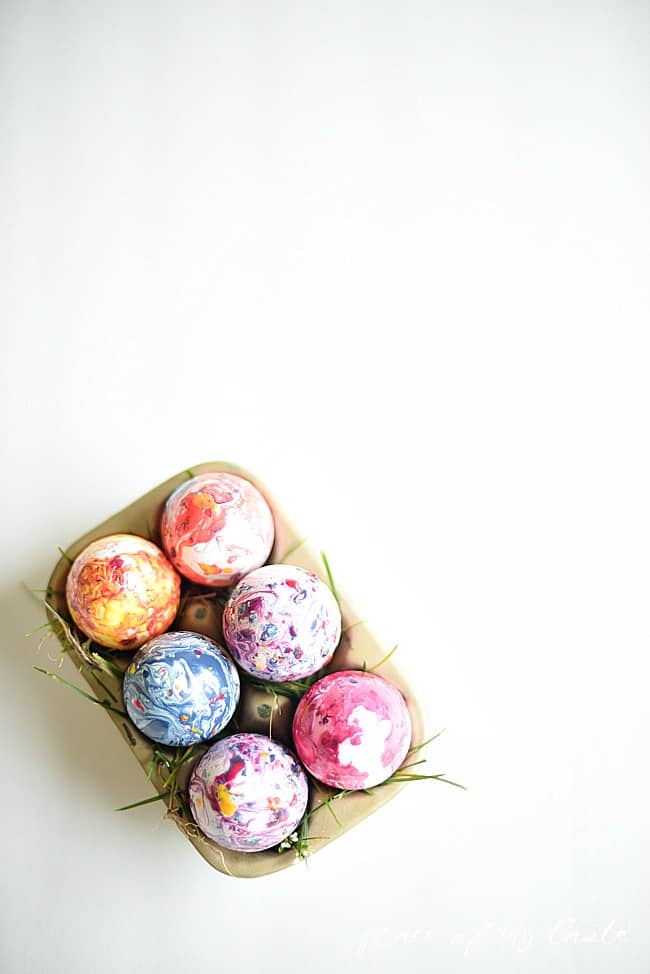
Don’t you love the colors and that there are no same patterns?
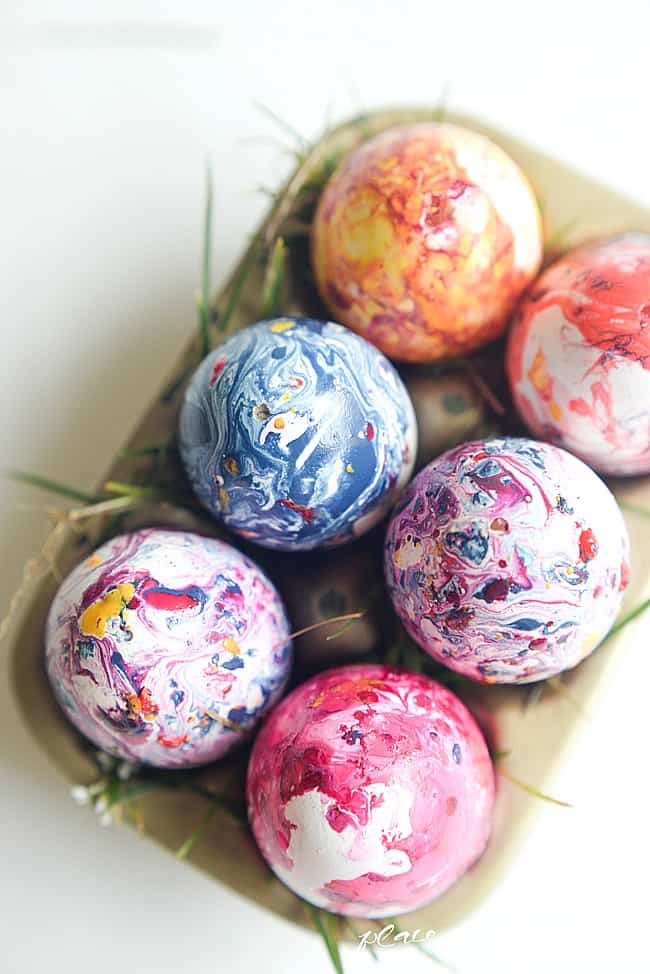
These colorful eggs will definitely add Spring to my home and will be perfect decoratations for Easter.
Looking through my favorite magazines are always inspiring me.
Go grab your magazines, Target has a special going on right now:
Save $2.00 when you buy any TWO (2) magazines (All You®, Real Simple®, PEOPLE®) from 3/15-3/28 while supplies last.
Save 15% on select special issue magazines which include PEOPLE® Crimes of Passion, National Geographic® 100 Journeys of a Lifetime, TIME® Mark Twain, LIFE® Lincoln while using the Target Cartwheel app. Available until 4/17/15, while supplies last.
I know we all need that little me time for ourselves, agree?
What is your favorite way to spend “me time”?
Hope I inspired you today! Have a fabulous week!


i am also seeking creative art blogs because art and crafts is my passion.
its very creative art i hope your followers get many more interesting ides from your blog
Does this work on ceramic eggs as well?
Wow! These turned out stunning! I loved dipping my tray in nail polish, never thought to do it with our Easter eggs! Next year for sure! <3
These are so beautiful Aniko!! I made some last year but all I had was pink and red nail polish. I love how yours turned out.
Wow, these look amazing! I’ve always wanted to try out marbling. Just love the combination of colours on these egss. Thank you for sharing 🙂
How fun, love the colors! Very festive 🙂 Thanks for sharing!
Do the eggs HAVE to be blown out? We used to color boiled eggs with oil colors floating on top of the water. Worked great but be sure the eggs didn’t crack while boiling.
Cathy, yes I blew out the eggs before marbling them.:-) Have a great night!
My kiddo is going to be all over this! Thanks for the fabulous idea.
Your eggs (and all your FAB pictures) are beautiful! Loved reading this post … thanks for sharing the info! Happy Spring and Easter!!
Oh my goodness these are beautiful! I haven’t decorated eggs in forever but this definitely makes me want to get to it right away! Pinned 🙂
These are so cool! I was on this campaign too, and I love looking through all the posts that were created! I am absolutely pinning these eggs. Thanks for teaching me this fun new technique! Looks like I will have to try it on everything 🙂
SO pretty! This marbled eggs turned out amazing. Easter will sure be a colorfu onel for you and your family. xo
Incredible!!! LOVE how these pretty little eggs turned out!
Those are absolutely beautiful Aniko! And thanks for the intro to “All You” – I hadn’t heard of it before!
These are absolutely gorgeous, Aniko!