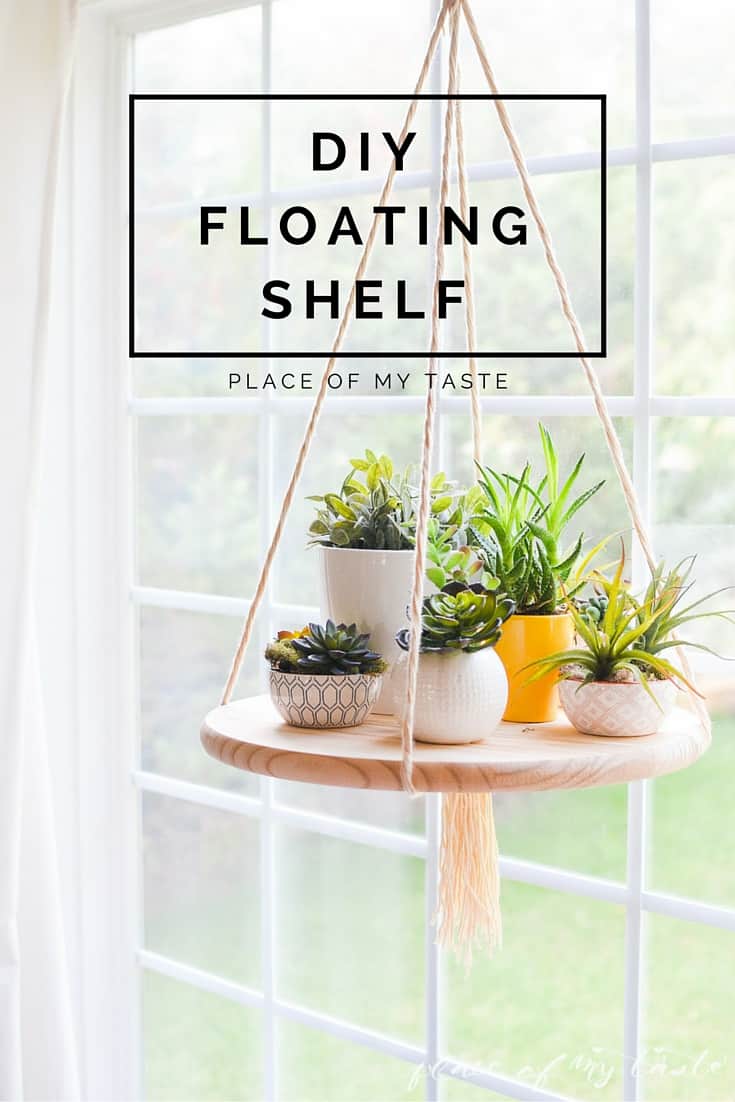
DIY FLOATING SHELF
You can’t even imagine how easy is to make this fun DIY FLOATING SHELF. Check it out! This simple project looks amazing!
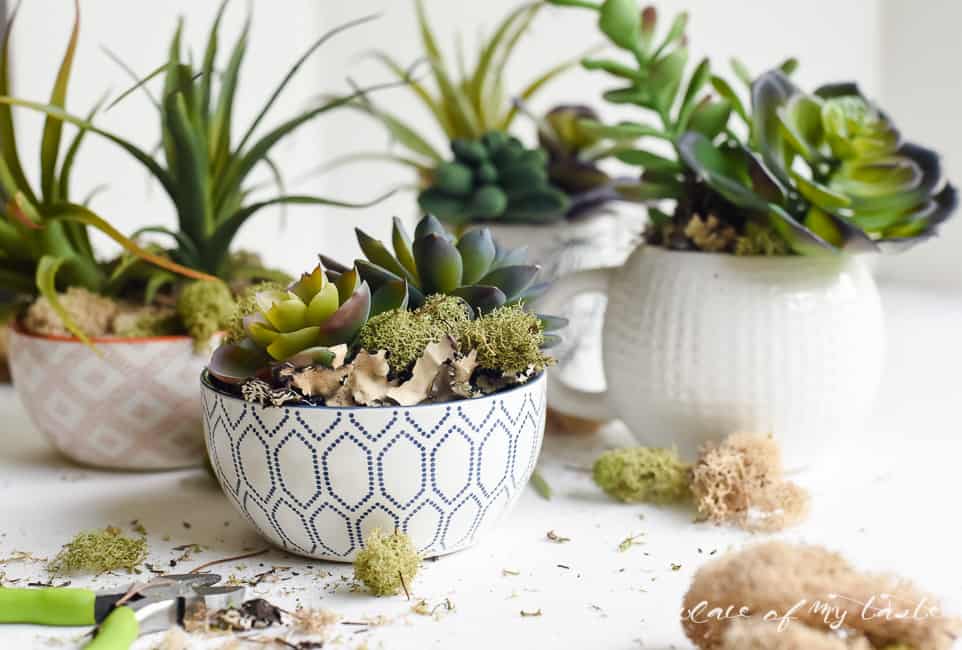
Yesterday I shared how I had created some cute DIY succulent planters, and today I am going to show you how to make
this quick floating shelf display for plants, succulents or other home decor items.
I love to browse my favorite stores online for inspiration. While I was doing that couple weeks ago, I found this cool floating shelf over at Urban Outfitters (**update: I discovered that the original product had been made by Jenny over at Recycled Lovers ).
The moment I saw this shelf, I knew that I need this piece in my life.
As a DIYer, I always think of how I can DIY things first,
of course, to stay on budget.
It’s no secret that I love to switch my decor often around here.
Paying full price for things would not let me do that, which is why I choose to DIY :-).
I love modern, minimalist lines with a little bohemian twist. It seems that my design style is always evolving, especially since I have been writing my blog, and I read other ones. I must say that I get better with age, haha! 🙂
This modern shelf was easy enough to make, and it fits the style that I have created in my dining room.
If you missed yesterday how I had made some cute faux succulent planters, you can check them out below.
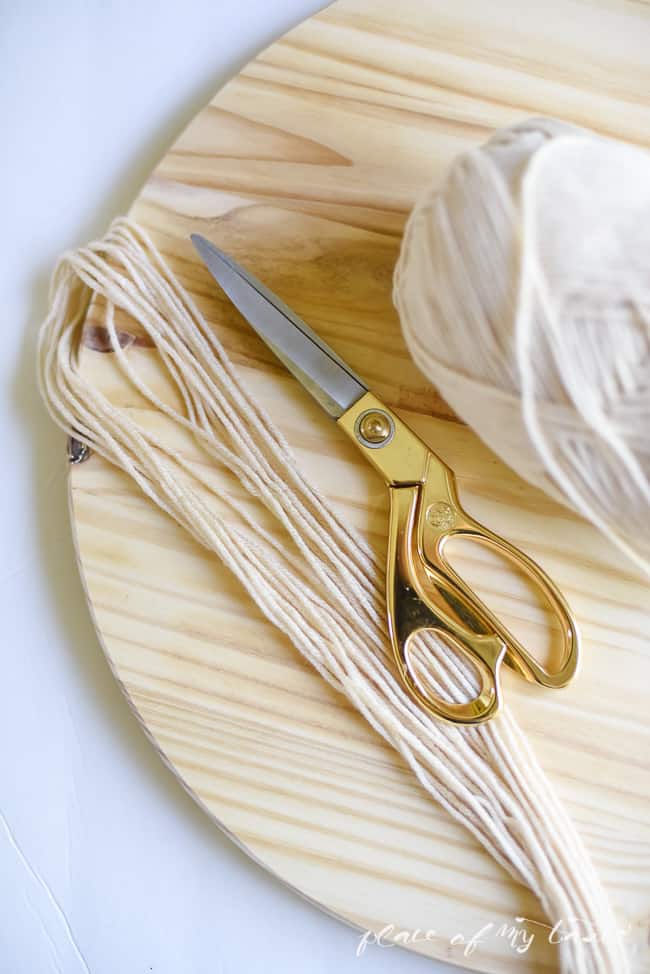
MATERIALS NEEDED:
– round wooden plate from Home Depot
– scissors
– yarn
 STEPS:
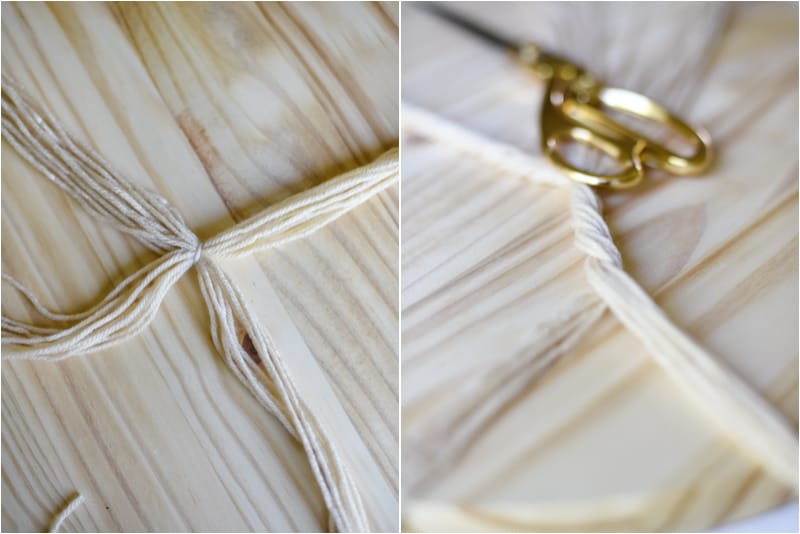
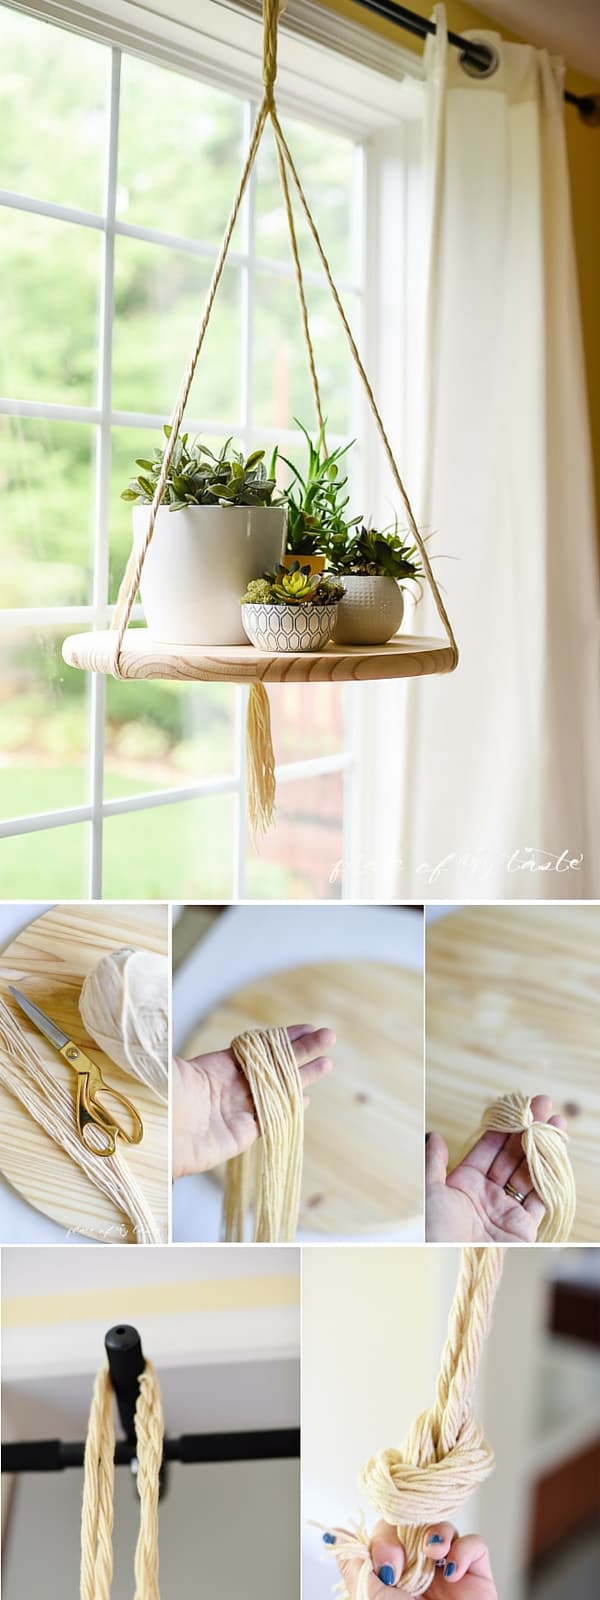
1. Cut 24 pieces of yarn to the length of 3 1/2 yd. each.
2. Fold them in half to grab the center and tie a knot there with another piece of yarn. This center point will be where this floating shelf hangs from.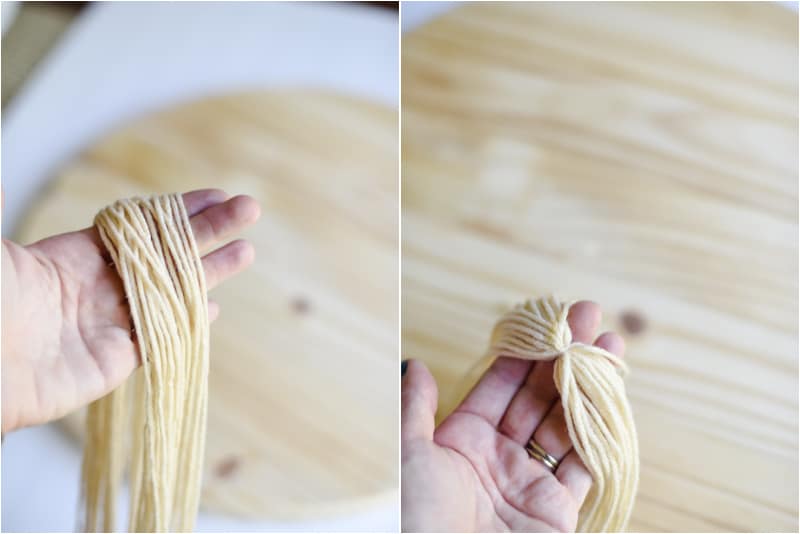
3. Divide your yarn from the center tie into four equal sections (each section will be 12 strings).
4. Then divide each part into two sections of 6 and twist them together.
You could also separate your sections to 4 and braid them if you prefer.
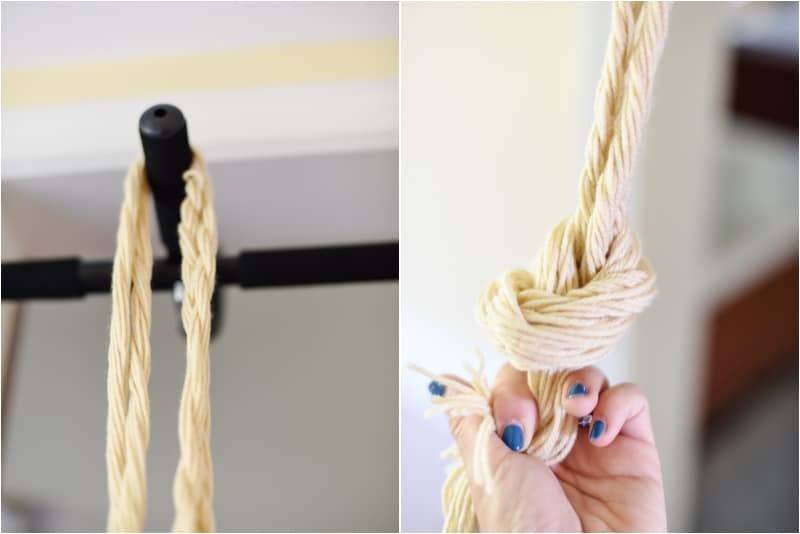
5. Hang your piece someplace high enough to give you access to easily work with the strings. Tie a knot approximately 4 inches below the top where you tied your center knot.
6. As the last step tie a knot at the bottom leaving the amount of tassel you prefer to dangle below your knot. This is where your shelf will rest.
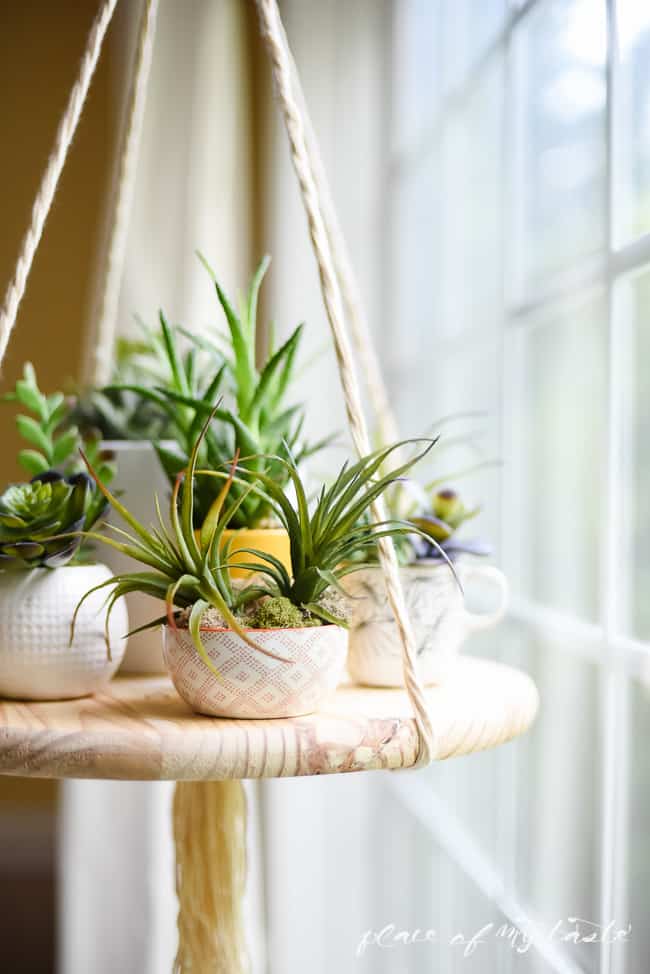
Slip your wooden plate between your ropes, settle the bottom knot at the center under your wooden plate. Arrange your 4 twisted/braised ropes evenly to balance the wooden plate.
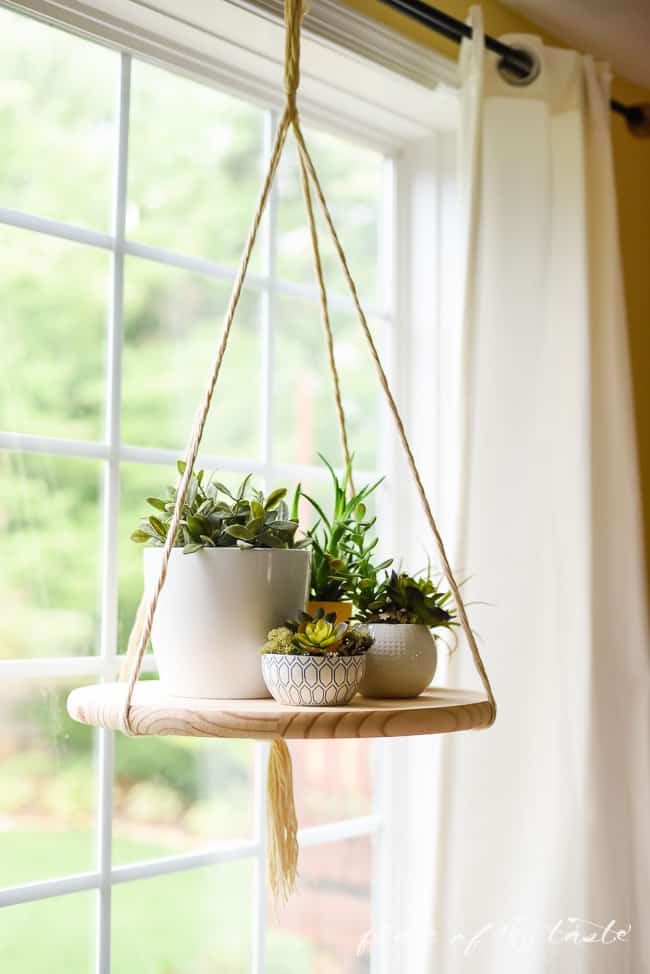
I love the natural wood look, so I did not stain my wooden plate, but you can stain it or paint it to match your unique style.
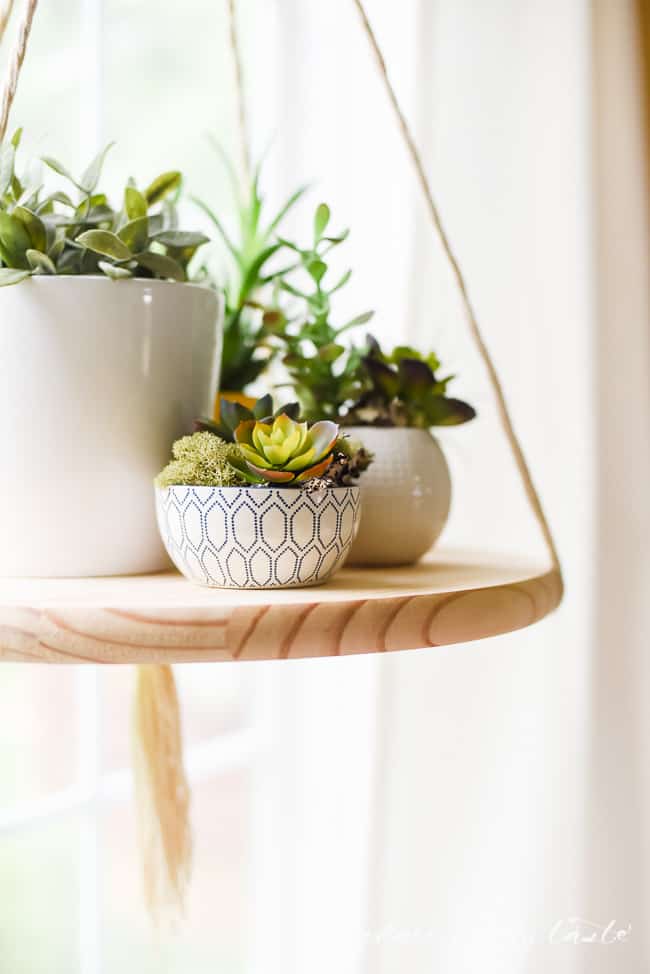
I arranged my cute succulent planters on my floating shelf, and it looks chic and fresh in my dining room. What do you think?
How do you like this floating shelf?
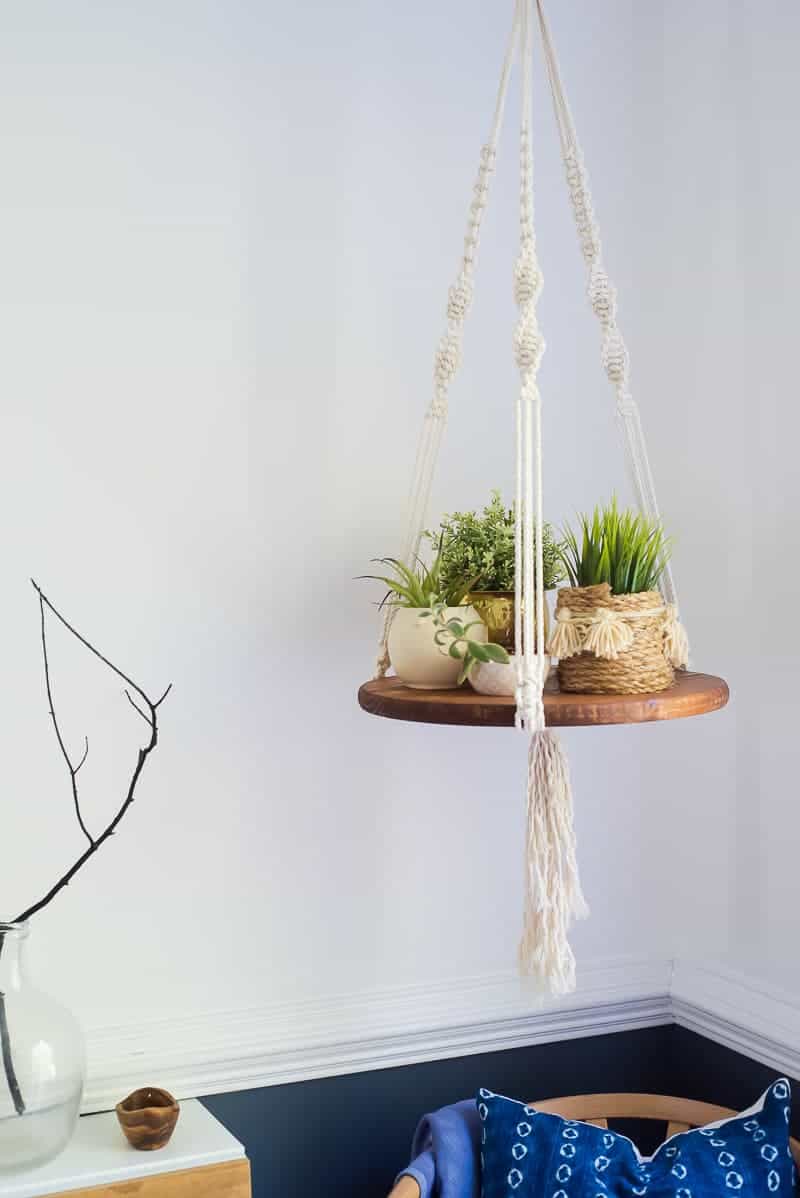
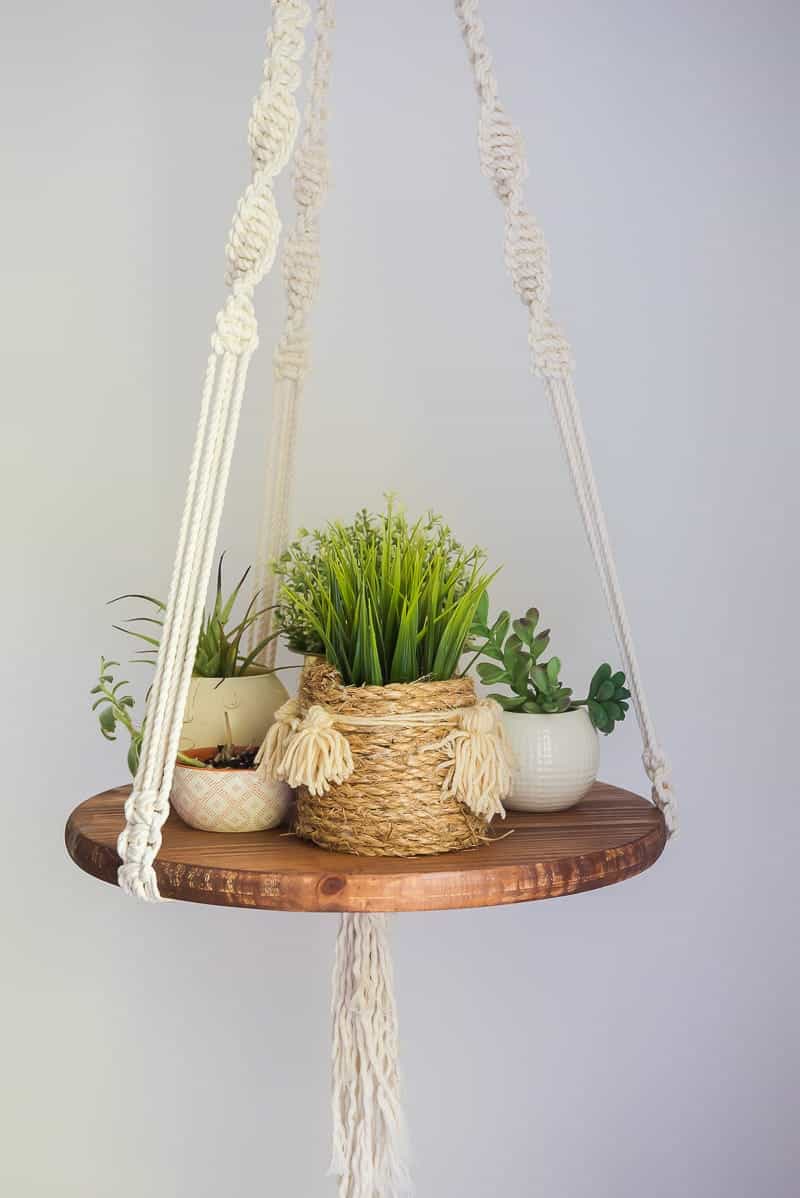
***UPDATE***
Well, well, well…
A while later, I decided to make another version of this cool shelf. I learned how to macrame since this first tutorial, and I prettied up this simple shelf with some impressive macrame knots, plus I gave the neutral plate a little touch of stain.
Here is my NEW version. Learn more about it HERE or BUY it in my Etsy shop!
Check out some other great projects in my dining room before you leave
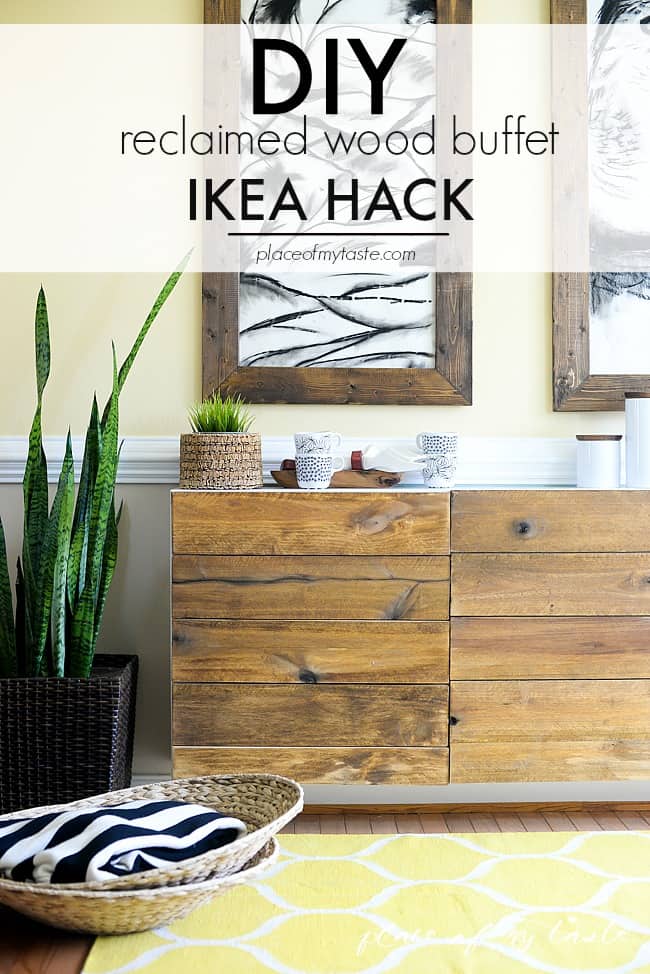
DIY RECLAIMED WOOD BUFFET
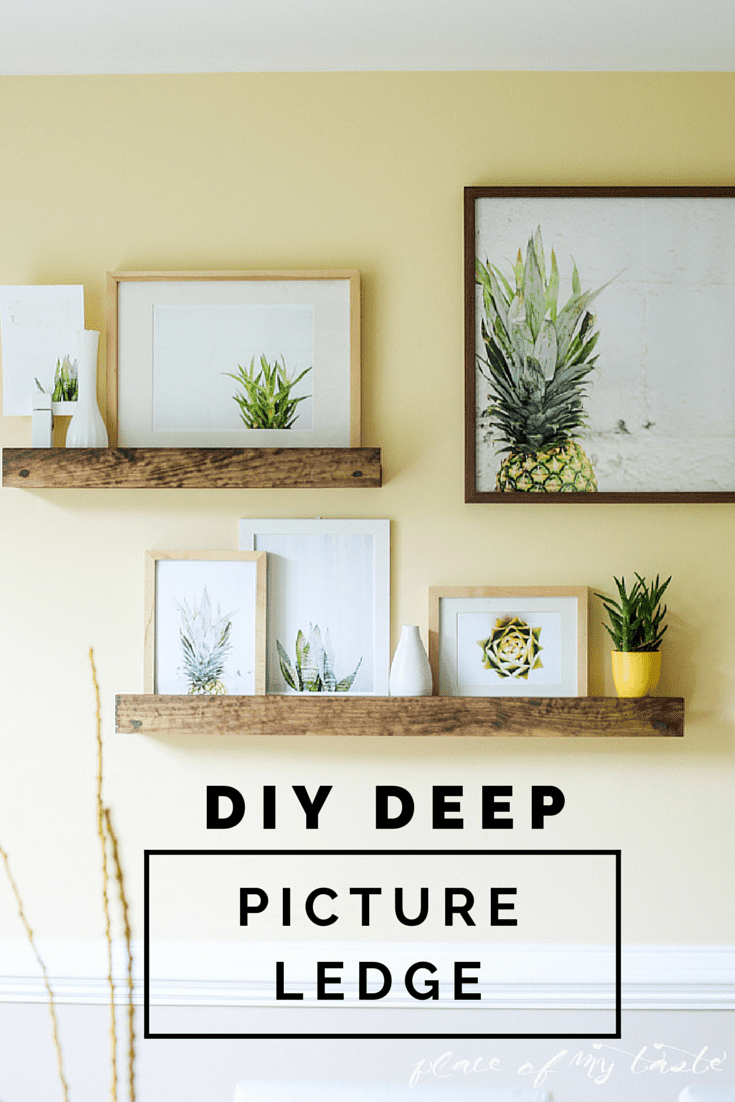
DIY DEEP PICTURE LEDGE
Thanks for reading today! Have a fantastic weekend!
Cheers-
Aniko


Hi! Do you have a tutorial for the rectangular shelf hanger shown in one of the pictures?
Thank you!
Do you remember what section you found it in? Because that might be helpful to mention. I ended up going to a craft store and finding something similar but not exact. I’ll still motivated to complete this but thought I’d let you know!
How creative ! Marvelous diy tutorial.
I really love the look of this, but I must say for something that looks so easy your instructions are super, super confusing. :\
I am sorry for the confusion, I will rewrite the instructions.
I am completely confused about what to do. I have 48 3.5 yard long pieces of yarn, tied a knot in the center (so it is now split to 2 halves). I have divided the 2 halves into 4ths. Those 4ths were halved and twisted together. I’m not sure how to proceed because it looks nothing like the picture and I don’t even know how the top is supposed to look. 🙁
Does it stay straight or tip? So cute!
Hi! I live in an earthquake-prone part of the country – how stable is the disk?
I absolutely LOVE THIS Hanging Plant Board! I am dying to try it for a couple of succulents that my daughter gave to me after she got sick of them. I have found a spot in a corner of our family room.
I have a few boards already that I can choose one from. And I love the idea of not having to drill holes in the board for the ropes. So simple.
Thanks for your great idea!
Many people sell round wood disks from trees the cut, would make it look rustic
Just love it – will try it for sure ..
Reminds me of Macrame. I still have some that we made out of, what else but “Macrame Cord”, in the 70’s/80’s. My mother also had some left over parachute cord that we used. Some of the braids were quite intricately beautiful.
This is a beautiful idea! I was just wondering, what size wooden plate did you use?
With 3.5 y of yarn, how far away from the ground is the shelf?
Perfect piece of work you have done, this web site is really cool with excellent information.
I just tried to make this. However, midway through my project it became clear that 1.5 yards is not nearly enough length!!! So I doubled that, cutting my yarn 3 yards in length and was able to fit my wooden plate in it just fine. Also, I felt like 50 pieces of yarn was way too thick. To achive the look of your pictures I only had to use 22 pieces. Thank you this idea. I love my plant holder!!!
I couldn’t find the round wooden plate when I looked at Home Depot. I looked everywhere, even asked an associate for help. Do you remember what section you found it in? Because that might be helpful to mention. I ended up going to a craft store and finding something similar but not exact. I’ll still motivated to complete this but thought I’d let you know!
Hmm.. It was at the lumber section. I bought one last year and I bought one this year too I assumed it would be in every Home Depot. Thank you for the info, I will update the post! When you finish the project send me a picture -I would love to see it!take care!
I found them at Home Depot a few weeks ago. I painted mine a flat white.I’m going to put Hoyas in mine♥️
This is as CUTE as could be! Just love it and it looks so perfectly in the room!
Thanks Friend! I really love it, too!
This is just too cute! I love succulents but every time I buy one & repot it, it dies. But this plant holder has inspired me to try one more time to pot succulents. I just have one question. What did you use to hang yours?
Thanks for visiting, Glenda! I am so glad that this project inspire you to plant some succulents:-) I hung my shelf with an S-rail hook ( from IKEA) on my curtain rod. But I guess you can buy hooks at Home Depot that you can screw into the ceiling. Hope it helps. Have a great week!
Brilliant idea! I like the simplicity yet the creativity of this Hanging Shelf. I’m thinking of making one for my bedroom and another one in the garden. Thanks for sharing.
Glad to hear you got inspired! Shoot me a pic of your project once it’s done:)