DIY RECLAIMED WOOD BUFFET – IKEA HACKS
IKEA HACKS – DIY RECLAIMED WOOD BUFFET, This is what I’m sharing with you today. Everybody love Ikea hacks, and this is a great one!

Two big projects in one week are not very regular around here, but I could not help it. I was itching to show you what we created with the hub last weekend. I shared a post on some GIANT DIY WALL ART on this past Tuesday
and today I will show you a fantastic one those Ikea hacks: a DIY reclaimed wood buffet.
I will say that this is one of my favorite projects of ALL TIMES. Seriously.
Our dining room had a few different looks already but this by far, is the BEST…In my opinion.
Well, to tell you the truth, I probably thought that for each design at the time when it was new. 🙂
Here are some of the previous looks of this room.

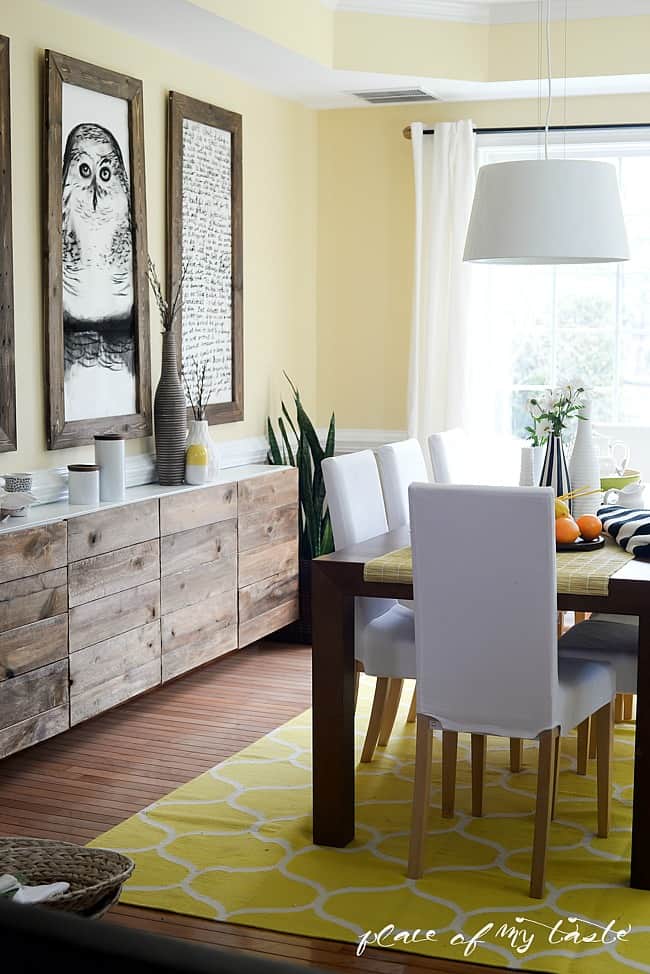
We purchased a long dining table at IKEA almost seven years ago. It fits our dining room perfectly, and we love the table’s beautiful color. The chairs were purchased at the same time as well. The best part of these chairs that the covers are removable and washable. Some of my friends were asking if I was crazy to get white dining room chairs? I told them, NO – I was smart as the covers can be washed and bleached anytime. :-). They are almost seven years old, and there is NO stain on them. Every time I wash them they look totally new! Winner!
Anyways. A few years ago we wanted to add a little more storage space to this room, and we bought a white shelving unit at IKEA.
**Update: Many of you asked what is the name of the wall cabinet that we hacked so here ya go:
It has four cabinets and four doors. I got two white and two turquoise doors. I mostly used the white doors, though.

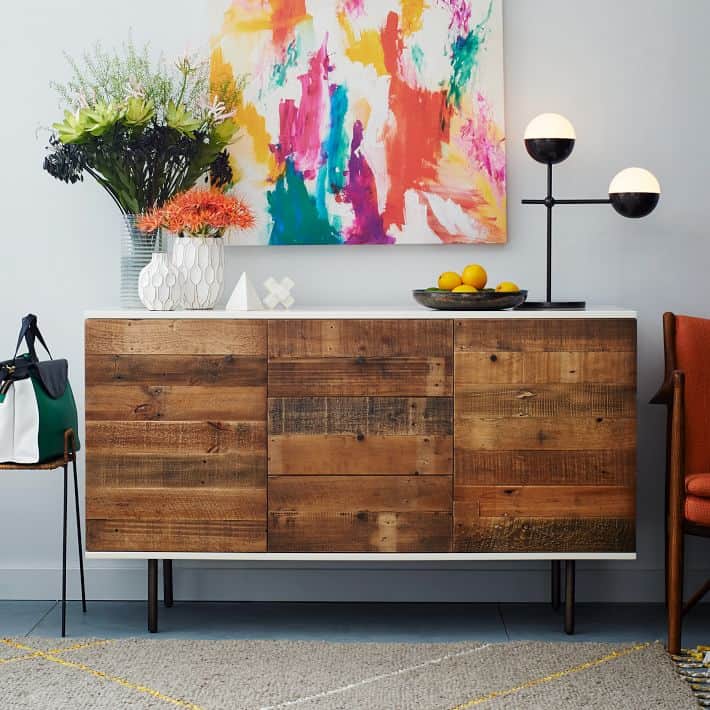
Couple weeks ago I saw a very inspirational image while I was browsing West Elm.com. I FELL in love with this piece at first sight!
And at that moment I knew that I HAVE to create this very high-end designer look on my IKEA shelving unit.
I love West Elm design, but it is not for my budget. This incredible West Elm buffet is $1200. Yeah, it is so interesting with lots of texture,
but I think I can say that I created a very similar look without spending that kind of money. 🙂
IKEA HACKS – RECLAIMED WOOD BUFFET
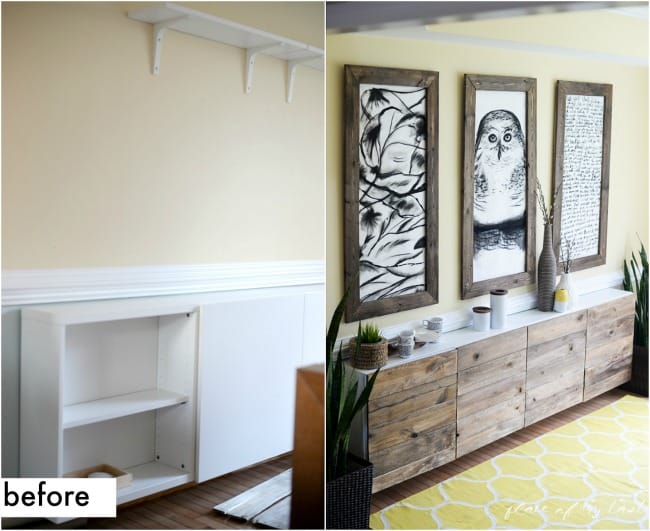
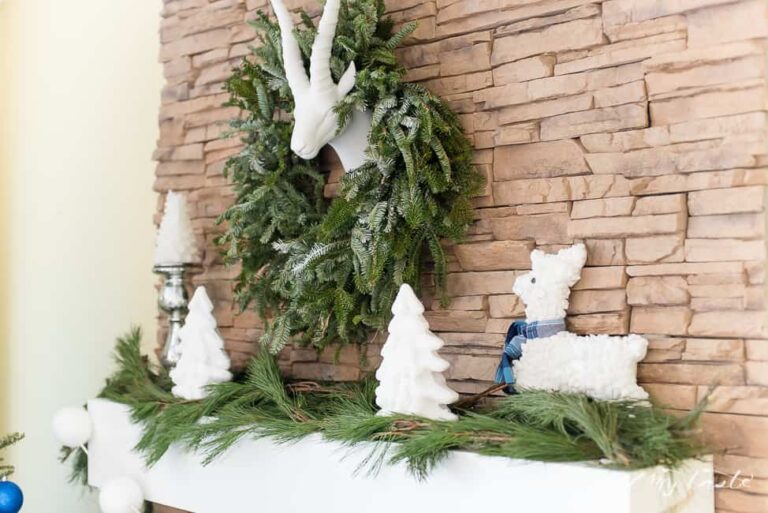
Here is what I had in the dining room (after taking all Christmas decor down) 2 weeks ago.

Pretty empty walls that needed my help!
I took off those shelves and created some awesome giant wall arts. If you missed seeing my giant frames couple days ago, check it out!!

I went to a local business place where they made pallets and asked them if they perhaps have some wood pieces that they don’t need anymore. I gave them my best smile and got a bunch of timber panels. 🙂
The ones they had for me were in OK shape, but they had deep cuts (see below) on about 3/4th of the panels.
We were able to use one end of the wood boards.


We measured our doors and cut the panels to size. Each door had 4 and a half panels attached to them.
Out of the four doors, 2 were turquoise, so first I spray had painted the edges of those doors before we attached the panels to them.

We used small trigger clamps to hold the wood panels to the doors and screwed six wood screws to each panel from the back of the door.


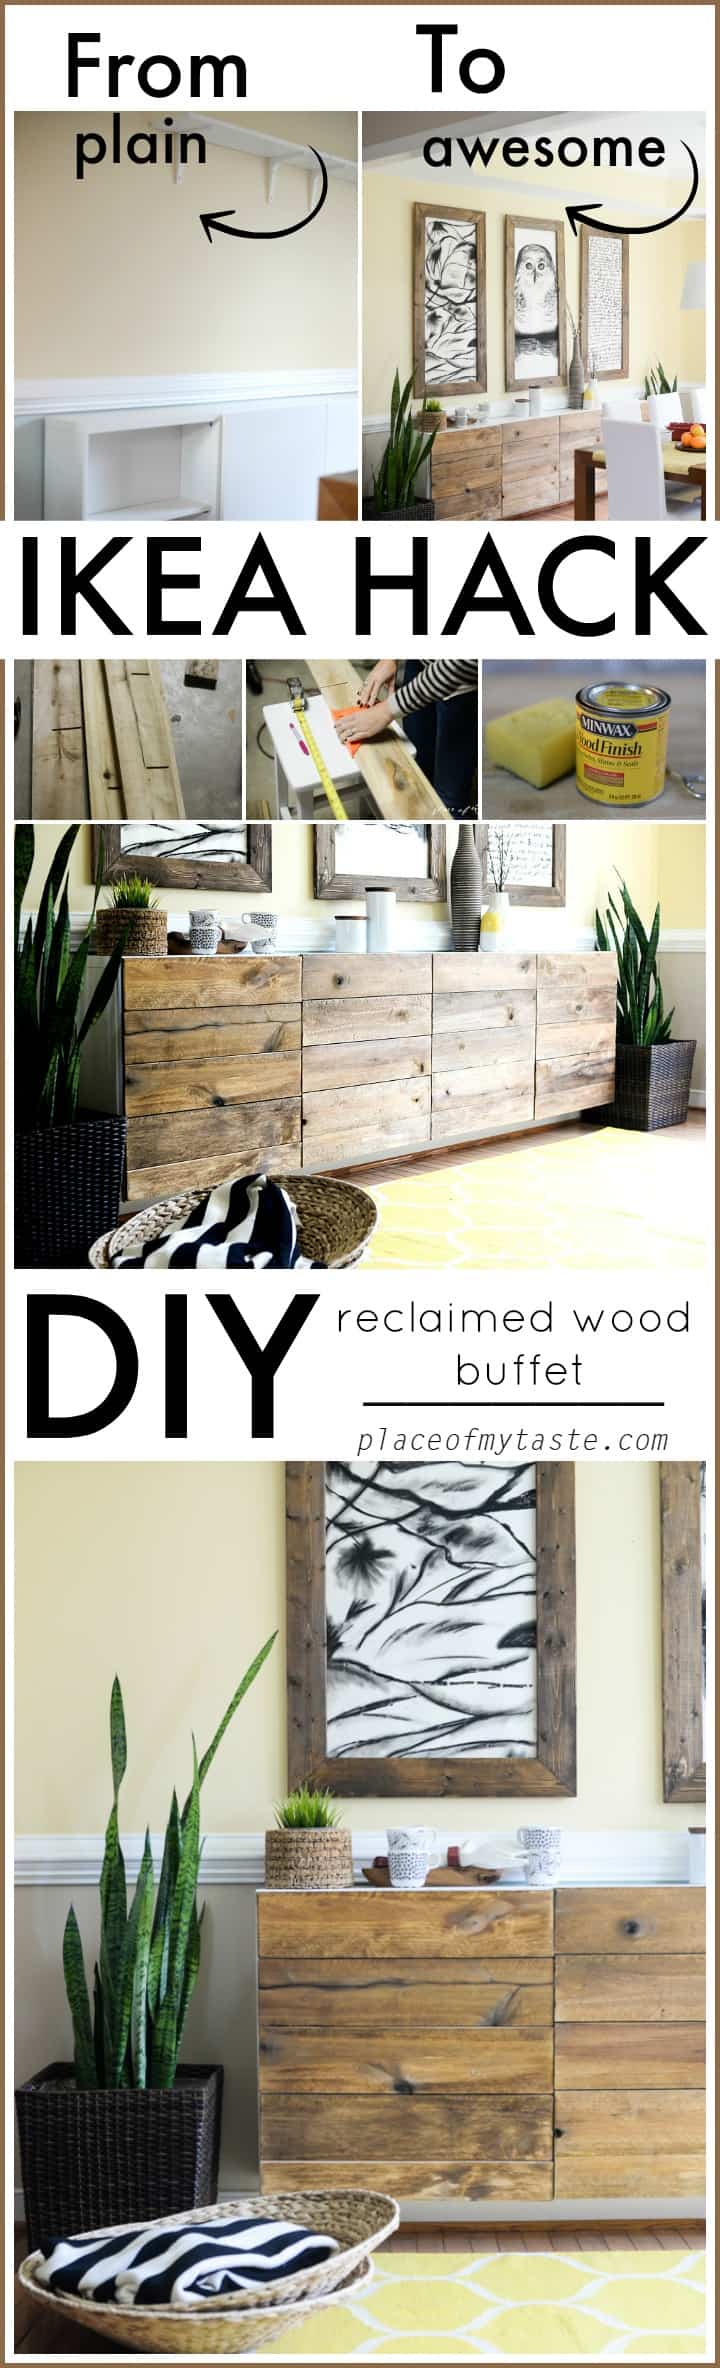
After all the panels had been attached, I stained them carefully with a sponge.
I used MINWAX Golden Oak 210 B finish. It is a lighter finish but turned out gorgeous on the panels.

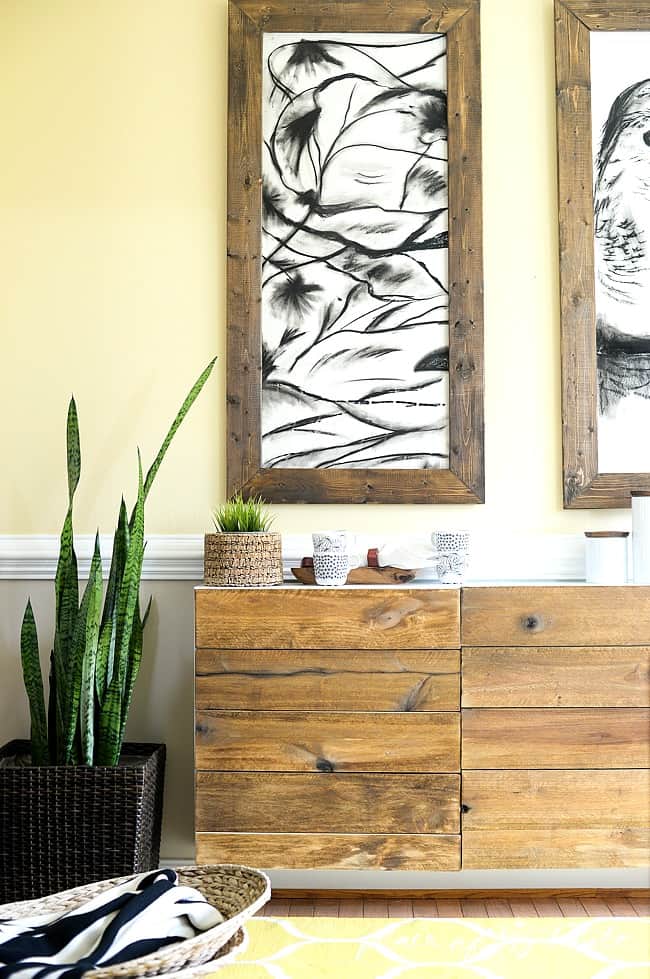
Loving this natural and rustic look on my doors.

As the finishing step, I painted the door with a thin lacquer coat which protects the wood from stains and dirt.
Here is a better look at how the doors look inside with the screws. The door got heavier of course and I was afraid that it wouldn’t hold
when we screw them back in place, but we had no issues.

I can not believe the difference, guys!! Such dramatic change!
High end look at low cost!
Can’t get better than that. ♥

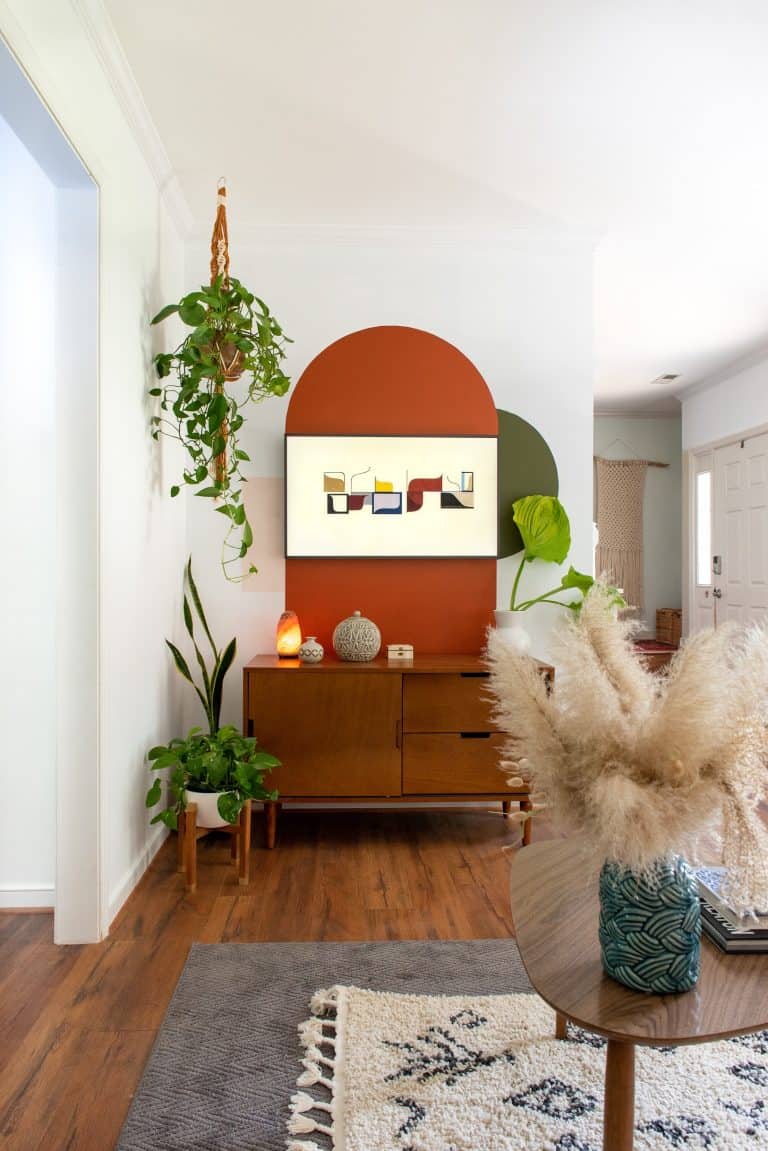
Do you spot those huge planters that I scored for $6/each (if you are following me on INSTAGRAM you had seen it)
at Home Depot the other day?
They were meant to be placed there!

I think that we found the PERFECT wood for this project. It was somewhat thin and in excellent shape: exactly what we needed!


Now I am going to bomb you with some more shots from different angles so you can see the full room.
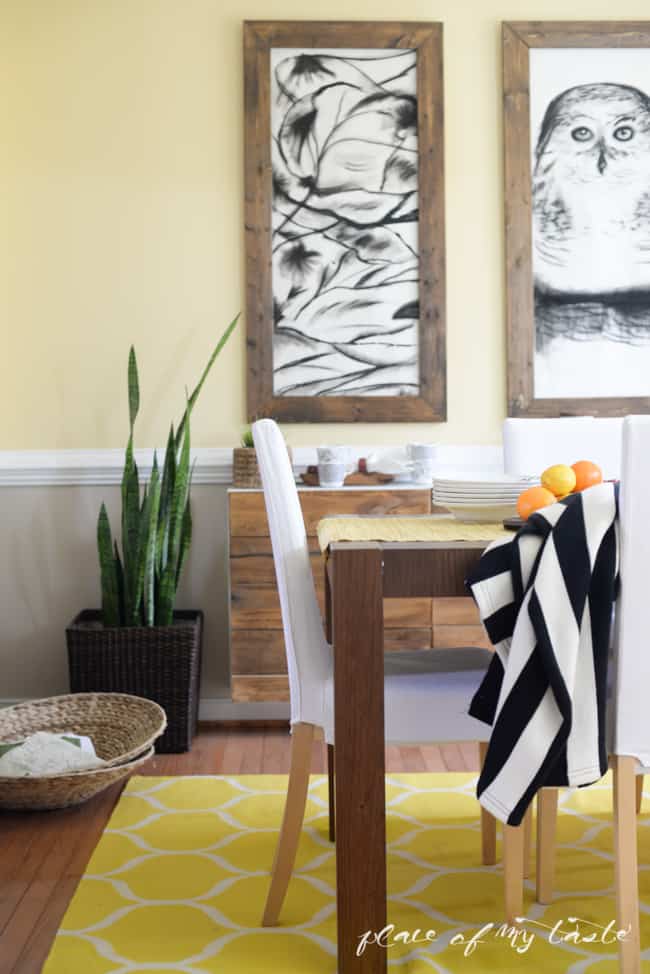
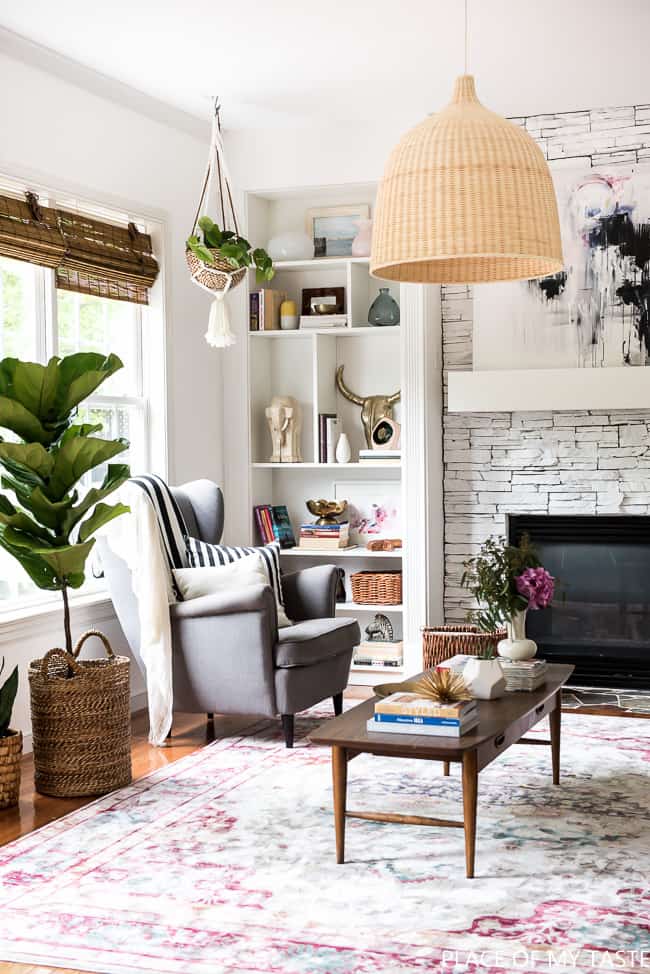
This beautiful yellow rug is from IKEA. I purchased it last year for my living room but never ended up using it there.
Of course, it’s been sitting in the garage waiting for me to take it back to the store but thankfully, I never made it back to IKEA ever since!
It looks stunning in this dining room.
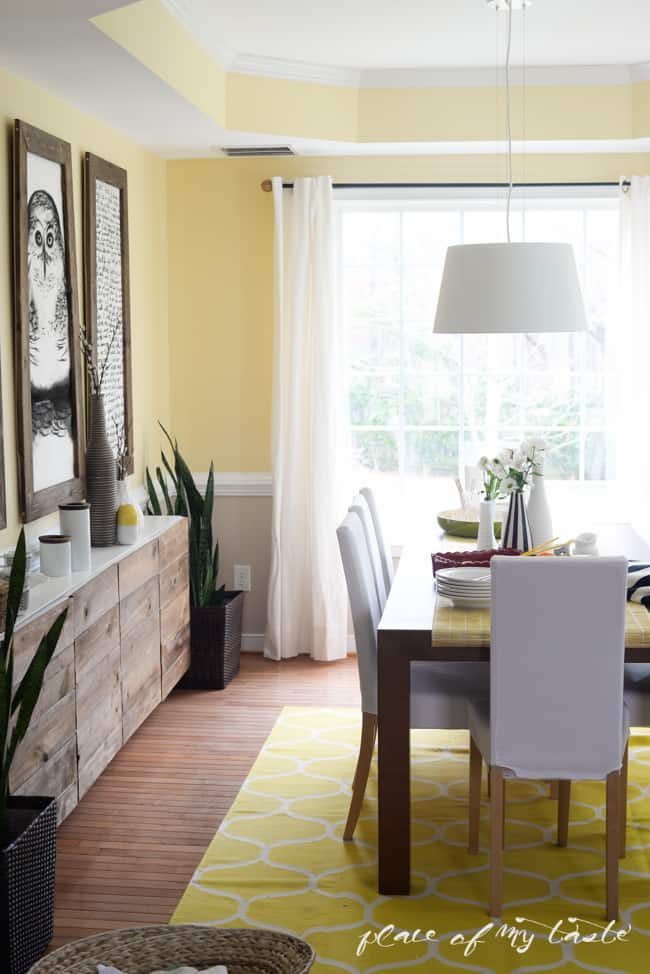

Love all the natural look in this room now! Such and eye candy every time I walk in here.

You would not believe that it is the same wall cabinet and the same room!

So tell me what do you think? Yay or nay?
HERE IS THE COST OF THE MAKEOVER:
3 GIANT WALL FRAMES-ART: $30
WOOD FOR DOORS: FREE (I like that:-))
STAIN: $3.99
LACQUER: $13
Can you beat that? Really! As you see, one of these Reclaimed wood buffets is over a $1000 at West Elm.
Yay for Ikea hacks!!
DO IT YOURSELF!!!
Here is a BEFORE AND AFTER just because we love to see a before and after of course!
Pin this image for later:-)
Hope I inspired you to create a custom piece yourself!
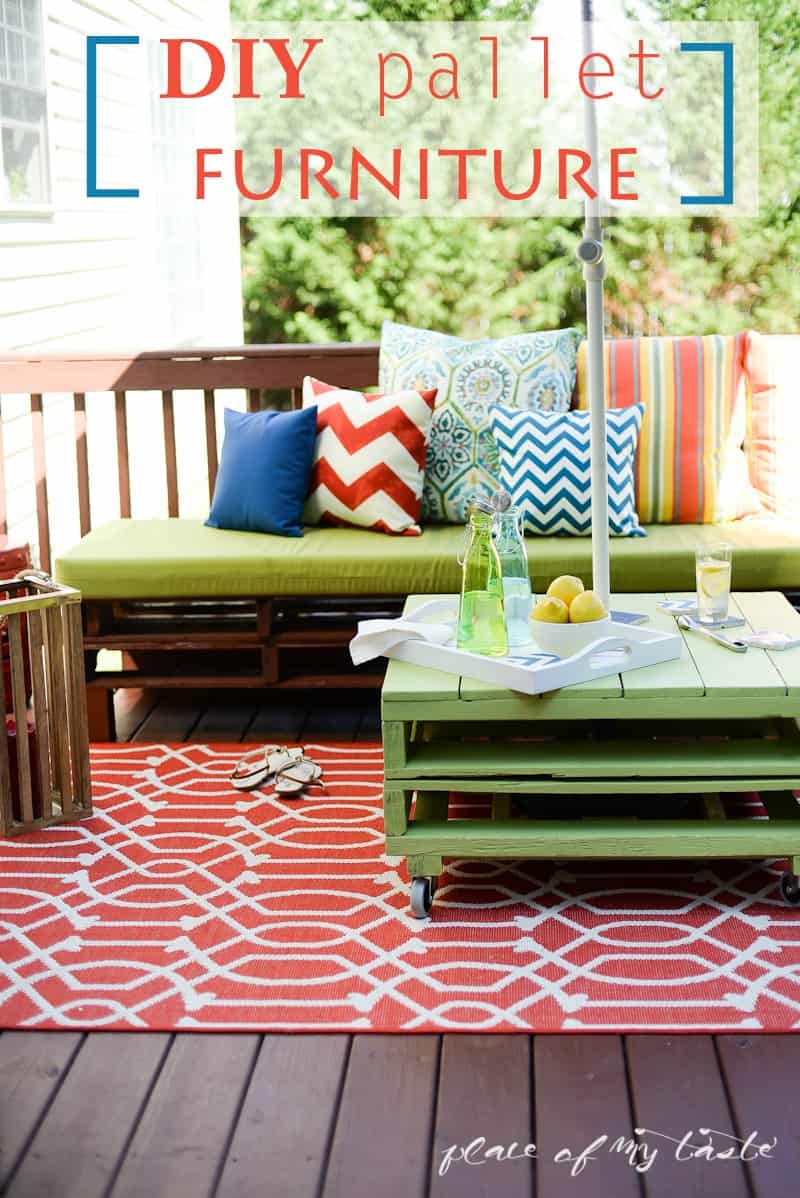
If you liked this project, you might like this
Or perhaps you would enjoy some of my fabulous room reveals!
CHECK OUT MY ONE ROOM CHALLENGE MAKEOVERS
Glad you visited today! Have a fantastic weekend!

*** This post includes affiliate links*

Just seeing your AWESOME hack! I do a lot of work with Ikea merch… Quick question… by adding to the depth of the door, do you have first open the end cabinet to be able to open the center cabinet? Seems like the “zero clearance” hinge is only designed to rotate in the normal depth of the single door thickness. I’d like to try this on our own Besta cabinets that we already have, so this info would be very helpful. Happy Hacking. Nancy
I was wondering this too!
Hi Aniko!
This is amazing.
May I please ask what type of wood that is??? Is it pine or oak??
I want that exact look for a media stand me and my SO are working on currently.
Thank you kindly,
Ileana 🙂
I love it!!!. Looks wonderful. I might try it myself. I have a question; what size of wood screws did you use?. Also did you do it from outside in or the other way around?.
Thank you!
Marie
Love it! Thanks for sharing!
What shelving units from Ikea did you use? Thanks!
Hello! I used the BESTA wall cabinets. http://www.ikea.com/us/en/catalog/products/S49046426/ best-Aniko
Wow!!!! I love what you did to get this look. I actually own the reclaim wood table and bench i bought it at west elm over a year ago and I have been looking for a sale to buy the buffet but this is a splendid Idea!! I really love this. Thank you for sharing I may just dare myself to do it.
Great design! I never thought unpainted woods would still look neat in the house. Thanks for sharing this!
Your “snake plants” are what I always heard called “mother-in-law’s tongue” LOL. They are Sansevieria — a GREAT indoor plant for low light conditions And they “drive on neglect” — so, except for over-watering, it’s hard to kill them; they adapt well to dark, dry, cold, & drafty conditions that you find in many homes & apartments.. They give a great vertical element to decor – as they do in your dining room.
Great choice!
It looks WONDERFUL – great job!
My question: did adding the wood to the doors affect the way they opened? Did you have to adjust the hinges or anything to allow the doors to open?
Awesome!! you are just brilliant 🙂 i just have one question for you ,do you have problem opening the door of the cabinet where the two cabinets meet because of the depth of the wood panel??
Thank you so much! ;)The door got ticker and heavier indeed, but I can open the doors wide enough to get things in and out. It works for me and I LOVE the look;) have a great weekend!
This might be the best IKEA hack I have ever seen! So easy and so brilliant!!!
Thank you so much! I heard the exact same sentence from many people…I start believing that I created something awesome;) xo
What a FANTASTIC Ikea hack…just GORGEOUS! Are the snake plants, on either side of the buffet, real? If not, where did you find them?
Thank you Jackie! Well, let me just tell you that I don;t have a green thumb…I literally kill every single plants that comes into my home but these snake plants are REAL and still alive as they really don’t need much attention.!!Home Depot is your store:-) Xo
What dining table is that?
It is from IKEA but many years ago. Not sure if they still make it.
First time here, came over from your links on gomi. Such a lovely diy! This looks easy and turned out fantastic. Very high end finish and of course I would love to have everything from your dining room also to go with it!
This is the BEST IKEA hack I have ever seen! I am soooo doing this! Thank you! In with this. Your entire room is stunning. Loving the entire look!
Fabulous! Your West Elm inspired sideboard is a sexy big box hack! That rustic look is highly attractive and on trend! Your tutorial makes it seem attainable by ordinary folks who long for a touch of beauty in their home, but otherwise scared of DIY. In fact. this same treatment might just breathe new life in these hideous 80s style curio cabinets that I inherited that are structurally sound, but are simply no longer visually appealing.
Also, on the subject of IKEA, it is constantly getting a bad wrap in the media. While not everything sold there is to my exact taste, many of their products have some good qualities and uses. I am pleased to read your testimonial on your dining room set. Whatever material it is made out of, I am glad that the table and chairs have withstood the test of time with a busy family!
absolutely stunning! I love love love this look. Great job!
Love it!! One of the Best Ikea hacks.
WOW!!! Saw this in an email from Knock Off Decor and I am sooooo impressed!! Yours looks better than the West Elm version to me…… (I like that it doesn’t have to be dusted under). Now all I have to do is look for some IKEA or similar cabinets/bookcases, already have some old cypress fence boards, woohoo!! Thanks so much for sharing this! Checking out your art & other posts next!
WONDERFUL!! I love it. I am also a fan of West Elm but living in Europe i am not able to buy there, just day dreaming on internet 😉
My only question is; do you have any problem opening the doors now, as you thickened them with the wood?
i am really considering doing your project
Thank you so much Laetitia!The door got thicker of course and I can not open the doors all the way but I can still open them pretty wide and use the shelves normally.Can’t wait to see your project!Send it in my way once you are done!:-) Have a great weekend!