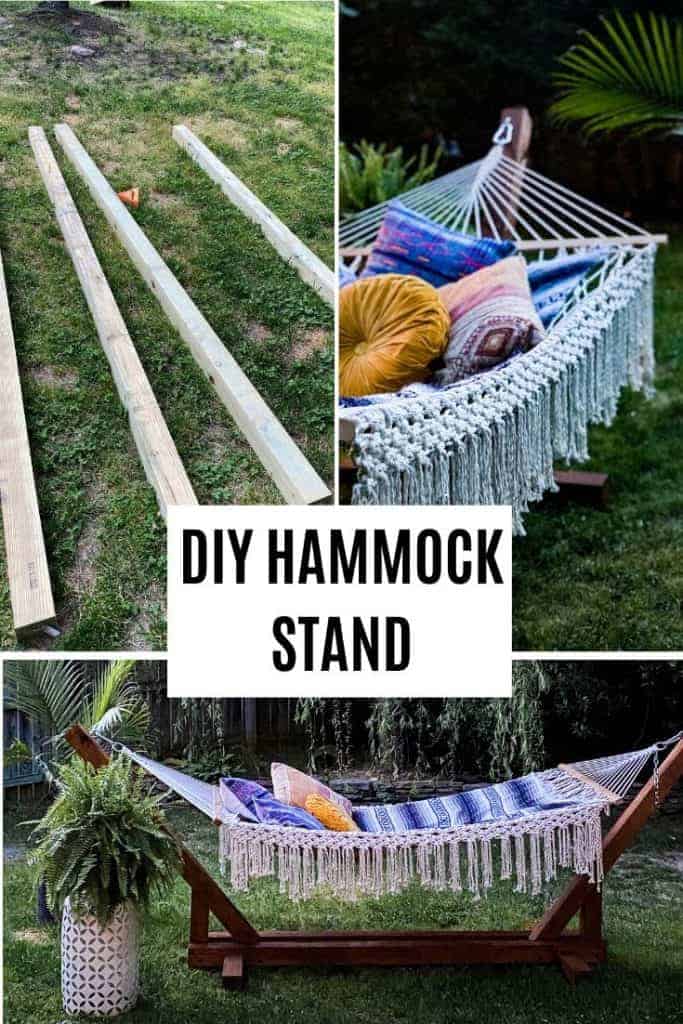
DIY HAMMOCK STAND
Have you ever thought about making a DIY hammock stand but never got around it?

Yeah…
Me too!!:-)
But here I am, sipping my mimosa on a daily in my super cozy hammock now. I am so glad we tackled this easy project. I think everyone needs a hammock in the backyard.
For real.
Especially in pandemic time! I just know that this sweet HAMMOCK will be my favorite SPOT in the next few months. We spend lots of time outside and building this outdoor furniture was the best idea. Have you seen out Outdoor kitchen that we tackled 3 years ago? Or this awesome outdoor table that my friend DIYed?

We were debating if we should buy a hammock stand or if we should attempt to make a free-standing hammock stand. And yes! We decided to DIY it, and I am so happy we went that route. Unfortunately, we don’t have large trees close enough in the backyard, thus making a stand seemed to be the best idea for our garden.
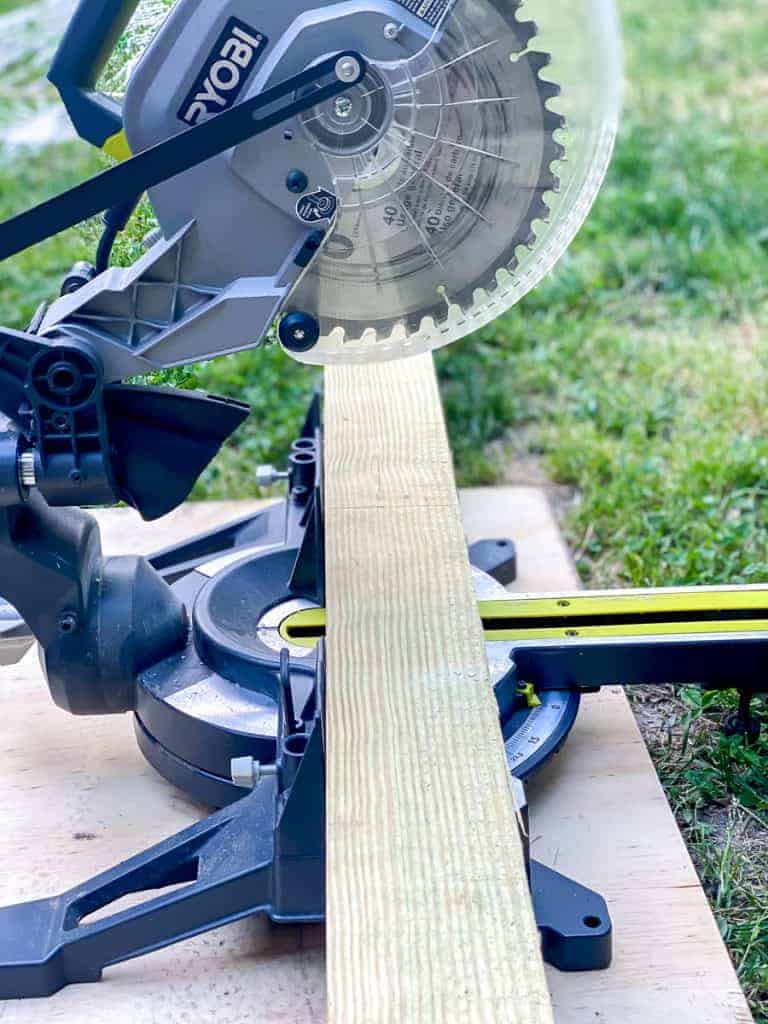
This project is EASY, but if you are like me, you will need an extra hand who is going to cut your wood to size. I don’t deal with “big” cutting tools. I never feel comfortable with them, so I always leave the cutting for the hubby.
The entire cost for this project was around $80-85.
Of course, the hammock is not included in that price.
***Before we get on the how-to and what you need, let me make a disclaimer. We did this project on a fly and basically did it all out on our backyard. I don’t recommend for you to go that route, if you have a workshop, use your workshop for cutting materials and most of the work for this project.***
I included affiliate links to this post, see my disclosure page here.
What you will need to make a DIY hammock stand:
TOOLS
- Tape Measure
- Hammer
- Miter saw
- Circular saw
- Drill
- Chisel
- Sander
MATERIALS
- pressure treated 4×4 ( we used 4 x 10′ feet long timber for this project)
- 2 hook screws ( heavy duty hook screws)
- wood screws
- 2 heavy-duty carabiners
- hammock

STEP BY STEP ON HOW TO MAKE A DIY HAMMOCK STAND
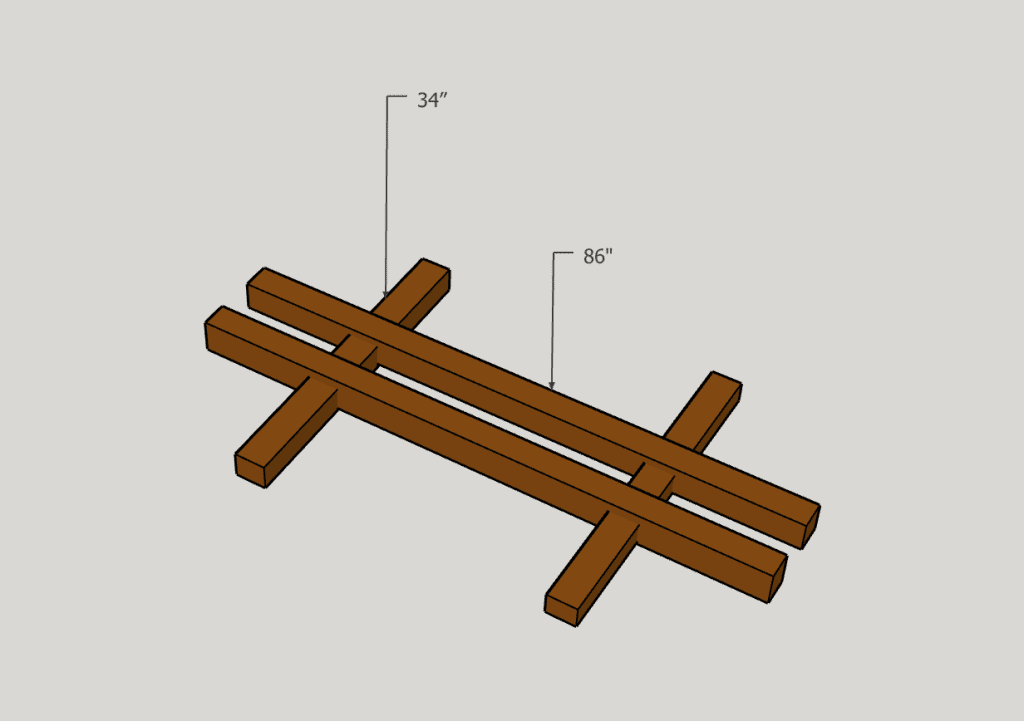
We came up with the measurements for the hammock stand before we started building.
The base of the DIY Hammock stand
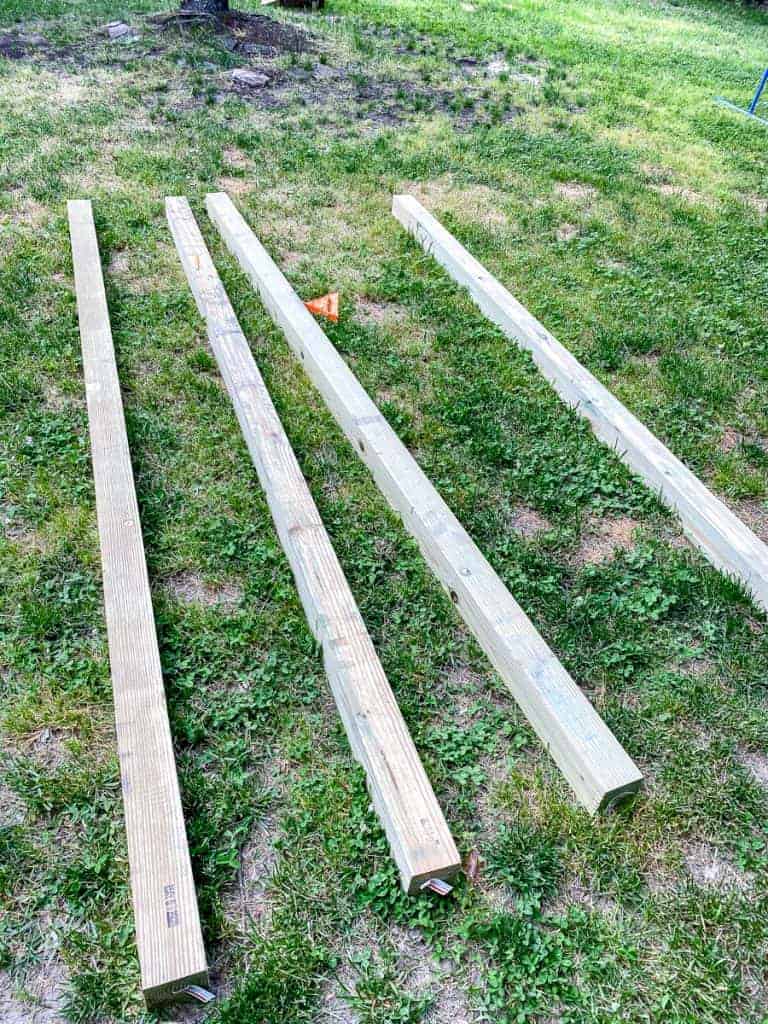
4 pieces of 10′ timber were what we needed for this project.
The long frame was 86″, and the short base was 34″. So for these 4 cuts, we used up 2 pieces of 10′ timber.
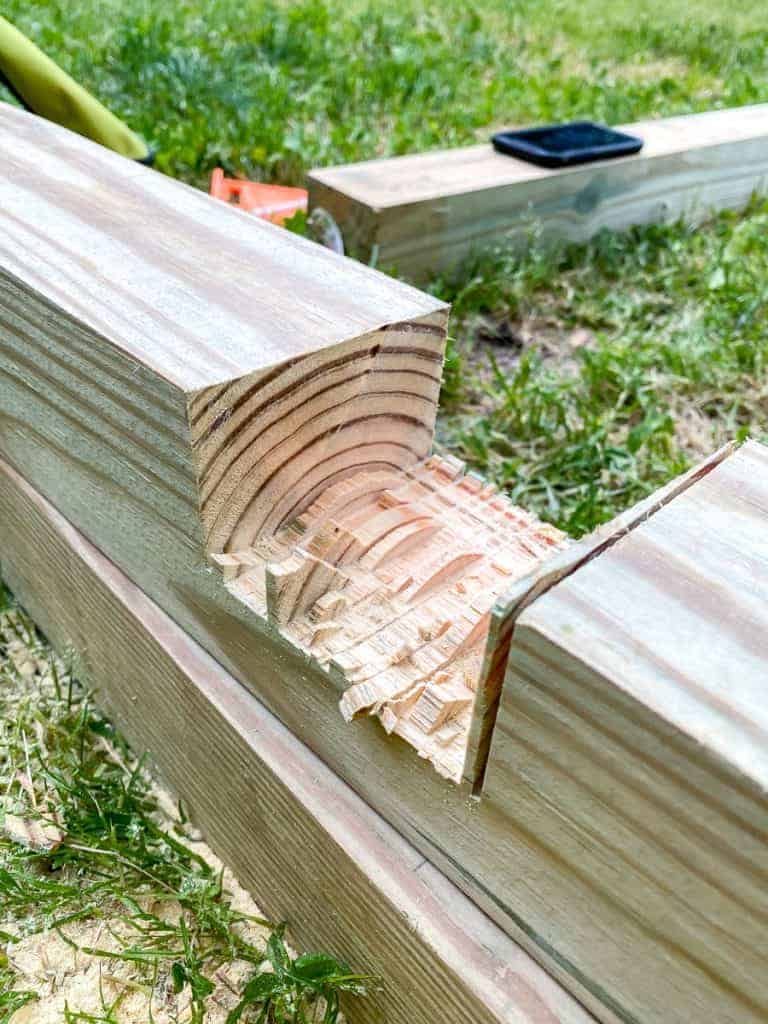
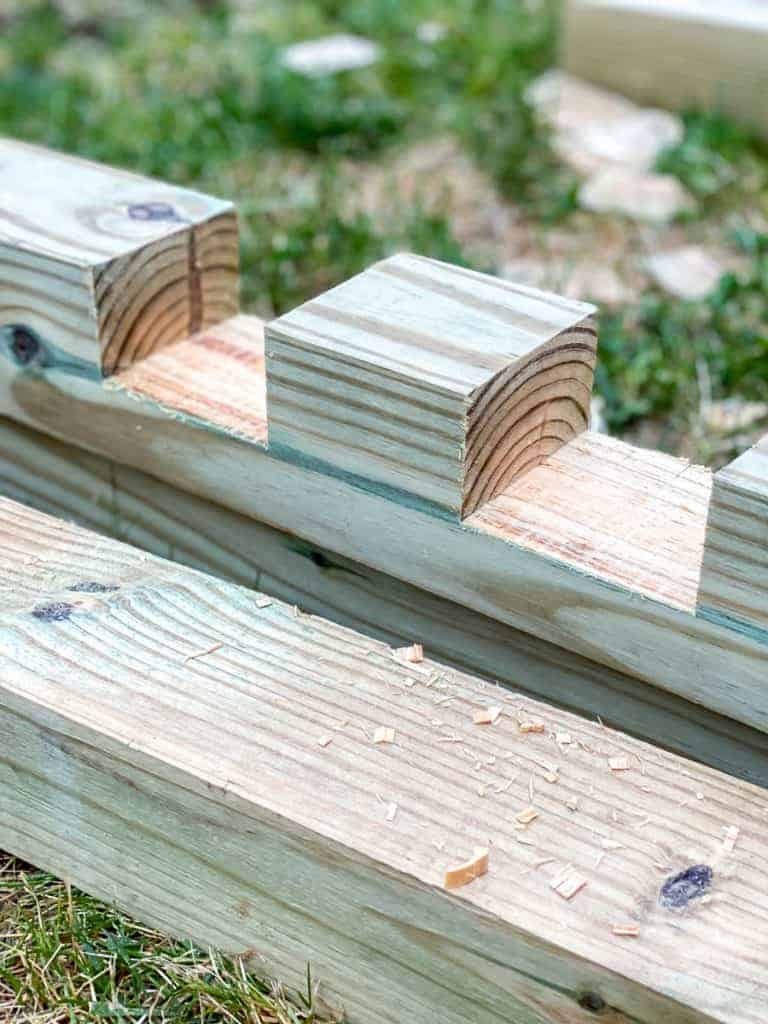
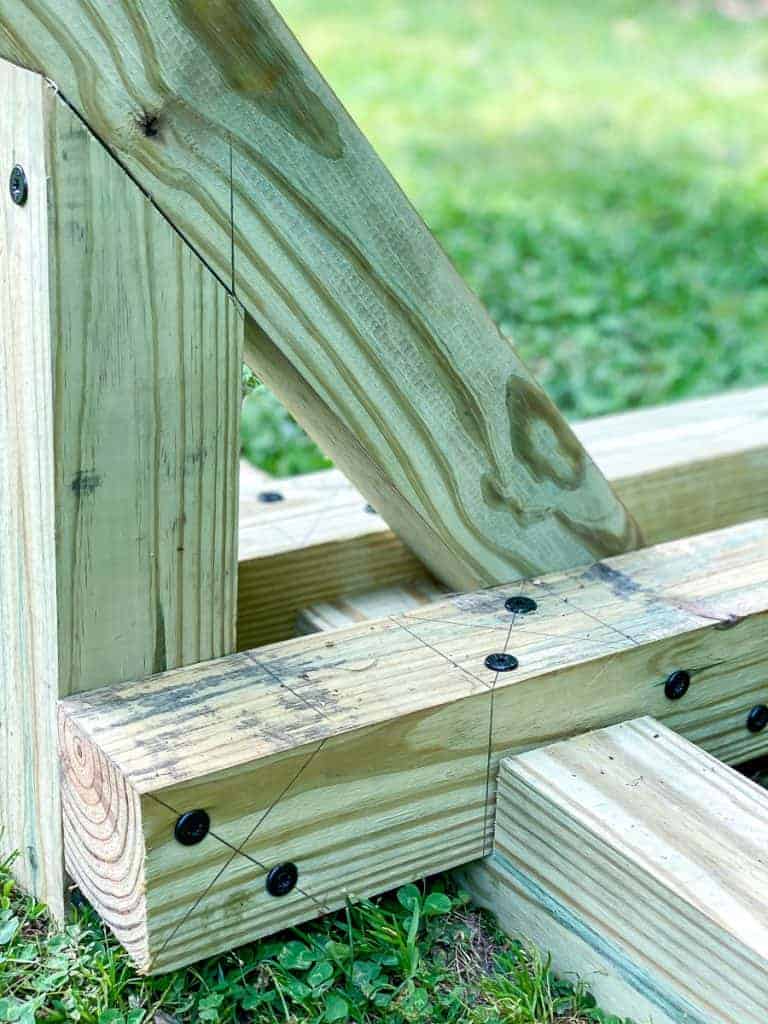
Cut notches in the frame
This is the first time we use this technique, but it was an easy and fast way to attach the frame to the base and have a sturdy base for this hammock stand.
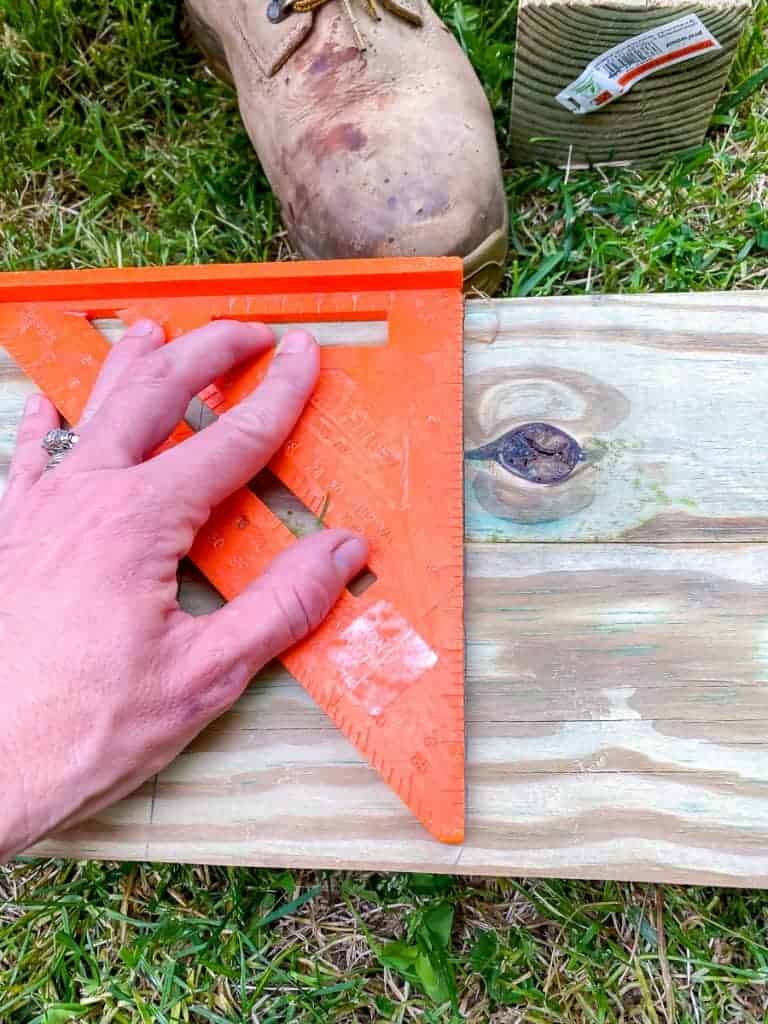
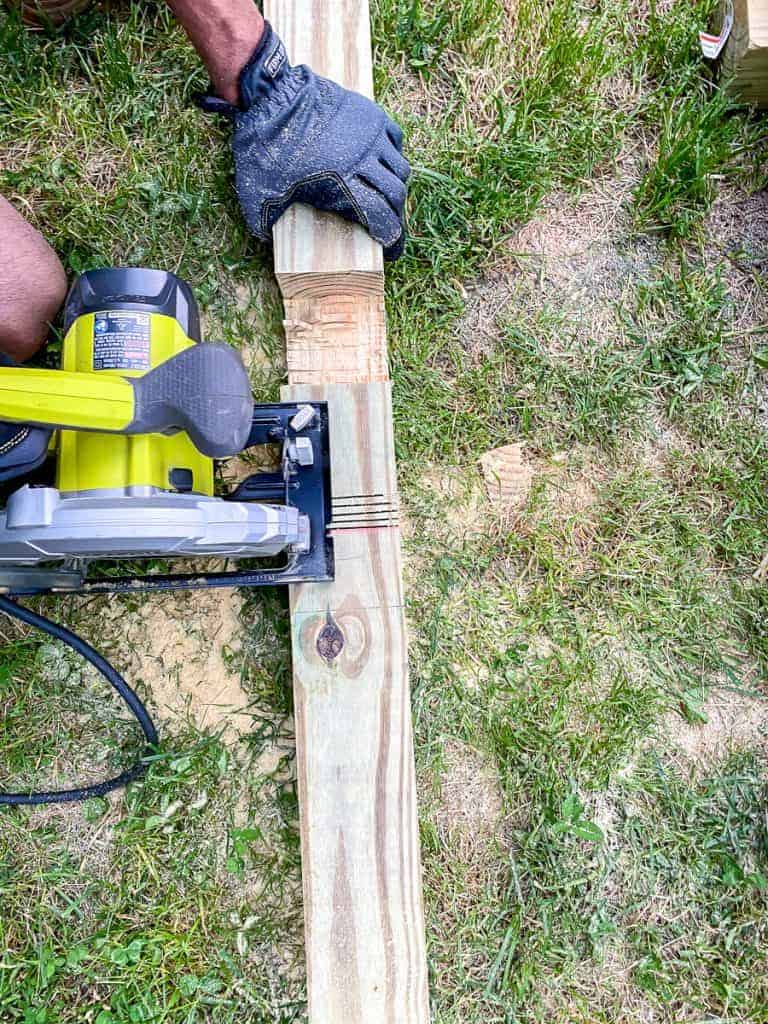
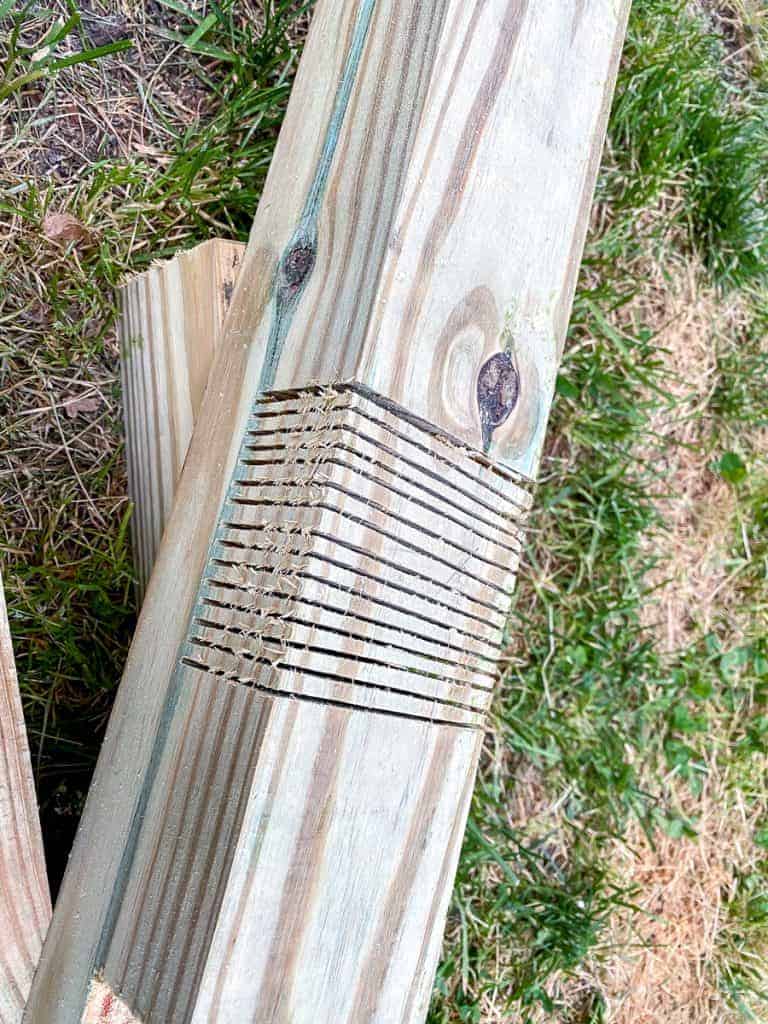
How to make notches
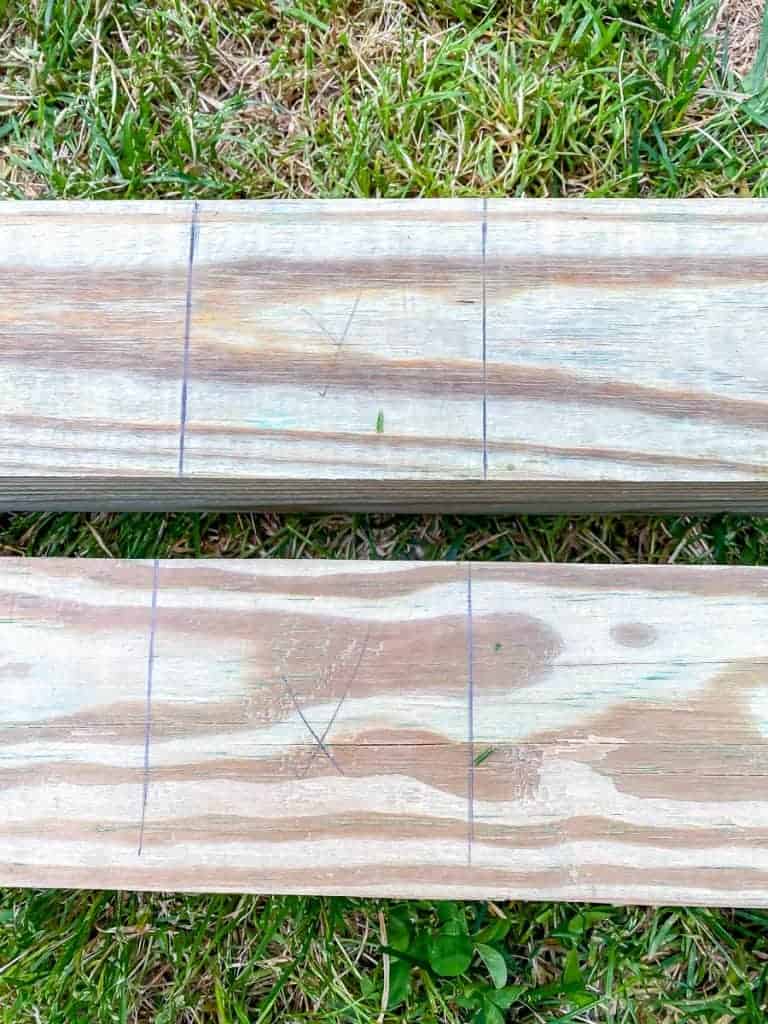
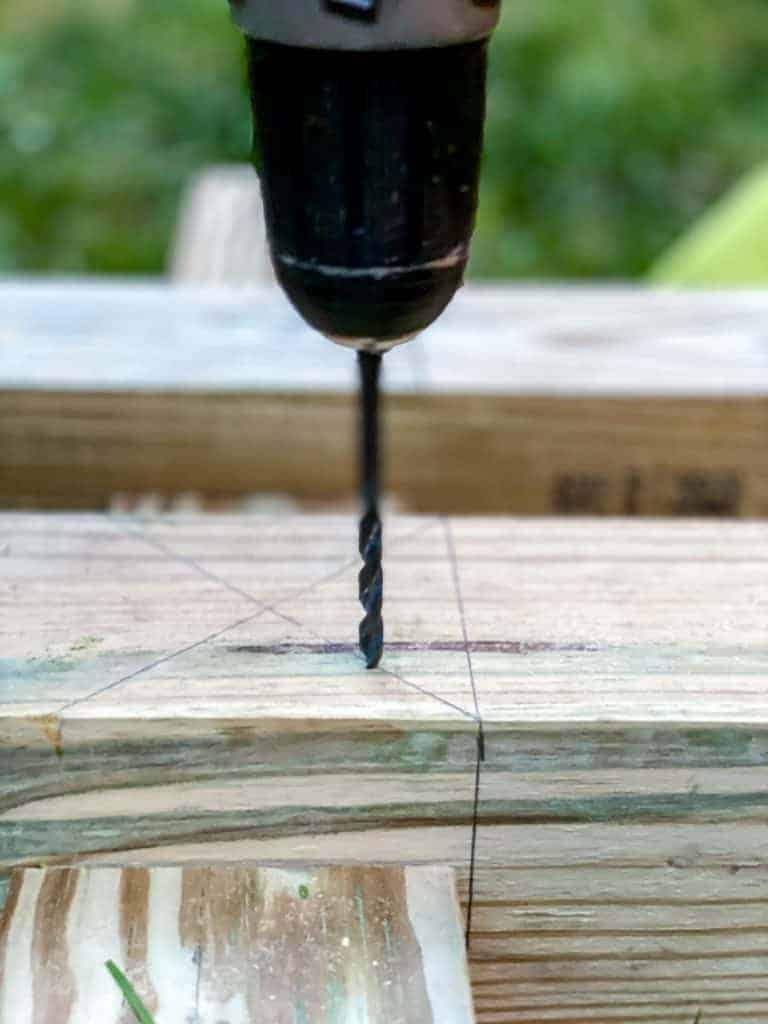
First measure out where the notches will go on the lumber and mark it.
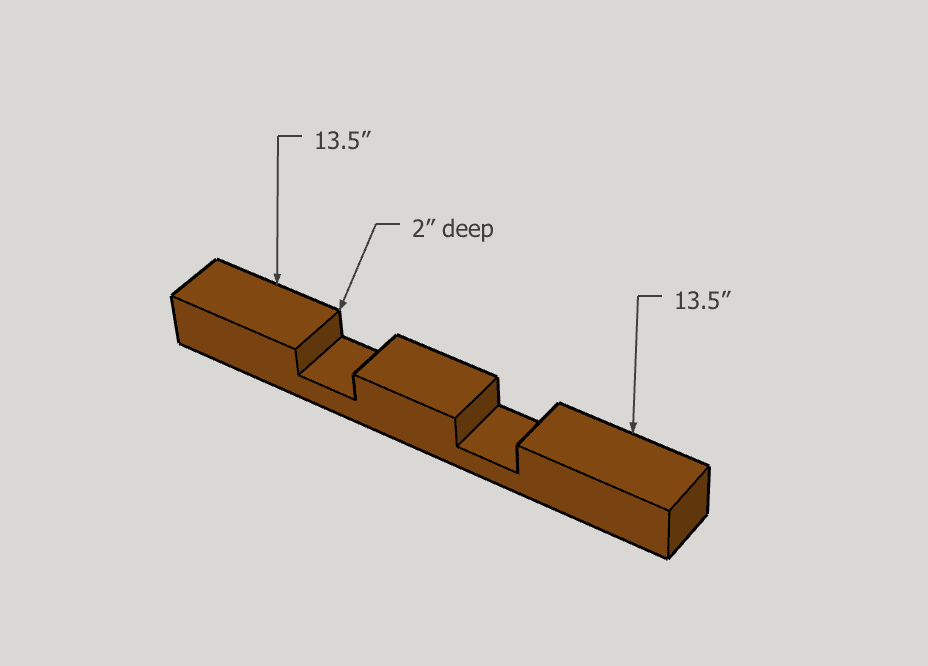
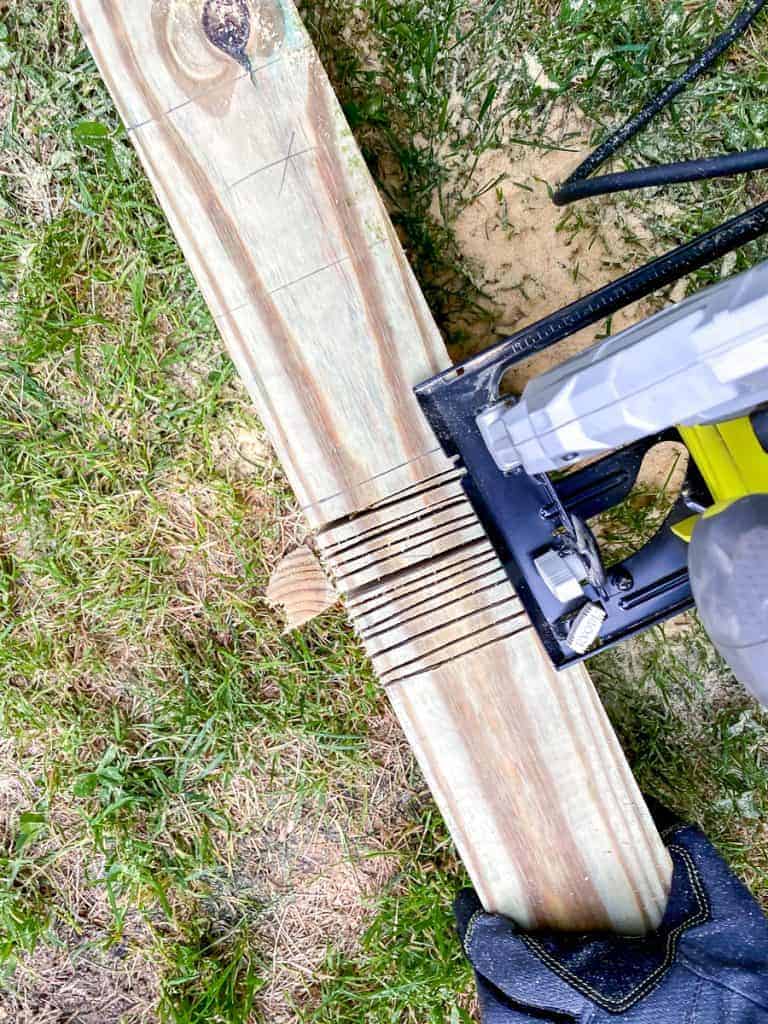
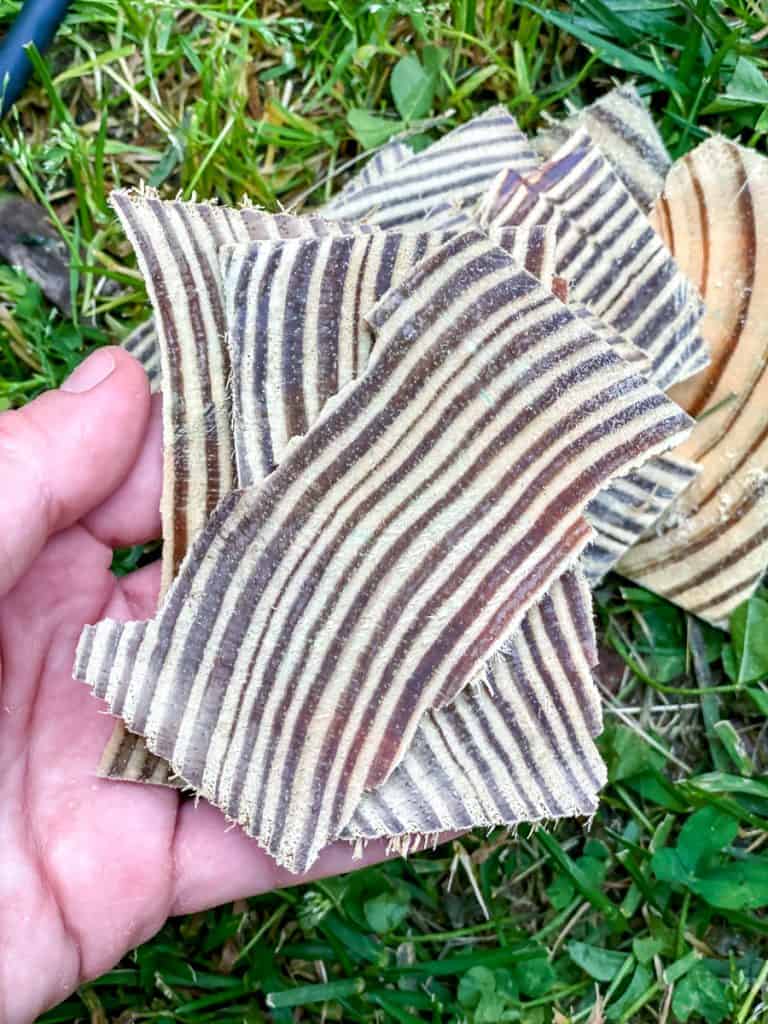
These were my measurements above but again. With a circular saw set to 2″, cut out the notches in the base. Make your first two cuts at marked lines and then make several small cuts until you finish. Then using a chisel remove the wood pieces and make it smooth with sandpaper.
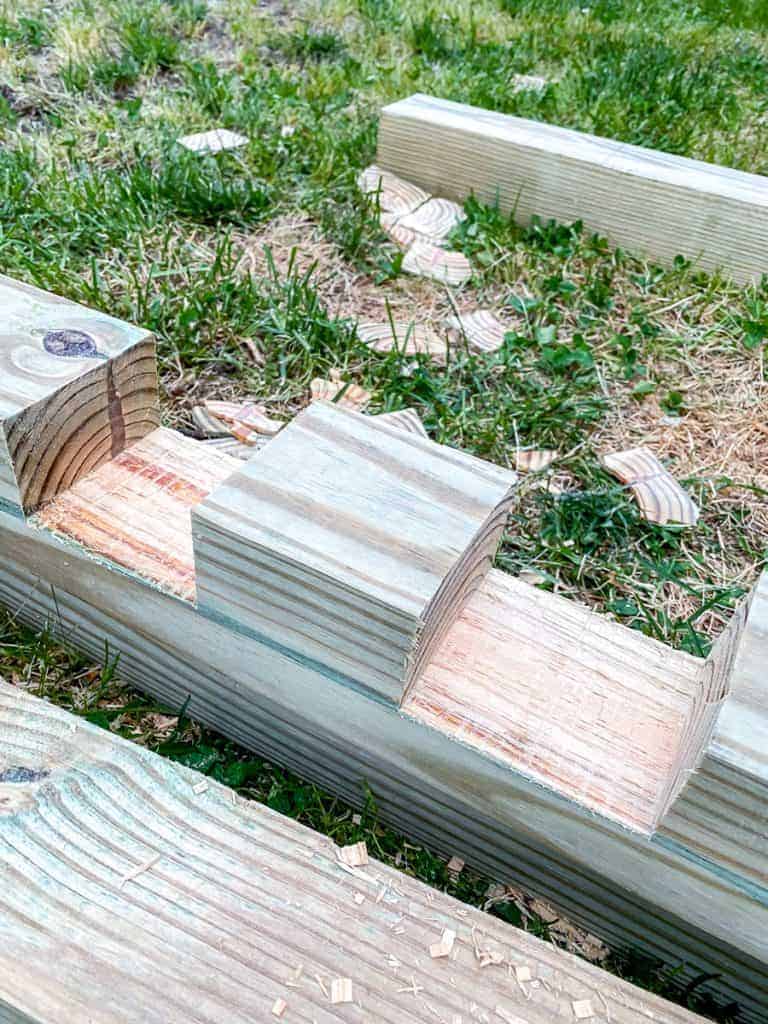
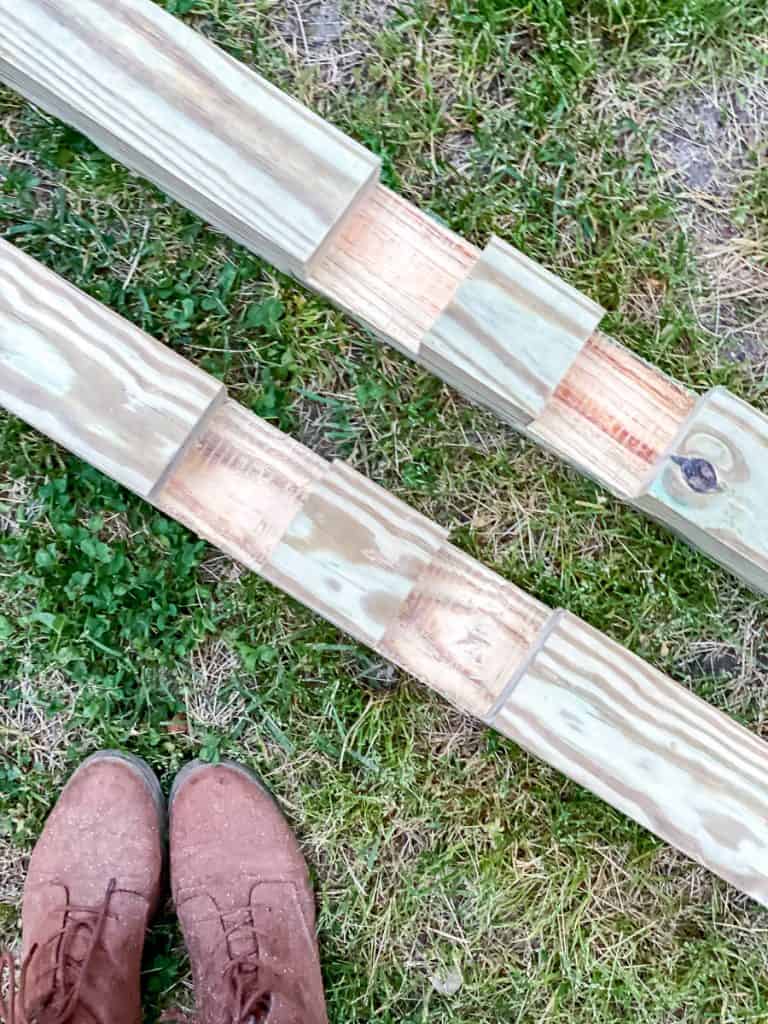
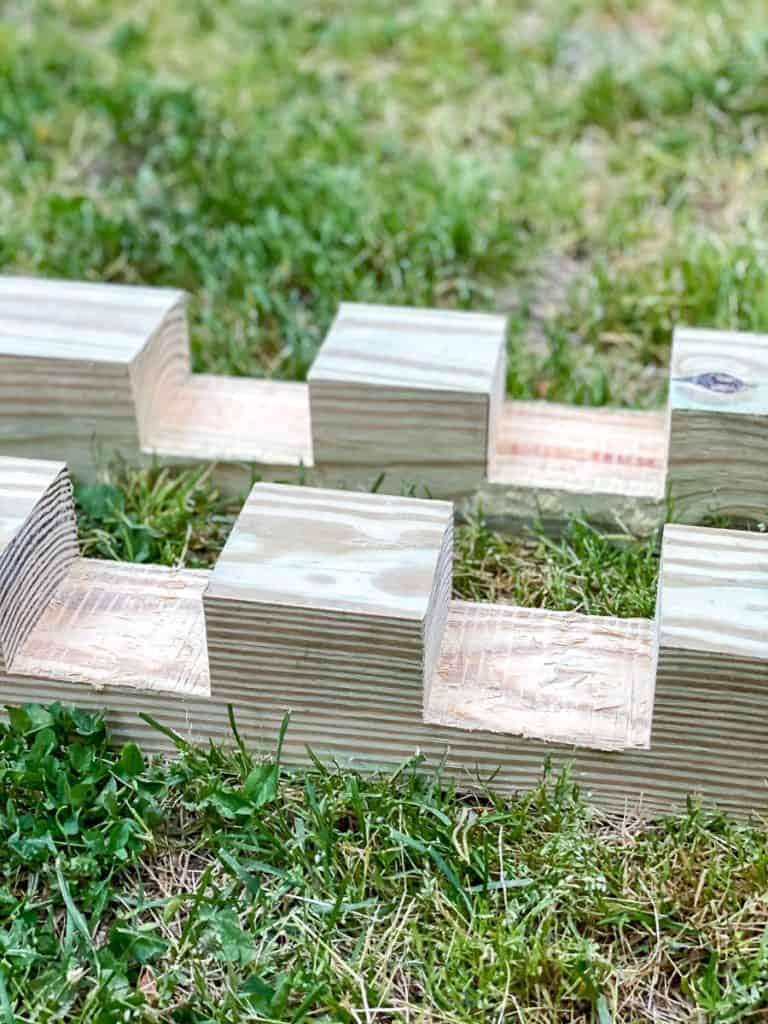
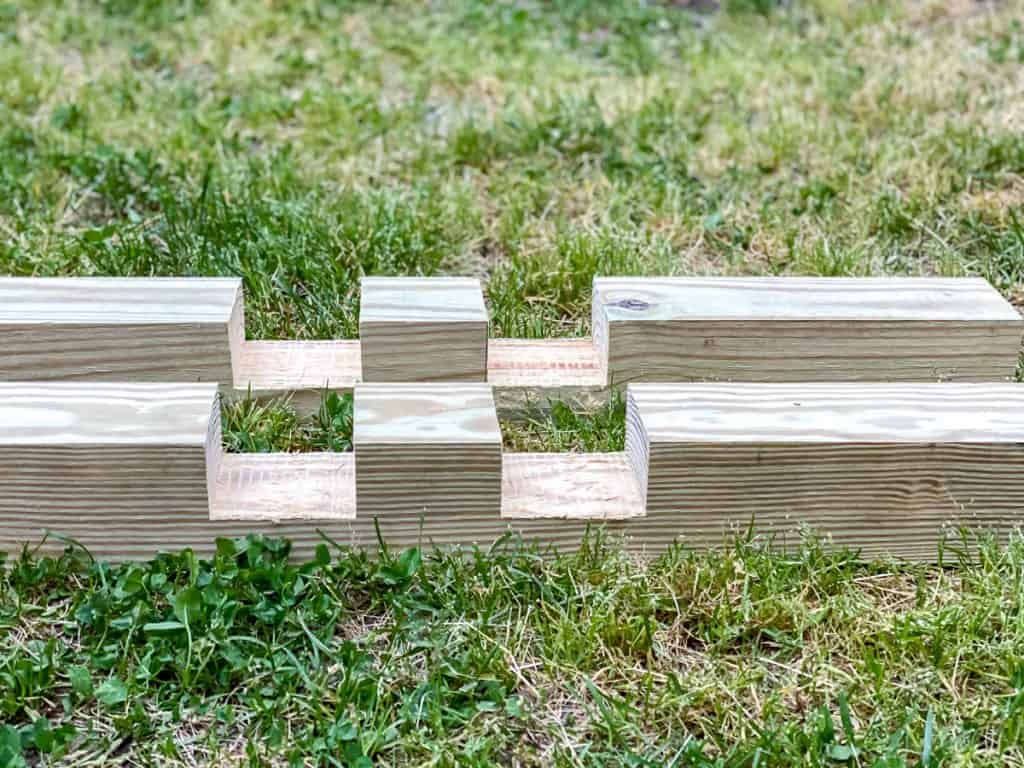
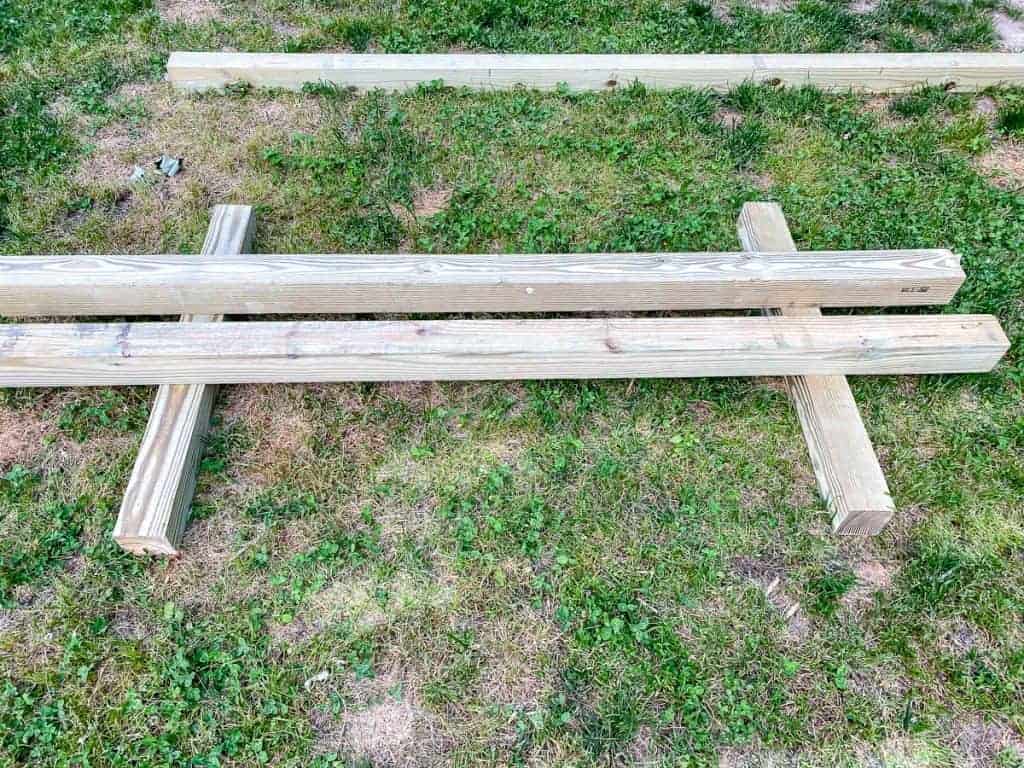
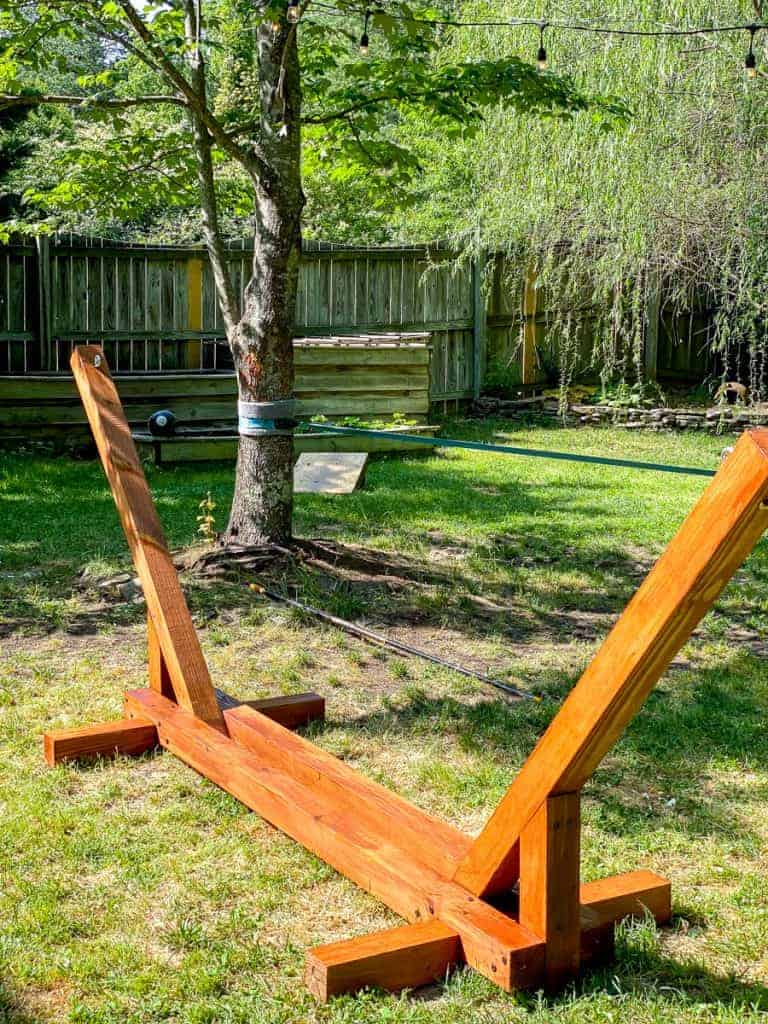
Build the base for the hammock stand
Now you can puzzle together the base and attach them together with 3″ wood screws. Drill pilot holes before you apply the screws.
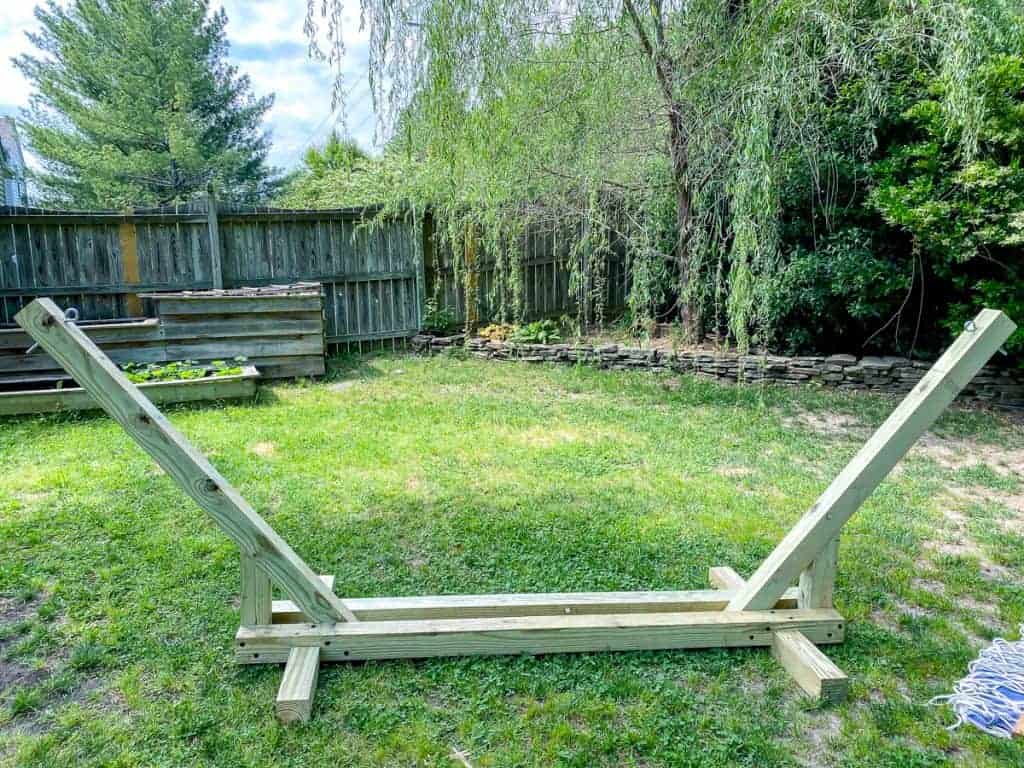
Attach the side supports to the base
For this next part you will need an extra person.
First, cut out 2 pieces of 60″ long pieces ( these will be your supports) from the other 10′ timber. Cut one end of these pieces at 45 degrees.
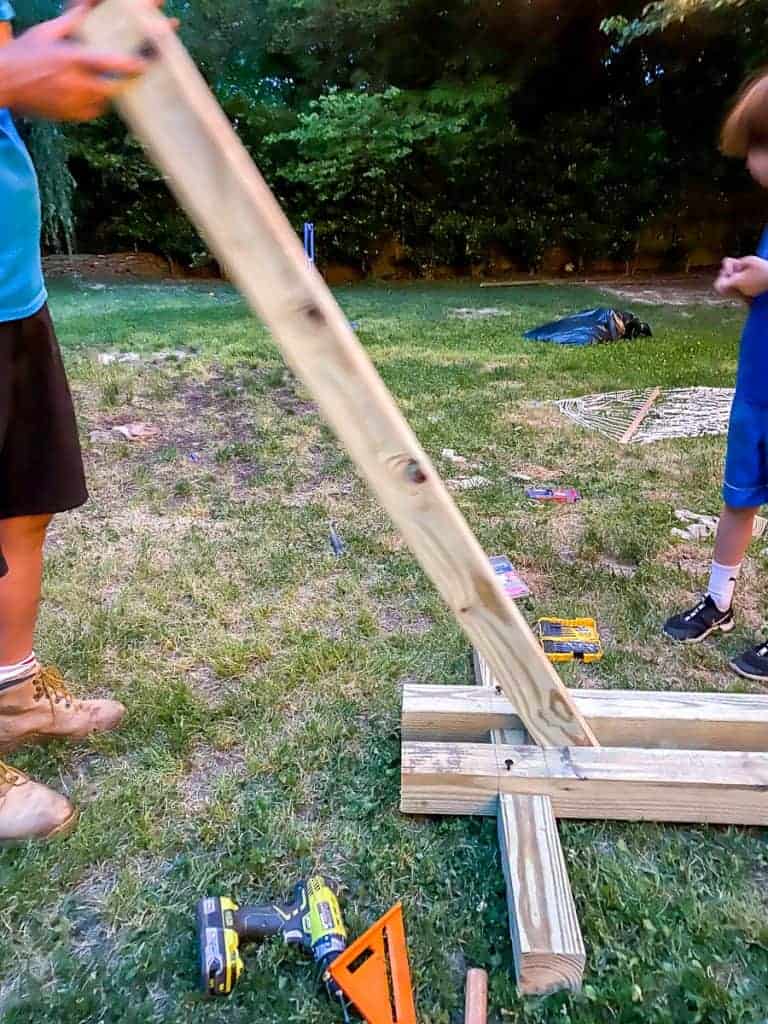
Drill pilot holes through the base and upright support and insert long wood screws ( we used 6″ screws), 2 on each side – this will hold the upright piece in place.
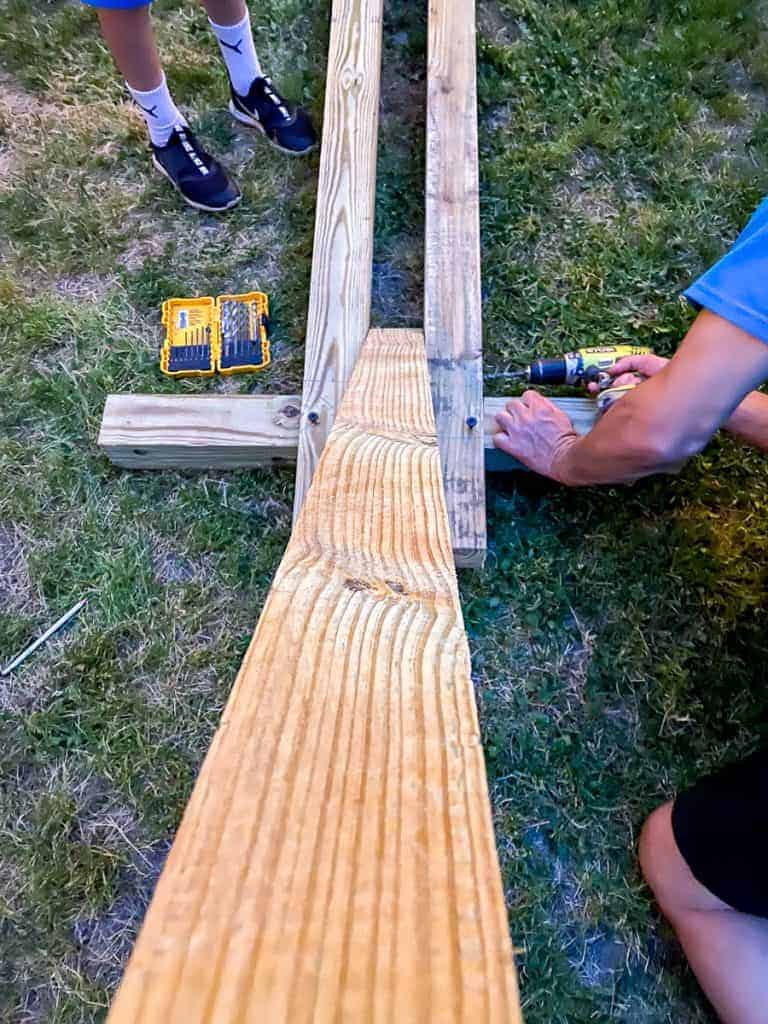
Attach the braces
The braces will reinforce the uprights. Cut them to size ( these braces were 16″) one end to 45 degrees and lock them into place with long wood screws.
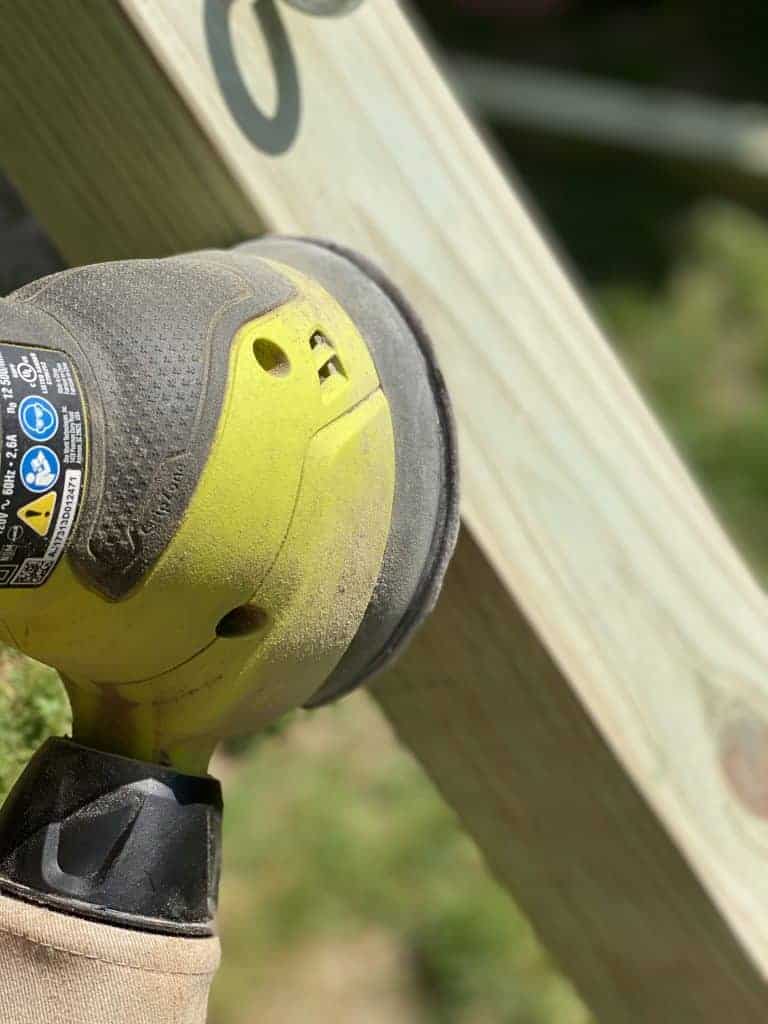
Stain the hammock stand
This last step is totally optional but I love a good stain color and I decided to stain out hammock stand. I used the same color as we used in our deck. I lightly sanded the stand before I applied the paint. Mostly for rounding the sharp edges so it is optional, I guess.
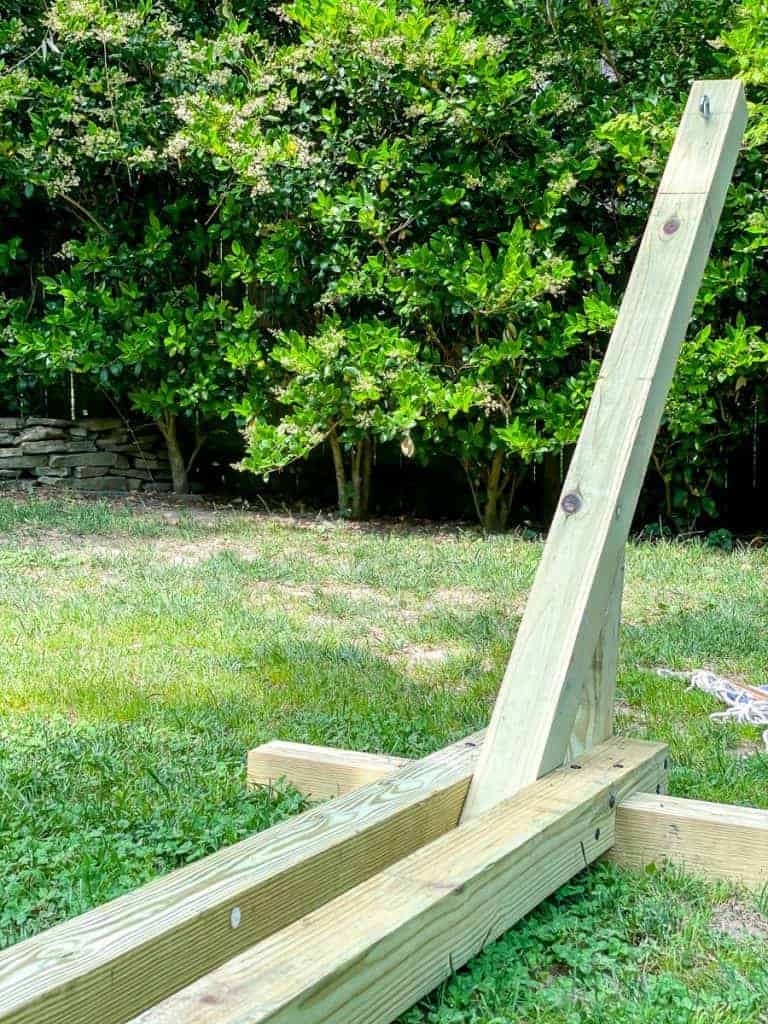
Attach the hook screws and carabiners
Drill a hole before you go in with the hook screws. Then hook the carabiners on and you are ready to go!
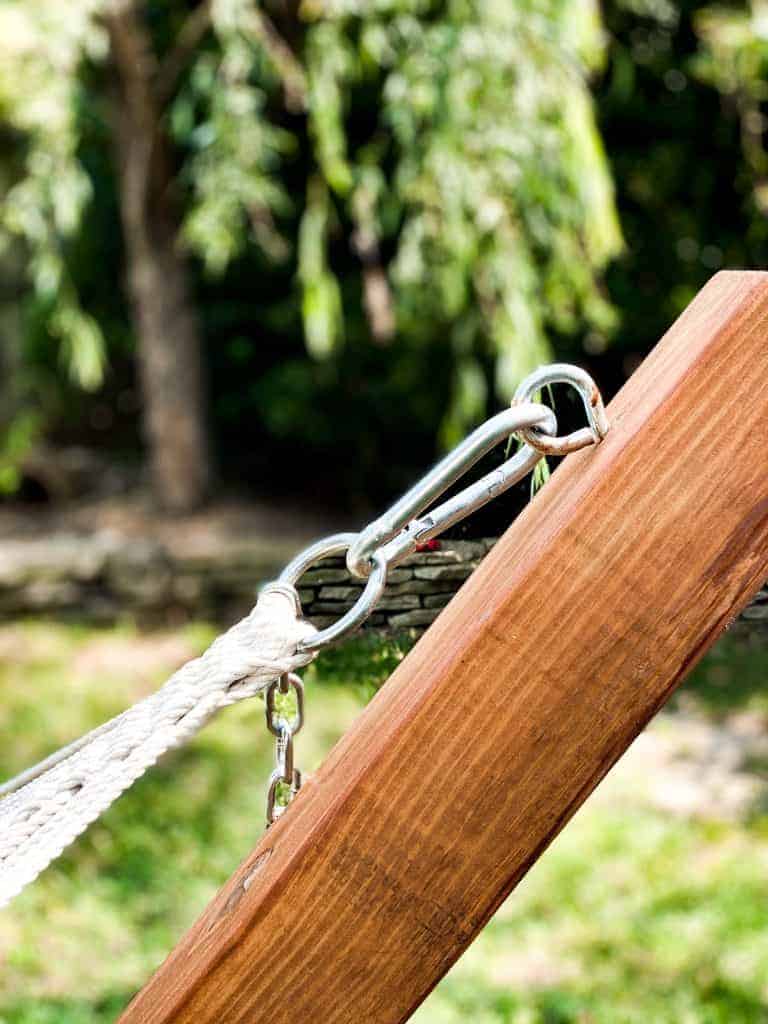
Use your favorite hammock and enjoy the sunshine!
What do you think? Are you going to try this easy project?
It took us a good 3-4 hours from start to finish so go ahead and give it a go!:-)

No time to make it now? PIN IT FOR LATER!!
Thank you for visiting!
More fun projects for you here:


Xoxo
Aniko


Hi how Long is the hammock? Can’t wait to make this but want to make sure my hammock isn’t to big for this.:)
Thank you! I am excited to try this! Do you know what size hammock it will accommodate?
How much weight does this hold? And how long is that hammock? Thanks!
I am in the middle of making a stand and am excited to finish it! What is the measurement for where to place the two short pieces on the two long bottom pieces?
What size hammock will this accommodate? Do you know the total length?
Thank you so much for providing directions for this! We cut everything and found that the short base measurements were off for the notches. 13.5 + 13.5 = 27 but if we cut 34 inches that only leaves 7 inches for the long bases and the support but you need 8 inches. Just for others who use these directions, your notches should start at 13 inches on each side to fit.
Hi where did you buy the hammock ?
Hi there! Just curious what size hammock you bought for this?
Hi there, thank you Aniko. I’m looking forward to making this! Do you have a tutorial for making the hammock?
I purchased the hammock- it was not gonna be cost-effective to DIY it. 🙂 Hope this helps.
Thanks so much for your reply and great articles ????❤️