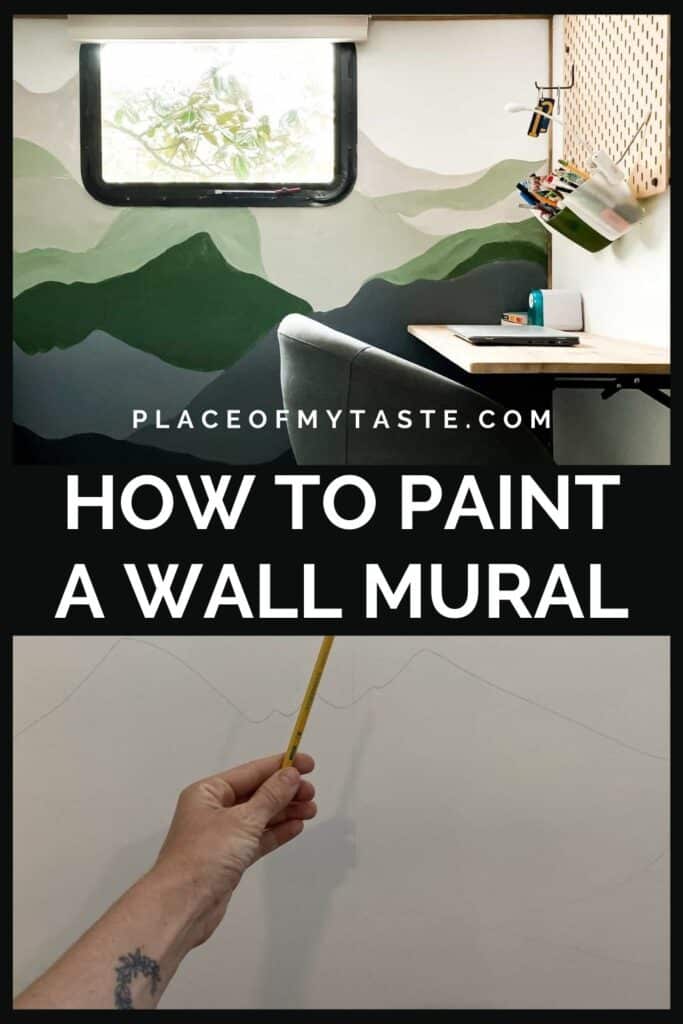
HOW TO PAINT A MOUNTAIN MURAL
A Mountain Mural tutorial is another post from our Camper Renovation that I have wanted to share.
This Page May Contain Affiliate Links. Please, read our Disclosure Policy.

If you have been following my blog for a while, you might know that I LOVE art and painting. I do.
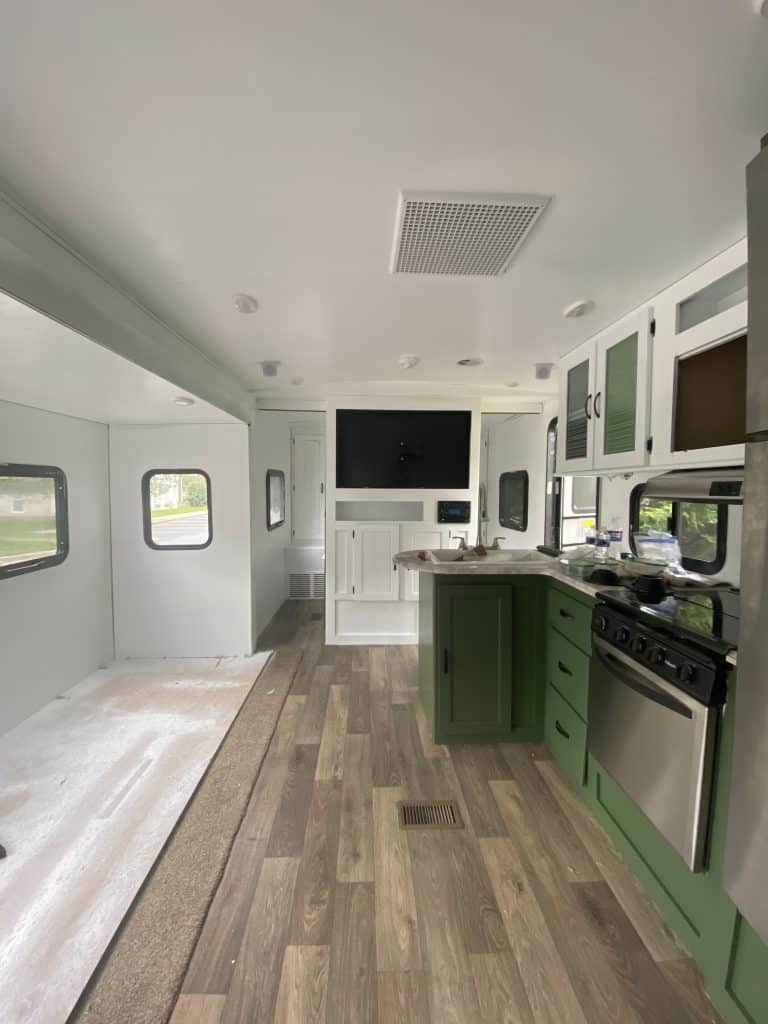
When we picked up our travel trailer, I knew there was gotta be a wall in there where I wanted to paint a mural. We demoed the trailer and planned a “study corner” for the boys in the bunkhouse. This is the picture of the BEFORE below.
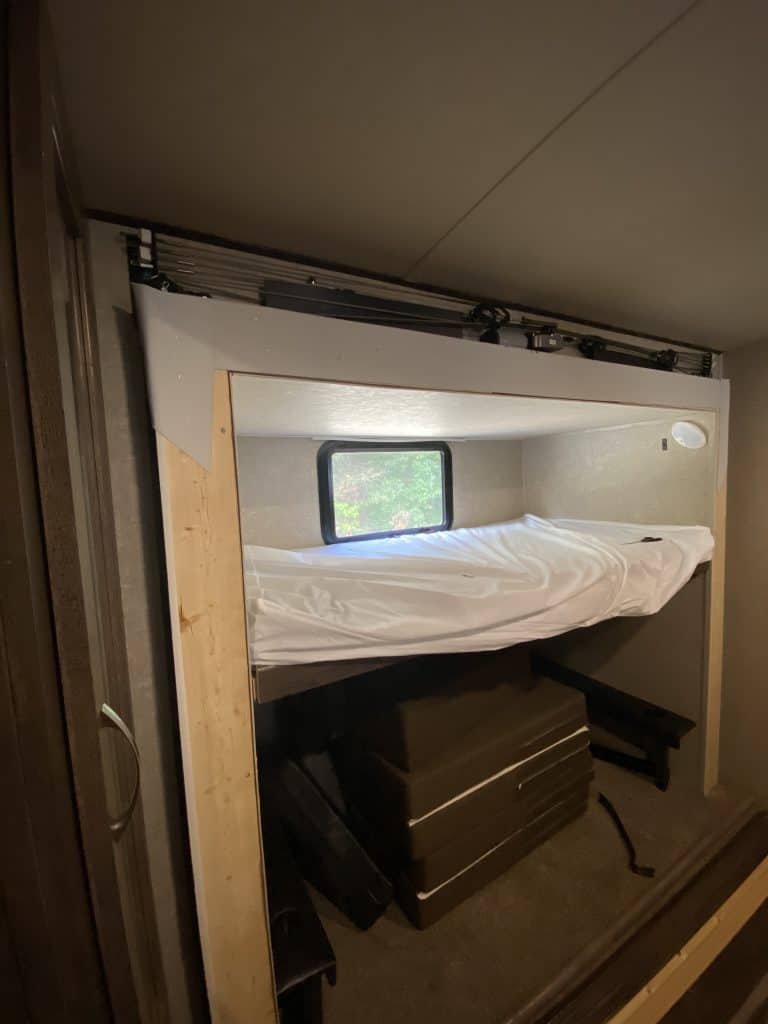
We removed the bunk bed and the chairs to free up that space. I ripped out the ugly, dirty carpet and painted the walls nice and clean to start with.
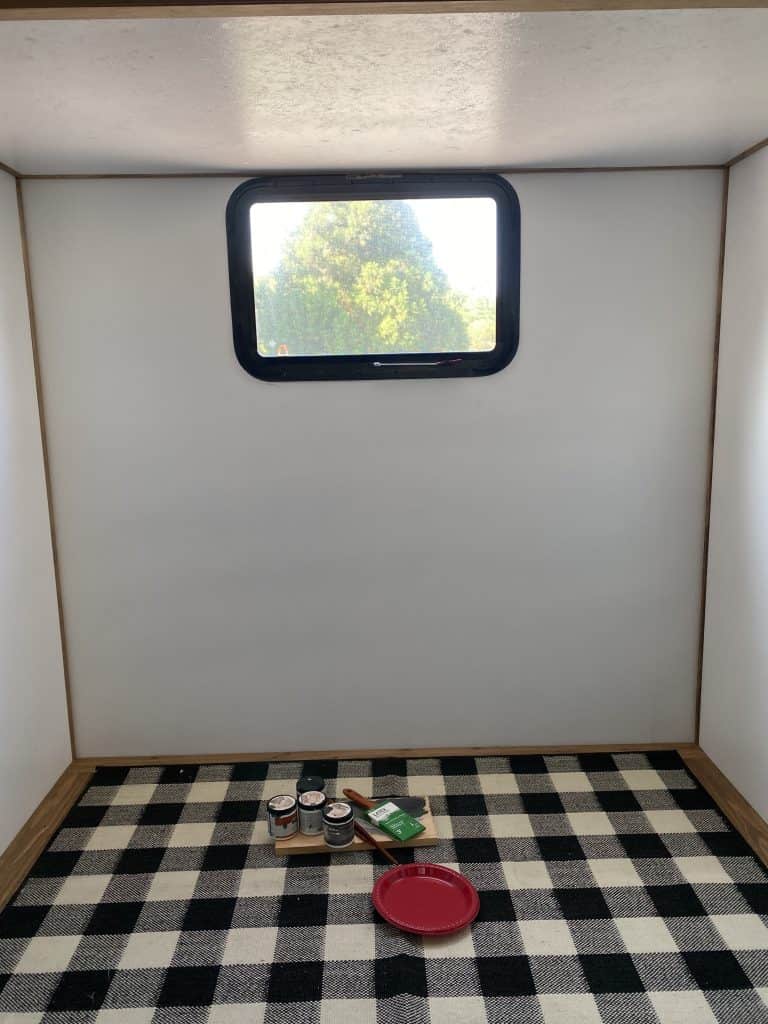
Do you ever keep the leftover paint? I do! This project was completed by using leftover paint that I had on hand. I had a small wall space to work with. Of course, if your wall is a lot bigger, be sure to get enough paint for your project.
THINGS YOU WILL NEED TO PAINT A MOUNTAIN WALL MURAL
- drop cloth (yeah, I didn’t use one but please DO use a drop cloth to protect your surfaces!)
- 3-4 different colors for the mountain mural ( I list my colors below)
- pencil
- painters tape (to tape off corners)
- brushes – smaller brushes to paint the outline and larger brushes to paint the bigger areas
- good music to listen to:-)
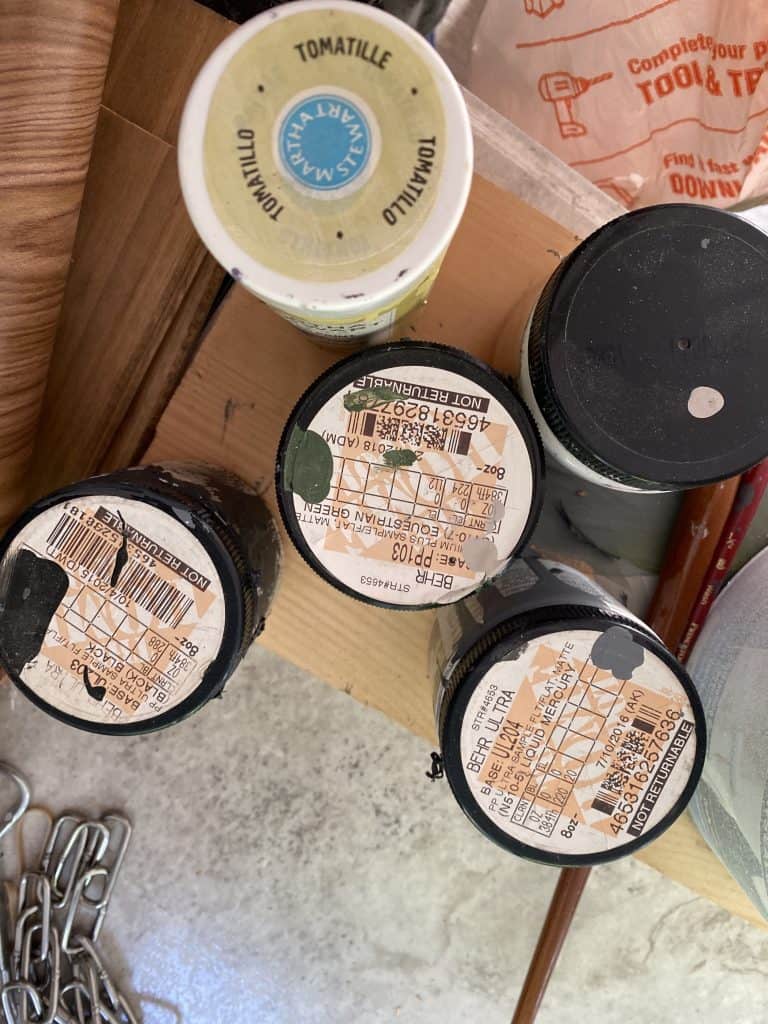
My 4 MAIN colors were from bottom to top: ALL colors were BEHR
BLACK
LIQUID MERCURY
EQUESTRIAN GREEN
WHITE
STEP 1: Draw the lines
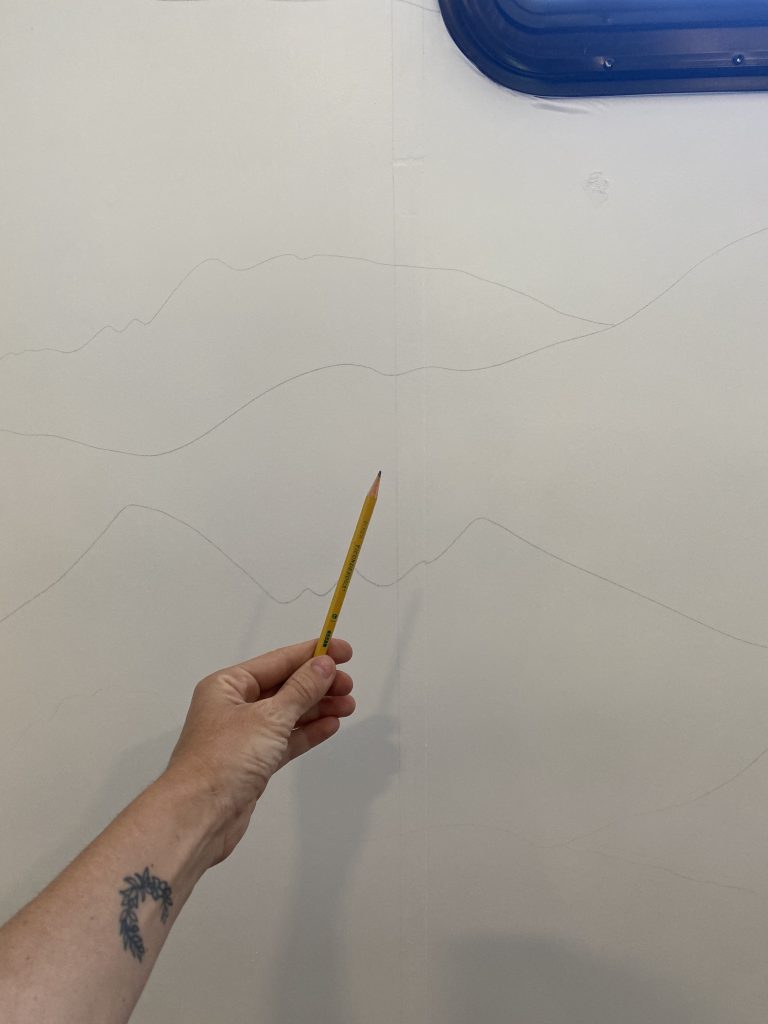
As a first step, I outlined each layer of the mountains. I did not copy any drawings ( but you can); I just went with a flow and drew layers on the blank wall.
I started my painting at the bottom. (I guess you can start from the top too.:-)) But anyway, I started painting from the bottom of the wall with the darkest color.
I used a small brush to paint the outline of the mountains, then used a larger brush to fill in the bigger spaces.
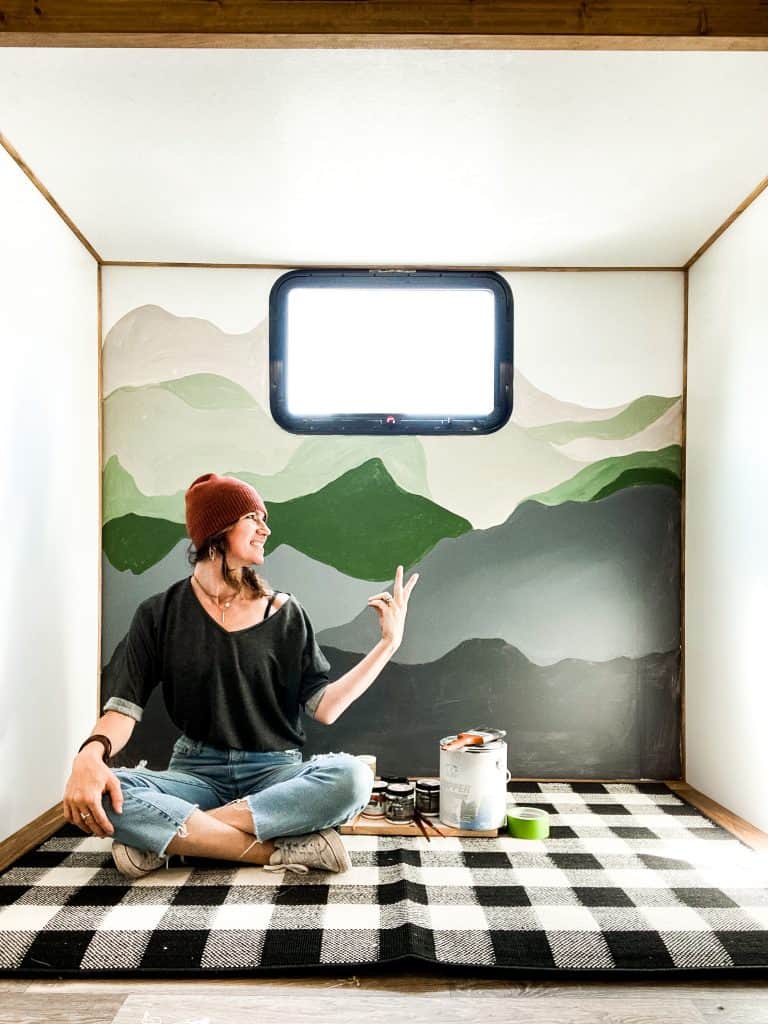
After the first layer was painted, I went on with the lighter gray color. Then I added another darker color. I mixed the white and black paint with my primary colors to create lighter and darker shades. There is a short timelapse video on how I did it.
Are you ready to paint a fun mural? It’s easy, and you will love the result.
Thank you for visiting, and I hope I inspired you today.
Check out more creative projects, how to paint a camper or our camper renovation.
Check out our favorite camping gear on the link below.
Cheers,
Aniko

I like the guide very much. I have been searching for a step by step guide to help me paint my own mountain mural but could not find one anywhere. This is the only guide that I found on google and decided to give it a try. It was really helpful, thank you so much!
Thank you for sharing this. I can finally paint my wall now.
I was thinking of painting a mural on my room wall as I don’t like the bare walls and this is one hell of a great blog that has helped me paint one! Wish I could show pictures to you guys. But thank you for this great blog!
I am definitely going to give this a try, thank you so much for sharing!
Aniko I really like, the way you handle your space, and then you removed the bunk bed and the chairs the ugly, dirty carpet, and painted the walls which really look so nice to me with a study table I really like your idea, Thanks