HOW TO PAINT RV WALLS
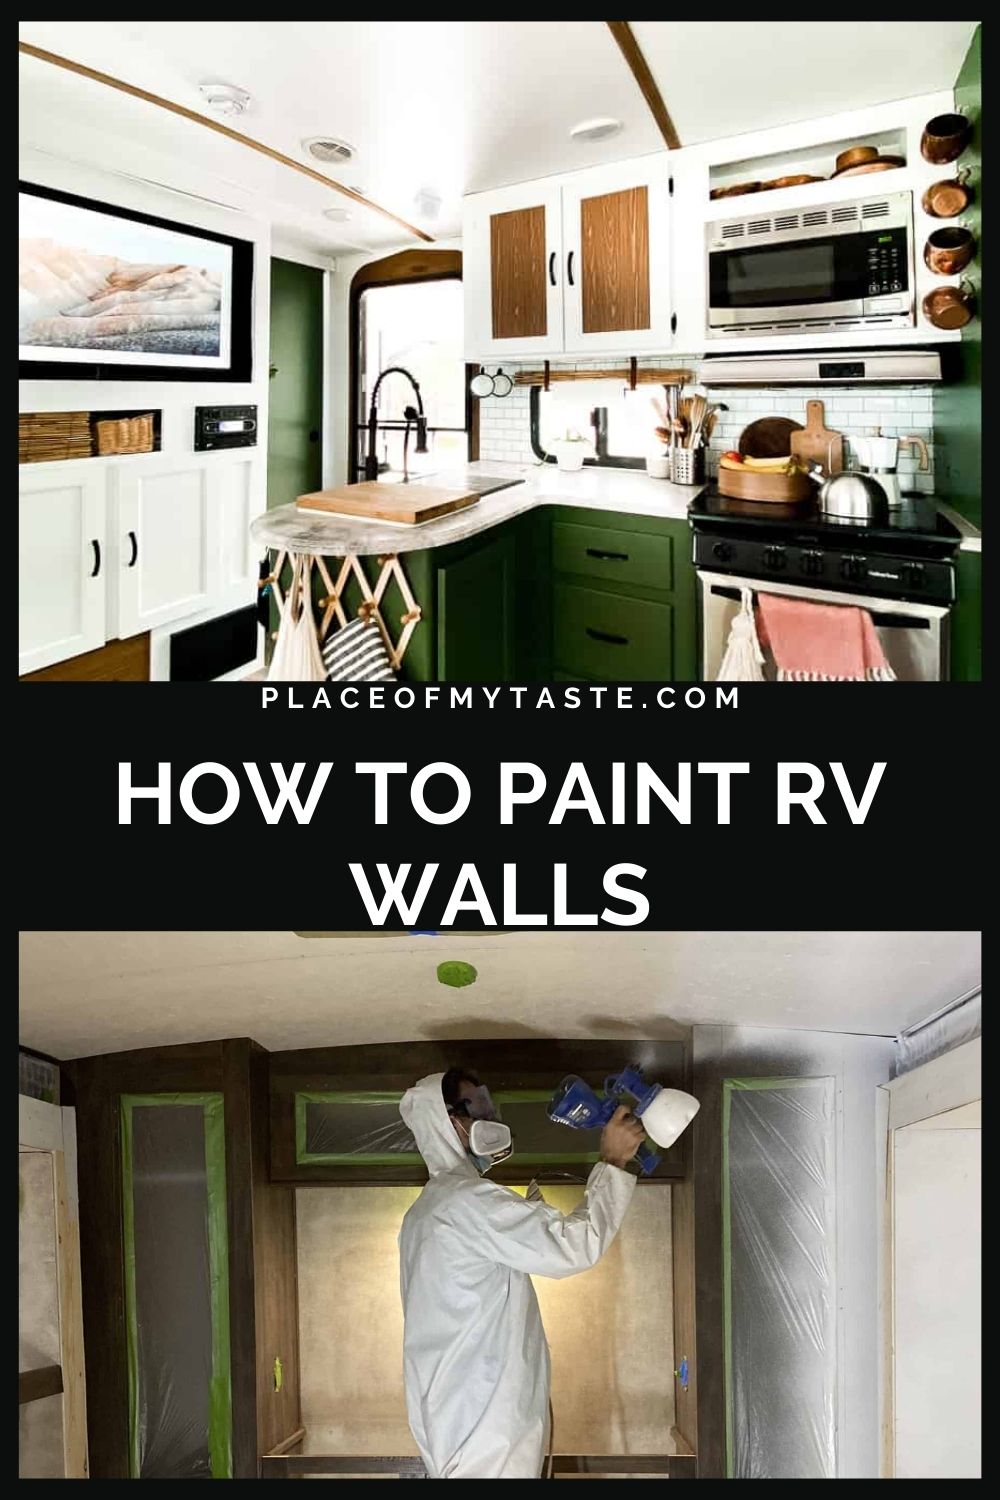
Little did we know how much work is involved with painting RV walls. But we learned through the process and today I am sharing some useful tips on how to paint RV walls in your trailer or camper. Read the back story if you missed the details of our adventure.
We painted almost every inch of our house (our house that we recently sold!) in the last ten years) so we were not beginners in painters, so to say. But let me tell ya before you begin the process of painting your RV walls -it’s a hundred times bigger job than painting any room in a regular house.
Why?
You have a tiny space to work with. It’s a huge pain in the back bottom to move around in small square footage.
Then you most likely deal with a vinyl wallpaper that you need to prep like crazy! It will probably be your biggest part of your camper painting project. But after all the hours spent in the camper, I still say it was worth EVERY. SECOND. One single thing – and that is PAINT- can change the inside of your camper dramatically.
So let’s dive in and learn how to paint RV walls!
SUPPLIES to PAINT RV WALLS
- Electric screwdriver
- Sander
- Gloves
- Degreaser – we used water and vinegar but there are other options you can choose
- Painters Tape (a LOT!)
- Spray Painter
- Primer
- Paint
- Protective goggles
- Paint Coveralls
PREP before you PAINT RV WALLS
In my opinion, this step is the most important part of your painting. DO NOT SKIP IT!
First things first: Remove blinds, screws, and everything else to free up your space. We chose to spray paint our camper instead of hand painting the walls and cabinets, so we had to remove and cover everything literally.
Degrease your vinyl wallpaper with a degreaser or water and vinegar mixture. This is what we used, and it worked perfectly.
Degrease every inch!
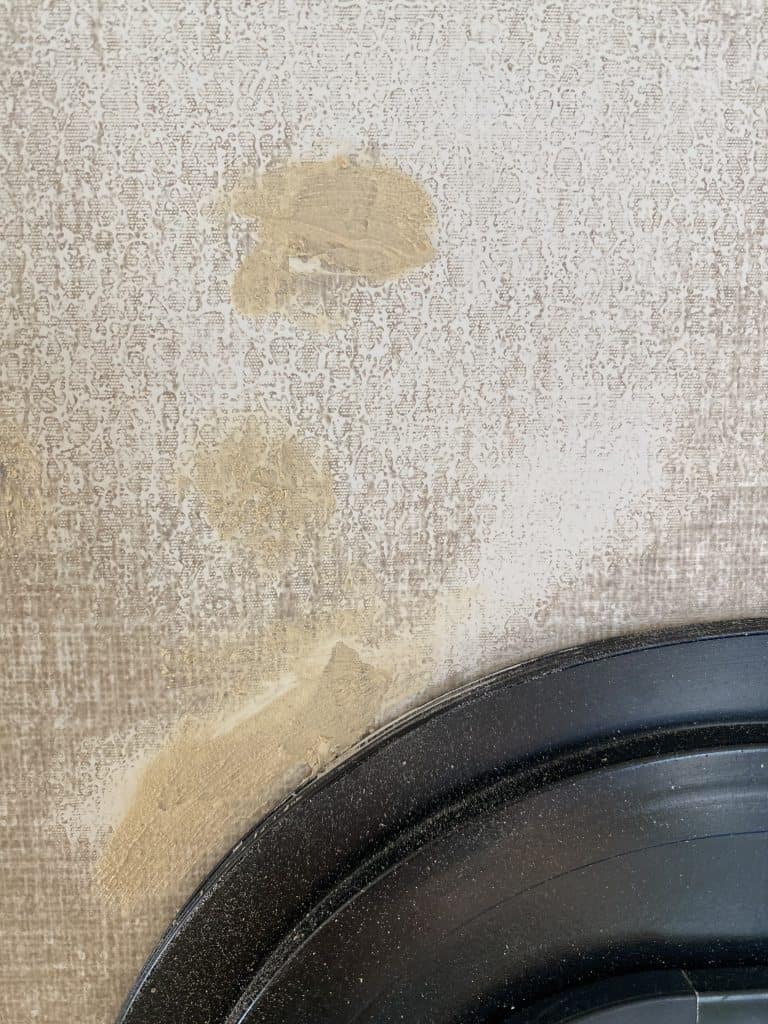
Then fill the holes that you know you won’t need anymore. We used a wood patty ( a quick dry one).
Then SAND your walls and surfaces. Don’t skip this step either! I sanded the walls, but I had small areas where I wasn’t that thorough with sanding, and the paint started peeling on those areas. Take your time with sanding. We used an electric sander to make the process faster.
So SAND, SAND and SAND some more.
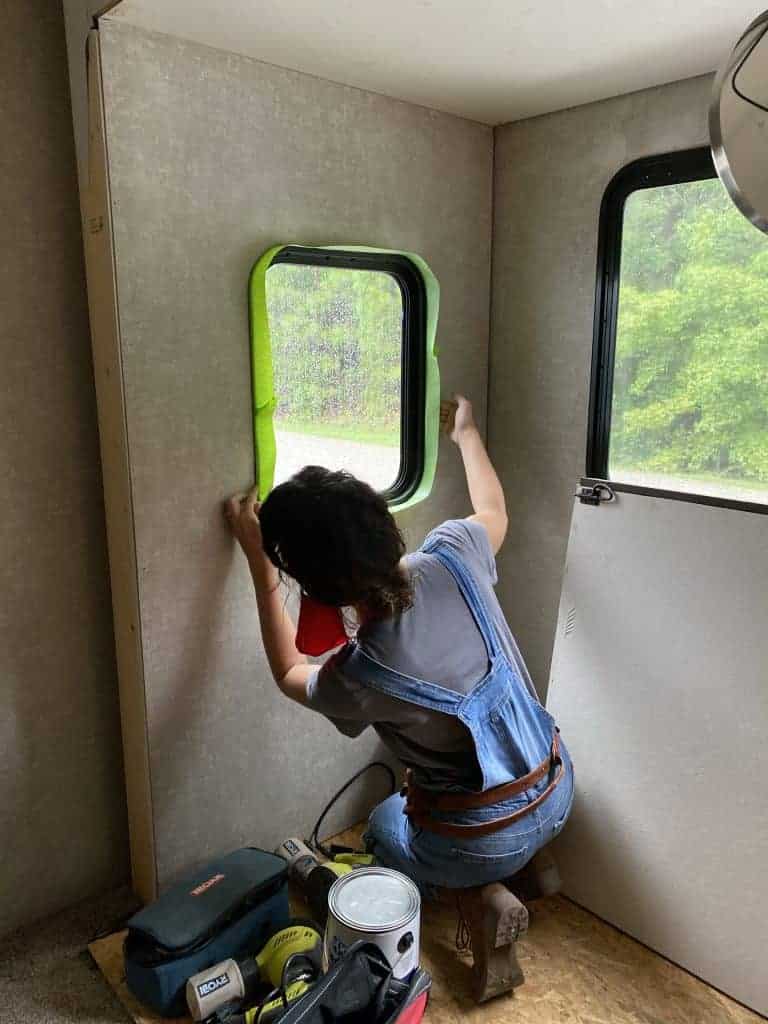
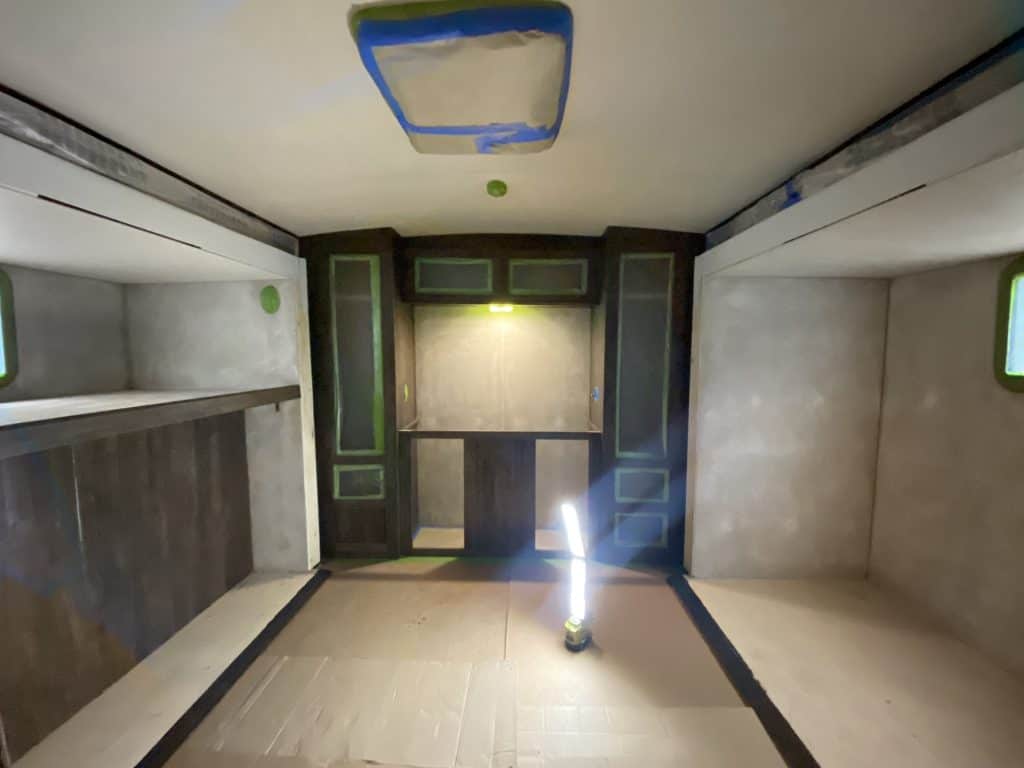
Tape off everything with painter’s tape before you paint RV walls. Take your time and tape off everything. This step will also take some time, but it is a must, especially if you will use a spray painter for your project.
PRIME THE WALLS
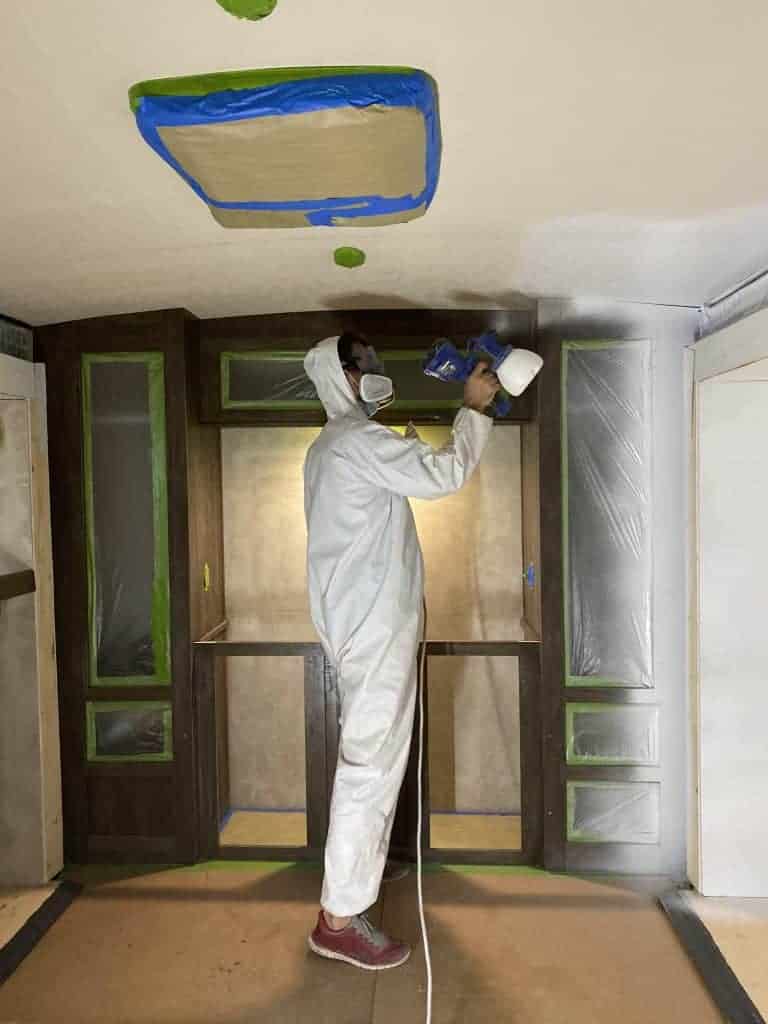
After you have done all the meticulous prepping work, you can prime the walls. We also painted the ceiling simultaneously as it would have looked a lot of yellower in color than the walls if we didn’t.
Glidden Gripper is a great primer, and that what we used, but there are many other options out there. Given that we used spray painter, we used at least a few gallons of primer to prime everything ( including the cabinets!). Priming was fast and an easy process with the spray painter machine. Let the primer dry completely before you apply the paint.
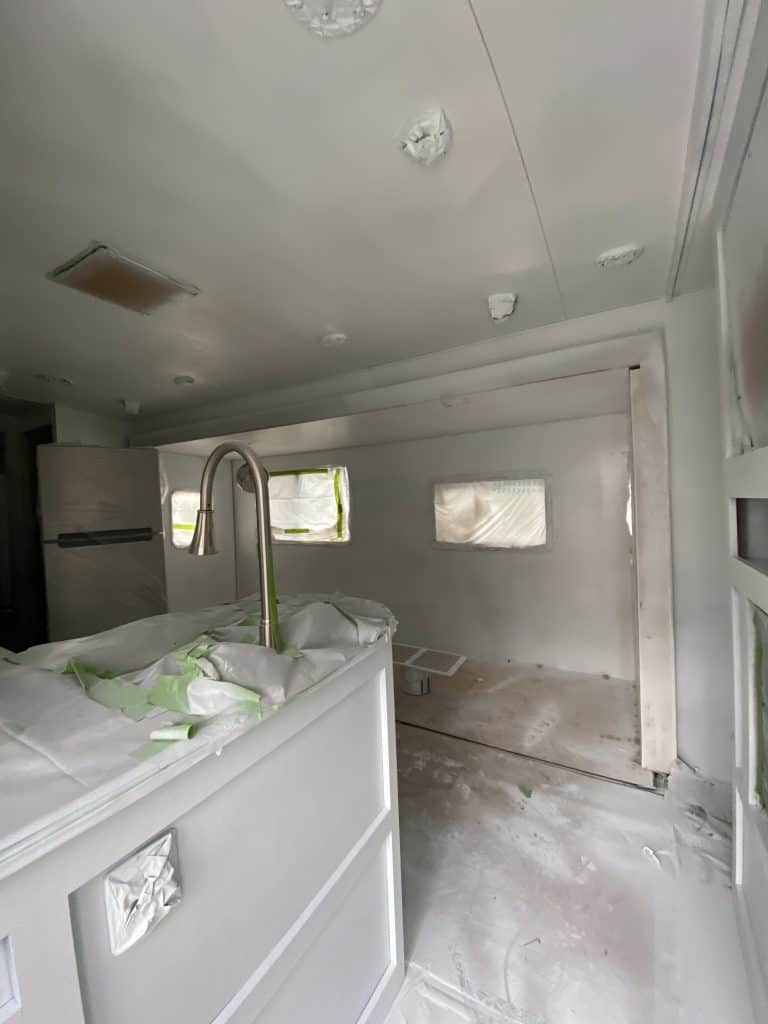
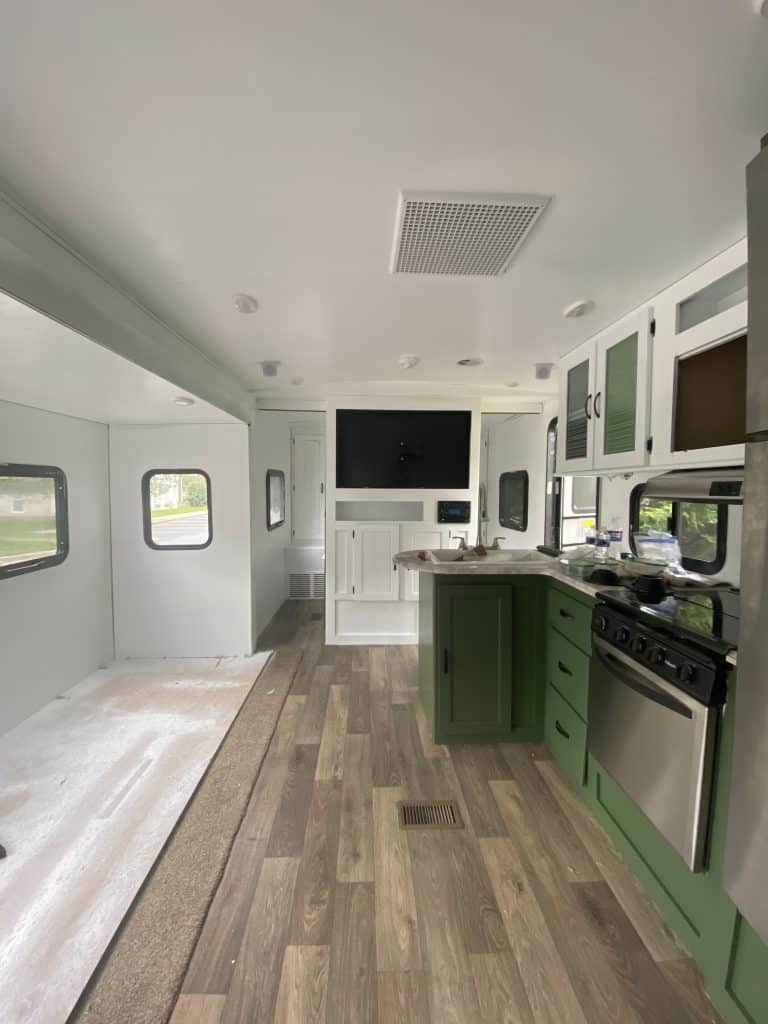
PAINT camper WALLS
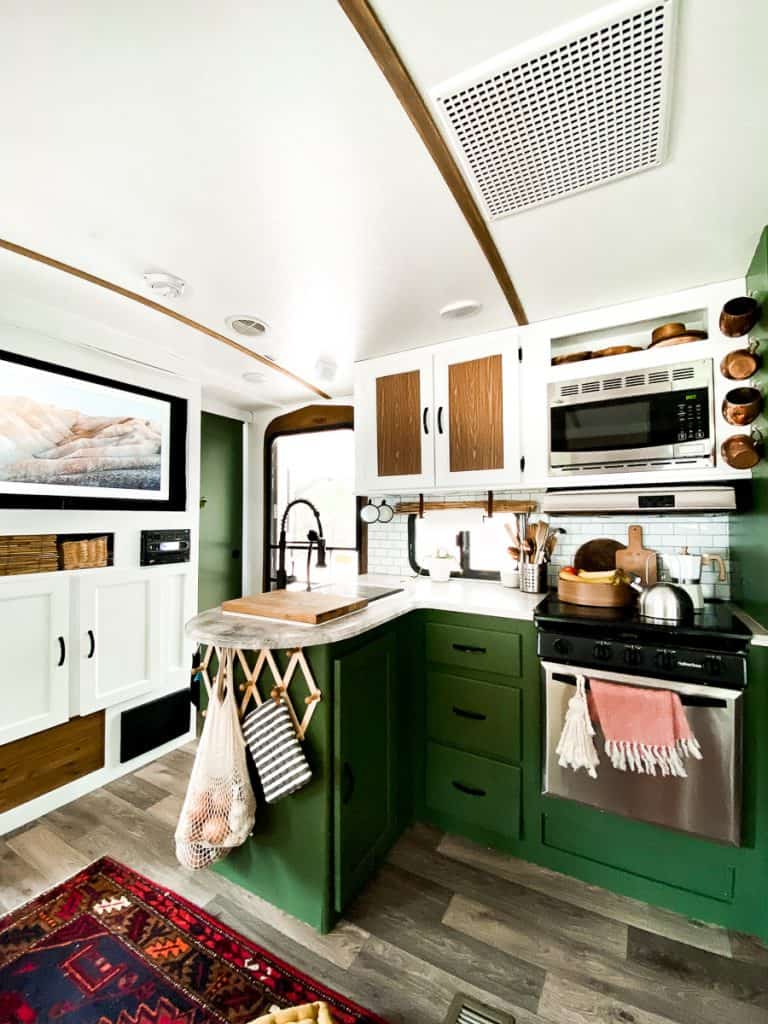
I wanted nice white walls and used BEHR Ultra White (my go-to white shade -or at least it has been in our old house!). We chose to go with a satin finish as I wanted to clean the walls later on with a wet cloth. Some areas needed two coats of paint. Be sure to wait in between the coats if you will apply two coats.
Recap: Remove furniture, Degrease, Fill holes, Sand ( and sand some more!), Prime and Paint.
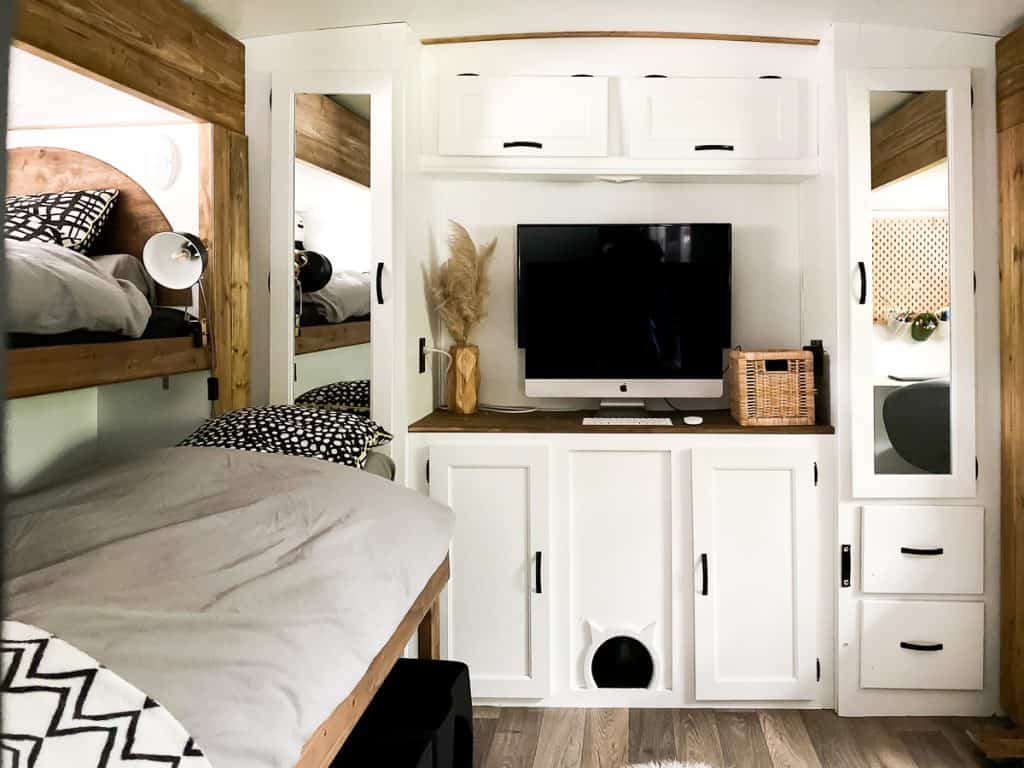
It took lots of hours to finish this step of our Camper renovation, but I still say it was worth every drop of sweat. Paint can go such a long way, especially in such a small space.
I will also write up a quick post on how to paint RV cabinets so stay tuned for more posts on the camper renovation coming soon!
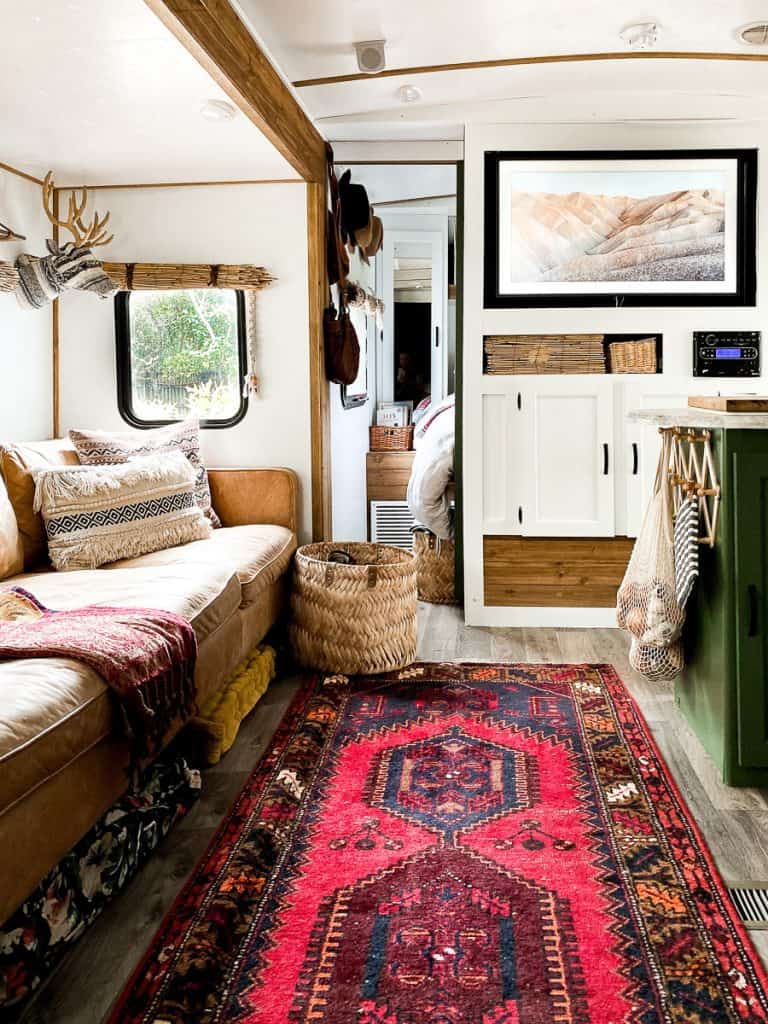
Check out the BEFORE AND AFTER of our camper renovation
Cheers,
Aniko

Beautiful job and love the green. What is the name of it?
I would like ro replace the carpet in our 5th wheel. How do we remove the carpet on the section that are the slide outs?
thank you for sharing alll your information on how to paint the walls on RV cause that is what I like to do
thank you
Thank you so much for all the great information. Your renovation is fantastic!!! I’m trying to figure out timing for renovating my RV- how many hours do you think you put in to doing the start to finish painting? I really want to hire someone to do that part, but as I know it is much more work than expected, I really want to get an idea of what the investment may be before I attack it.
We are purchasing a used RV and want to paint the walls and cabinets as well as pull up the carpet and put down new flooring. Thank you for your post on painting, great information before I start my own painting, very useful. Would like to know what flooring you put down, vinyl, ceramic, wood, etc. if you do not mind sharing. Also, is that real wood trim? Is your sofa, which looks nice and comfy, a sofa bed? Beautiful and great job.
Hi Deb! Congrats on getting your RV! Adventure awaits:-) So first we ended just replacing the flooring in the slideout area but after almost a year living in the trailer, we ripped out the full vinyl flooring and replaced it with the premium vinyl planks. It was super easy to install and looked great. We used lightweight wood planks for all the wooded accents ( post coming up soon on that). And yes, it was my own couch that we used in the camper. Hope this helps!
One of the best explanations on how to paint RV walls, I want one like that. I’m so glad that I notice your post. Thanks for sharing!
Beautiful job and love the green. What is the name of it?