IKEA HACKS – UPHOLSTERED HEADBOARD
IKEA HACKS – What a transformation! I will show you how to make an upholstered headboard and how to turn an old IKEA malm bed into a completely new one.
 It’s time to share my newest piece in our bedroom, one of those Ikea hacks: the Malm bed.
Last year we decided to do a master bedroom makeover. The current design that we are changing is about six years old.
I have changed the duvet cover a few times but did not make any other significant changes.
Now we are ready for a whole new look!
This is our “before” picture.
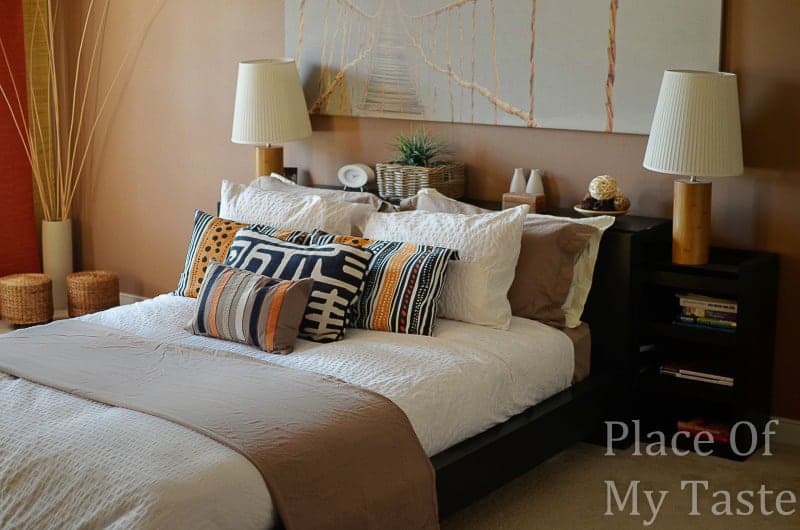
We really loved the black, brown and orange mix in our bedroom, but you know,
…when you see the same design for so long you kind of get bored with it.
WE WANTED SOMETHING
different
fresh
not necessarily new, but new to our eyes
…Maybe some mix and match in styles…
elegant -modern – eclectic
Sometime around July last year, I sat down and started planning. I don’t do that often- haha!
{Pssst… I am usually very unorganized with my projects…}
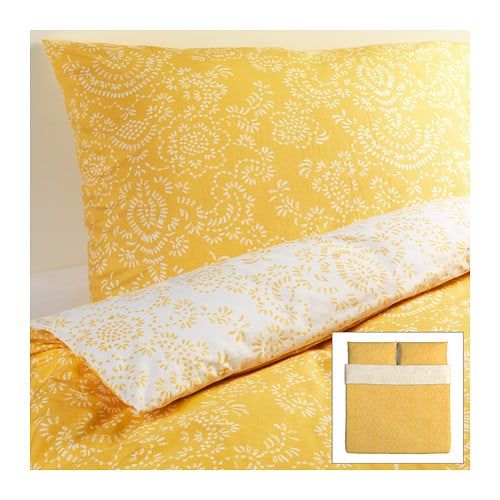
Most of the time, when I start working on a project or a room design, I get inspired by a piece of fabric.
This yellow, flowery duvet cover was my very first inspiration for our new bedroom. I spotted this lovely cover at Ikea.
They were out of stock a few times when I visited the store, but finally, I was able to put my hands on one, just recently.
I really love the floral and the yellow – white mix.
 I created a MOOD BOARD that included all my ideas for our new bedroom design.
 Unfortunately, we never managed to start the bedroom project last year. It became the project to star our new year instead!
We jumped right in and painted our bedroom last weekend. We chose a very beautiful, gray shade. Reading Laura’s post HERE,
on how to choose the right gray, made me decide to go with the REVERE PEWTER.
Just simply beautiful on the wall. I would recommend this color if you are not sure which gray to go with!
…OKAY…
…Now to the headboard project…
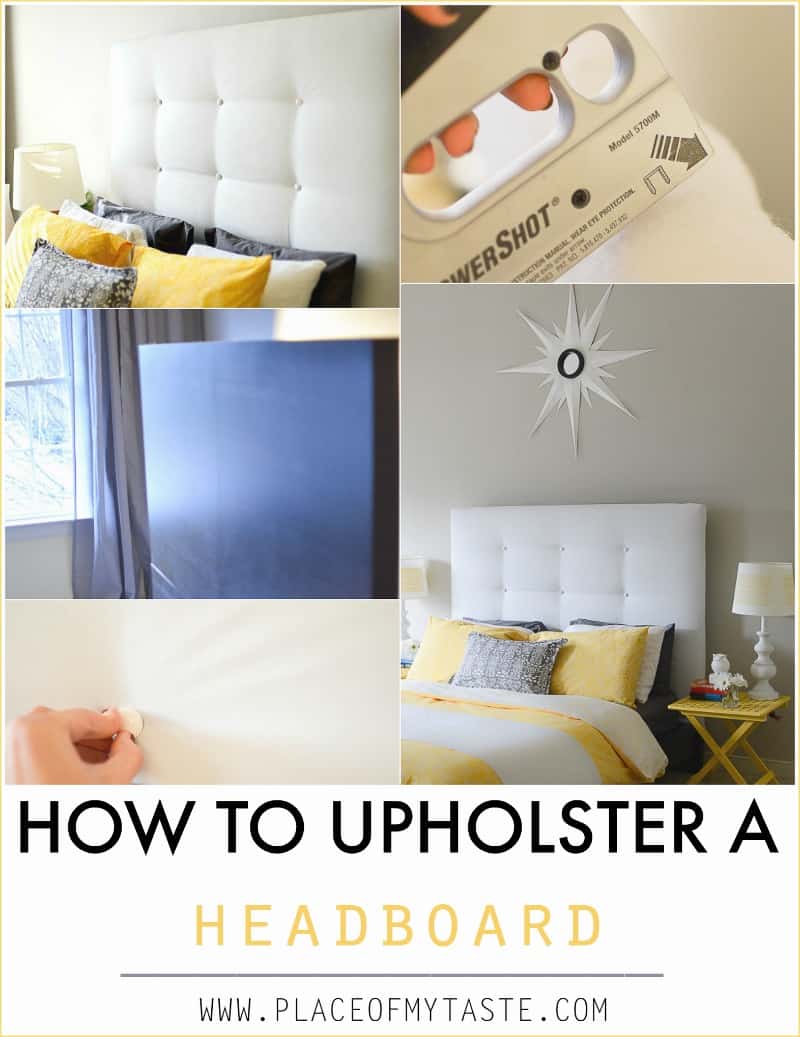
I will show you a step by step tutorial, how we made this beautiful upholstered, tufted headboard out of
IKEA MALM BED
IKEA HACKS – DON’T YOU JUST LOVE THEM?
When we purchased our MALM bed set about six years ago, we bought a three piece shelving unit as well. The shelving unit was placed behind our bed. { See picture below.} It was a perfect addition to our bed set, as it was holding decor items in the bedroom. I really loved it!

I had the idea to take this shelving unit apart, and attach the bigger piece of the shelving unit to the back of the bed, to make the headboard higher. If you don’t have this particular shelving unit, you can simply use a piece of plywood instead.
Visit Alicia’s blog HERE to see how she used plywood for her upholstered headboard.
I just thought it would be a perfect piece because it had the same measurements as the bed lengthwise and thick-wise.

Look at this dramatic change

Are you ready to start your makeover?
THINGS YOU WILL NEED TO MAKE
THIS BEAUTIFUL UPHOLSTERED HEADBOARD:
– IKEA Shelving unit { this is what I used } or Plywood
– 2 x 4 wood, two longer pieces, about 4′ tall
– Drill and screws
– Staple gun, staples
- – Batting, thick { 2″ }
– Fabric to cover your headboard { per your taste }
– buttons, hot glue gun

First of all, we took apart our shelving unit.

Using the drill, we screwed the 2 x 4 wood pieces onto the back of the bed.

We put one piece of long wood on each side of the bed.
Eww – It doesn’t look beautiful, but this is the back of the bed, and it won’t be visible.

Then we lifted the bigger piece and attached it together with 6-8 screws on each side.
This is how it looked after the two pieces were screwed together.
Beautiful and tall.

We wrapped the batting around the headboard and stapled it to the back of the huge piece. If you would like to have a nice and thick tufted headboard, double the batting. Make sure you pull the batting out completely straight on each side.
Once this step is done, you can add your fabric.
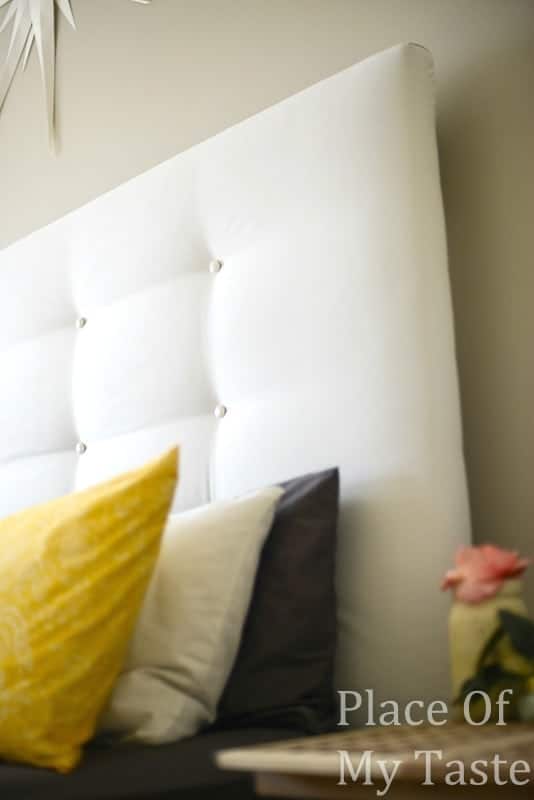
I chose white for my project. I am not sure what is with me and white lately, but lots of times I am leaning towards white when it comes to color choices…Hmmm..
{If I could just turn the clock back to a couple of years ago, I would definitely have chosen white kitchen over medium brown. 🙁 }
The nice thing about this headboard is that if I ever want to change the look of it, I could take off the fabric and staple a new one on.
A new color, a new print, a new fabric choice will provide a whole new look again.
I wrapped the fabric over the batting, pulled the fabric out on each corner to make sure it is not wrinkled, and as the final step,
I stapled it to the back of the board.

We measured 9 spots for the buttons, using a tape measure, counting equal distance from each side.
Then using a staple gun, we stapled each spot { 9 } for the buttons.

We glued each button to the headboard with a hot glue gun.
I was hesitant to glue with a hot glue gun, but I was hoping to see the buttons stay on. They did!
Easy-peasy!

The project was done in a few hours.
My total cost was:
$28
{including batting, fabric, buttons – I already had the rest}
You can not beat that for a new headboard!

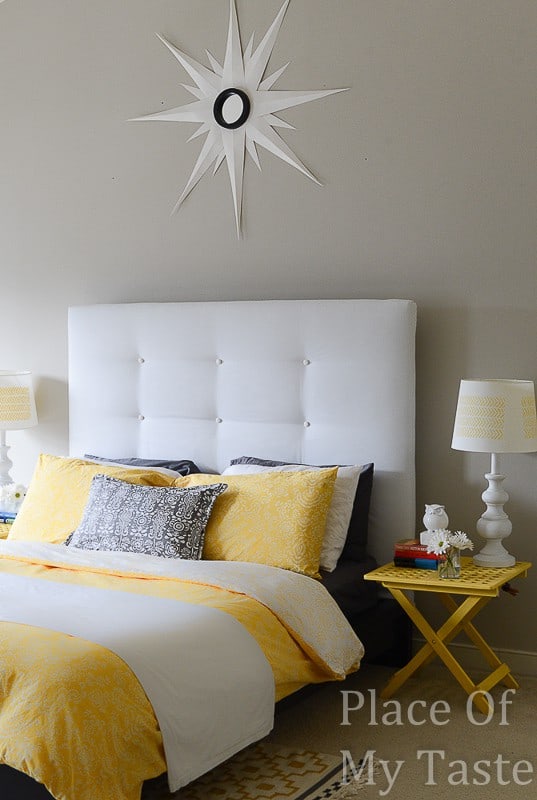
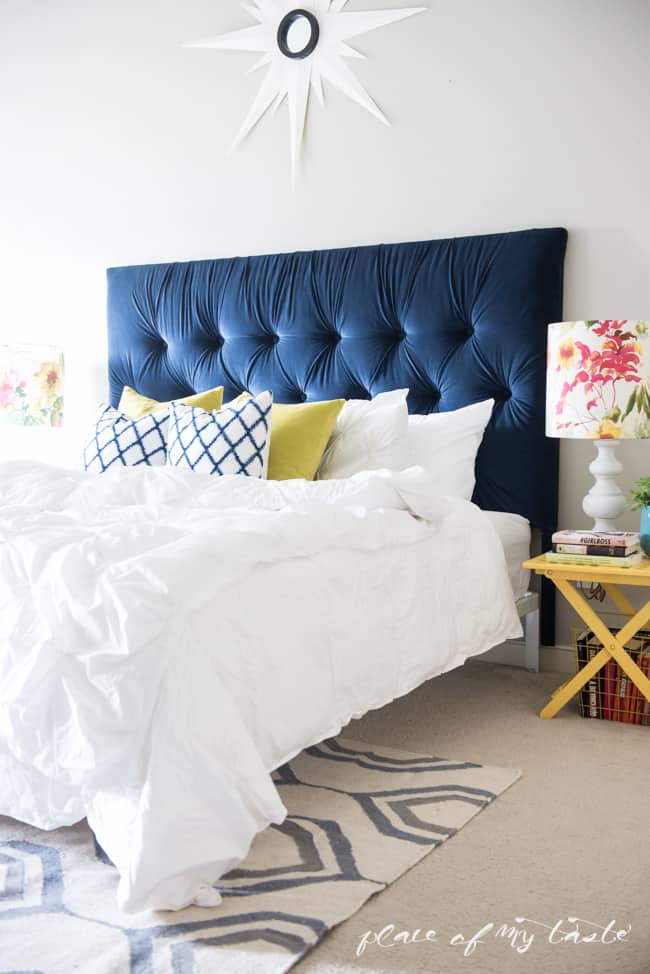
I am totally in love with our new look.
It is so different and elegant – and most of all , new to our eyes!
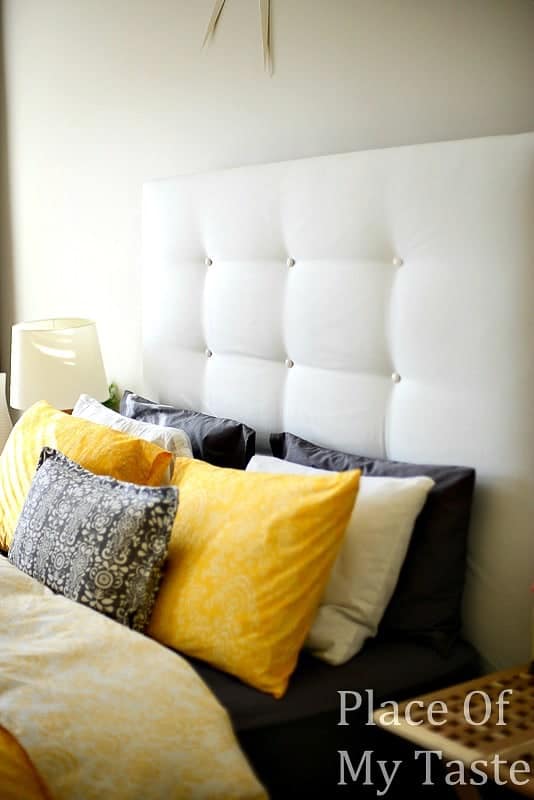
I think it turned out just beautiful.
I will have some other fun projects coming up, so stay tuned to see our whole new bedroom makeover.

Here is the image to PIN FOR LATER to remember for this excellent post
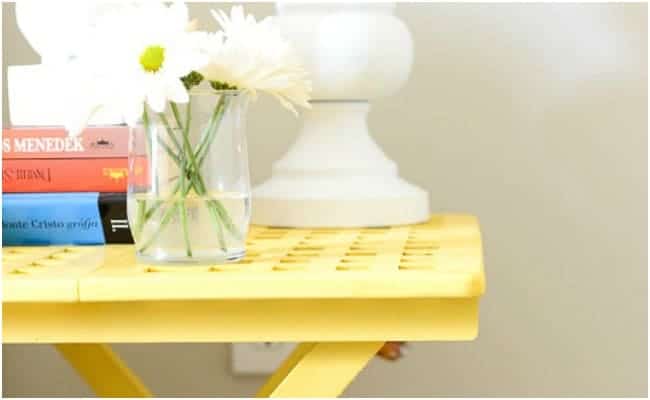
Check out our beautiful, yellow nightstands. They were spray painted to perfection.
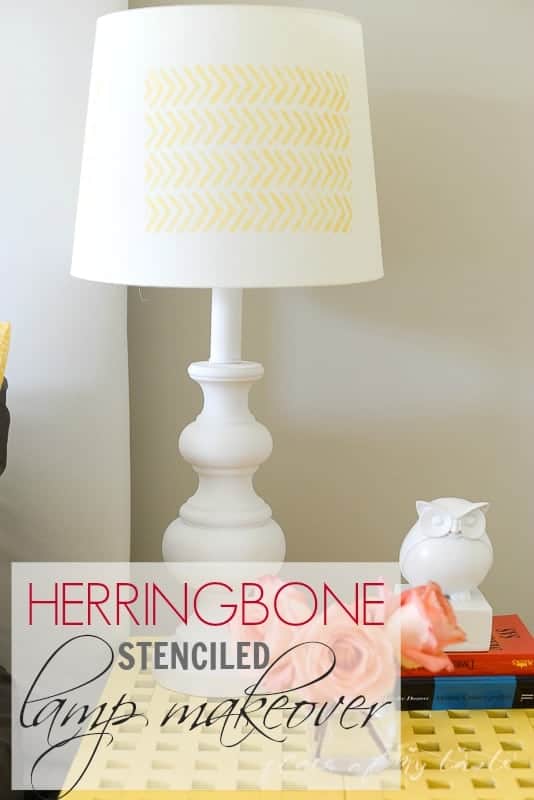
And this new Herringbone Stenciled lamp was upcycled in no time
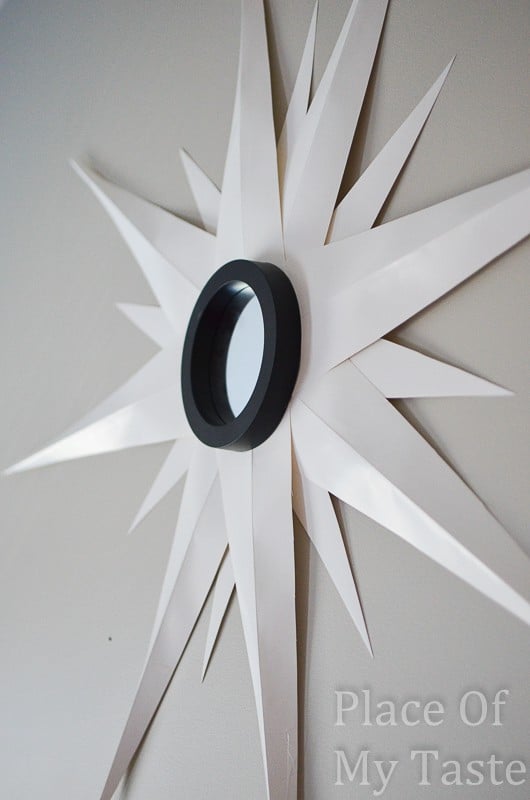
DIY Sunburst Mirror made out of paper
So, what do you say–YAY or NAY??
****update****
So I think it’s time to show you an updated bedroom of mine now. It’s been 2.5 years (we are in 2016, October) since I’ve done this project. Since then I sold my headboard and I built a new one:
Yeah, the crazy DIY gal I am! 🙂 Check it out!
HOW TO MAKE A TUFTED HEADBOARD
And if you like some other fun DIY projects and IKEA hacks,
here are a few more for ya!
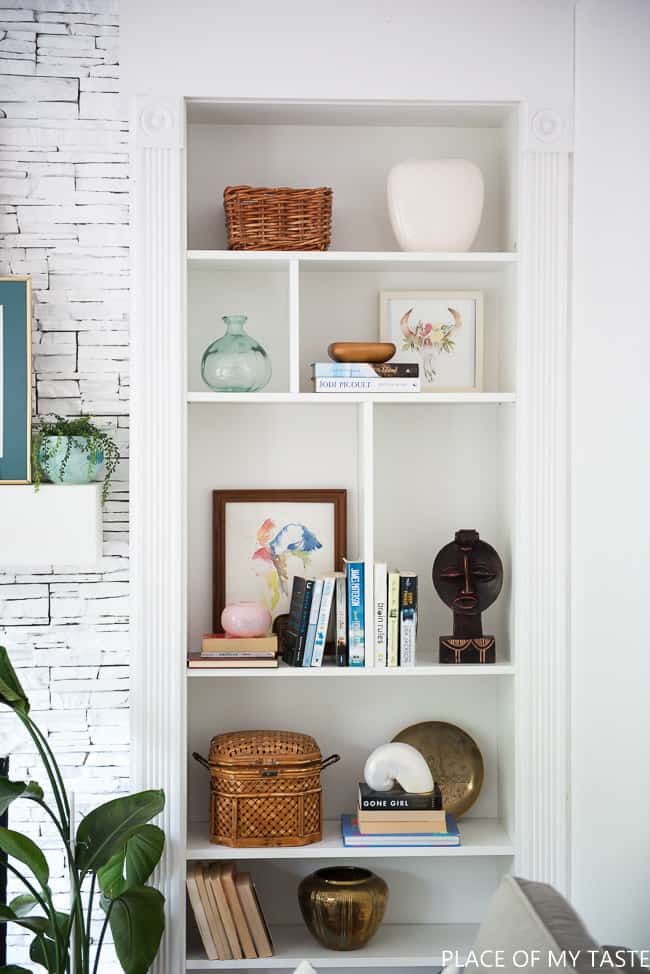
IKEA HACKS – BUILT-IN BILLY BOOKCASE
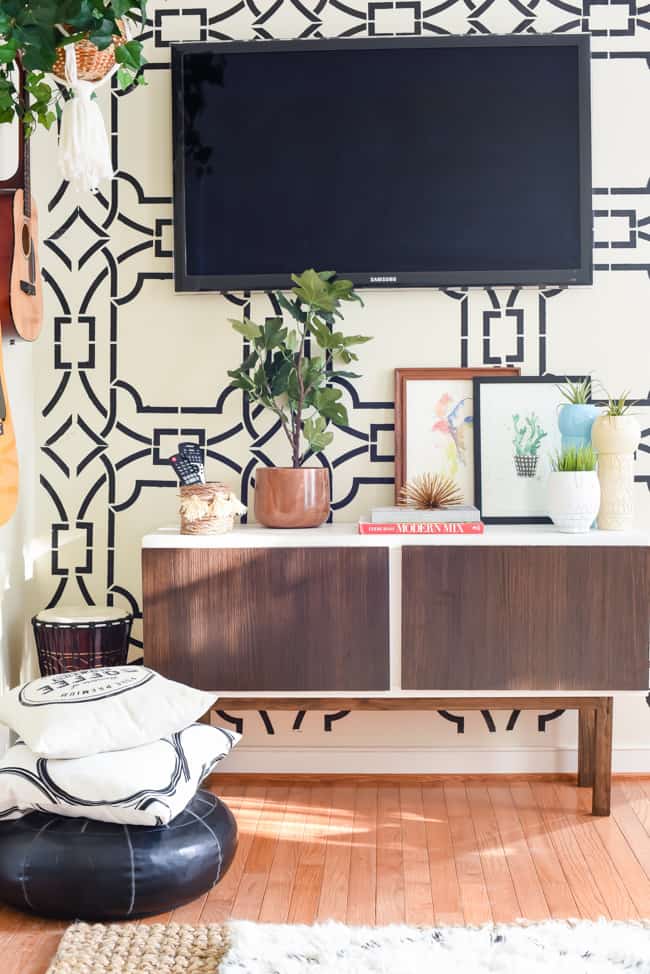
IKEA HACKS – DIY TV STAND ( IKEA HACK)
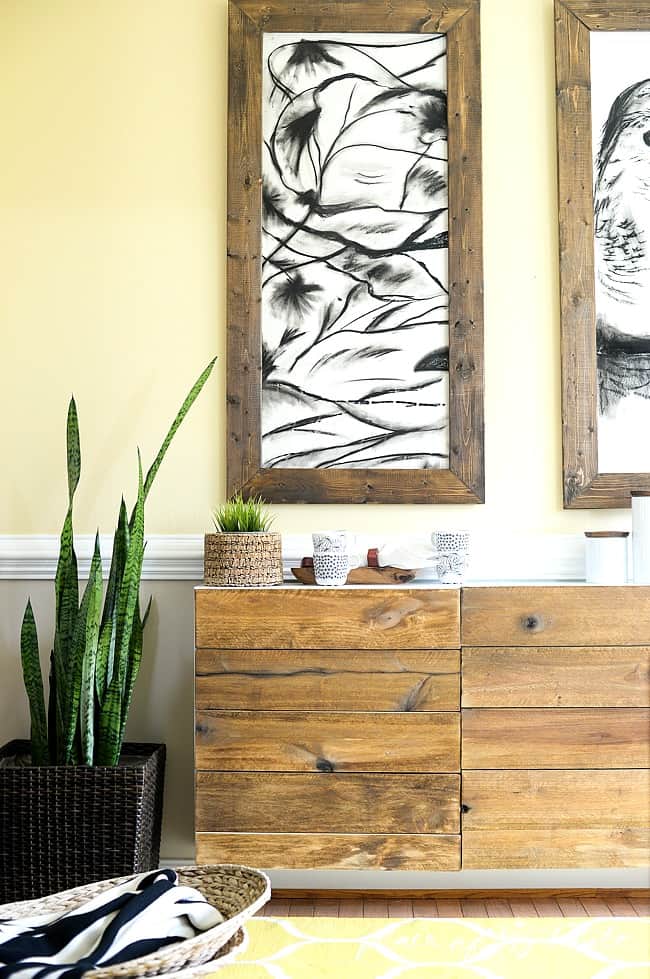
IKEA HACKS – DIY RECLAIMED WOOD BUFFET ( IKEA HACK)
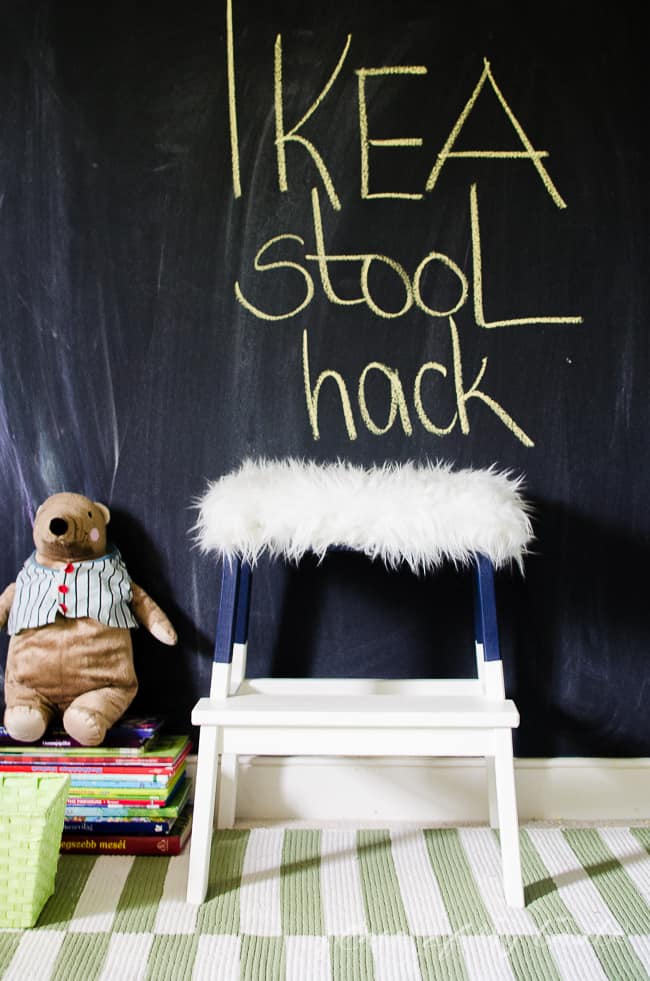
IKEA HACKS – IKEA STOOL HACK
WOW! Looking back to some of these projects made me feel ants in my pants to get on some fun DIY now! But first I have to finish my bathroom makeover project for the ORC!

Thank you for reading!
Have a great day!

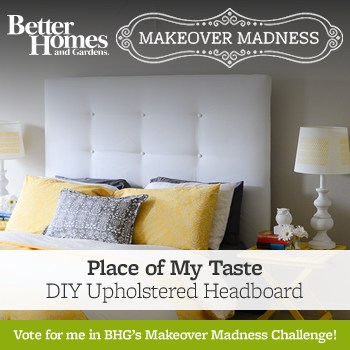
THIS PROJECT WAS CHOSEN TO participate in
BHG MAKEOVER MADNESS CHALLENGE
This is amazing Aniko! What a huge transformation for under $30! I love the simplicity of it and the tufting is absolutely perfect. When I get to my bedroom I want to try this. Thanks for the inspiration and for linking up at The Makers!
It’s absolutely one of my favorite project now:-)Thanks for stopping by Corey,Xoxo~
Looks great!!
I am also preparing for a huge bedroom remodel and want to DIY my own headboard.
thanks!!
Thanks,have fun with your new project!
WOW!! I Just saw this on The Pin Junkie and I LOVE it! I am going to share this on my blog FB page right now, and I am hoping you will link up at Domestic Superhero tomorrow!! WOW!!!
Big thank you for sharing my project, Allyson! I will sure come by tomorrow and link it up!Have a sweet night..:-)
I love Ikea! You did a great job on this hack! Thanks for sharing it at The Pin Junkie. This fantastic project was one of the most viewed at last week’s party and featured at this week’s party. I hope you can stop by to grab a featured button and party with The Pin Junkie again at http://www.thepinjunkie.com/2014/01/friday-link-party-52.html
What a great news!Thanks for featuring my project!:-)
What a great idea!! Your room will be so gorgeous when it’s done.
Our master is on our list to do also. I just bought the paint, so that’s step 1. Now just to find time and money to do they rest 😉
I have been dreaming about this makeover for a longest time…and I am so excited that is finally happening!Thanks for stopping by!Have fun with your makeover;-)
It looks fantastic! What a great update using what you had. I love it!
Thanks so much, Rachel!I am in love with this project myself-LOL…♥
Love this! What is the measurement from the top of the mattress to the top of the headboard? Thanks!
Emily, thanks! The measurement is 48″ from the mattress to the top of the headboard.
Hi Aniko! I am so excited to have stumbled across your blog, you are full of creative {and beautiful!} ideas! Pinned 🙂
~Katie
Awwh!!You made my day with your kind words!! I hope you will stay around,Katie! Xo~
I LOVE this! We have a Malm bed frame in our guest room and I may just have to modify it and do this with it to give it a fancier look!
Thanks Caroline,I am really pleased with the outcome too;-)Have fun with your project!have a fantastic day!
Wow! It looks SO good. I did an tufted upholstered headboard, and tufting the thing was really, really hard and hurt my fingers so much. I love that you just stapled it and glued the buttons on. That is genius! And I am kicking myself right now for the frustrations and sore fingers! (P.S. If you have a second, I would absolutely love it if you linked up at The Makers link party over on my blog. 🙂
Alexis, thank you for hopping over and commenting. Yep, it was much easier than “real”tufting. Coming over to link up right now…Xo~
WOW! I love this Ikea Hack–I haven’t seen anything like it before. Great job! Pinning!
Awwh Tasha, thanks for your kind words and thanks for pinning! { I am loving it too;-) }Xoxo~
Ummm….gorgeous with a capital G! LOVE THIS! I’d love for you to come link up at Skip The Housework Saturday, live now! http://www.reasonstoskipthehousework.com/skip-housework-saturday/
Thank you so much, Melanie! I will sure come and link up:-)Have a great weekend!
The headboard looks great! I love how you used what you had to put it together. So smart.
Thanks Shannon, I was very happy with spending so little money and using what I already have;-)Thanks for stopping by, have a lovely weekend!
If you just hot glue buttons do you think they will POP of easy? Thanks char
Charlotte, I thought about it and I decided to give it a shot and see if it will stay or come off easy. So far so good:-). Fingers crossed…Have a great night!
What a great transformation! I would not have thought to just staple the fabric to make it tufted – so much easier that using a drill & upholstery needle!
Yes, Melissa…I chose the easiest way-haha…There was a question from a reader -if the buttons would stay on or would pop off easy using the hot glue…? So far it did not come off at all – so I can say that this is a pretty nice and easy way to make anything tufted!Thanks for visiting!
I was thinking the same thing, I have never seen anyone just staple the fabric, what a great idea! I am all for doing things the easy way =) Love your color choices,I am in love with white, grey, yellow and sometimes blue together and you did a beautiful job with these colors!
how do you make the fabric over the top form to the form of the underneath fabric?
looks amazing!! i have the same bed and would love to do this with my bed
Carrolin, First I applied the batting which was thick and stapled it to the headboard then I added the fabric on top and it nicely formed on the batting. You just need to pull the fabric so it stays smooth and won’t leave wrinkles. I hope this helps. Can’t wait to see what you create!Have a great week!
how do you make the fabric over the top form to the form of the underneath fabric?
looks amazing!! i have the same bed and would love to do this with my bed
Love this. Tried something similar a couple years ago for my little girl’s bed. Did you attach this to the bed or wall some how?
Christina,I attached it to the bed with 2 pieces of wood. If you scroll back to the full post,pictures will show how. Good luck with it if you try it again. Thanks for stopping by!
Wow! This is beautiful! You did such a fabulous job! I can’t wait to see the rest of the room 🙂
Thanks Taryn! I have been wanting to do this forever but never found the time.It finally happened and I LOVE it.Thanks for stopping by!Xoxo~
What a gorgeous headboard….nice work on it!!
Oh Cathy, I love our new headboard…I just want to stay in bed all day now- haha:-)Thanks for stopping by.Have a great night!
Thanks for stopping by my blog! I always love the opportunity to check out another cute blog 🙂 This project is so cute! We use to have this same bed. If I would have seen this a couple years ago I would have just done this to it instead of getting something different!
Hanna Caldwell
http://www.stripesandpolkadotsblog.com
Thanks for hopping over! I love this project myself…;-)Looks like a brand new bed. Have a fantastic night!
Looks amazing… Great job!
Thank you so much for hopping over and checking it out!♥ to see your comments 🙂
Hey Aniko! I just love what you did to refresh your bedroom!!!
I was wondering what kind of fabric you used?
Thanks for the inspiration!
Thank you so much! It was a very inexpensive white drapery fabric( little thicker) (5.99/yard)Have a great day!