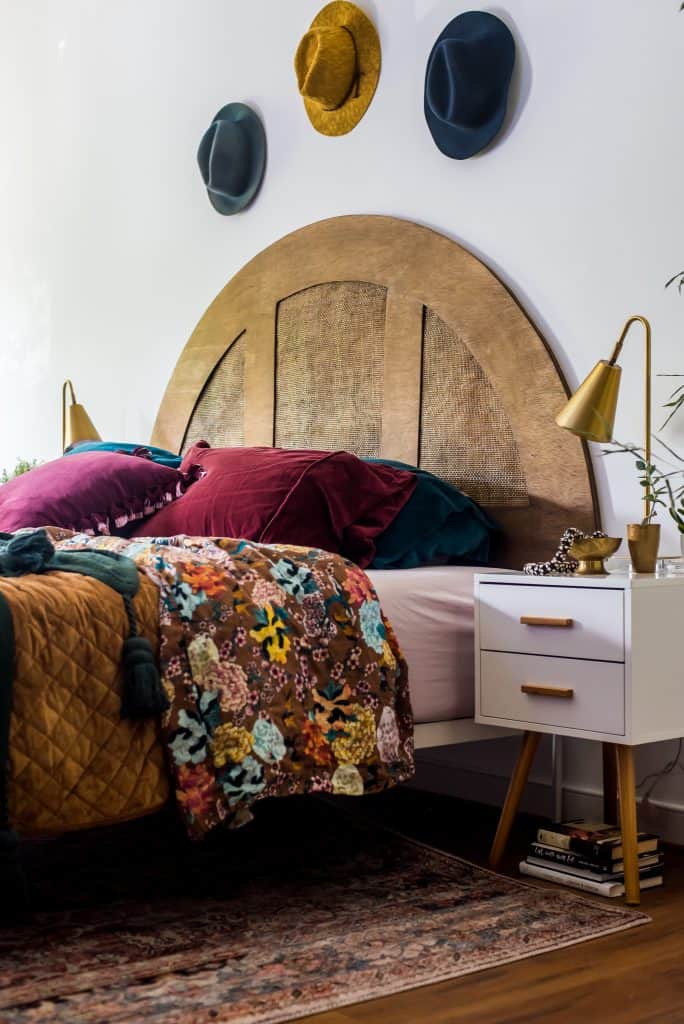
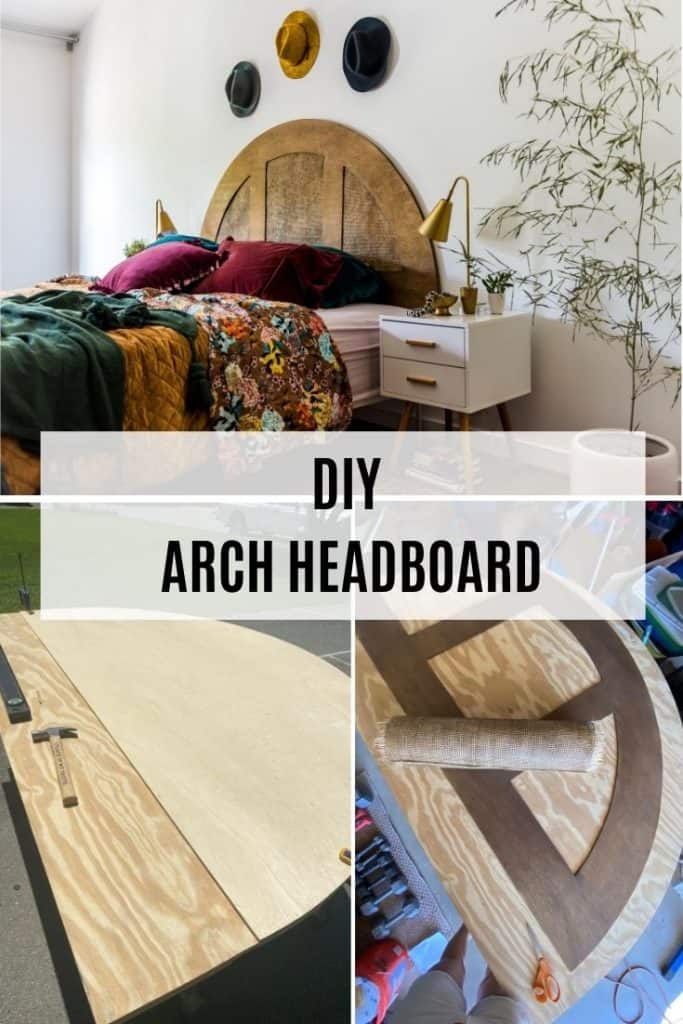
ARCH HEADBOARD DIY
If you are keeping up with the trend you might have been eyeing arches. I could not wait to start and finish this fun and unique arch headboard.
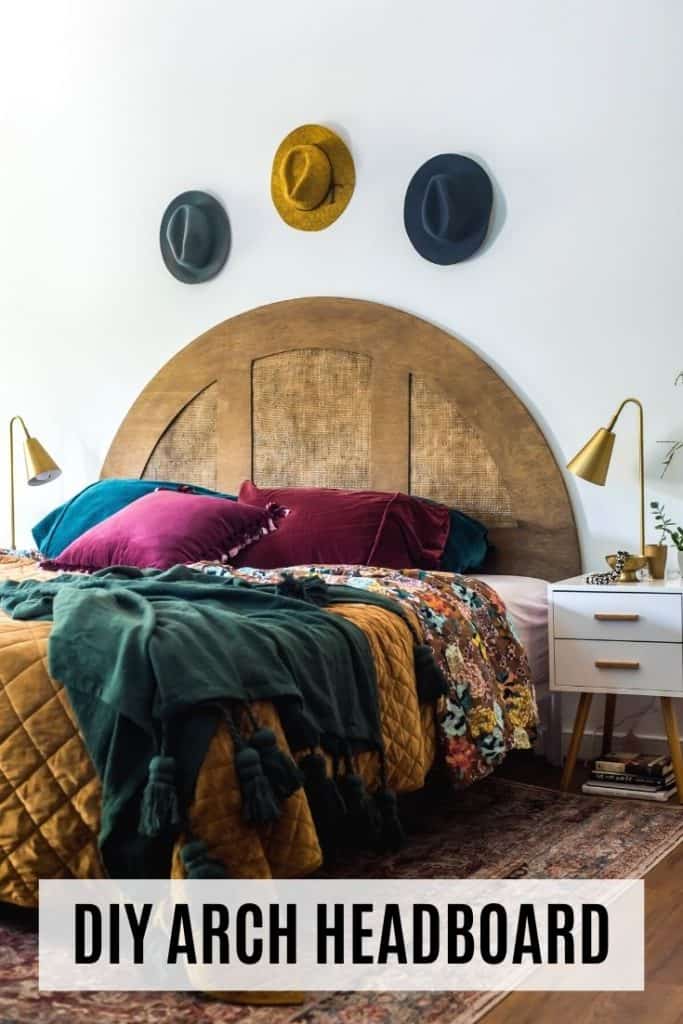
Not only am I obsessed with arches these days – hence this fun PAINTED ARCH in my living room, but I have wanted to try some projects with cane webbing too. One of my friends used cane webbing for a few of her projects and I got super inspired. This is how this awesome arch headboard was born in my head.
WHAT YOU NEED to make the ARCH HEADBOARD
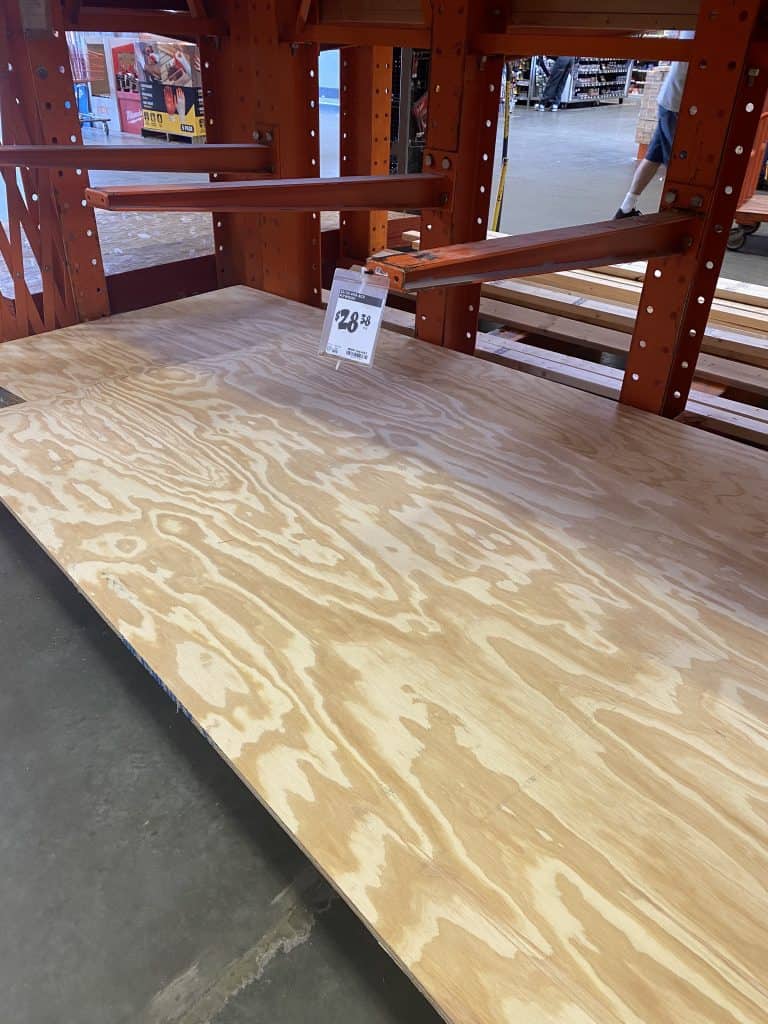
- 23/32 PLYWOOD SHEET( we used the inexpensive one)
- 1/4″ PLYWOOD SHEET
- CANE WEBBING ( I got mine at a local seller – and to mention this was the most expensive part of the project!!)
- Stain of your choice – for wood and cane webbing
- Staples
- Wood Glue
- JigSaw
- Staple Gun
- Scissors
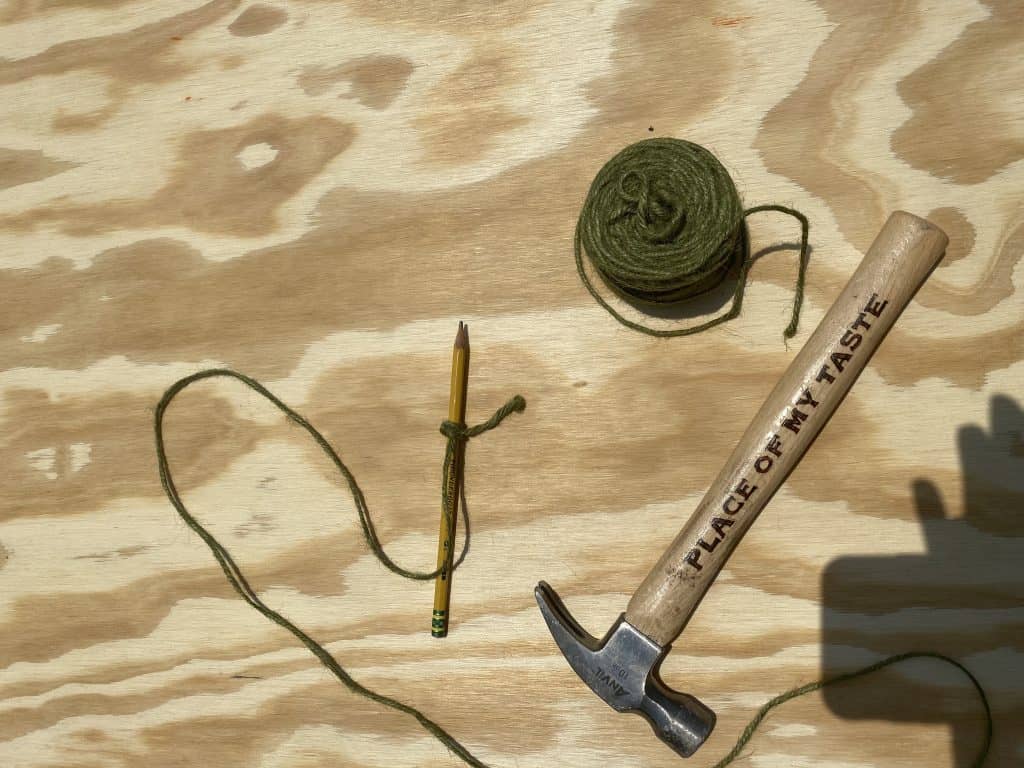
- Thumbtack
- String
- Pencil
HOW TO MAKE AN ARCH HEADBOARD
Let me start with a disclaimer here. I am a DIYer and DIYers make mistakes. Period!
That’s what makes us stronger, right? And the good thing is is that we go through the hard part for you and we share the easy way to DIY projects.With this headboard, we learned a few things and I will share what to do and what not to do.:-)
Ok! Let’s do this!
MEASURE
First thing first!
Measure!
We have a king-size mattress so the measurements below are for a KING SIZE headboard. You can, of course, customize your measurements as you need.

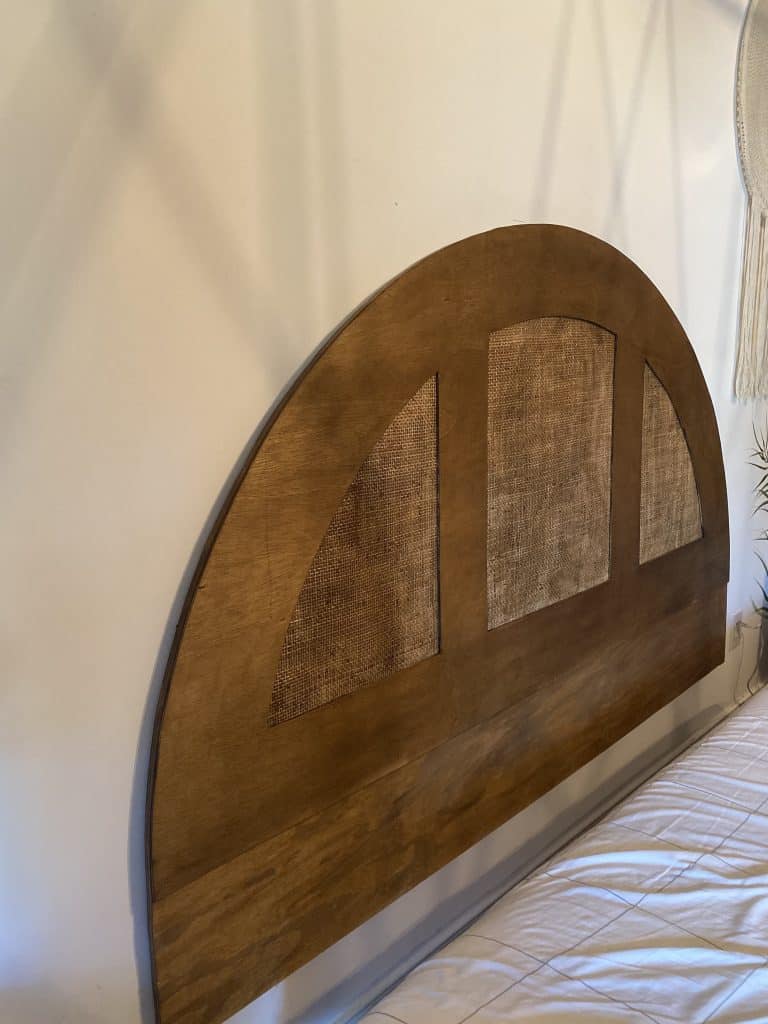
The width of our headboard for mine was 76″. Using a 4×8′ plywood sheet was the perfect size for our project as we were able to use the hight ( 4 feet) and only had to cut a little off of the width. We picked the less expensive board as we knew we will cover it with another board and the cane so the lower quality will do just well.
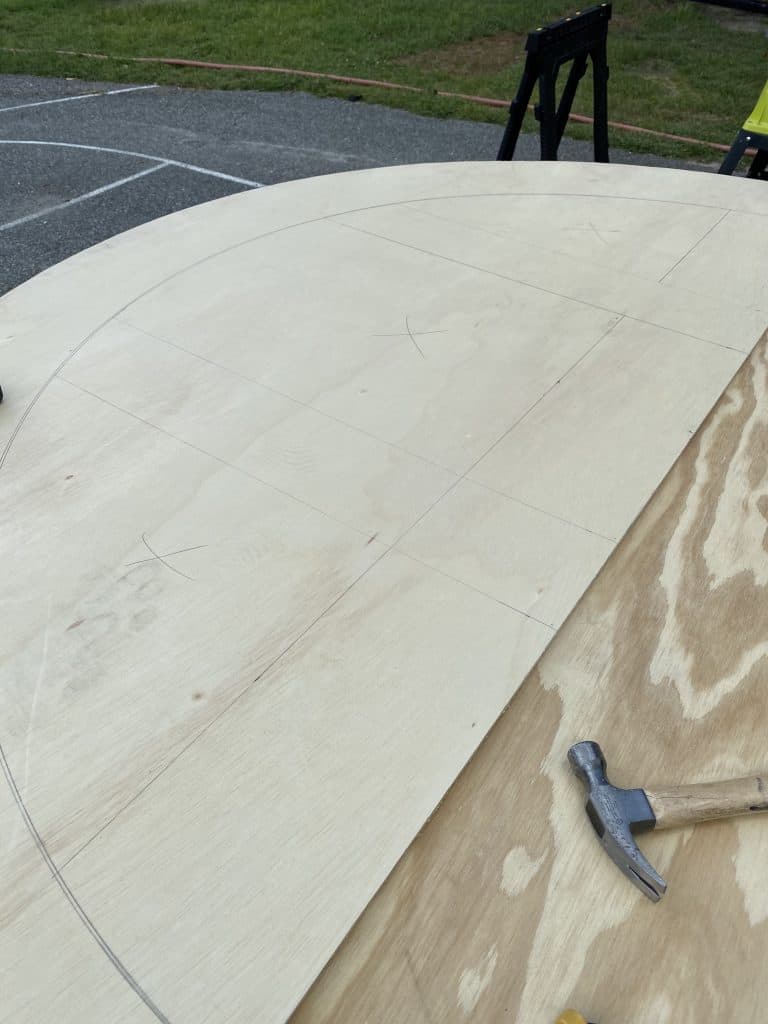
ARCH
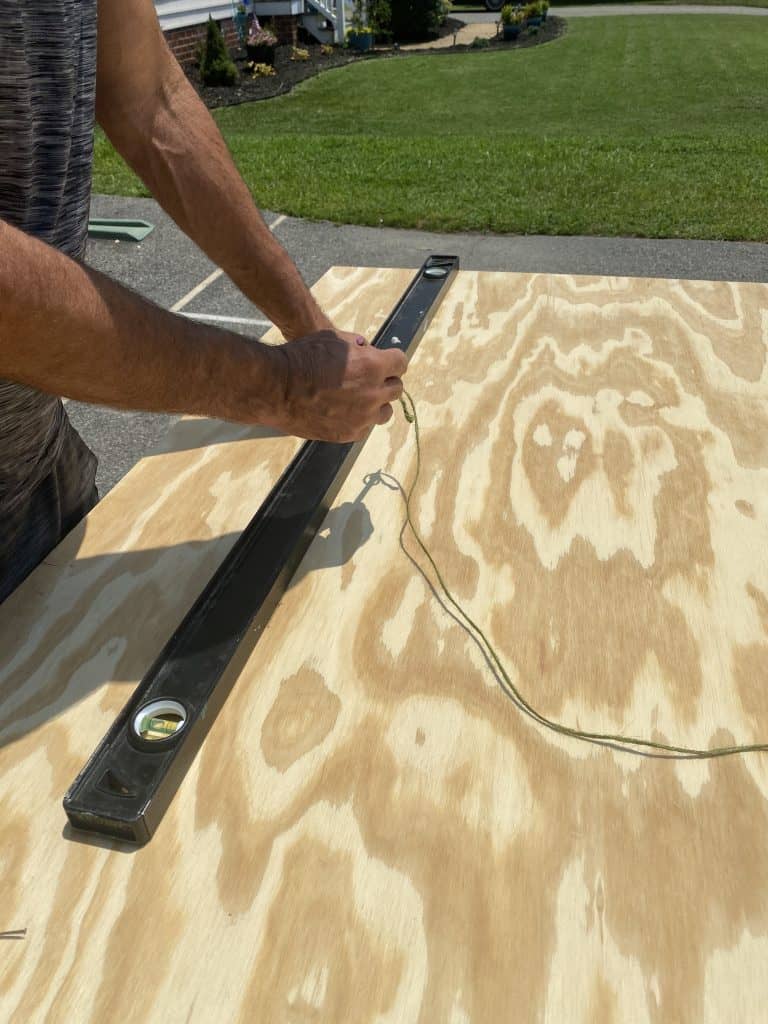
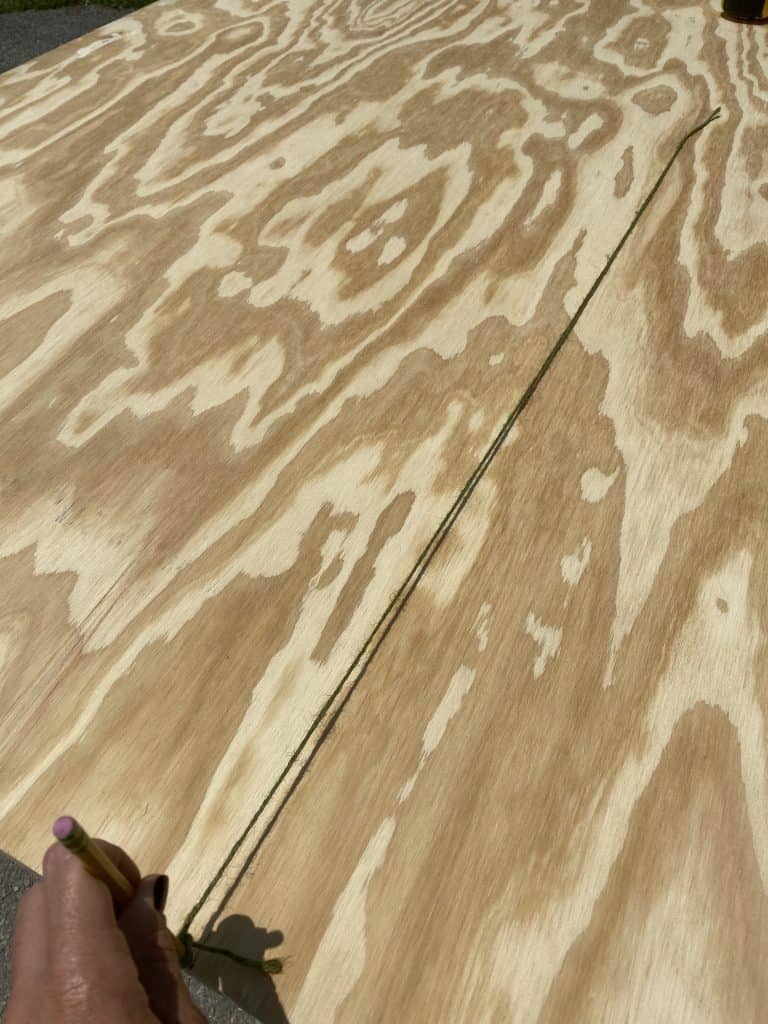
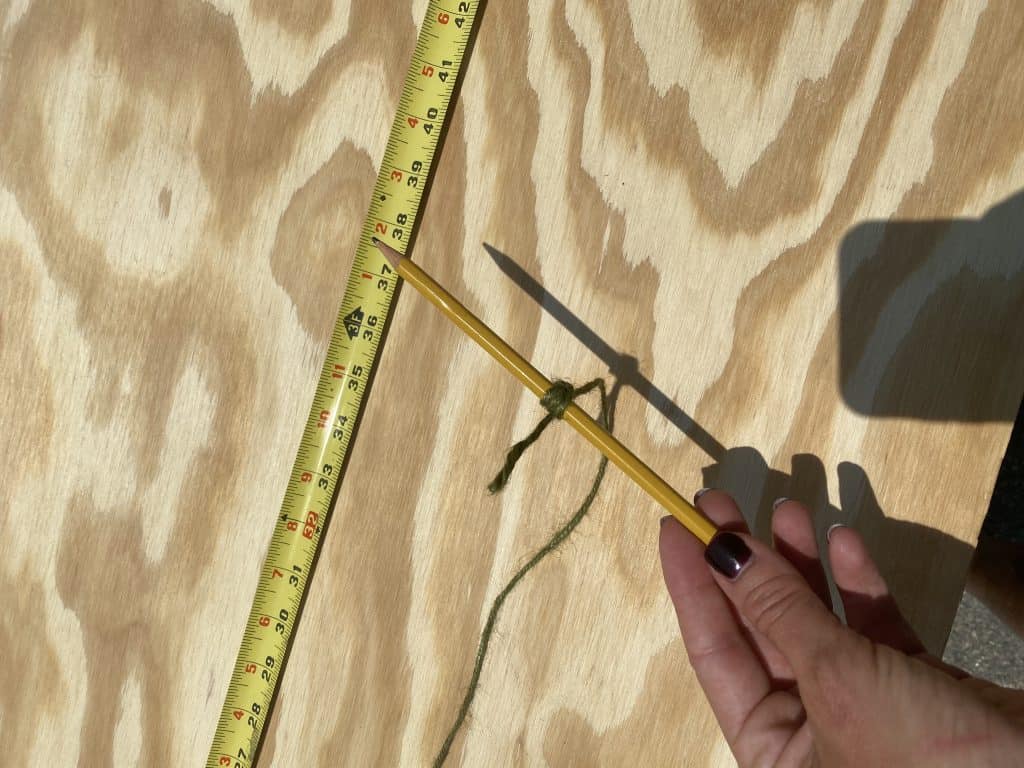
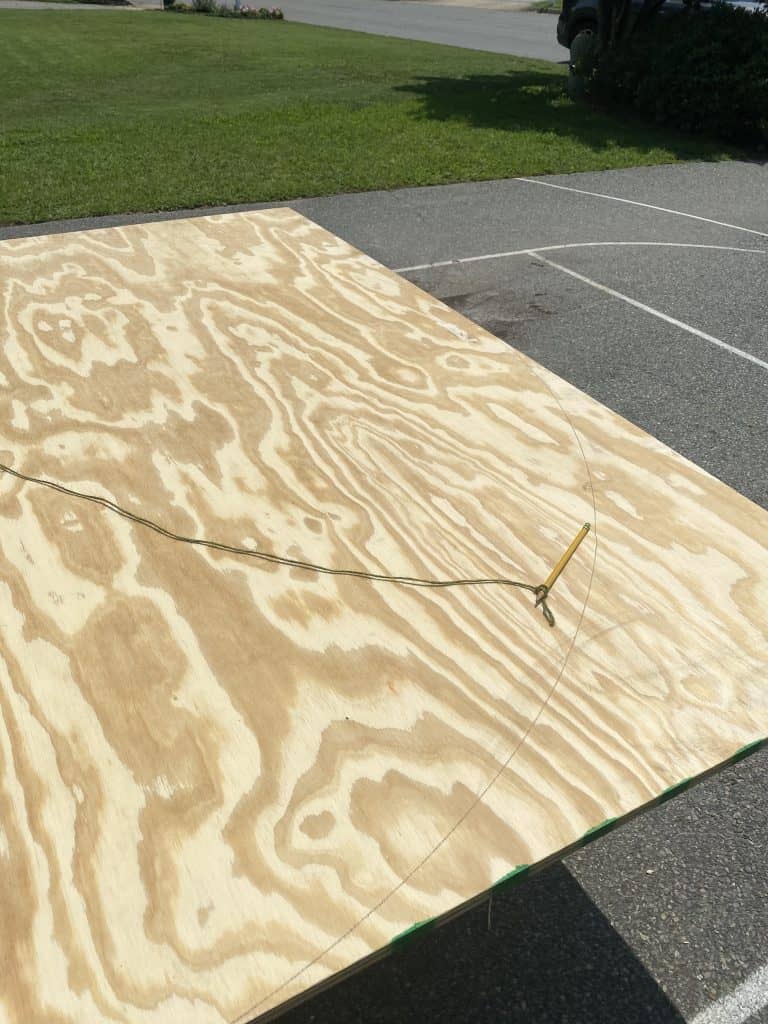
Let’s talk about how to make an arch. I chose an easy way ( might not be the most precise but this easy way did it for us. Feel free to measure/draw the arch your way. I used a pencil, a thumbtack, and a string.
Find the center of the length of the board. Then measure the same distance (for me it was 38″) as the height of the headboard. Mark that center point by placing your thumbtack. Use this same measurement as your radius. Tie one end of a piece of string to the thumbtack and measure out your specific distance. Tie this to your pencil. Then start drawing out your arch. Make sure your hold the pencil steady – if it moves, your arch won’t be perfect.:)
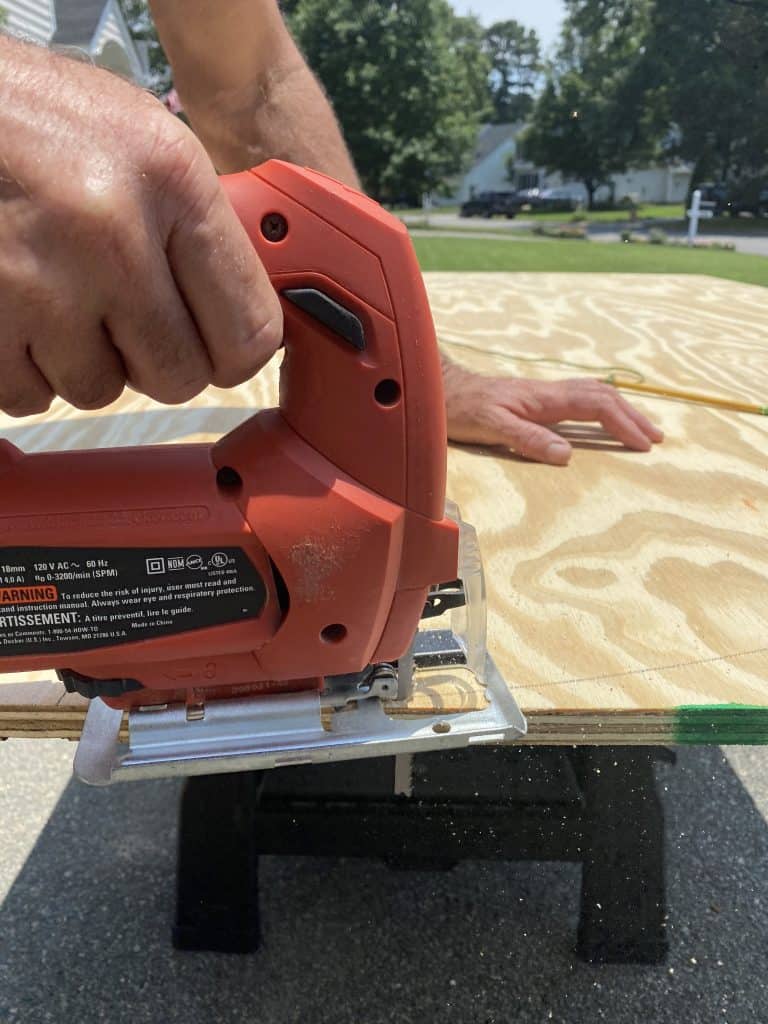
CUT THE CURVE for THE ARCH HEADBOARD
At this point you have your arch drawn out – like this below. We cut the arch with a jigsaw. Was easy and fast.
We cut the arch in the plywood sheet first then we basically recreated the same arch for the 1/4 plywood and it totally did not match. Of course.
So here is what I suggest you do: Clamp the 1/4 plywood onto the plywood sheet and cut arch for both boards at the same time.
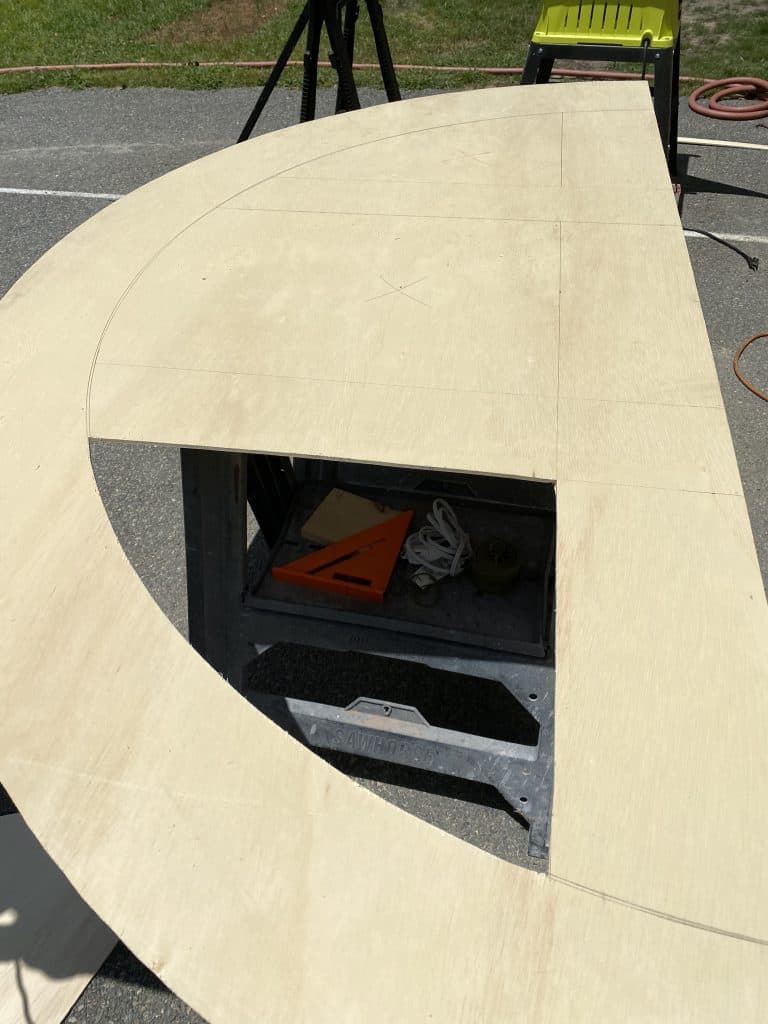
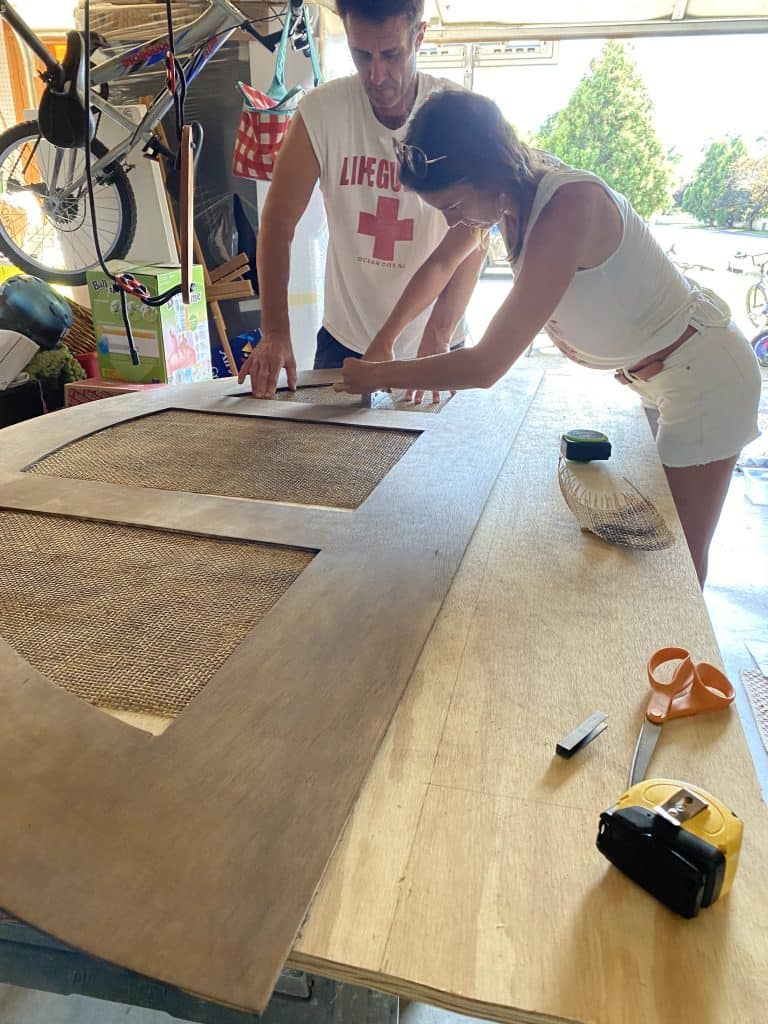
Once both boards were cut we measured out the sections that we cut out for the cane to go in.
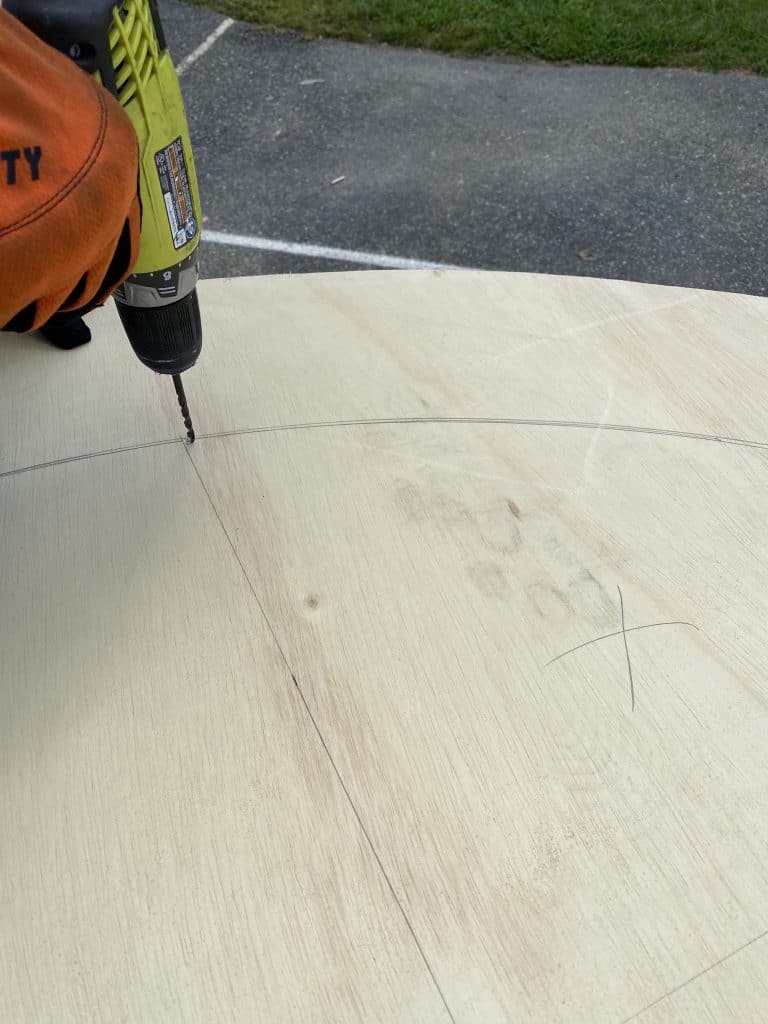
Pre drilled the corner of each section and cut the form out with a jigsaw.
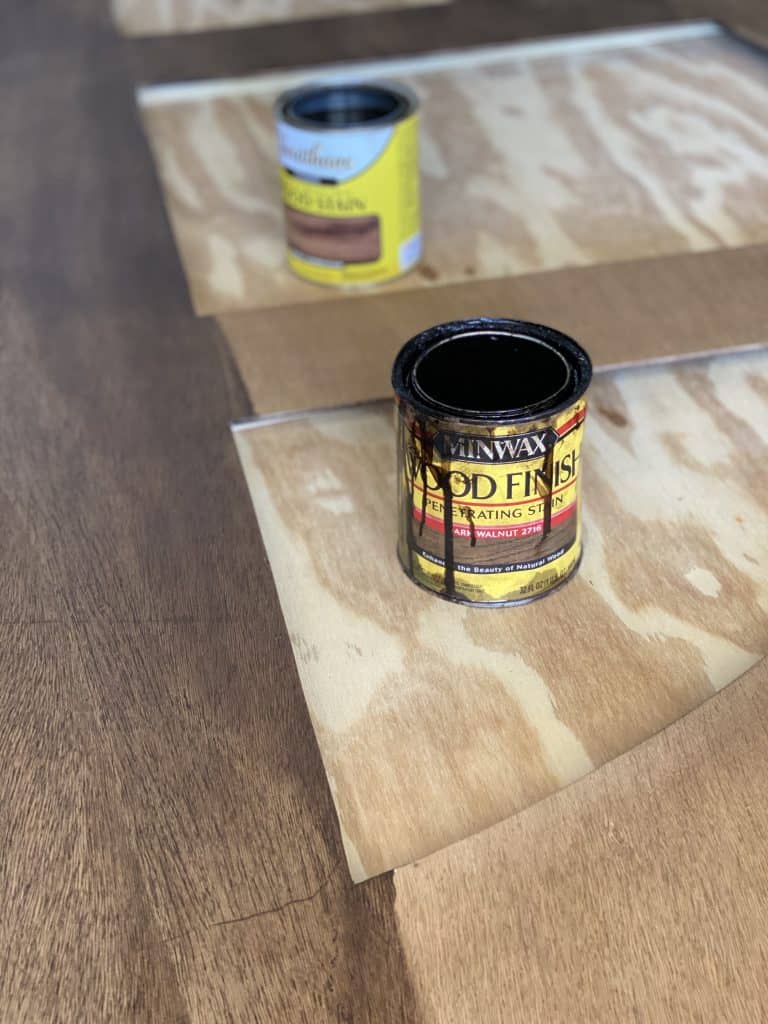
I stained the cut out piece with two different shade. I used Early American and Dark Walnut stain.
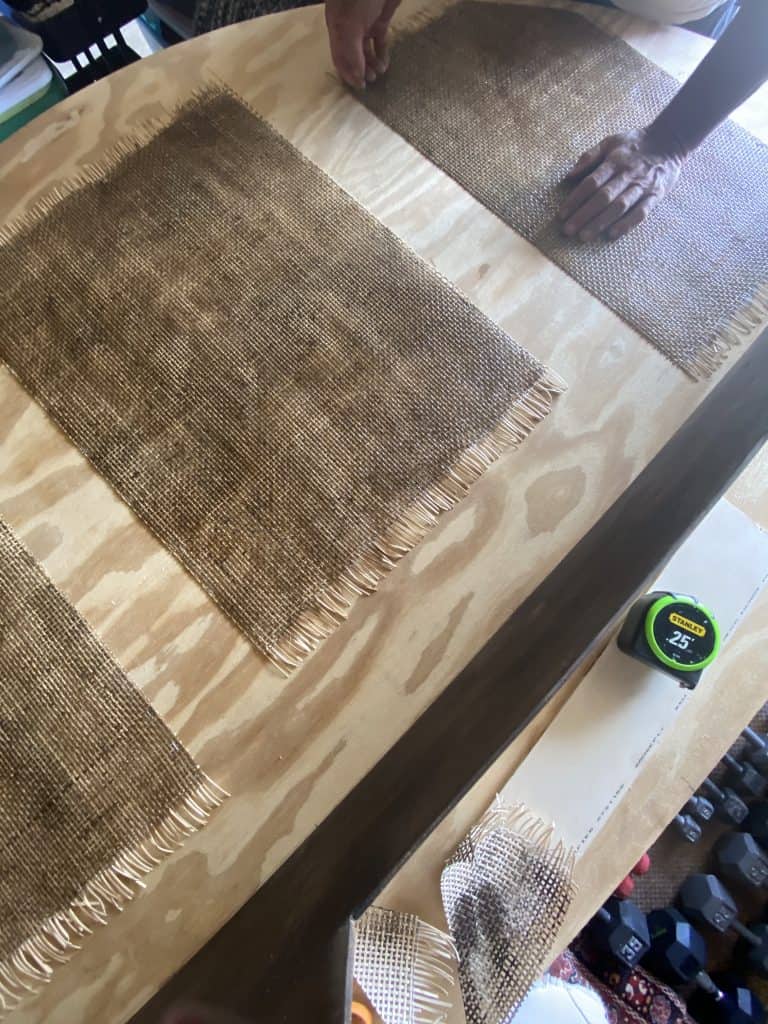
STAINING THE CANE INSERTS for THE ARCH HEADBOARD
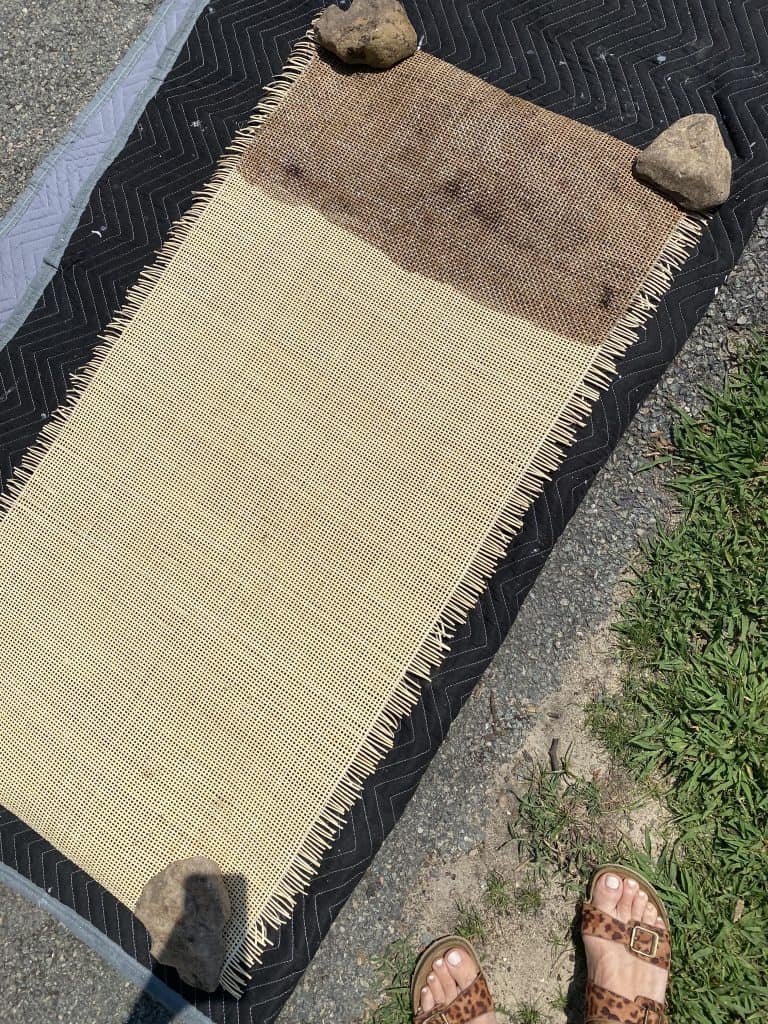
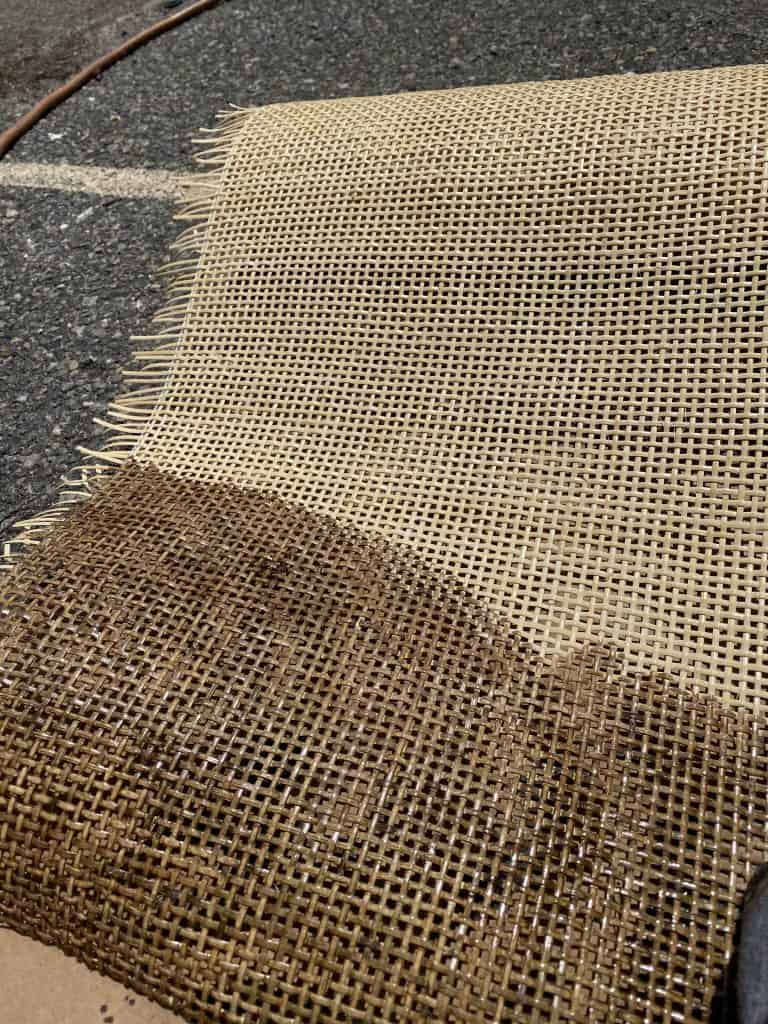
This step is optional. I wanted a darker shade of cane so I applied a coat of stain on the sheet of cane. I let it dry completely before I installed the cane on the board.

STAPLE THE CANE TO THE BOARD
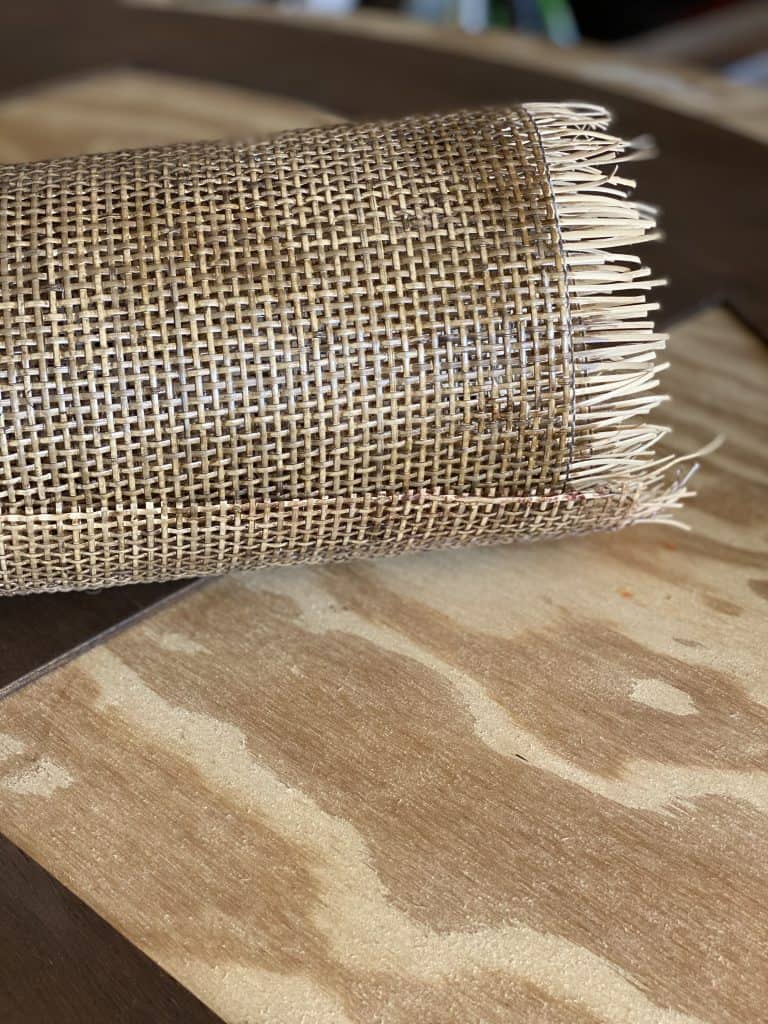
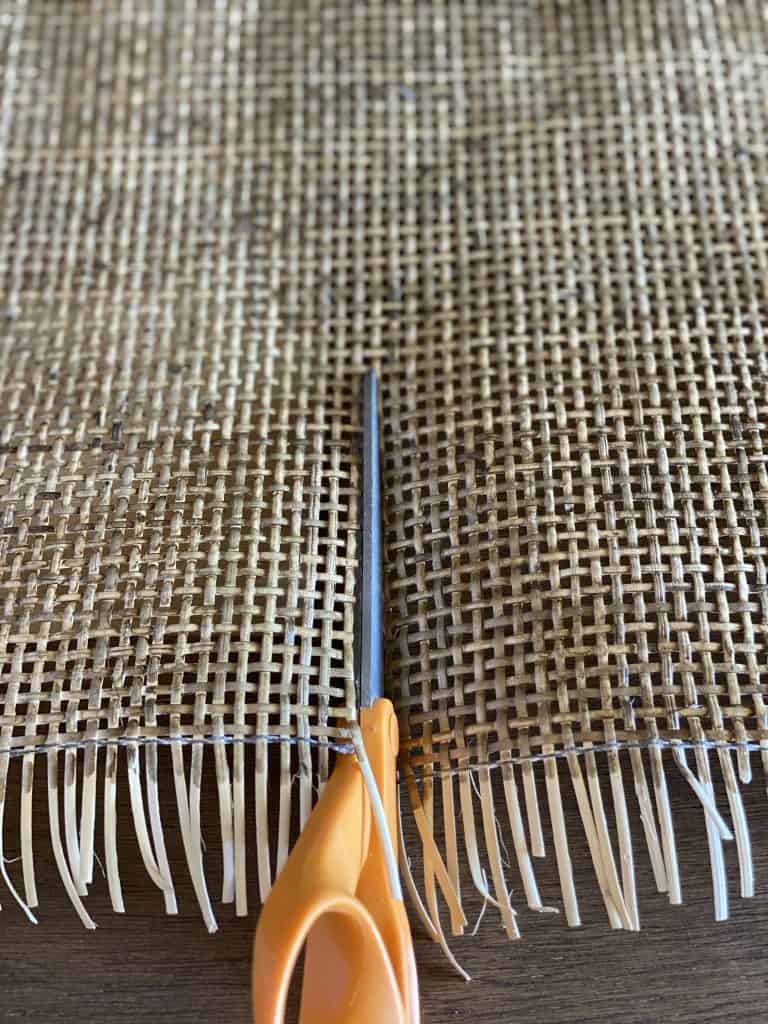
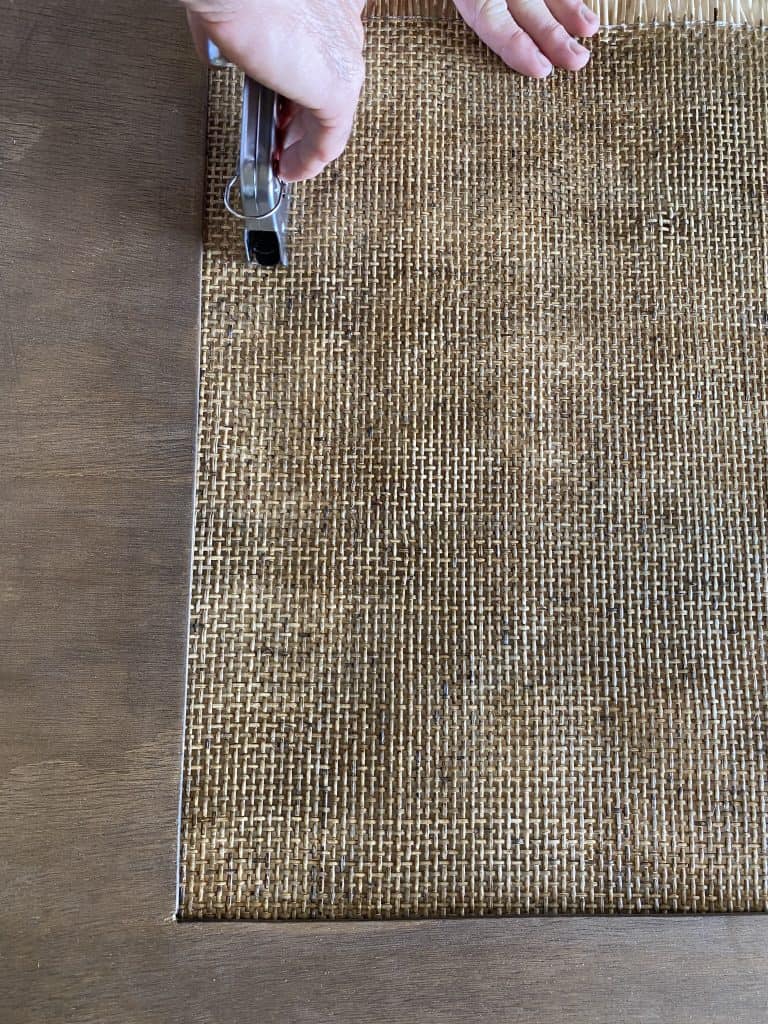
Cut the cane to the correct measurements and staple the cane sheets to the board using a staple gun.

SECURE THE BOARD
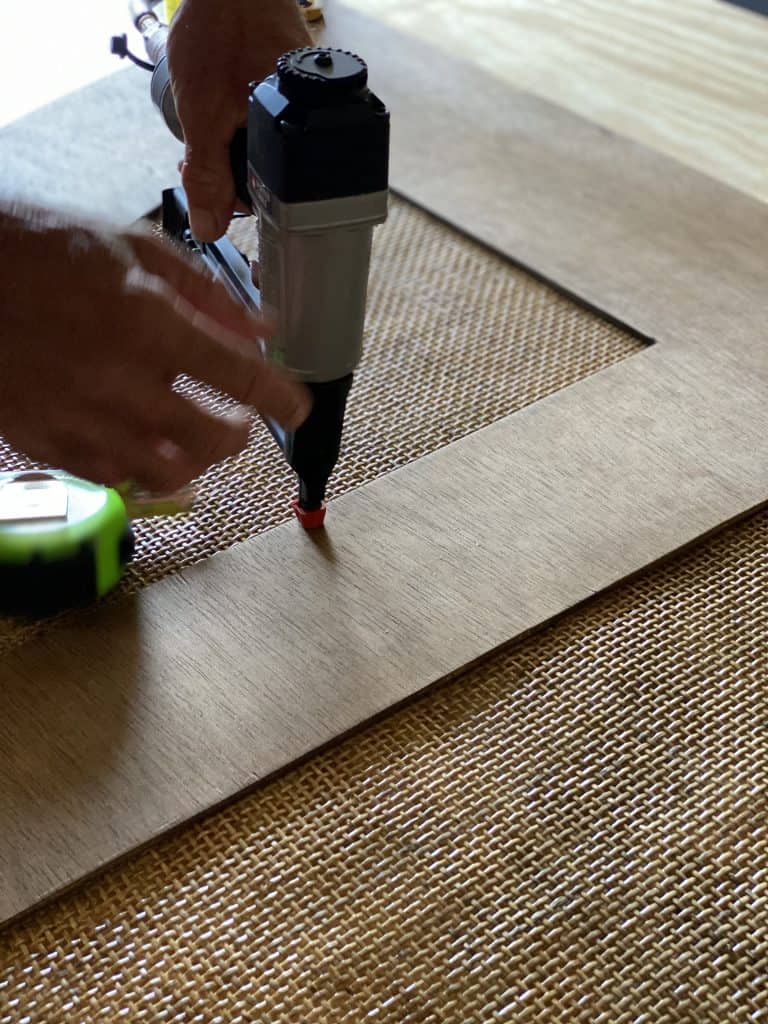
As the last step to this fabulous arch headboard, glue and nail the 1/4 plywood piece onto the base sheet. We used regular wood glue and a nail gun.
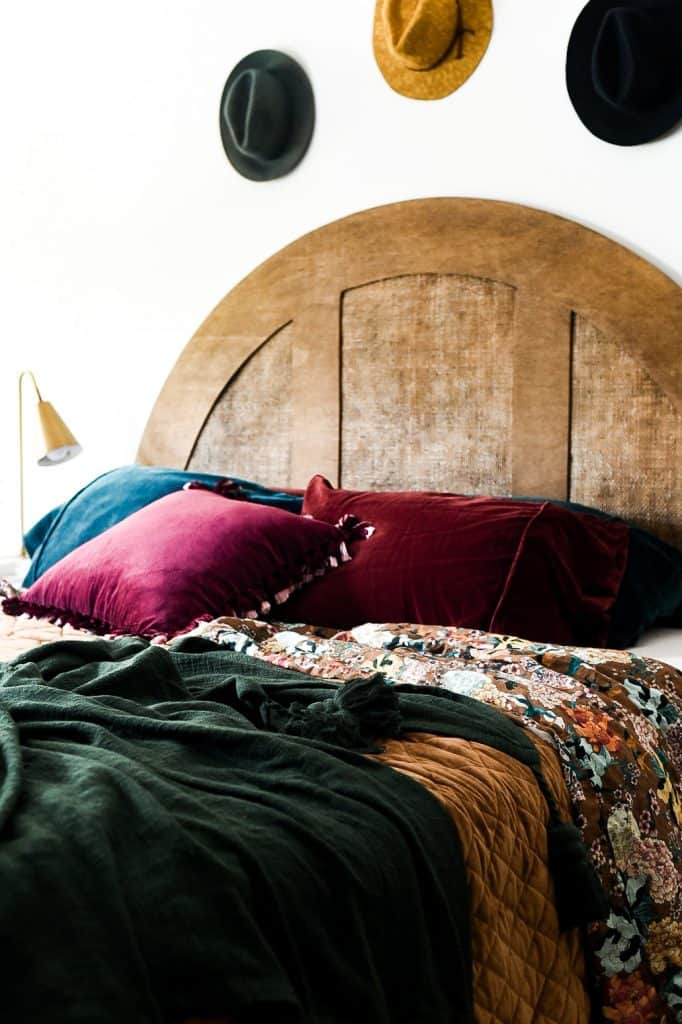
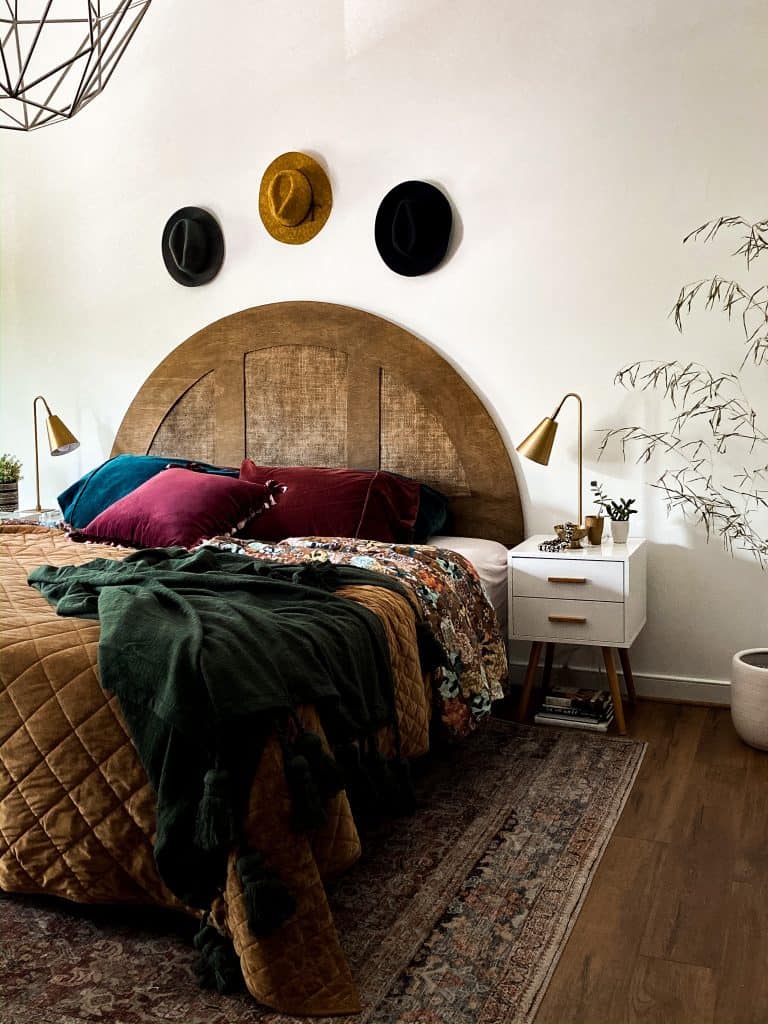
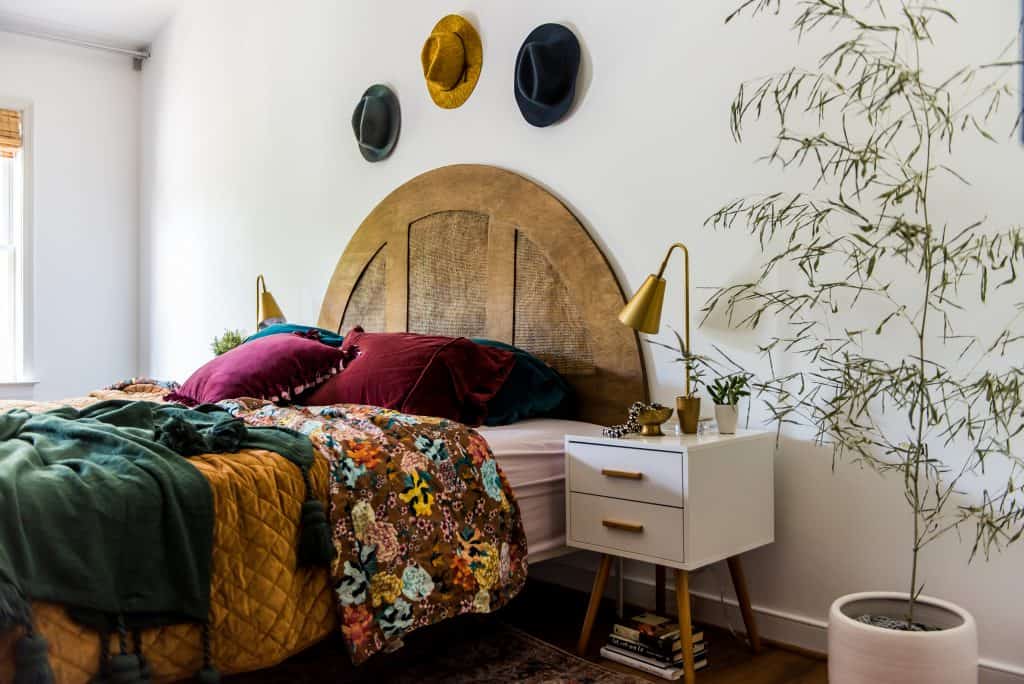
HUNG THE ARCH HEADBOARD
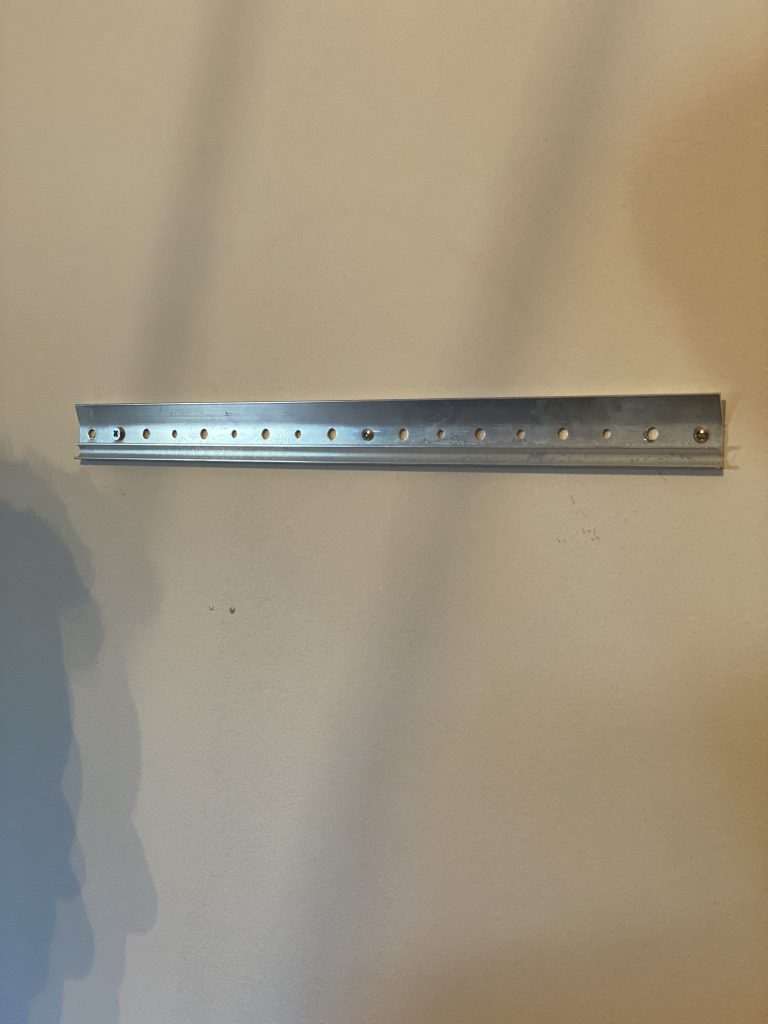
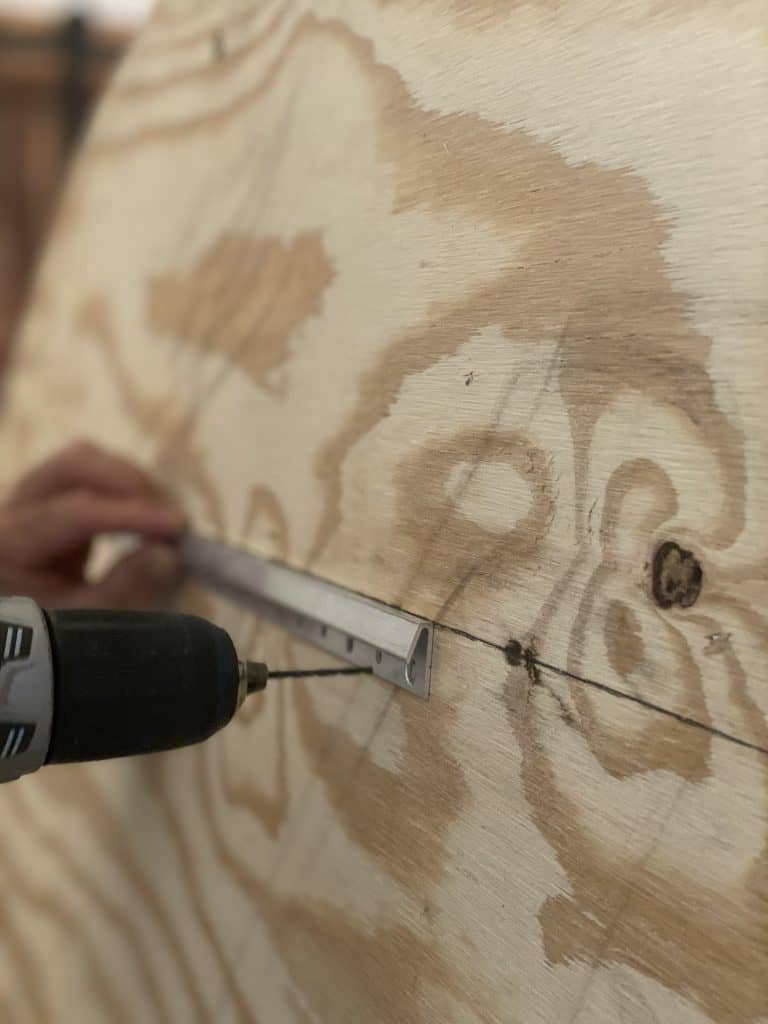
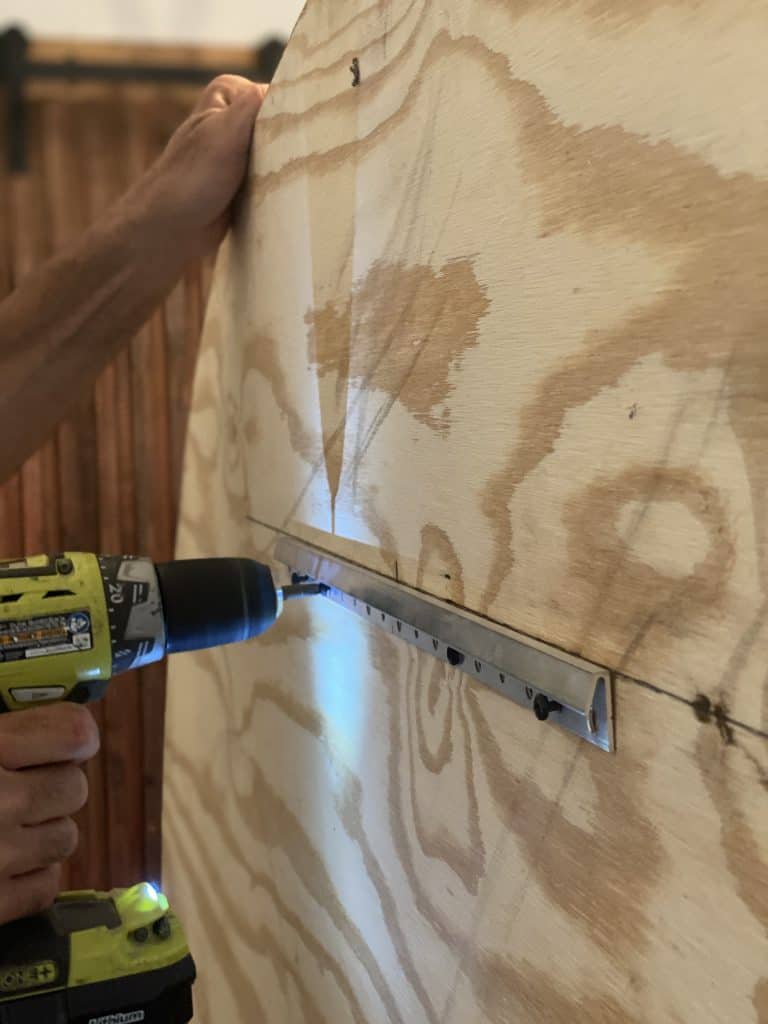
We hung the headboard on the wall with a heavy duty hangman hanger.
I have to tell you that I am pretty obsessed with this furniture piece. I dreamed of this beautiful ARCH headboard in my head and I am thrilled to see it being done. What do you think? Will you try to build it yourself?
HOW MUCH DID THE ARCH HEADBOARD COST?
Wonderful question…
Sometimes DIYing things is not about getting it done cheaper but in this case, it was creating something I dreamed up and could not find in stores. Yes, sometimes we DIY stuff because it seems less expensive to create than to buy.
The headboard’s total cost was around $150. And $110 was the cane webbing only.:-) Yup! You can totally skip adding on the cane webbing to save money but for me, that was the unique addition to this piece of DIY.
No time to make it now? PIN it for later!
Here are some other fun DIY projects for you!


Thanks for visiting friends!
Aniko
Ong! I love this! I’m big into arches & Cane these days! They seem tropical to me! Great post with lots of details. I may do this! Thank you!
Hello Aniko- I am interested in the comforter that was used in the wooden arch headboard. The comforter is mustard on one side and a flower design on the other side. Where could I buy that comforter? Thank you so much!! Love your style!