ARM KNIT BLANKET TUTORIAL
I am a huge fan of arm knit blankets so today I am sharing another fun arm knit blanket tutorial!
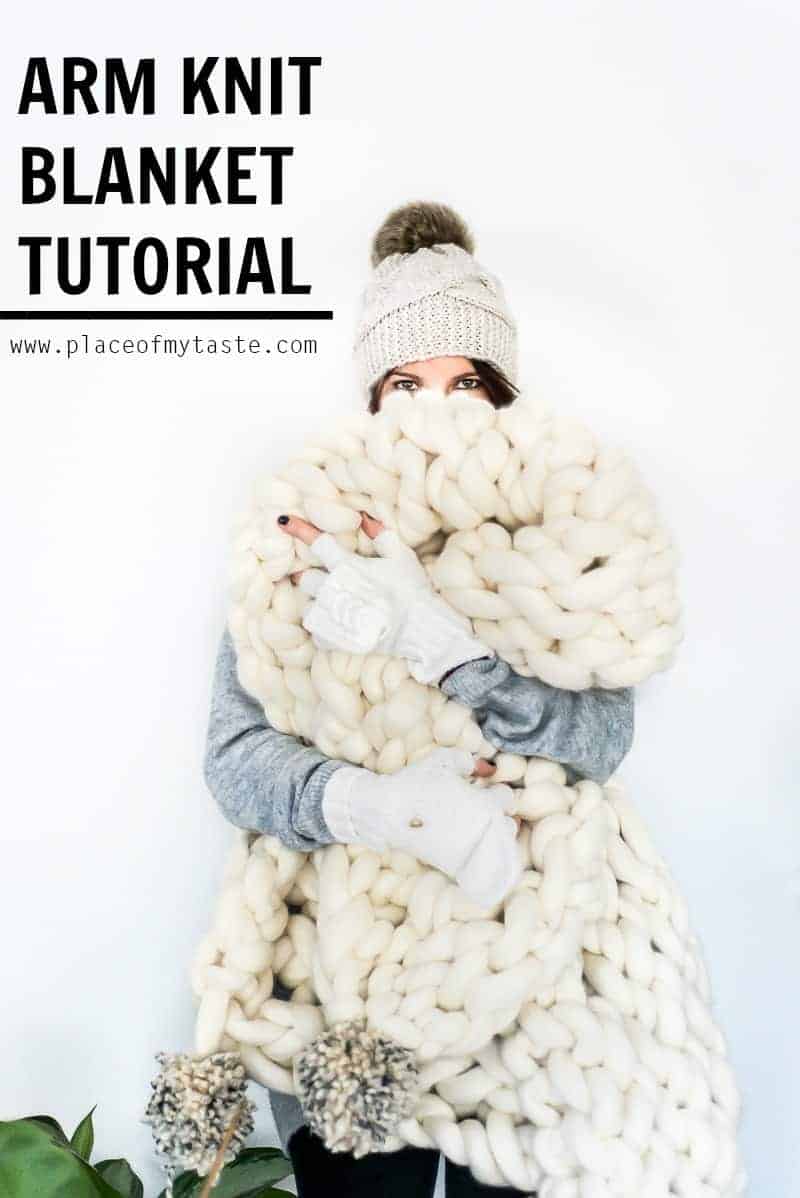
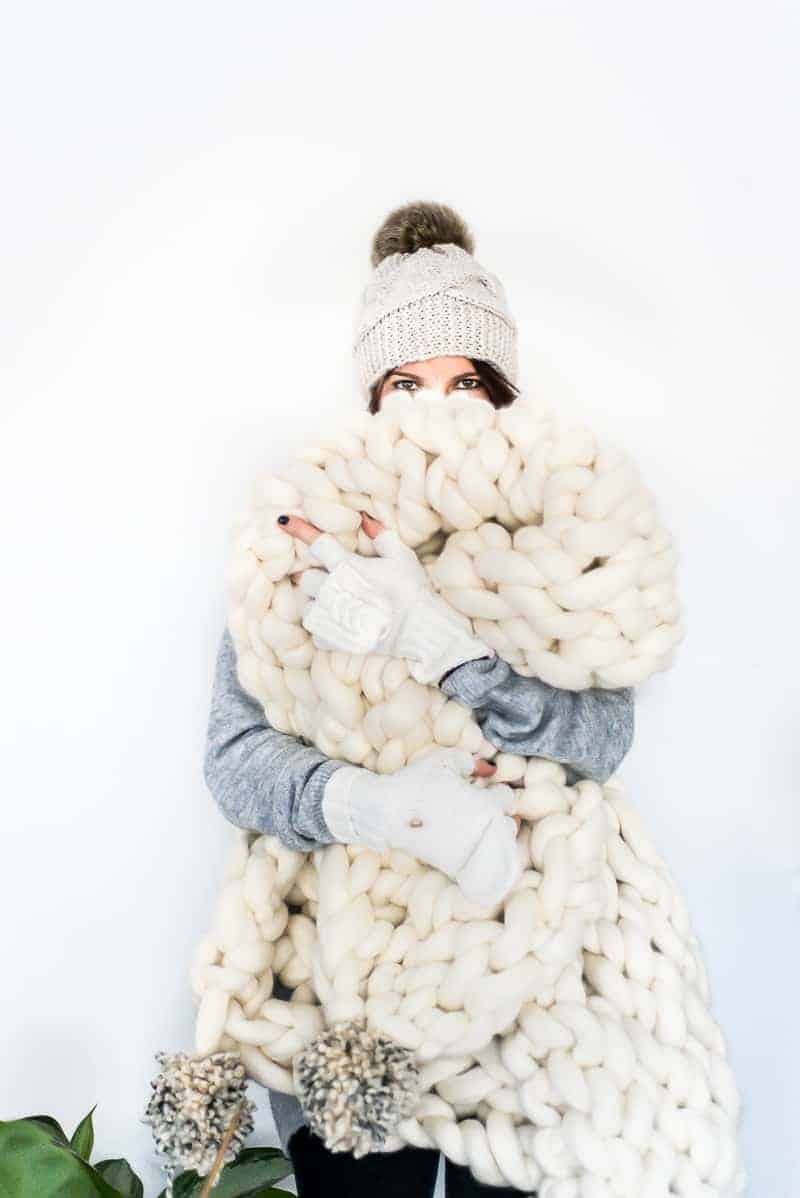
Would you believe you can make this gorgeous Arm Knit Blanket in just 1 hour!?
Arm knit blankets are so much in style now that earlier this year I had to give it a go and make my own! Ya know, I love to try new things and arm knitting was one of the most satisfying textile works I have ever done! It might be overwhelming to look at first but it’s super easy once you have the basic technique down.
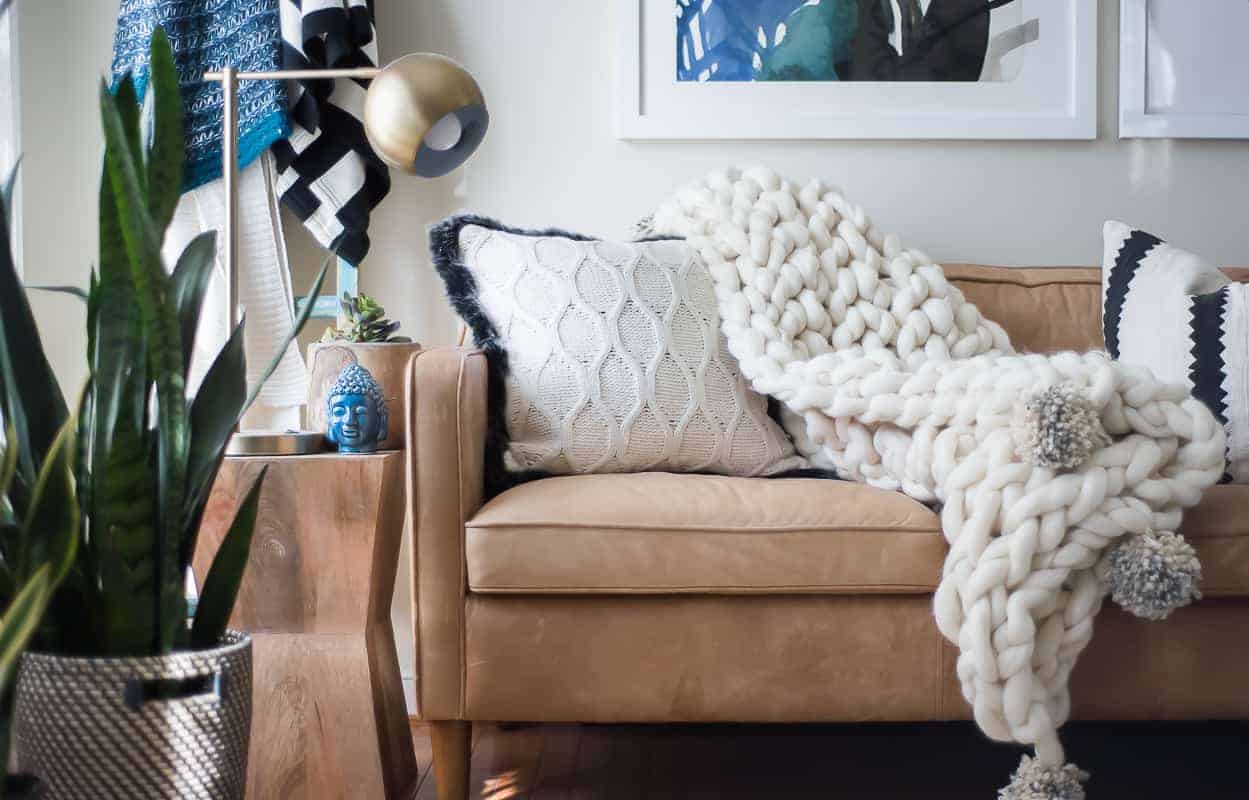
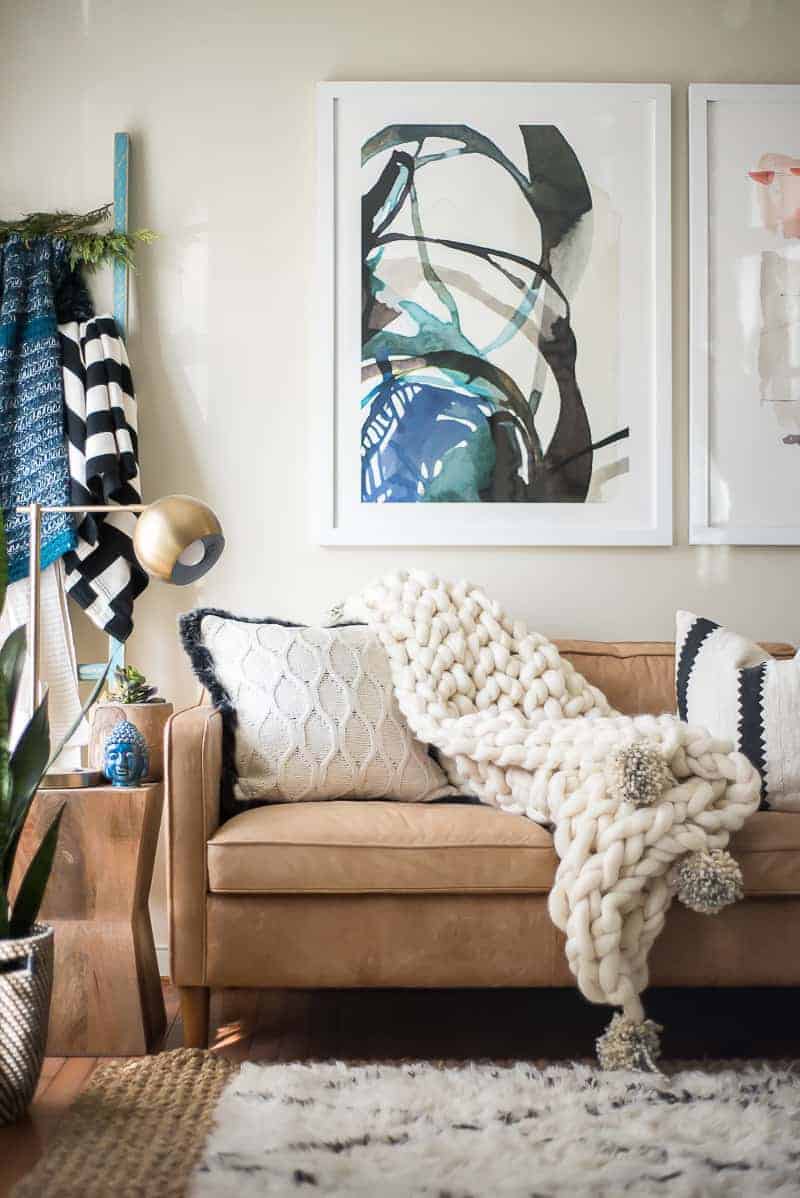
The blanket I made last year used chunky yarn, and this time I used roving wool and I am not gonna lie, I love this blanket a lot more. It’s the real chunky blanket! Also, this time around I added some fun pom-poms to the edges of the blanket to make it more my style and give it a unique flair.

Don’t you love the pom -poms!?
The cost of one of these arm knit blankets can get up to $250-300 in stores, on Etsy or in online shops. My material cost me about $110 plus $20 shipping and maybe 40 minutes to make the blanket. Which is not bad -and it’s handmade. Obviously you could probably find a cheaper wool or yarn- but let’s not forget- you get what you pay for- so get some snuggle worthy stuff guys! One these blankets could make a wonderful gift for Christmas, for birthdays or any occasion for someone who loves cozy and home decor.
The wool I used is linked below (affiliate link):
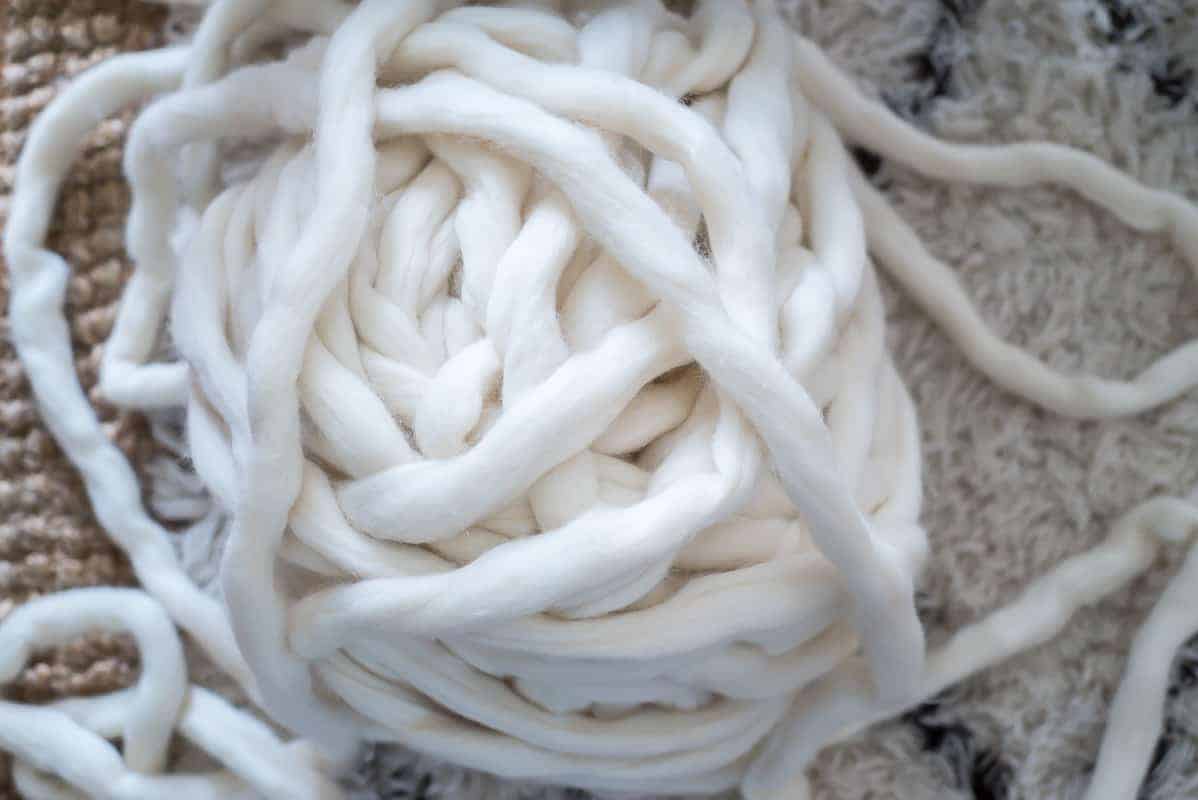
[amazon_link asins=’B0108YNXC4′ template=’ProductCarousel’ store=’plofmyta-20′ marketplace=’US’ link_id=’5e979662-e418-11e7-944d-b939de1b63a0′]
So let’s get on the ARM KNIT BLANKET TUTORIAL!
Watch this short video first because I think seeing what I am doing is more effective than explaining the technique.
And now here is the step by step tutorial on how to make an arm knit blanket.
- To begin, measure out about 6-7 ft lengths of wool/or yarn for your tail, and then make a slipknot on your right arm. Make it tight.
- Then, with your left hand create a V-shape with the working yarn (working yarn is the skein of yarn) and with the tail with your left hand.
- Push your right hand under the working yarn on the left hand then pull the yarn from the tail through the loop. (see video – slow motion)
- Take that loop and pull it over your right arm. Keep casting the stitches onto your right arm. Make it taut but not too tight.
- Cast on about 20 stitches on your right arm.
- Once you are done with 20 stitches on your right arm, start the process over on your left arm. Hold the working yarn in your right hand and pull off the first stitch over the working yarn then create a loop with the working yarn and over your left hand.
- Continue taking the stitches until all of the stitches are on your left arm.
- Keep on knitting from left to right and then right to left arm until you have about 25 rows (this will make a nice size blanket – I used 7 lbs roving wool.)
- You will need to start a new skein of yarn after maybe every other row, so what you need to do is to simply tie the ends of the skeins together with a tight knot and just keep knitting.
- Then once you are done with all the rows, you’ll want to cast off.
- Knit two stitches from your left arm to your right arm, as you did all the way until this point, and then slip the first stitch over the second (see video).
- Knit another stitch on your right arm and then slip the previous stitch over the last one. Continue until you only have one loop left. This will give you your finished end edge.
- Then cut off the working yarn, pull it over and tie a knot.
To hide the tails braid them into your blanket.
All done. 🙂
Add pom poms to make your blanket more fun and sassy- or maybe tassels! Pick something that makes you smile. Then find something to binge watch on Netflix, make some popcorn and snuggle down in.
 t #knitting #knittingablanket
I hope you enjoyed this easy tutorial! Thank you for visiting Place of My Taste. Check out some other DIY, crafts, food and fashion while your here.
Cheers,
Aniko

What was the finished size of your blanket?
I know the roving wool is softer but I heard it does not hold up well over time and is very difficult to clean, true or false?
It is true. I haven’t cleaned mine lol. I used this throw as a decor piece, and it’s perfect for that!
Does this wool need to be lightly felted before arm knitting?
I did not do it but you can try!:-) Let me know how it goes!
In the instructions she said she used 7 lbs of yarn.
How many ounces did did you use to make this blanket
Hi. I would also like to know how much yarn is needed for the blanket and which yarn you would recommend. The blanket is beautiful. Sorry if you receive this twice my iPad reloaded everything !
Hi. I would also like to know how much wool is needed and which wool you would recommend. The blanket is beautiful.
I am also wondering how many pounds of the material did you order to make this blanket. Thank you!
How much wool to buy?????
Hi I want to give the arm knit blanket a try but for my 7 yr old grandaughter, who wants one to fit her. She is a thin girl so do you have parameters I can use. I need to have it made in 3 wks!
Thank you
How many 1 lb skeins did you need to complete this blanket?
Thanks!
Beautiful! I love it! It looks so cozy and inviting!
Hello Aniko,
I would like to give this arm knit blanket a try. How many pounds of yarn did you use? Thank you for the awesome tutorial!
Best,
Kristin
How many skeins did u use for the pom pom blanket. What are the measurements of your outcome
I, like several others here, question how many skeins or lbs of wool to get, and what are the measurements of the finished blanket? I’m thinking of making a couple for beds & need a starting point.
It is an interesting highlight. I will try it
How did you make the pom poms?
Hi – thank you for posting this tutorial. Quick question. What is the quantity of roving wool that I should order based on the Amazon link you provided?