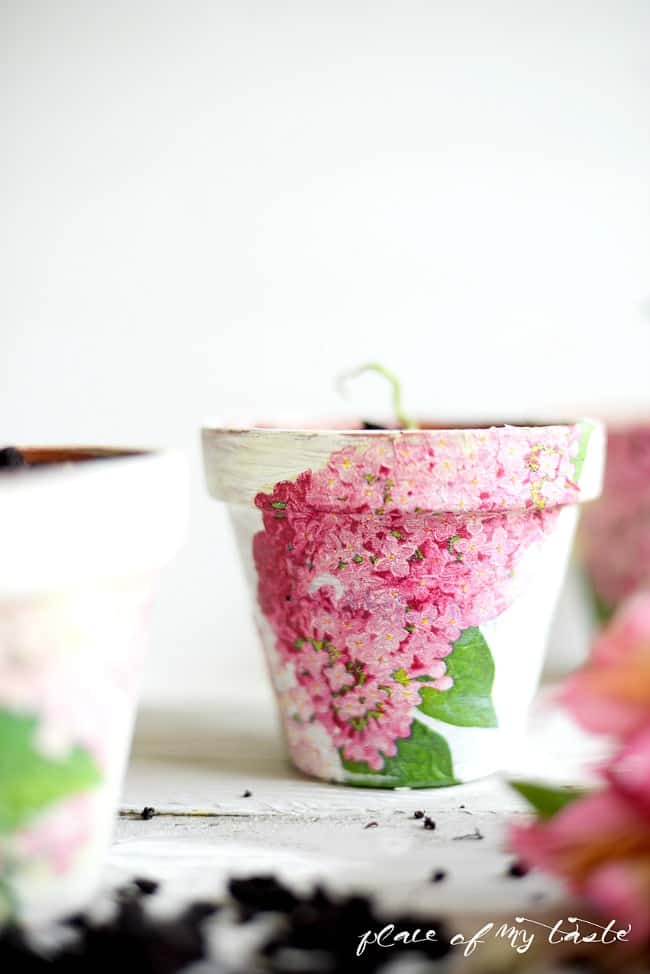
DECOUPAGED TERRA COTTA POTS

I am adding bright spring colors to my home decor, hoping that will bring Spring here sooner. I am so ready to put away my winter clothes, and I am SO ready to wear my light blazers and flats.
Oh, joy.
Today I will show you a quick tutorial of how you can make these lovely decoupaged terra cotta pots.
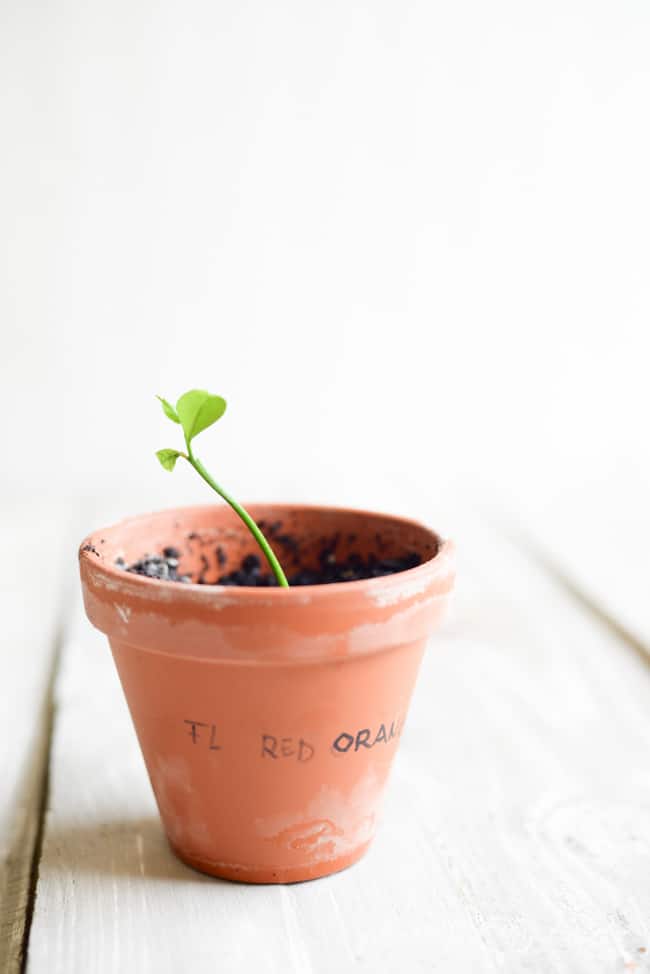
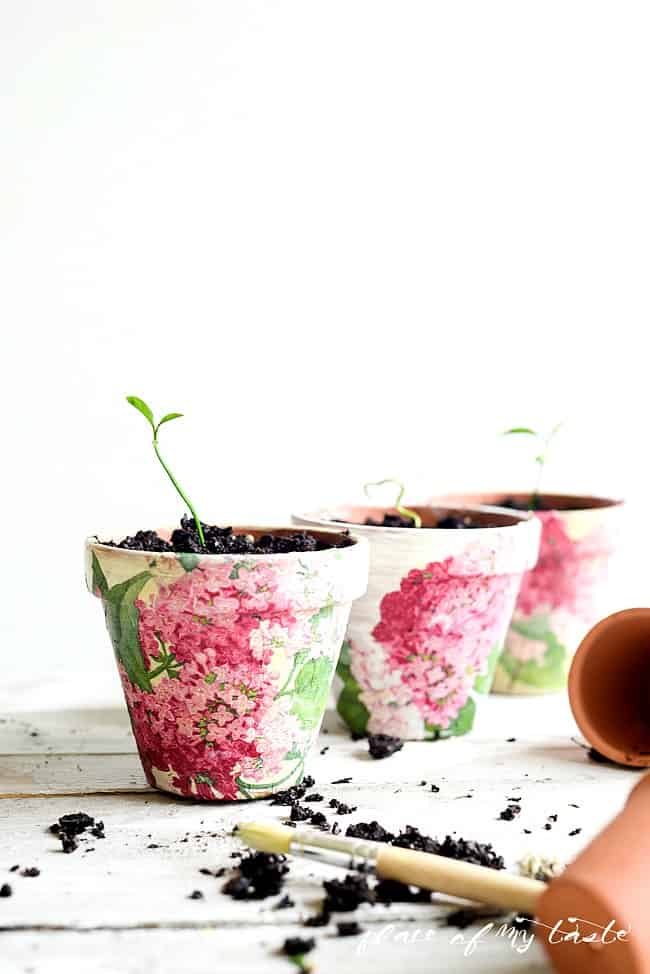
We went to Florida in February, and we stop to pick oranges on a fun orange farm. The boys and we enjoyed picking oranges and playing around on the farm. The oranges that we ate there were phenomenal. They seriously had the best oranges, ever! We loved them so much that we took some oranges home, and hub decided to plant those seeds so we can grow those yummy oranges.
Yeah…I can’t wait to see those oranges:-) I am not very optimistic that we will ever see oranges here.:-)
So there were plenty of seeds and my hub germinated them, and once the seeds were split he put them in these plain terra-cotta pots, he marked each pot and put them out to the window. I couldn’t stand anymore how ugly they looked. I decided to pretty those pots.
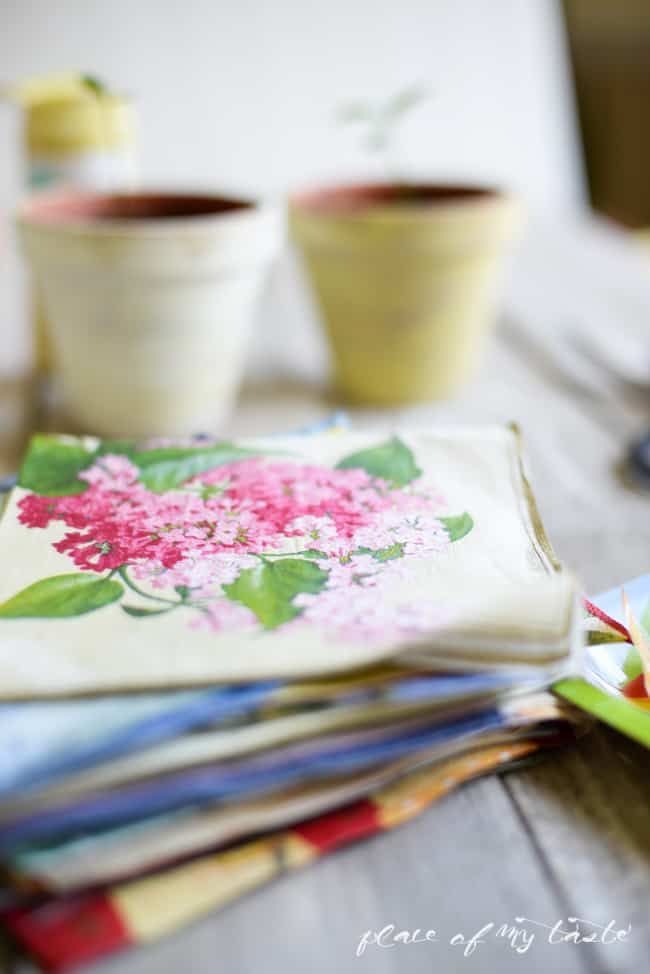
I had some beautiful decorative napkins that my sweet friend left for me when she moved back to Hungary, and I decided to use to some of those pretty napkins to decoupage these plain terra cotta pots.
Materials needed for the project:
– lovely decorative napkins ( possibly with patterns or shapes that you can cut out )
– mod podge
– paint brush
– paint ( acrylic paint would totally work)
-scissors
It was so super easy to do, and I love my “new” pots.
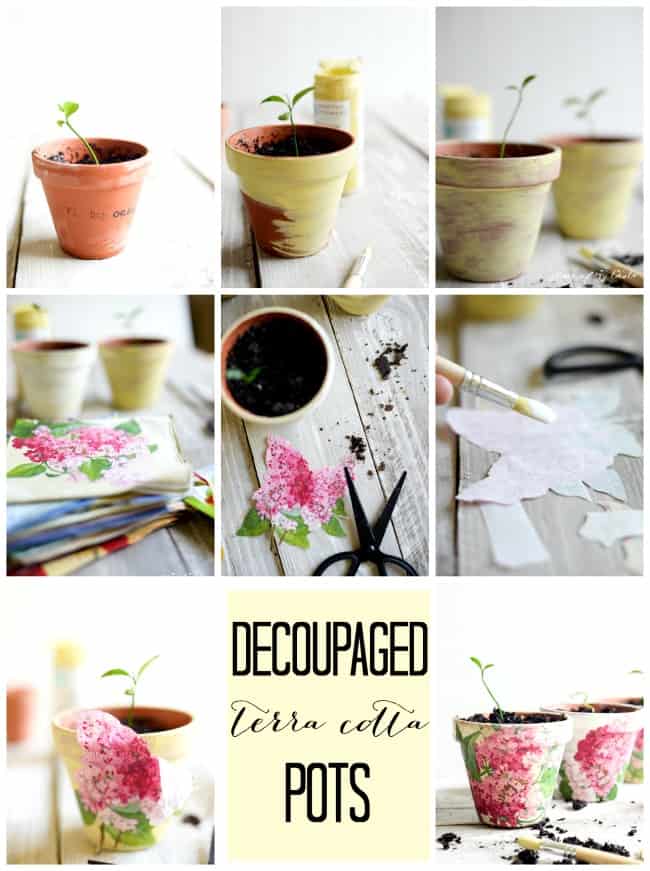
STEPS:
1. First I painted my pots. I used Martha Stewart chalk paint for the yellow and regular acrylic paint for the white paint.
2. I let the paint completely dry.
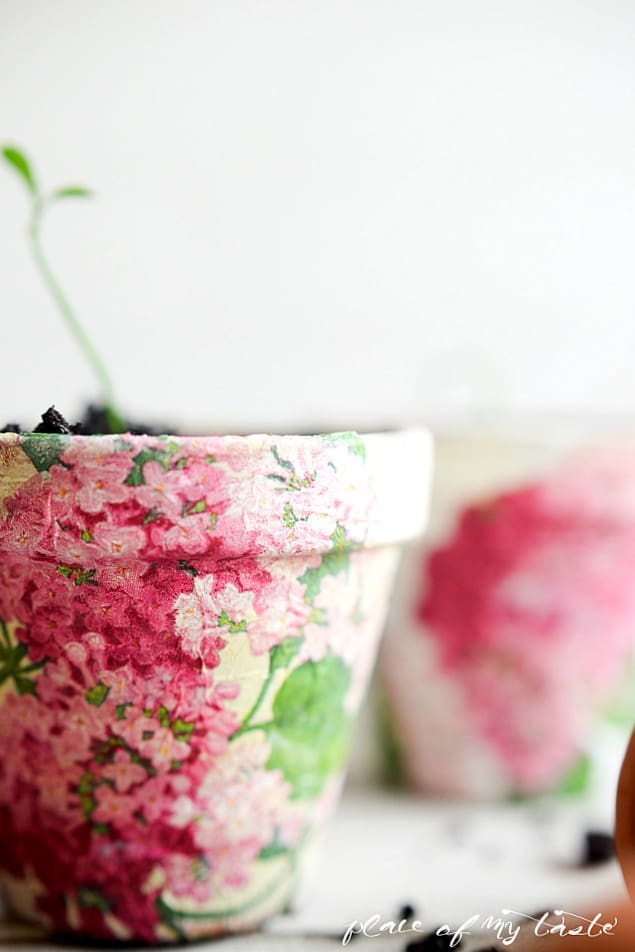
3.While the paint was drying, I cut out my flowers shape from the napkin.
4. I mod podge the napkin and slowly smoothed it on the pot.
5. I then sealed the whole pot with a coat of mod podge.
TADA!
Yep. Simple is that my friends!
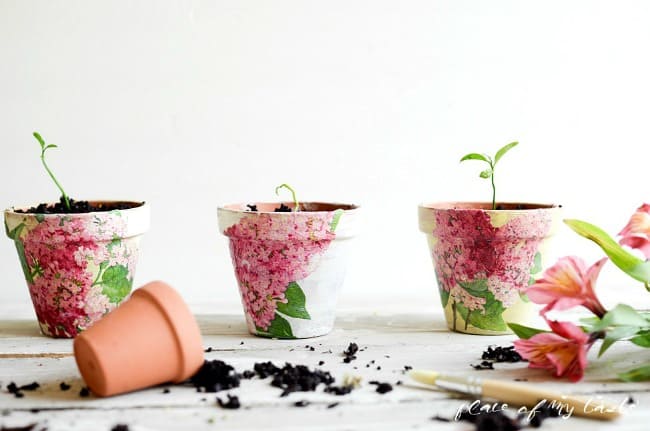
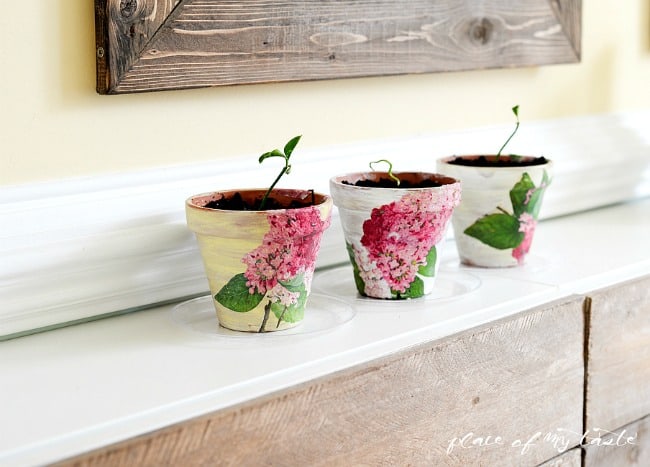
My pots look fabulous now.
A 15-minute quick craft can go a long way.
So what are you waiting for my friends?
Find some gorgeous napkins and get decoupaging! So easy and the I bet for anything that you will love the result.
Now I am only waiting for my yummy oranges to grow:-)

You may also like these pretty Marbled Eggs

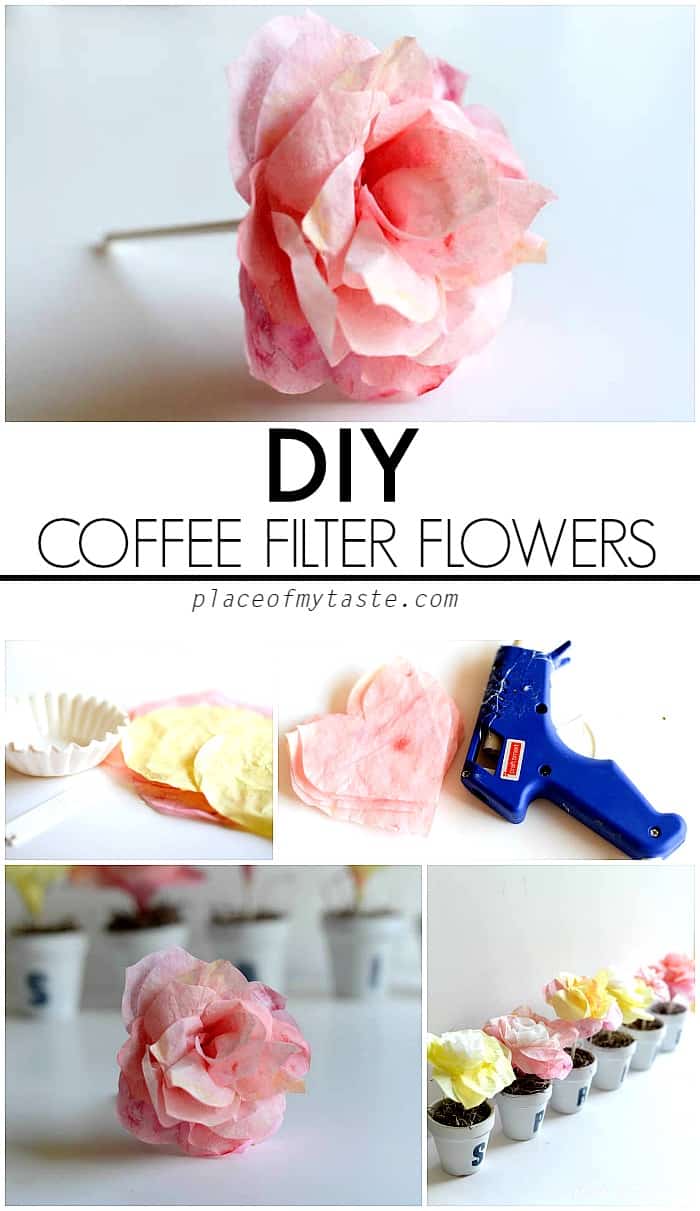
Or these fun Coffee Filter Flowers
Thanks for stopping by today!
Cheers
*** This project was featured on a Housewarming party***


Will only fabric napkins work? I have some paper ones that are really cute?
Hi there!
I love your decoupage pots idea!
Question: what specific type of mod podge did you use?
Lovely idea to dress up Dollar Store pots or old pots. I find pretty napkins at Dollar Tree, especially when a holiday is coming up.
I love this idea! Consider matching coasters using the same technique on square tiles. ????
Did you paint the pots with a coat of yellow and then with the white paint over that? Beautiful, beautiful pots! I’m going to plant herbs in them.
Hi there, how did these hold up? I’d love to make some but wondering if the inside of the pot should be sealed first?
I think the best way to it is to add a plant in a plastic pot into the pot. That way water won’t get through the terra cotta pot.
Is it necessary to use mod Podge to cover the entire pot?
I used mod podge over the napkins!
Hello, we are about to do this at our women’s church retreat with 182 women! Would it work to just purchase white pots and skip the painting step? That would really help with time and budget for such a large group.
Thanks in advance!
Janel Voth
I am sure a white pot would work just as well.:-) Have fun with your church group!
I found paper napkins at Tuesday Morning.
I love me some Tuesday Morning! I will update the post with that info! Thanks for sharing!
I have beautiful, floral napkins left over from my Mom’s 89th birthday party. I think this project will be a perfect way to create a reminder of a very special party. I’ll make a pot or two for my sisters as well. ????
Will plastic pots work as well?
Do you have to use chalk paint, or will any leftover paint do okay?
Can I just clear coat it with clear acrylic spray?
Do you have other crafts on your site besides this one?
Thank you,
Kathleen
I am having difficulty finding beautiful napkins for this project. Do you know a good source for the pretty paper napkins? “Anyone? Anyone?”
Thanks
Love your pots. Did you find it difficult to cut the designs out precisely or is it okay to have a little background of the napkin showing? It looks like it might be hard when design has ferny branches or similar?
Can you tell me what mod podge is. I am from the uk and I havnt heard of this before. Thanks.
It’s a glue. I am sure you have something similiar.!
Hello, Are these fabric or paper napkins?
Hey there! Paper.:-)♥
Will the napkins will not chip off & can I do the same with pots having plant in them or I should empty the ports & then do it. Also do we have to use any sealant or anything or simply follow as it is
I tried this on a glossy green pot.
It was tough with the paper napkin, being a novice and all.
The initial look was great, however
when I put on the next coat of Modge Podge it was too thick.
Should I have thinned the final
coat??
Love what you have posted.
Thanks
Patty
These pots are so pretty! What a wonderful idea. Thanks for sharing.
Hey there I am so delighted I found your site, I really found you by accident, while I was browsing on Bing for something else, Anyhow I am here now and would just like to say many thanks for a
fantastic post and a all round exciting blog (I also love
the theme/design), I don’t have time to read
through it all at the minute but I have book-marked it and also added your RSS feeds, so when I have time I
will be back to read a lot more, Please do keep up the great
b.
Hi, I painted a clay pot and decopuaged pictures o it. I then sprayed it with a critic sealer. My pot has bubbles from where water splashed onto it. is my decopauge too old(it’s like 10 years old) or should I not have used the acrylic spray? I am so disappointed.
The same happened to me, and I used new napkins and mod podge. Mold also grew beneath the mod podge around the napkins. I wonder if I did something wrong as well!