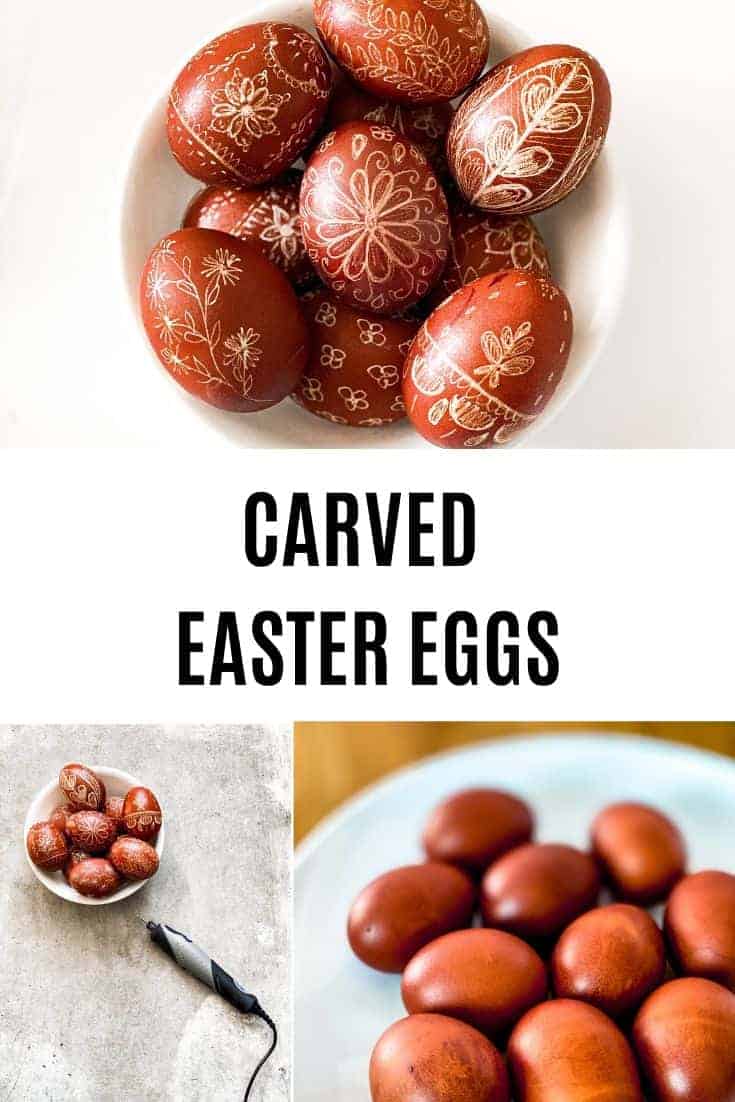
EASTER EGG CARVING
Today’s post will show you how you can do Easter Egg carving with a Dremel Sylo tool.
I love artsy things, as you know. This quick 1-hour sanity session was just long due after a long day in the mids of quarantine time. My boys were not interested this year in eggs decorating, but I found some time to make something pretty, and it felt good.
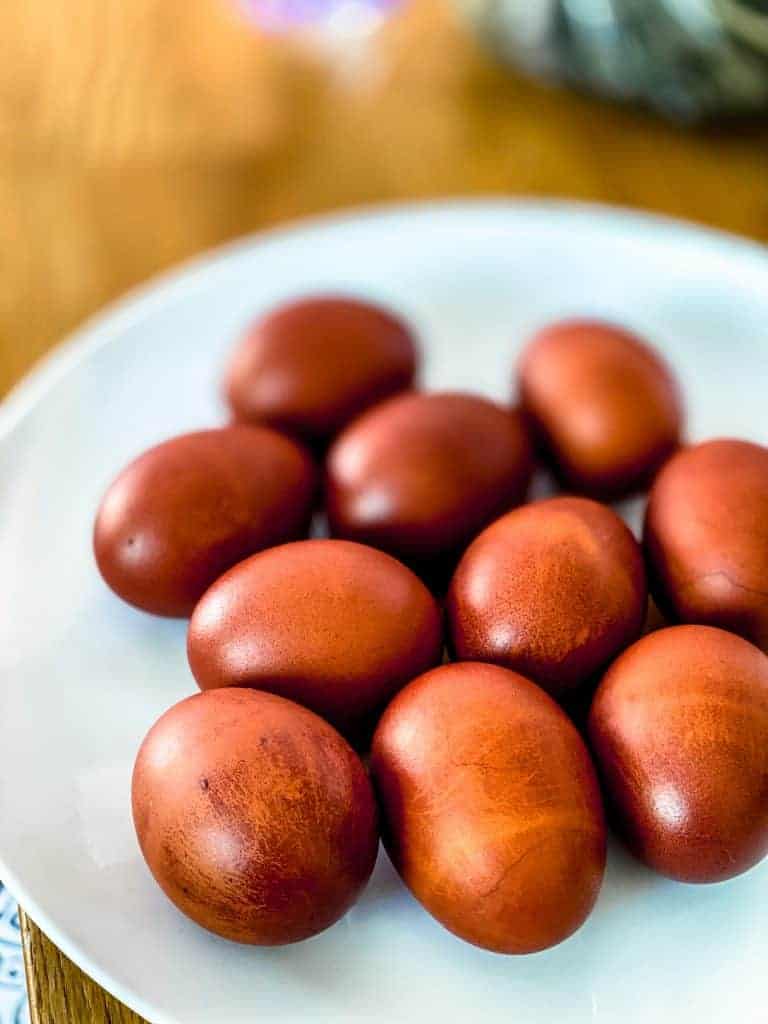
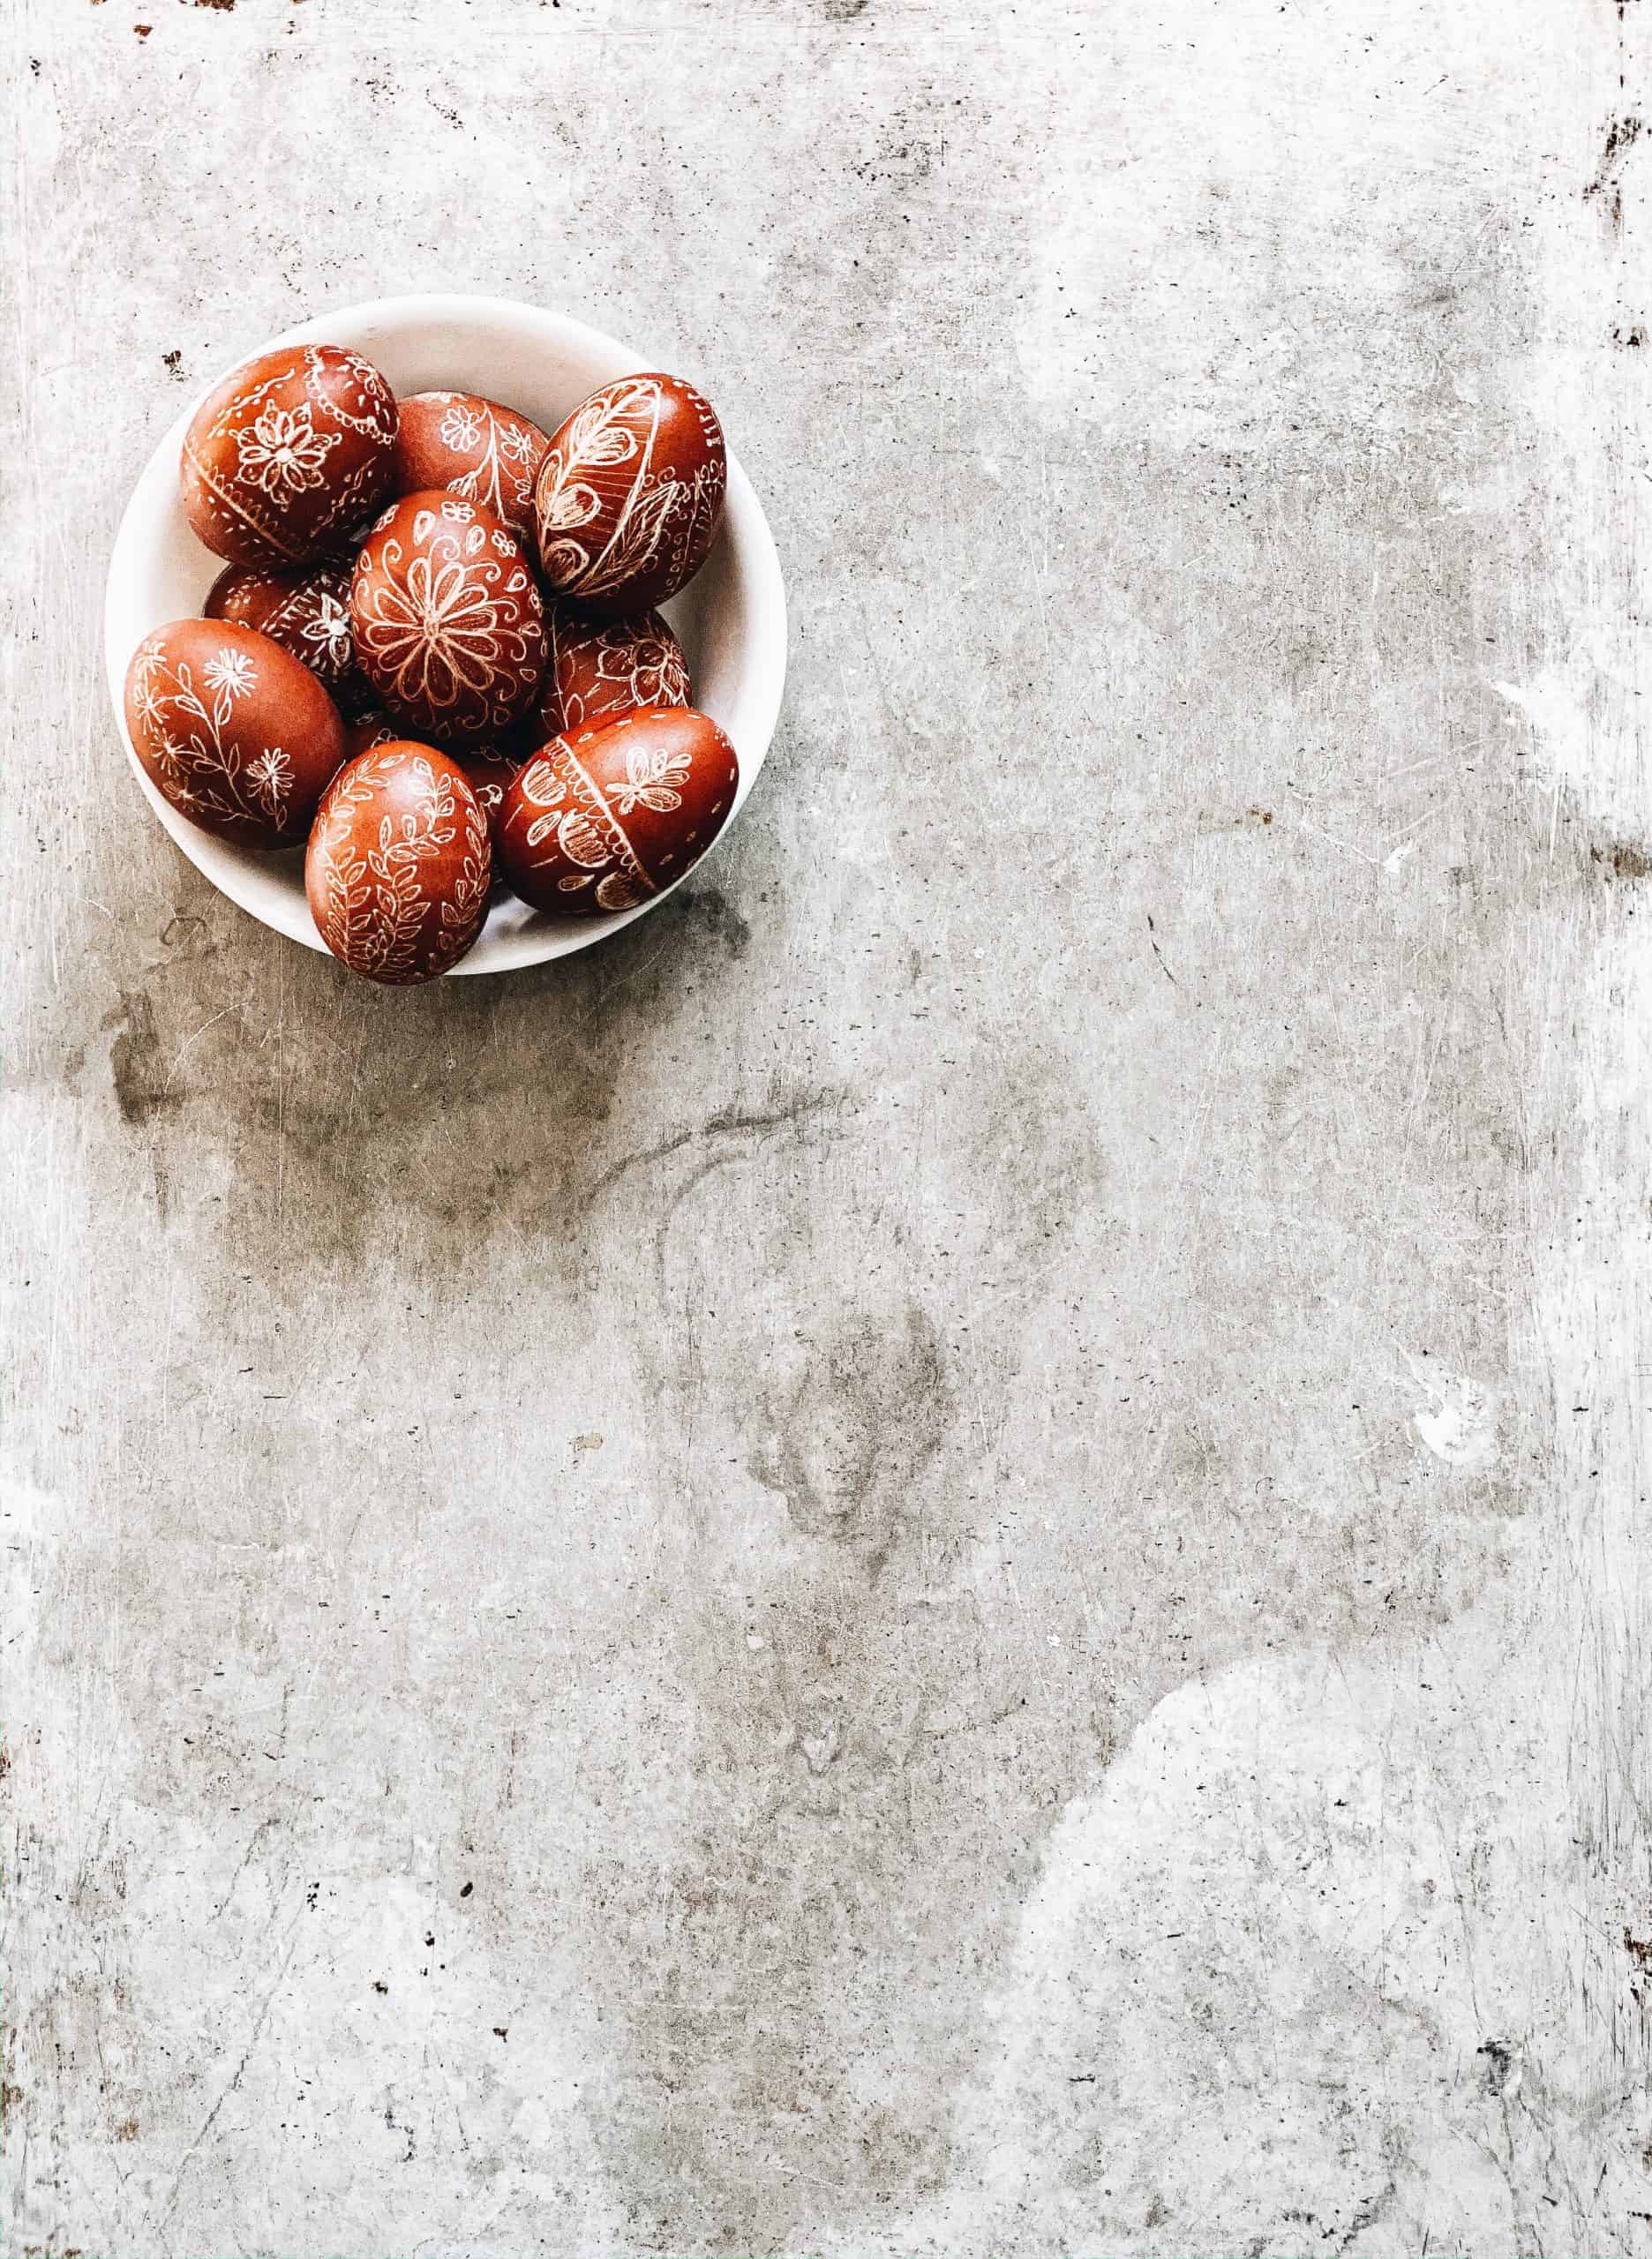
So let’s talk about the color of my eggs first. Not only is this my current favorite color, but it is NATURAL coloring!
Did you know you can naturally dye eggs?
Wait; what?
Yes! You can!
No artificial coloring needed – just a few things from your pantry! Click here to learn how to make naturally dyed Easter eggs!
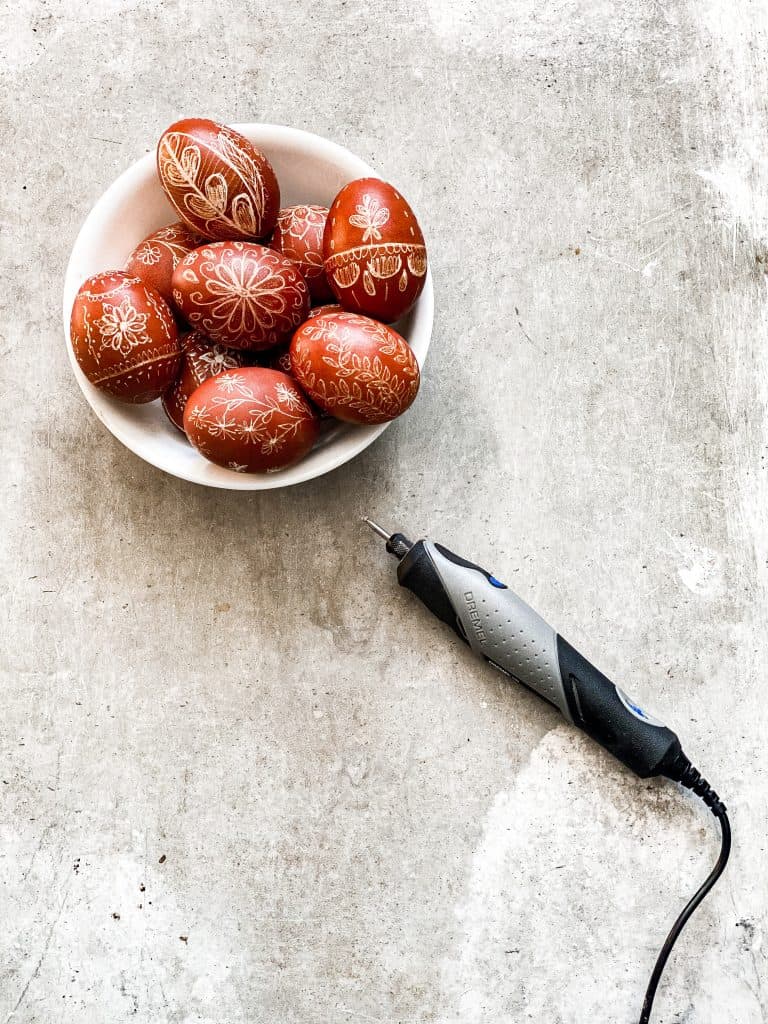
I have a Dremel Stylo tool for a few years now, but I haven’t used it much in the past. I, however, really enjoyed carving these eggs with this fun artsy tool, and I can’t wait to carve some other fun projects soon!
Dremel 2050-15 Stylo+ Versatile Craft Rotary Tool. Perfect for glass etching, leather burnishing, jewelry making, polishing, woodworking, and more craft projects.
My eggs are not wooden eggs but real boiled eggs.
Carved
I used the smallest, 1/32 high-speed cutter (105) head to carve my eggs, and I used a slower speed.
Tip: I recommend you to test on an egg first before you dive into your first real egg project. You need to get familiar with the tool, and you need to feel what speed you can work with. You might break an egg or two before you get comfortable with carving your eggs.
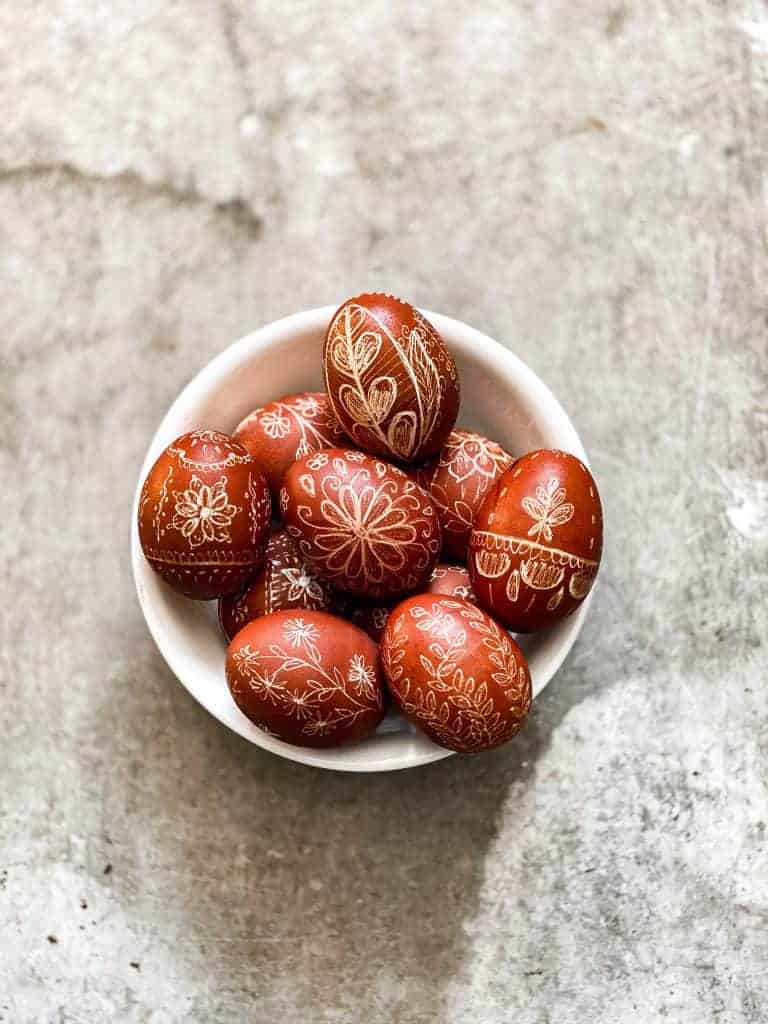
I also drew out my motives first that I wanted to carve on my eggs. Get creative with your drawings! These motives I drew reminded me for my Hungarian heritage.:-)
Here is a quick video for you to see how I carved my eggs.
EASTER EGG CARVING

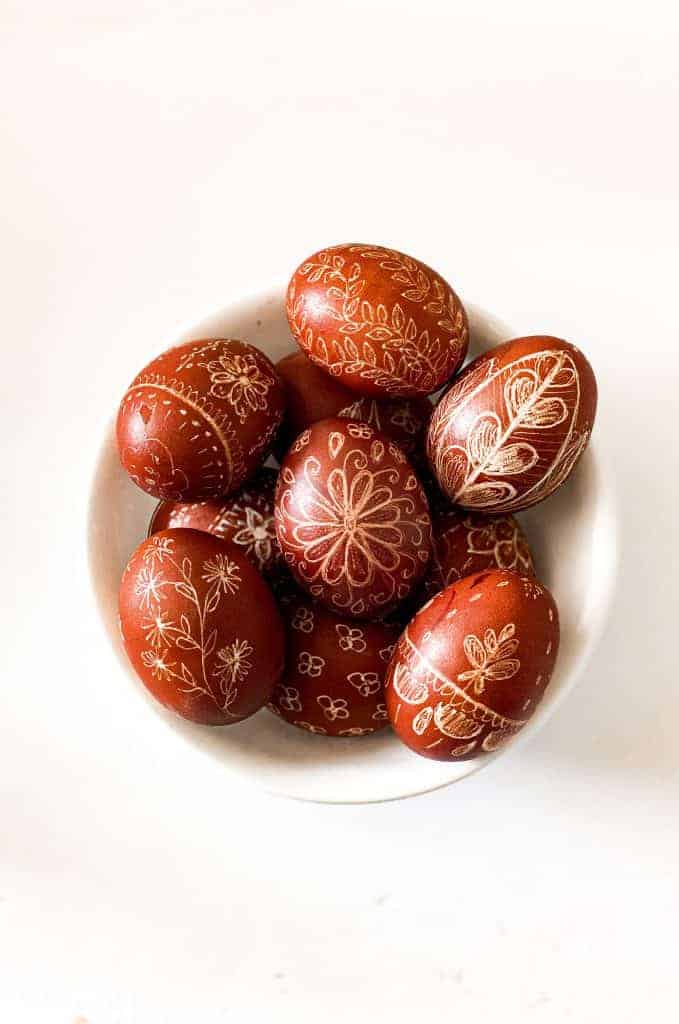
What do you think? Aren’t they beautiful?
After I had carved them, I brushed them with some olive oil to have a shiny collection of craved eggs.
SAVE THIS POST FOR LATER!
 Happy Easter, friends!
Stay well!
Xoxo
Aniko