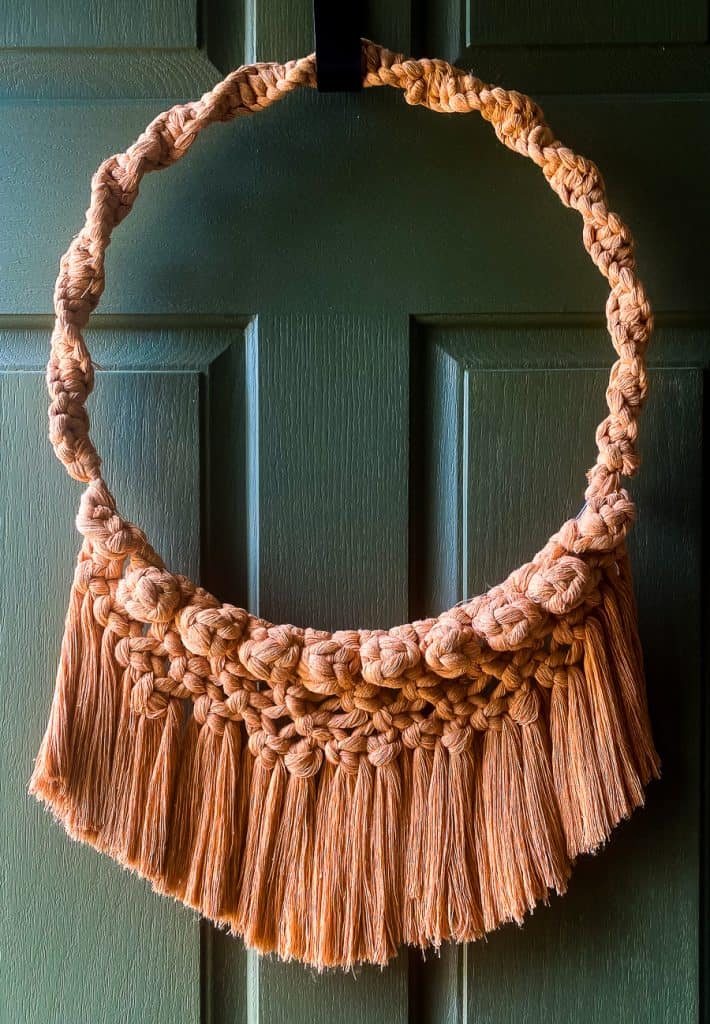
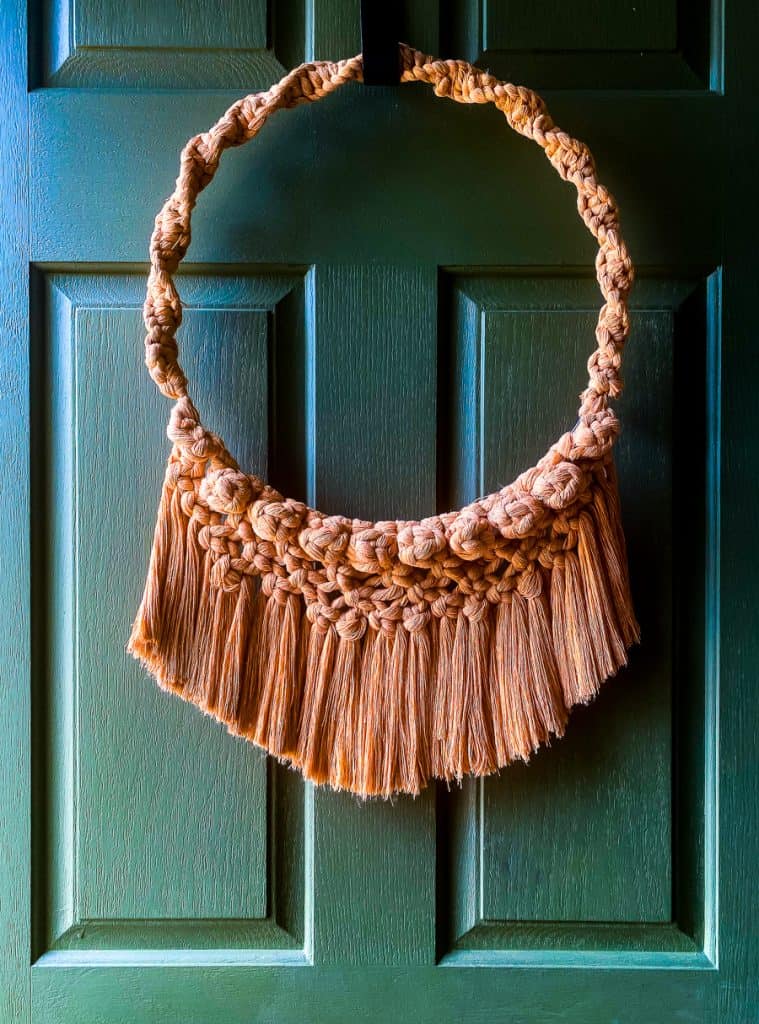
FALL MACRAME WREATH
I can’t believe I am sharing fall projects already. This Fall, macrame wreath was born in a short time, and I am super in love with how it turned out.
Today I am joining forces with a bunch of talented friends who are excited to share their creations for fall, so be sure to check out our host, Krista from The Happy Housie, and all my other crazy talented blogger friends.
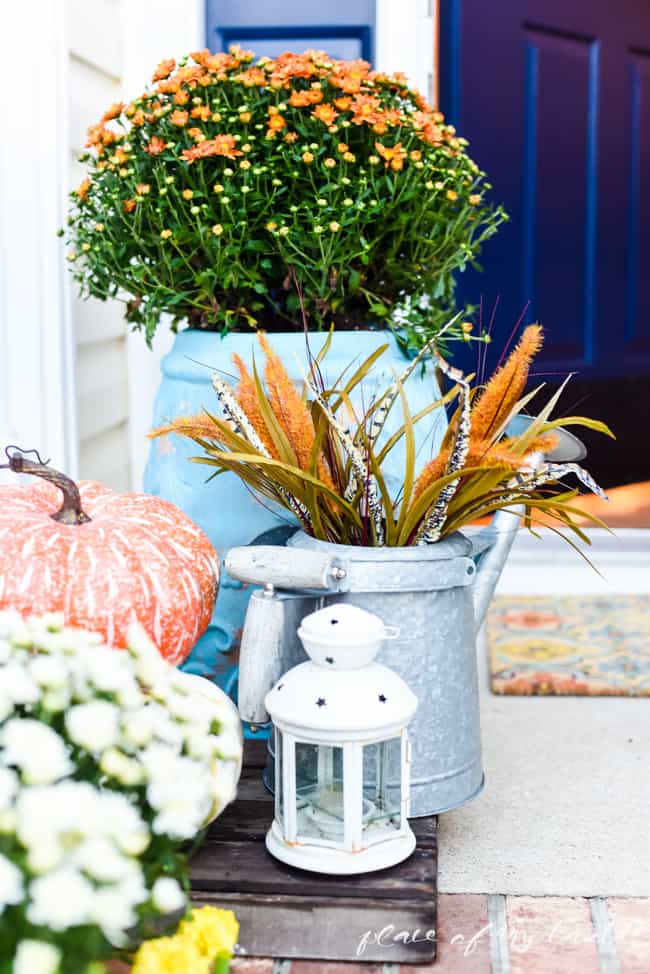
I enjoy adding something new to my front door each year. And I most likely won’t display anything twice. 🙂 I was debating on how I should be adding a bit of fall to my front door, and nothing came to mind other than a beautiful macrame wreath – and luckily, I had everything on hand to create it.
If you are new around here, I have to share a secret. I LOVE macrame. I enjoy macrame art so much- it gives me lots of room in a creative aspect. I never know what I end up with until the project is completely done.:-) This wreath was fun and easy to make, so let me fill you in on what you need to get started.
THINGS YOU WILL NEED
- Macrame cord -I used an orange 4mm cord (for fall decor)
- scissors
- metal ring (20″)
- hair comb
HOW TO MAKE A MACRAME FALL WREATH

As a firs step cut about 25 strings at a yard length.
Attach the strings to the metal ring. (See pics below)
Then start with a SQUARE MACRAME KNOT.
YOU ARE NOW READY TO KNOT YOUR CORDS.
The SQUARE knot is one of the most basic knots of macrame – I use it a lot. It’s also one of the easiest knots. Separate 4 cords away from the rest of the cords. You typically work with a group of 4 cords. Separate the cords so two are in the middle (your anchors) and one cord is on each side (your knotting cords). Pull the left knotting cord over the other cords making the shape of a number 4. Place the right knotting cord over the left knotting cord that is now on the right side. Grab the right knotting cord and bring it behind the two middle anchor cords and up through the triangle part of the number 4 shape. You should have a cord on the top and the bottom of the anchors. Pull the right and left knotting cords evenly and slide the knot up the anchor cords. *You finished one half of the square knot! We are now going to do the same steps on the other side to complete the knot! Pull the right knotting cord over the two anchor cords making the shape of a backward number 4. Place the left knotting cord over the right knotting cord that is now on the left side. Place the left knotting cord over the right knotting cord that is now on the left side. Pull the right and left knotting cords evenly and slide the knot up the two center cords. Continue this pattern for each group of 4 strings 4 times. Once you have 4 square knots pull the cords through between the first set of square knots – that will create the little ball shape.
Repeat this with every set of 4 strings.


Once you have all your set of 4 strings knotted, grab the two outside cords from each group and create a square knot.Repeat for 3-4 rows.
Then you add the round twisted knots to cover the rest of the metal ring.
For this part, you will need 2 long cords as you will only work with the outside cords to create the spiral knots. ( the video shows you a closeup of the knot).

As a last step, you brush your baby and hang it to beautify your front door.

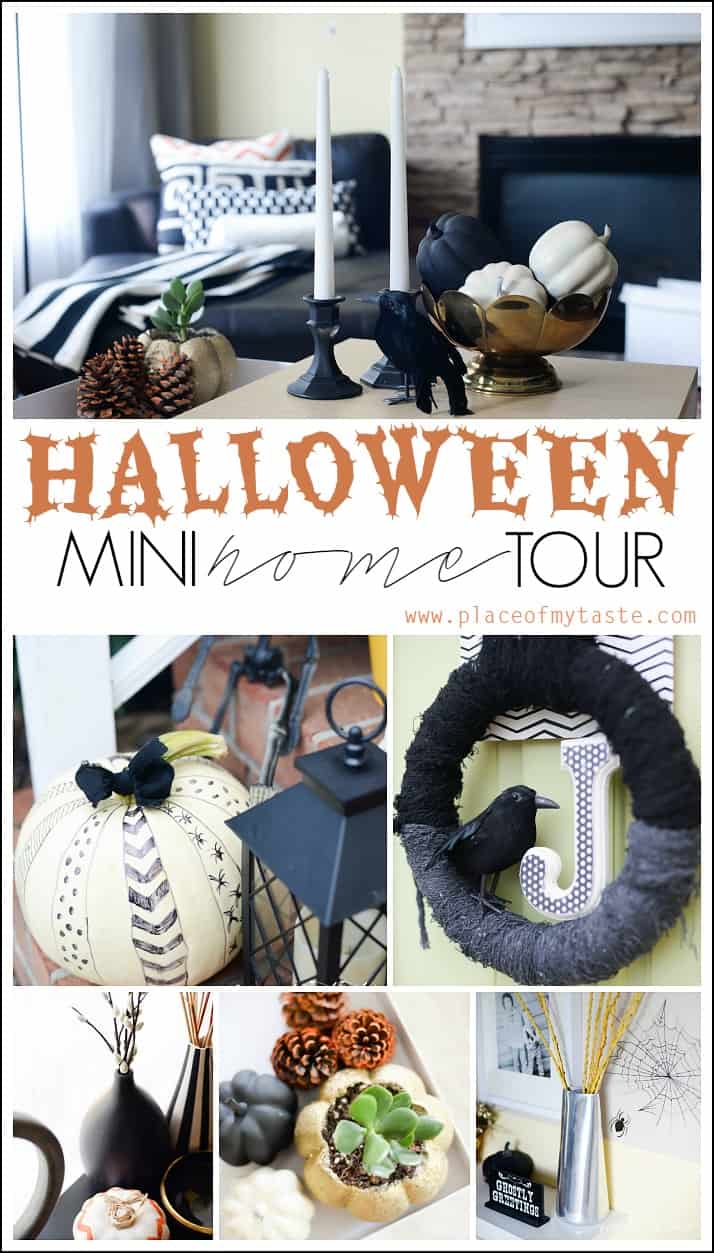
And now check out some pretty amazing and inspiring projects below. Wow! So much goodness!

DIY Fall Acrylic Abstract Landscape Painting at The Happy Housie
Five Fun Fall Arrangements at Finding Silver Pennies
How to Make a Dried Floral Wreath at the Tattered Pew
DIY Painted Pumpkins that Look Like Cement at Modern Glam
How to Make a Doormat with a Cricut at The DIY Mommy
DIY Fall Sign at Clean & Scentsible
Scrap Wood Fall Pumpkins at Tatertots and Jello
Macrame Garland at Life is a Party
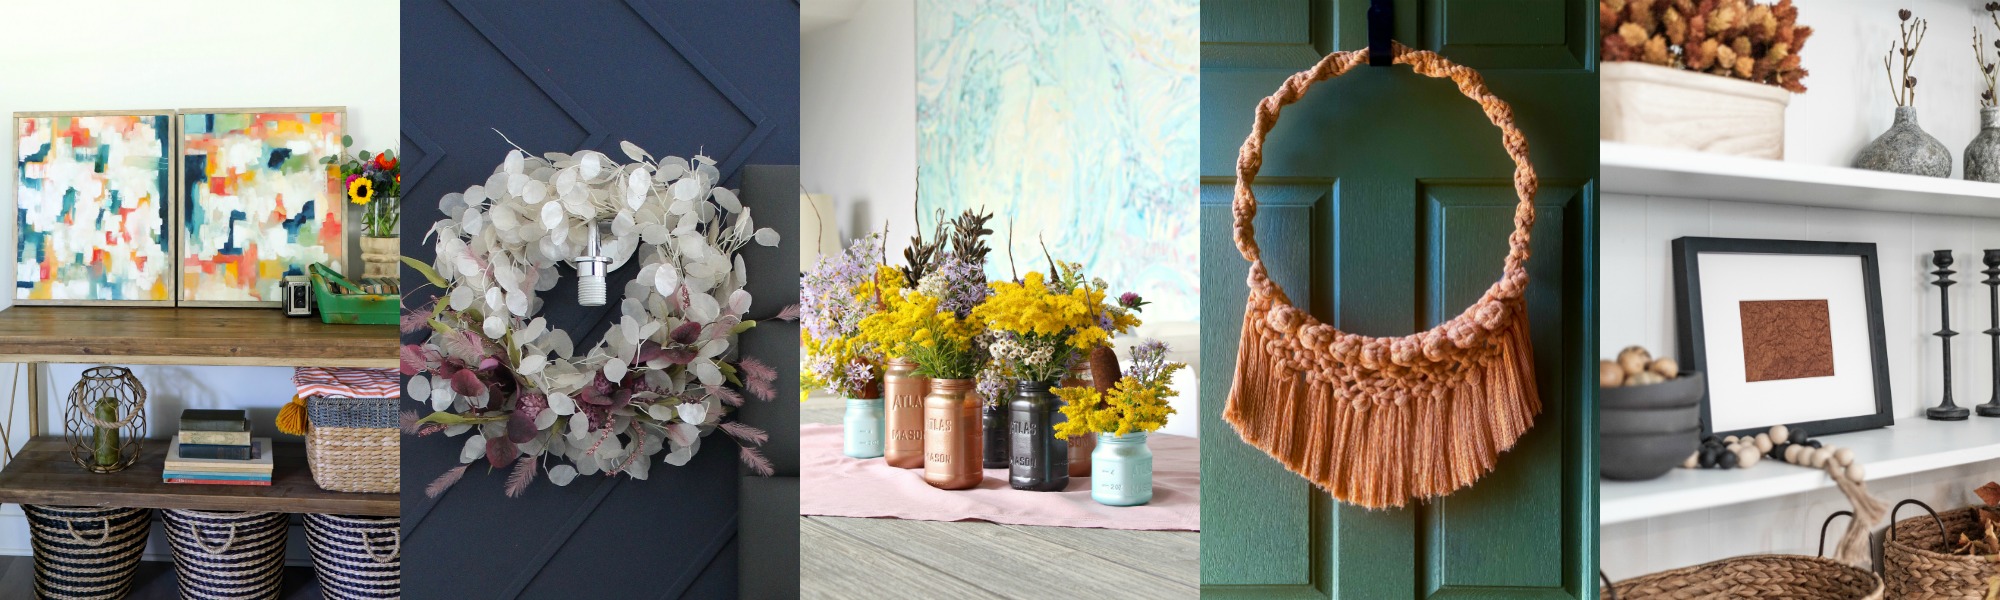
DIY Abstract Art Our Best Tips at The Handmade Home
Modern Fall Lunaria Wreath at This is Simplicite
Painted Mason Jars at Dans le Lakehouse
Fall Macrame Wreath at Place of My Taste
Easy DIY Fall Shelf Decor at Cherished Bliss
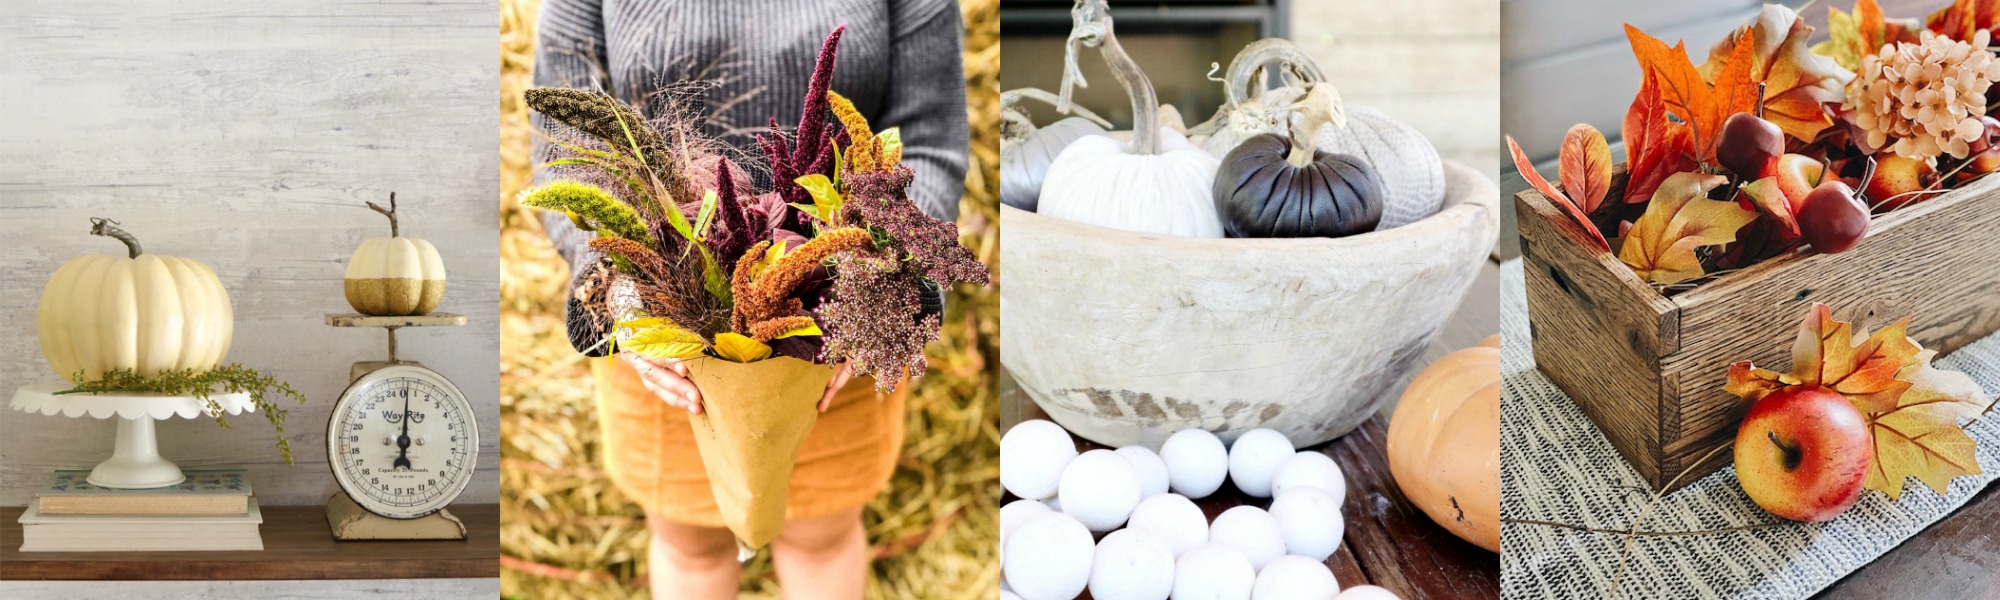
DIY Glitter Pumpkins at Lolly Jane
DIY Rustic Fall Flower Arrangement at Pretty Life in the Suburbs
How to Make a Handmade Clay Bead Garland at My Sweet Savannah
DIY Rustic Wood Centerpiece Box at She Gave it a Go
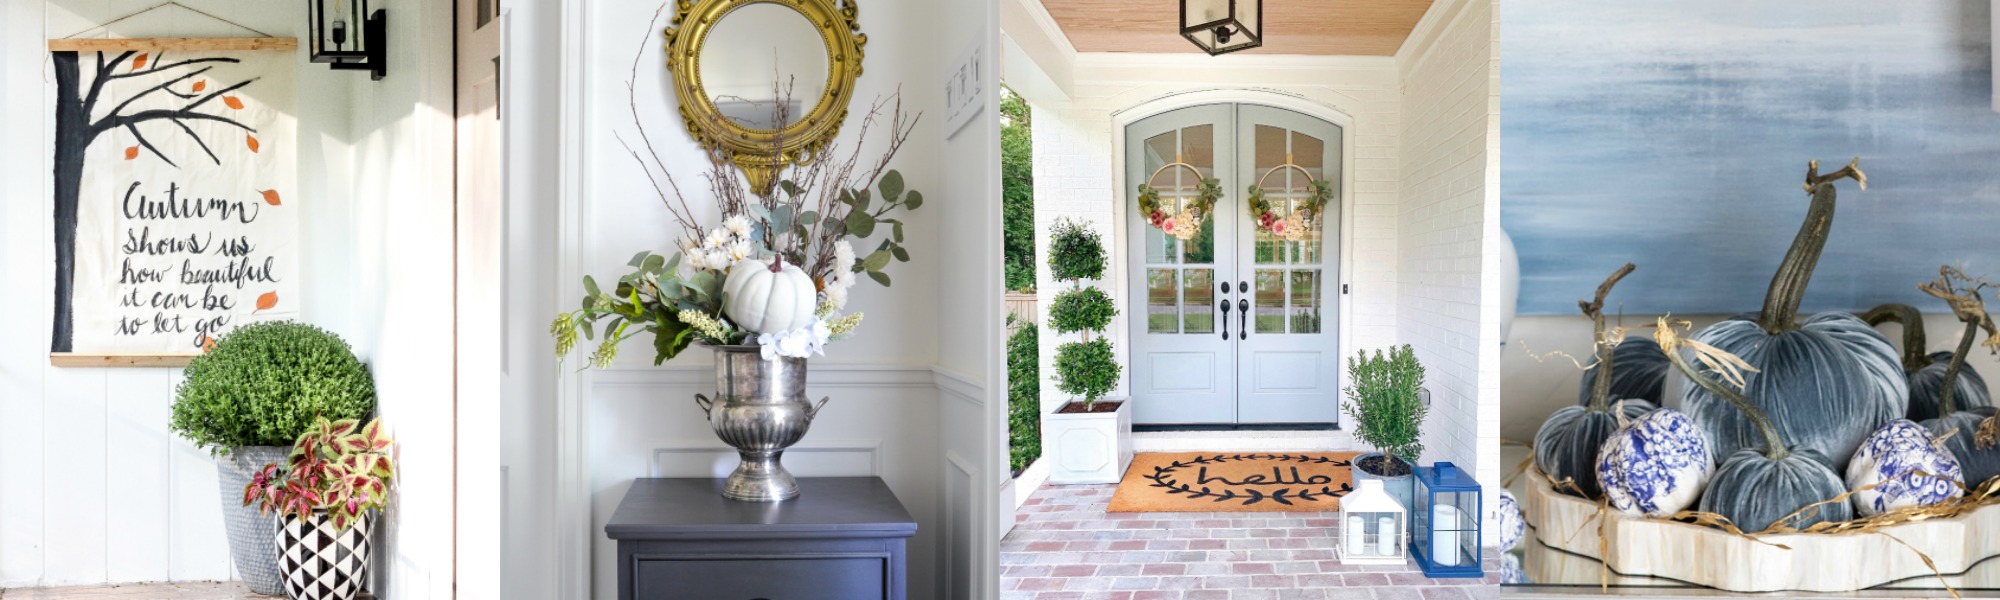
How to Make a Fall Wall Hanging at Cassie Bustamante
Elegant Fall Flower Arrangement at Rambling Renovators
Blush Fall Hoop Wreath Tutorial at Chrissy Marie Blog
DIY Blue and White Chinoiserie Pumpkins at Jennifer Maune
Thanks for visiting, sweets!
Xoxo
Aniko
How long are the cords needed to make the half square knot around the ring?
love it, aniko! the color is so pretty!
I love this and so different for fall!
I always love your wreaths and this one is beautiful!
So pretty and I love the color! I have yet to try macrame but this has inspired me!
This is SO fantastic! I absolutely love how it turned out…I think I need to try macrame…it’s stunning.
Love this wreath! Now, to find some fall colored cording so I can make one too!
Tania