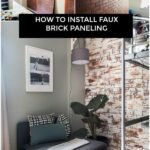
HOW TO INSTALL FAUX BRICK PANELING
Today’s tutorial will show you how to install faux brick paneling. I am super excited to share this project as I am pretty sure you will love the outcome just as much as we love it!
I shared my son’s room makeover in July..Ghaw..how can it be mid-October already? Life is definitely busy, you all!
I have been planning to share this tutorial for a bit now (and I know some of you have been waiting forever:-(), but there was always something else on the schedule. And you know…life, work, kids and all that get’s counted in when the time is the last thing I have on my hands. But here I am, I finally took the time to write up this post so you can enjoy this really cool looking FAUX BRICK wall somewhere in your home.
But first things first!
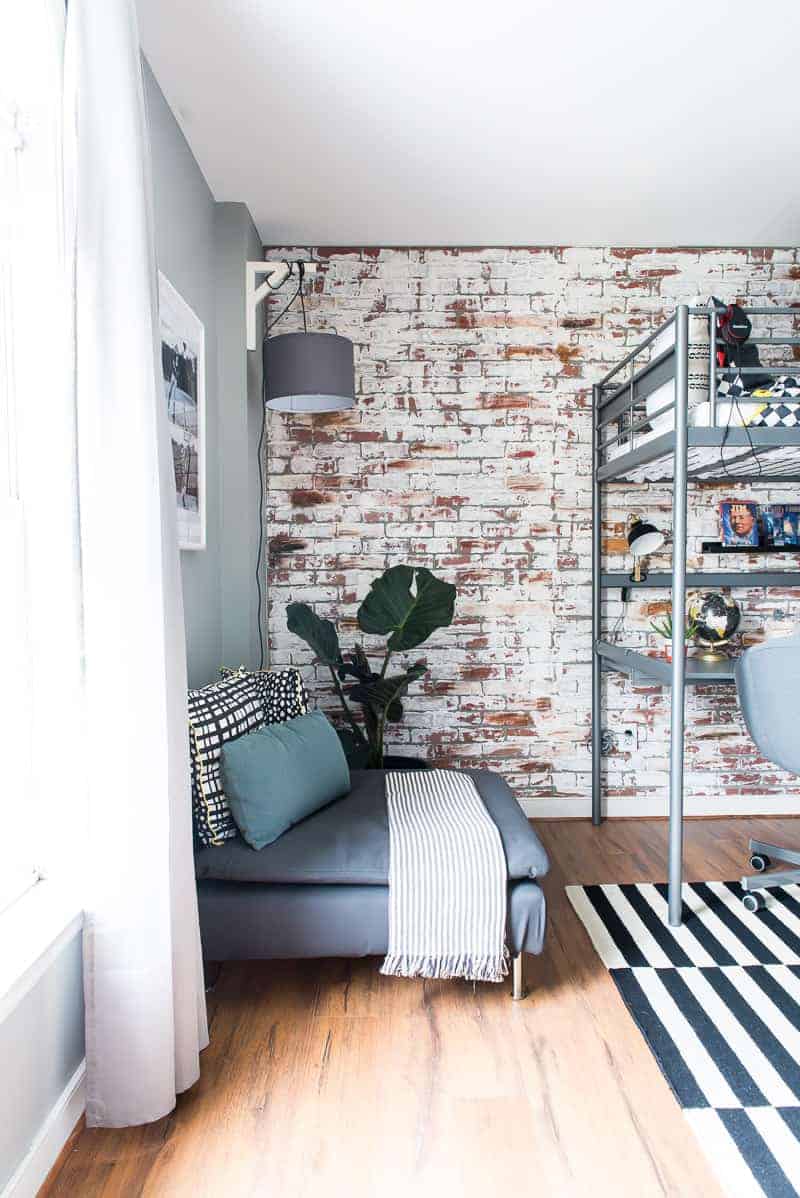
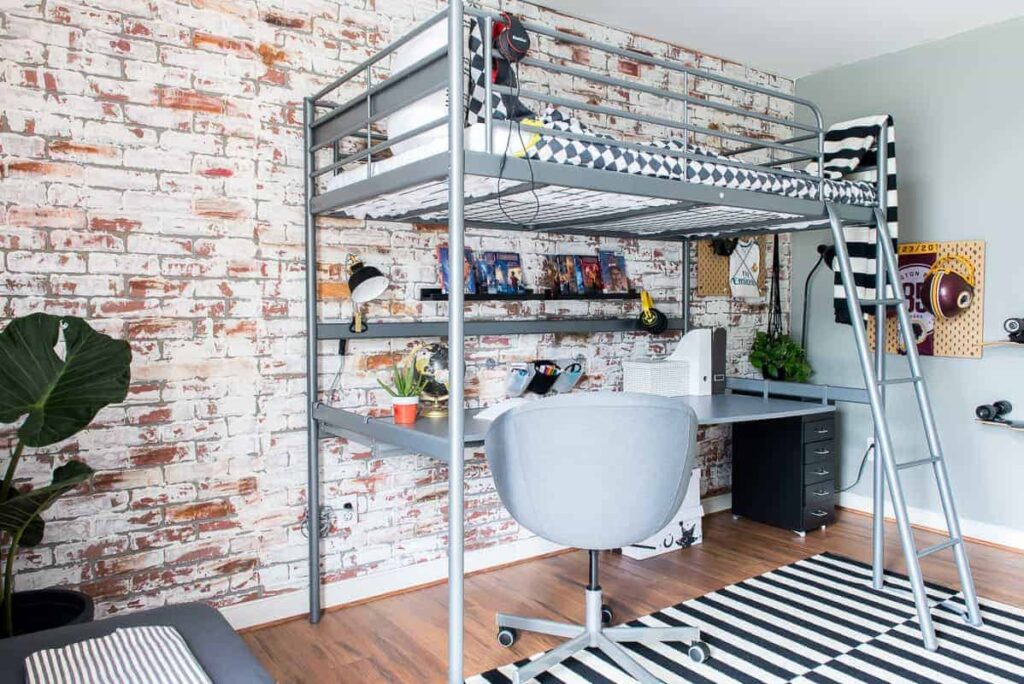
I want to assure you that this project might seem intimidating, it really is not! You can do it. It requires at least one other person beside you but other than that….it’s easy-peasy and look how awesome the wall is after installing those panels. You can see more of my son’s room on the BIG BOY ROOM REVEAL post. He sure loves his space, and I do too!
MATERIALS YOU NEED FOR THE FAUX BRICK WALL PROJECT:
- faux brick paneling ( THE HOME DEPOT or LOWE’S have them!)
- table saw
- measuring tape
- construction adhesives ( I used PL-Fast Grab premium)
- nail gun
- screws (optional)
- level
HERE IS A QUICK VIDEO FOR YA BUT BELOW THERE IS A SHORT TUTORIAL ON THE HOW TO!
Steps to Install Faux Brick Paneling

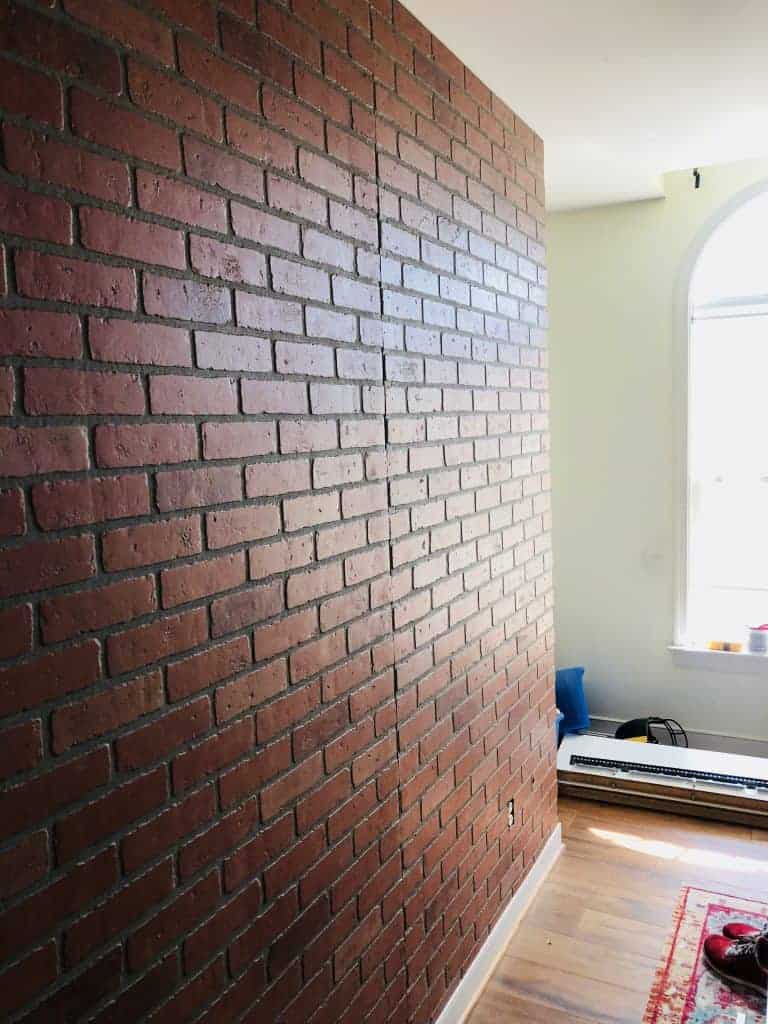
Measure your walls
Before you take a trip to your local store, be sure to measure your walls, so you know precisely how many panelings you need to purchase. Very important!
Cut the faux brick paneling to size
Once you have your panelings, measure it to exact size and cut your panels to size. We used a table saw (and of course safety glasses), but id you don’t have tools like that you might be able to make your panels cut at the store or with a hand saw too.
Have you seen the new Dremel Hand Saw – it’s pretty amazing for projects like this, and for all kinds of smaller cuts! I have one and love it!
Anyways…
Cut out holes for outlets
You need to keep in mind that you will cut out the holes for the outlets before you install the panels. You can use a utility knife or Dremel tool to do that.
Glue the wall/panel
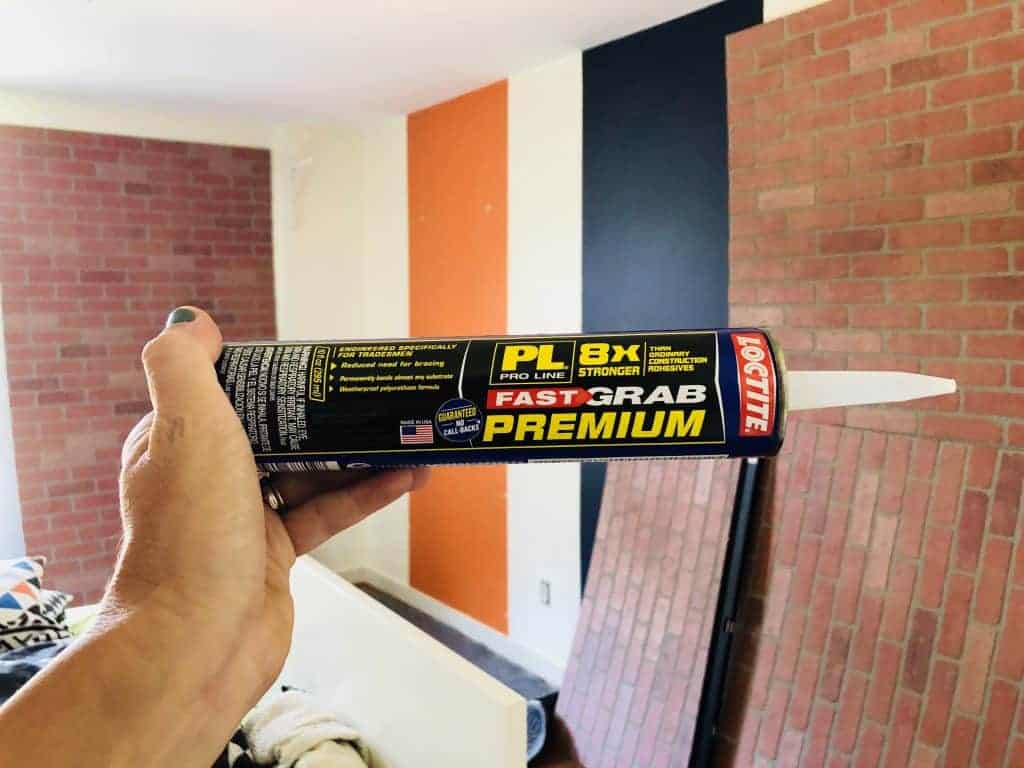
We applied construction adhesive to the walls before nailing the panels in.
Nail the panels in using a nail gun
Using a nail gun, nail the faux panel to the walls. You can use screws too, but we chose not to. Using nails will give your walls a cleaner look. Although if you are going to make your wall textured and more realistic looking (which I wasn’t planning on when I started with the project!), it really does not matter if you use larger screws as you will cover it anyways.
Tips:
I think the most important thing is to cut the panels to the right size. You can’t screw that up! 🙂 Otherwise, you will have problems!
Then, as you saw in my video, we had a few spots where the panel had a curve right in the middle, and it did not attach to the wall perfectly. Even the nails did not help as there was no stud behind the drywall. So for that situation, we used a batch of construction glue and a big piece of 2×4 to push on the area, and we left it there for a good 15 minutes. It worked!
After we covered both walls, I decided that I wasn’t that much in love with the look haha, and I added some extra textures to the surface. HERE IS ANOTHER VIDEO ON HOW TO MAKE THE WALL LOOK REALISTIC AND TEXTURED!
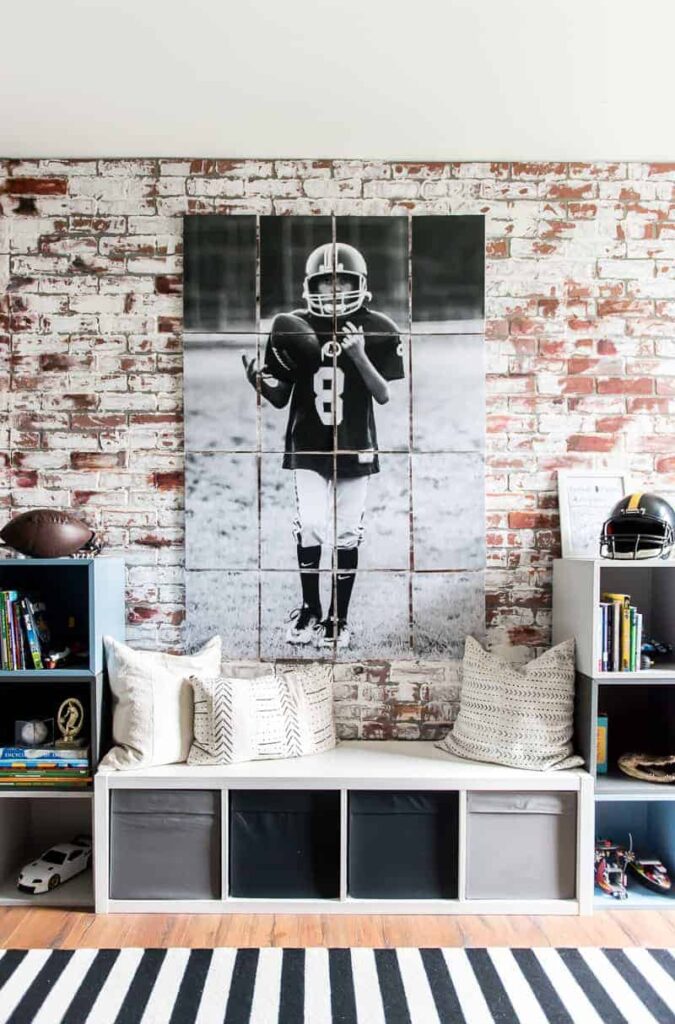
How about that large print display? Do you love it? Catch the HOW TO MAKE A LARGE DIY POSTER post and make that happen!


How thick and long where here nails from the nail gun ? What gauge was the nail gun? I’m about to start this and I’m a newbie ! So I need to have everything perfectly clear , also I’m not using glue at all. Will the nails hold the panels in place?
Lastly where is the video for texture???
I see a lot of posts where people notch out the panel sides so they fit like a puzzle. Do you feel that the seams are unnoticeable in real life with you not doing that? I can not see them in the photos and I was hoping to not have to do that. 😉
No link for how to texture video
Yeah, I don’t see one either
How is this wall holding up? I’m getting ready to plaster the faux brick panels. This is the only tutorial I’ve watched that users plaster of paris. I’m nervous . Help!
It’s perfect! We loving it and it holds up well. Go for it. The only things I notice is some plaster pieces on the floor when the kids hit the walls with something but other than that all is perfectly perfect!!:-)))
hi, I’m currently trying to make a faux brick wall in my studio at work. were do you get the faux brick panels?
Hi Julie! I got them at The Home Depot! Let me know how it turns out!