TIPS TO INSTALL TIC TAC TILES
This Page May Contain Affiliate Links. Please, read our Disclosure Policy.
Have you ever considered installing Tic Tac Tiles? Today I am here to show you how to installed Tic Tac Tiles and share my experience.
I installed Tic Tac Tiles wall tile to our camper when we remodeled our travel trailer back in October. It was a smooth and easy process with a huge impact.
I used this as my kitchen back-splash and as an accent wall in our tiny camper bathroom, and it turned out great. It’s a great product. It’s been on my walls for 5 months now, and it’s still holding up well.

***Any of these links below may be affiliate links for your convenience (if you make a purchase after clicking a link I will earn a small commission but it won’t cost you a penny more)!***
WHY DID I CHOOSE TO INSTALL TIC TAC TILES?
Tic Tac Tiles wall tile is a premium quality self-adhesive wall tile that is easy to install. There are other similar products on the market, but Tic Tac Tiles had several designs that I loved and could see installed in our camper.
Tiles are made from moulded plastic as a kind of epoxy. Tiles are 3-D gel effect, self-adhesive wall tiles. Tic Tac Tiles are humidity & heat resistant. The embossed finish of our tiles will bounce light and make the space bright and gleaming.
They look real and fantastic. The thinnest peel-and-stick kits won’t give you any of the depth you’d see with real tile or brick, but Tic Tac Tiles are thick and realistic looking.
And lastly. Anyone can DIY install these tiles. You can transform your space within just a few hours without any special tools, skills, or mess.
WHICH TIC TAC TILES DID I INSTALL?
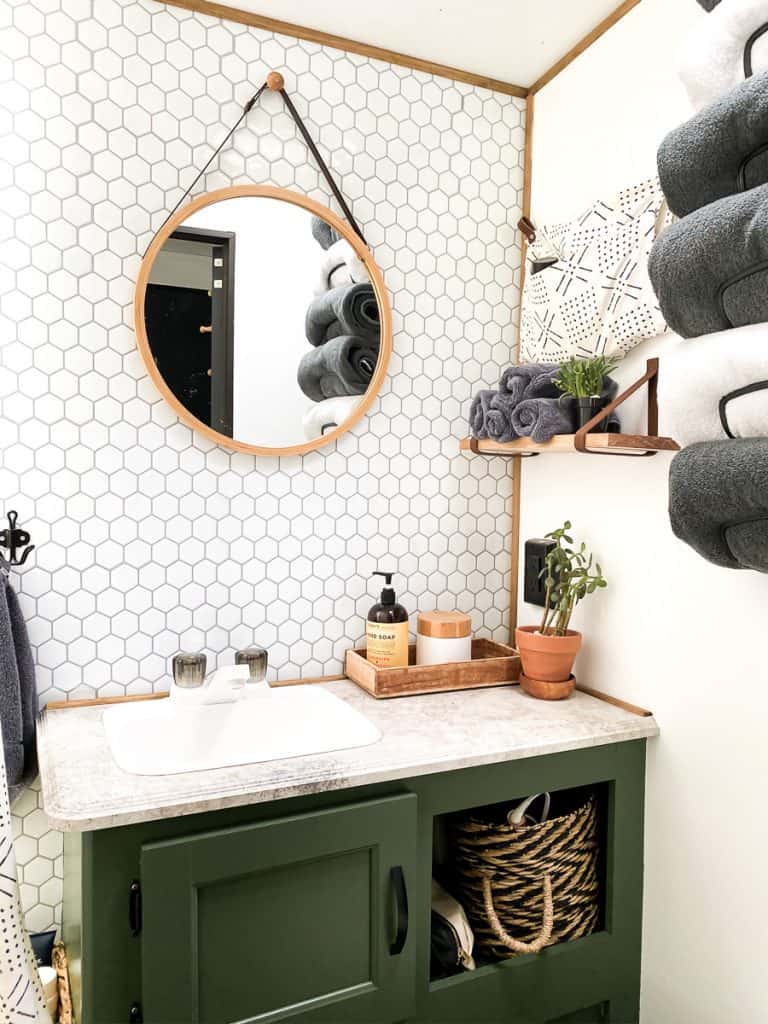
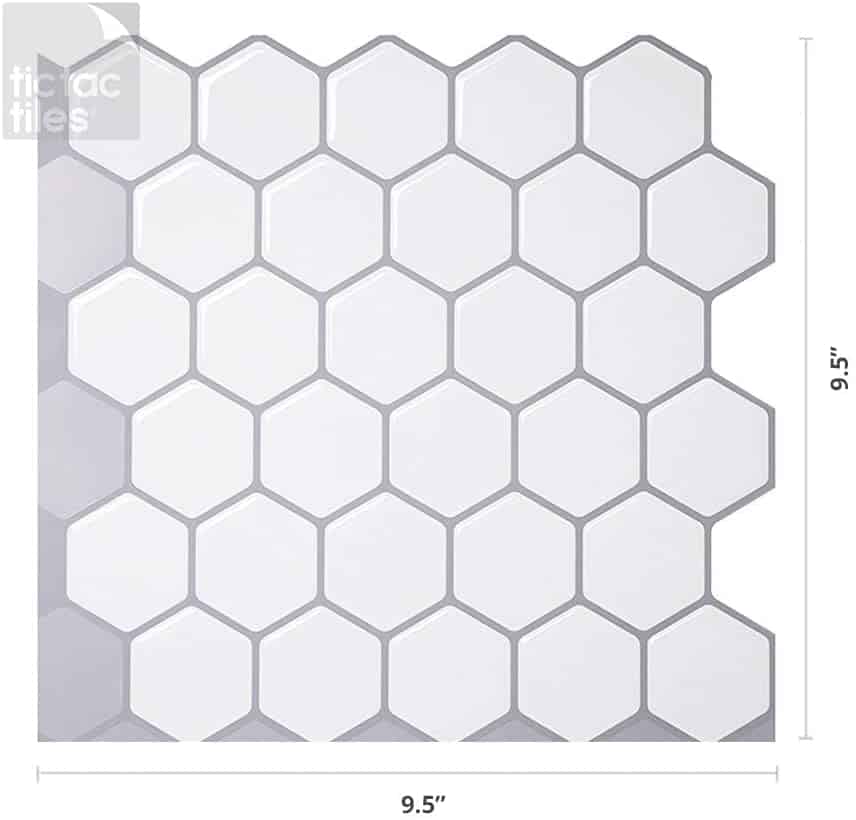
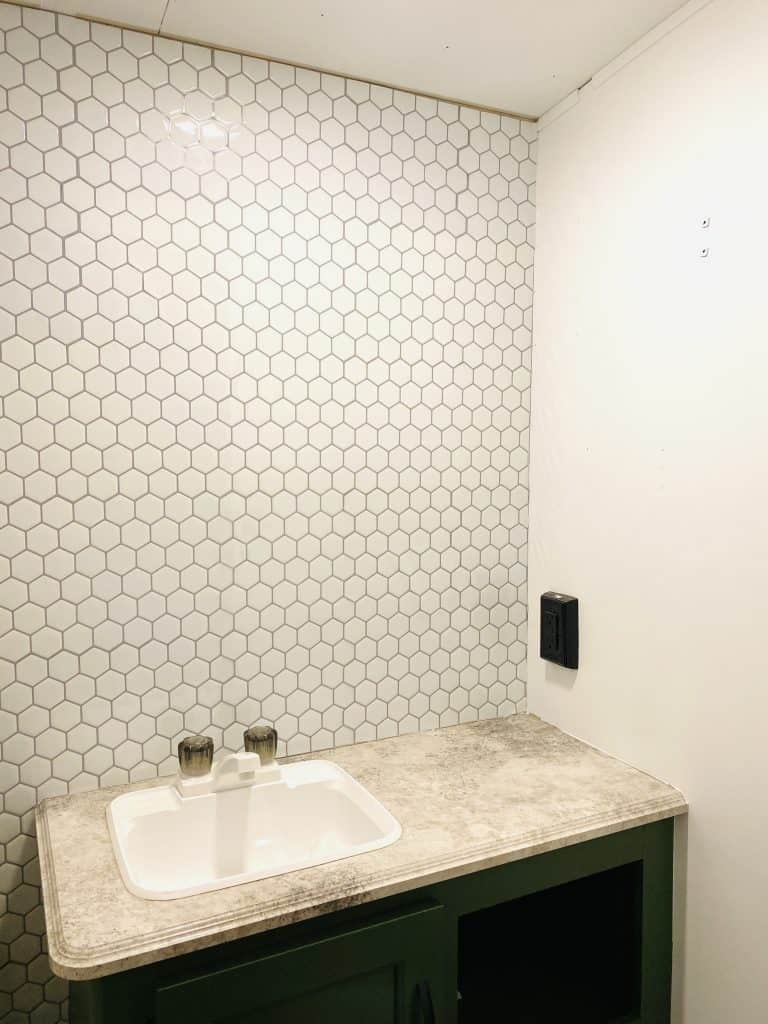
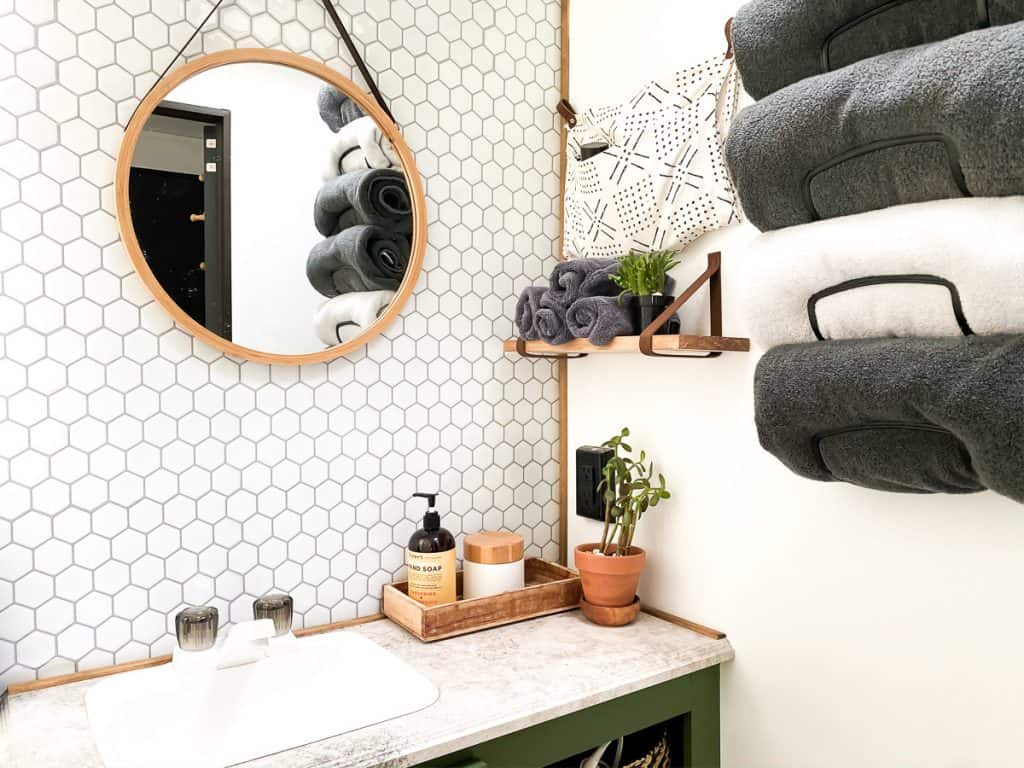
For our bathroom, I chose the Hexagon tiles. They look amazing installed as an accent wall behind our sink.
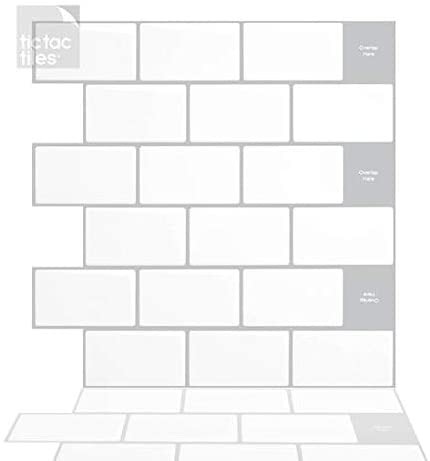
And for our kitchen backsplash I chose the Subway design.
HOW TO INSTALL TIC TAC TILES
Installing Tic Tac Tiles is a straightforward process. Below are a step-by-step instructions and a short video on how I worked with these self-adhesive tiles.
- CLEAN YOUR WALLS
This is a crucial step. In my case, the walls were freshly painted, so I did not have to clean them, but if you are installing these tiles on not freshly painted walls, I suggest cleaning your walls off of grease and dust. Use vinegar or other grease removers.

2. DRAW GUIDELINES
Using a leveler to draw guidelines to help aline placement of the tiles.
3. CUT AND SAVE
Using a ruler, cut the left part of the first sheet off along a straight line. Save that piece for later to complete the tiled look.
4. PEEL AND STICK
Peel back the first 2 inches of the backing without touching the sticky surface. Align tile carefully along the guideline.
5. ALIGN TILES FROM LEFT TO RIGHT
Align tiles from left to the right along with guidelines and overlapping only grout lines.
A few things to note:
***When I opened the box the tiles had an extremly strong smell – just be prepared. It will go away- won’t stay.***
***The most tedious part for me was is overlapping the grout lines. You almost have to be a perfectionist and patient for this part or the tiles will look off.***
***The guidelines are incredibly helpful- don’t miss that part. ***
Overall, I would not think a second to install Tic Tac Tiles again. 🙂

Good luck and thanks for visiting!
If you want to stick around more, be sure to subscribe to my newsletter and check out some other camper related topics or home decor below.:-)


Thank you for all the info. What type of trimming did you use around it?