BATHROOM MAKEOVER REVEAL | ONE ROOM CHALLENGE WEEK 6
BATHROOM MAKEOVER REVEAL time!! This is a jaw-dropping bathroom makeover. You need to see the before and after! Modern, chic bathroom makeover with lots of cool design!

WE DID IT!!
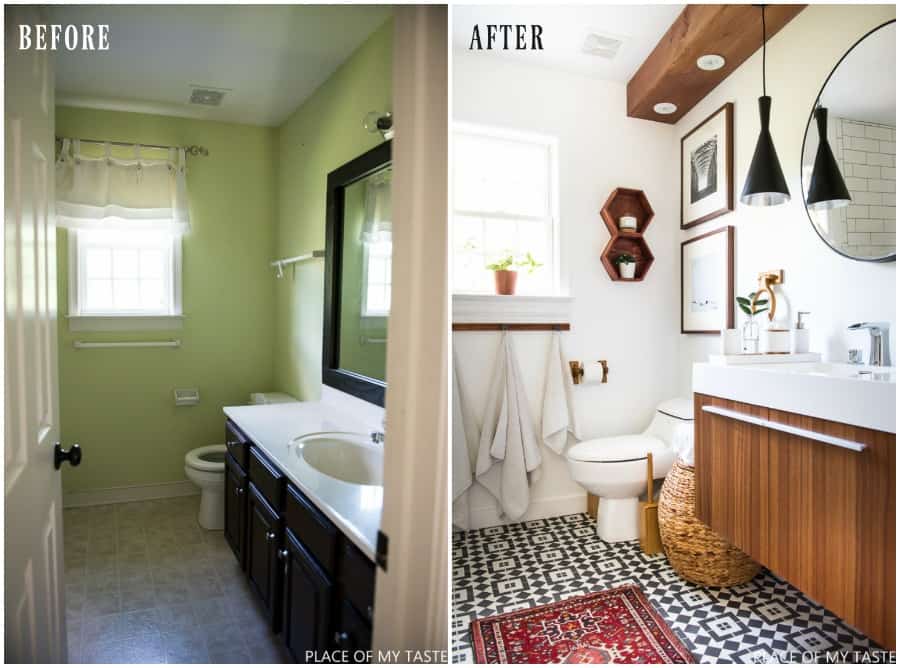
This past five weeks went by so fast, and I still can’t believe we finished our bathroom! When Linda from Calling It Home kindly asked me to participate in the challenge as a featured designer, I was humbled and I, of course, said YES and immediately told the hub that we need to make it a good one this time:-) We decided that we are going to makeover our guest bathroom. To remind you of the before here are a few pictures and if you would like to see the progress you can check out
We decided to make over our guest bathroom. To remind you of the before, here are a few pictures, and if you would like to see the progress you can check out WEEK 1, WEEK 2, WEEK 3, WEEK4 and WEEK 5.
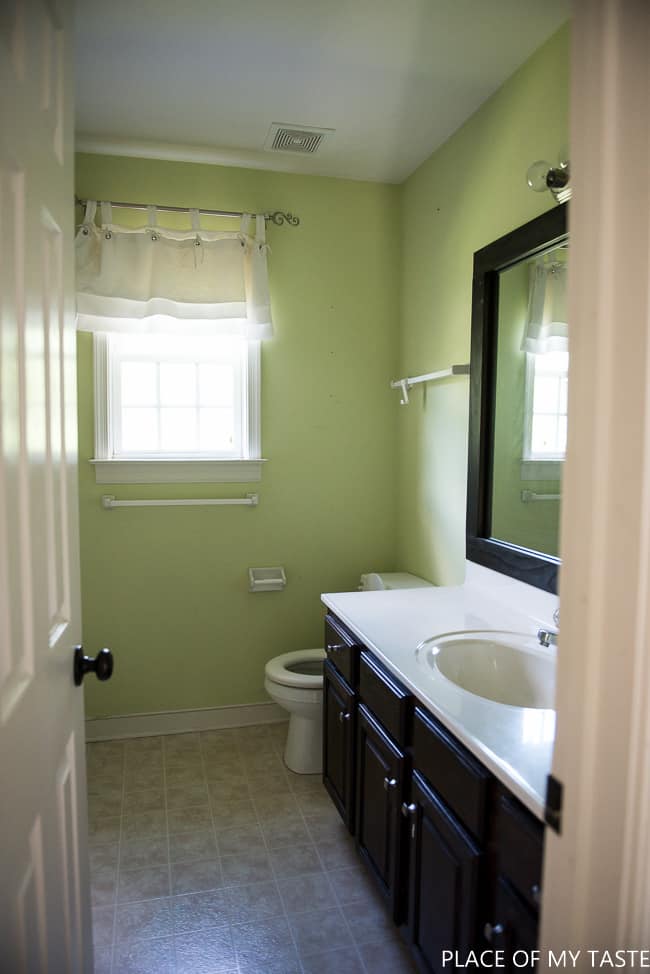
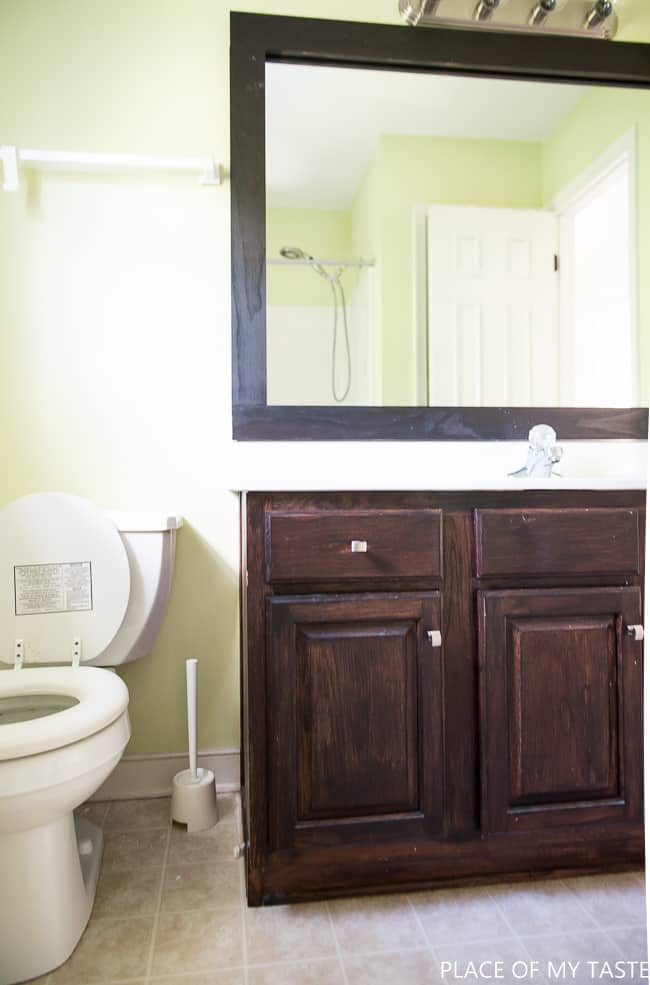
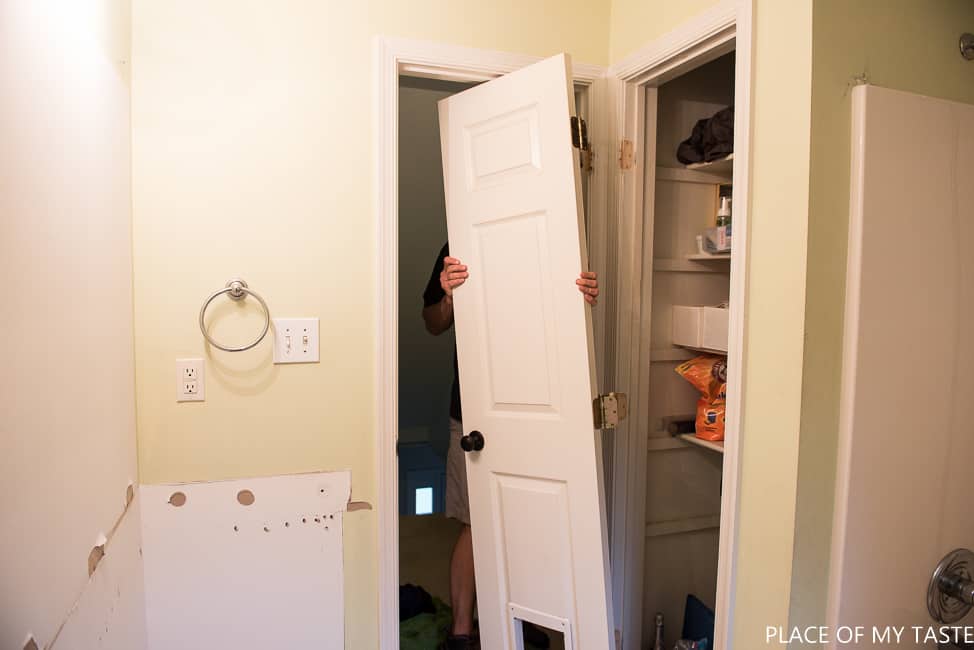
Ugh! Yuk!
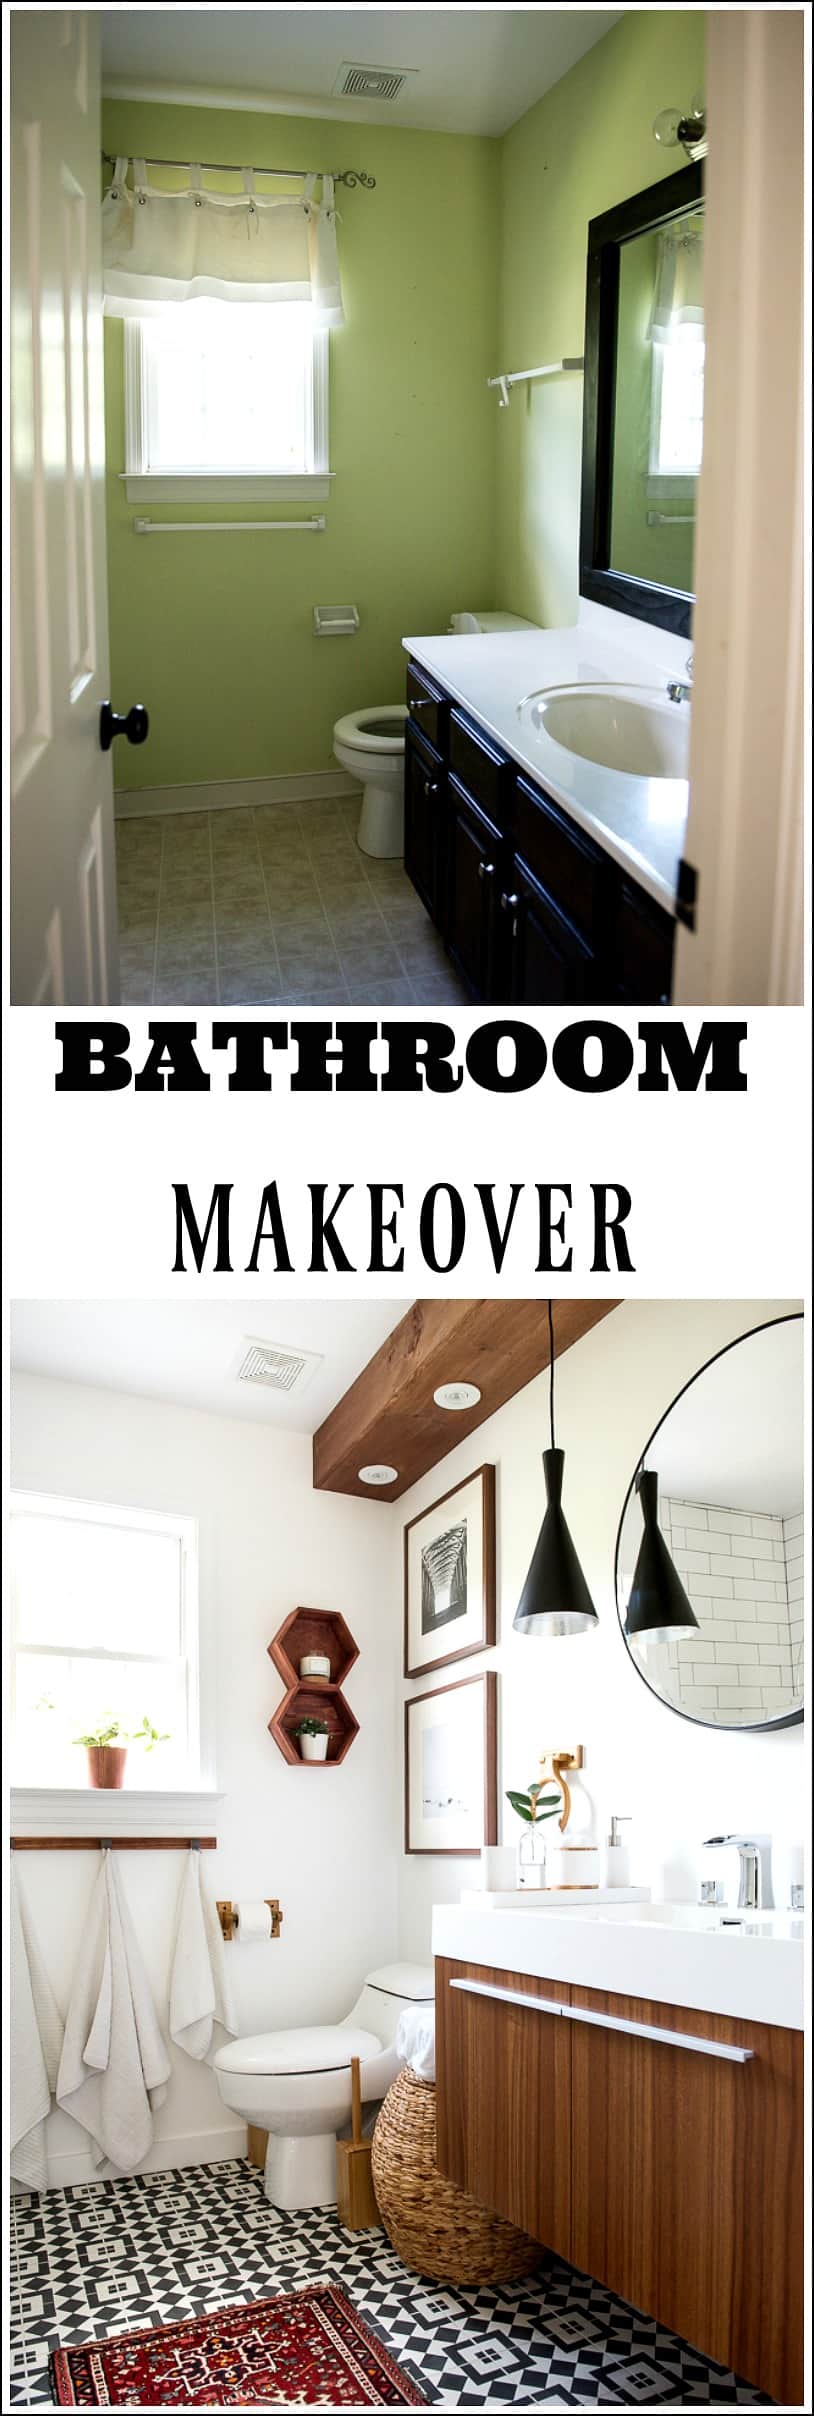
This guest bathroom needed some love, guys. It was the typical builder’s grade bathroom, and it was very much outdated. The color on the wall was awful; the flooring was old and messy, and I hated all of it!
We learned a lot in the progress of the makeover for sure! When a reader commented at the beginning of the challenge, and she said I was ambitious to take on a bathroom remodel in six weeks, I thought …yeah, what’s a bathroom remodel…easy-peasy, we can do it! But now, after lots of the stress, frustration and sleepless nights, I say this makeover was a big challenge, and I had no idea what I had signed up for! I’ve done many ONE ROOM CHALLENGES, but without a doubt, this was the toughest!
“WE DON’T GROW WHEN THINGS ARE EASY, WE GROW WHEN WE FACE CHALLENGES.”
We had several problems that resulted in delays, and lots of headaches and the lessons were learned:
– I am not a superwoman and I can’t do it all!
– Unexpected things would happen and you can’t control them!
– People are sent in your way for a reason.
– When it’s time to hire a professional to do the job you can’t, don’t call the guy from the neighborhood, but call and pay a professional!
….
After all, I am happy to report that we were able to pull this together. First and foremost, I have to THANK my husband for all the work he did. He is simply amazing! I also have to thank my dear friends who helped me watch the kiddos while we were putting the finishing touches on the project, and I have to thank the hard working guys who showed up after work to fix the walls came to put tile down over the weekend as well! This makeover was a race against the time and I am over the moon excited that it’s done and over with! But enough talking for me now and now I want to you to sit back and enjoy the transformation.
And now drum roll, please!
Here is our remodeled bathroom now after the makeover.
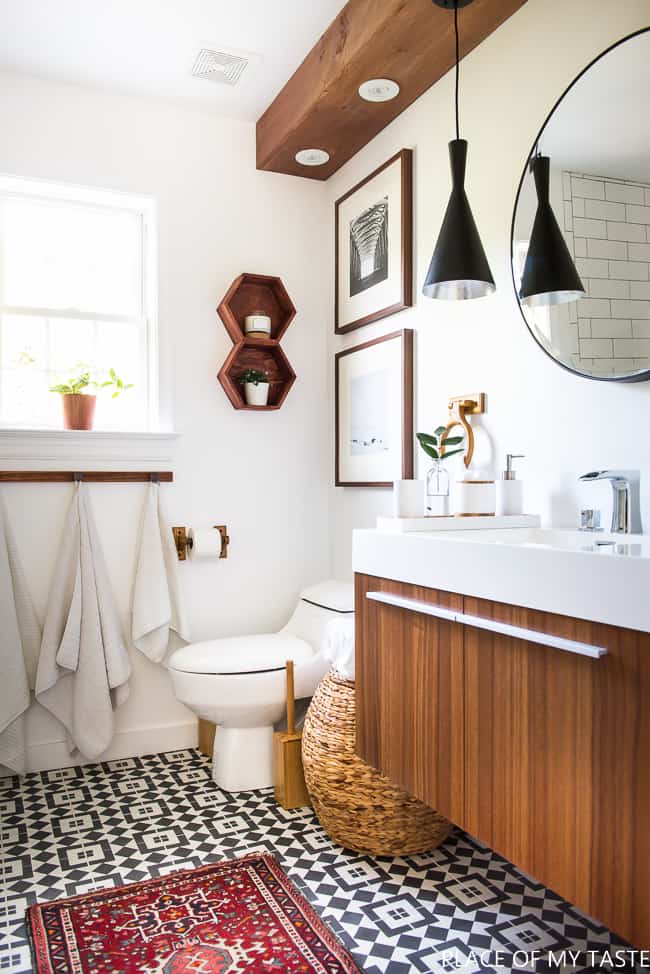
What a transformation, right? We just created my dream bathroom, you all!
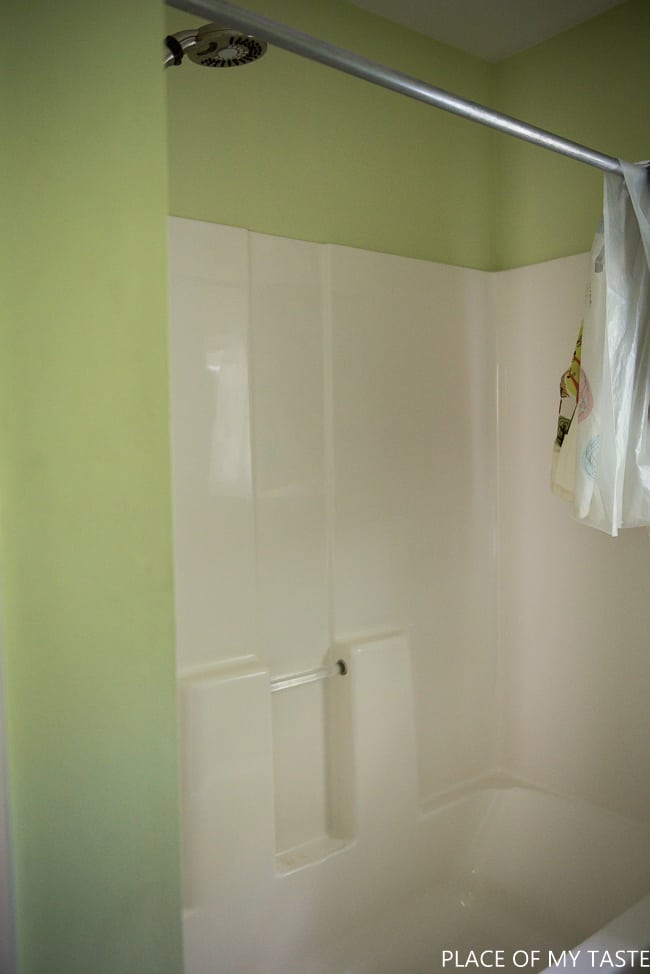
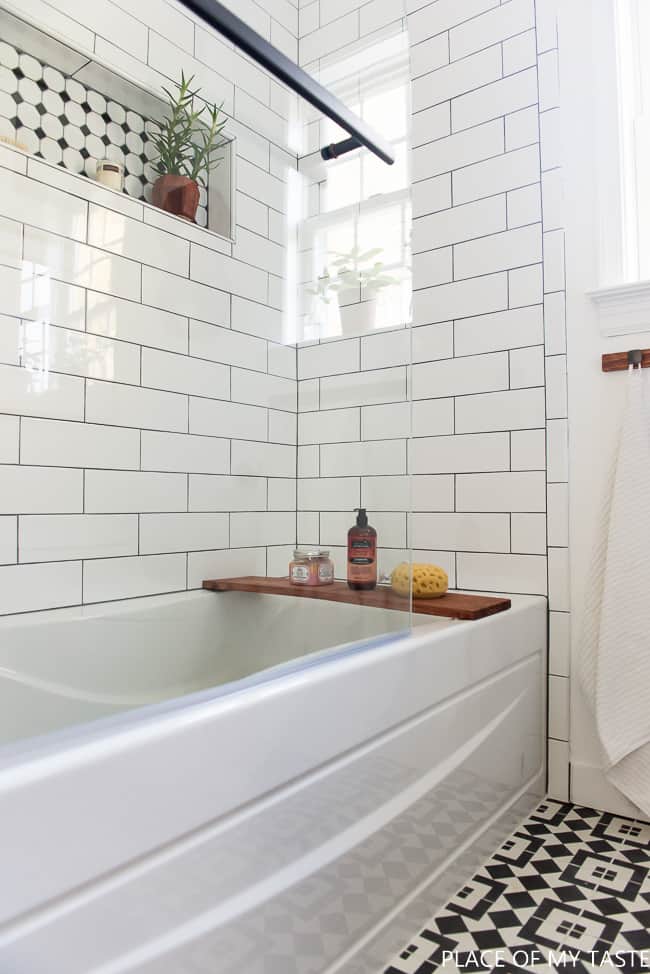
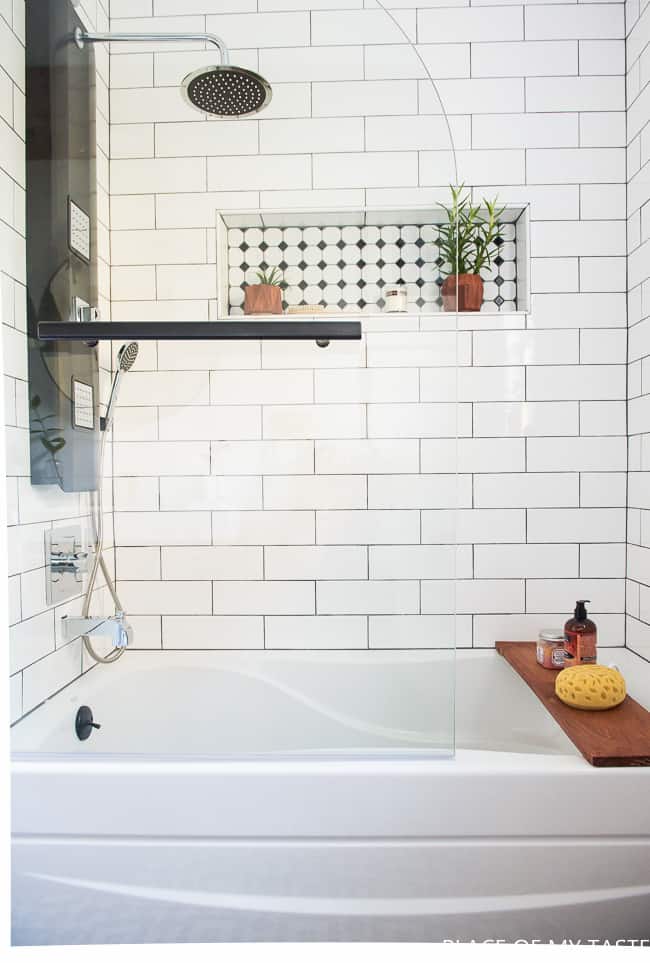
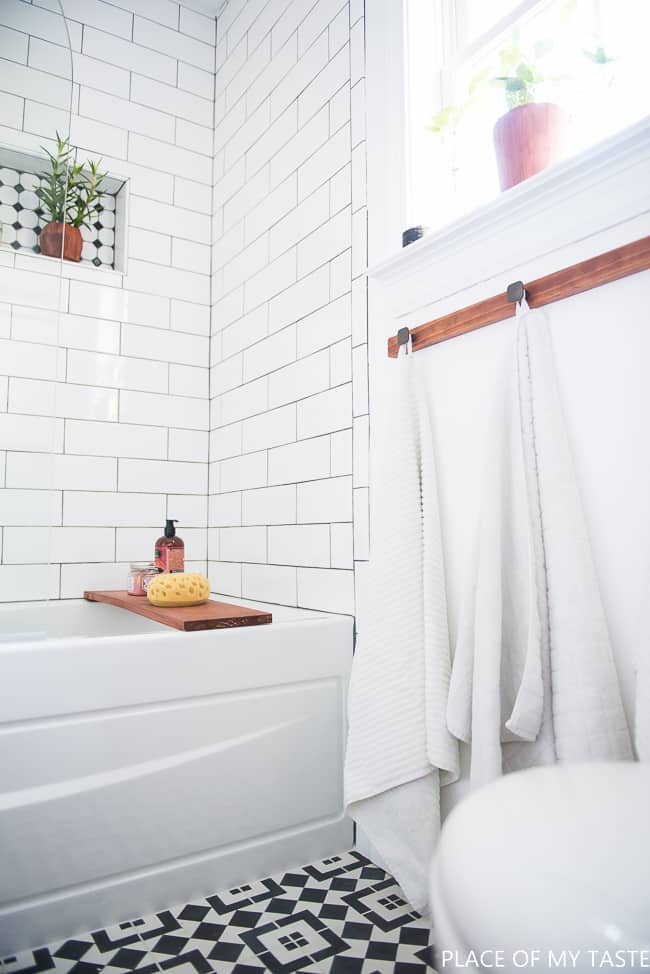
The ugly plastic tub and the shower curtain are gone, and the use of subway tiles (4 x 12) all the way to the ceiling was a game changer! We also added a beautiful, deep, acrylic bathtub and a sleek glass door that covers the bathtub half way and it opens out.
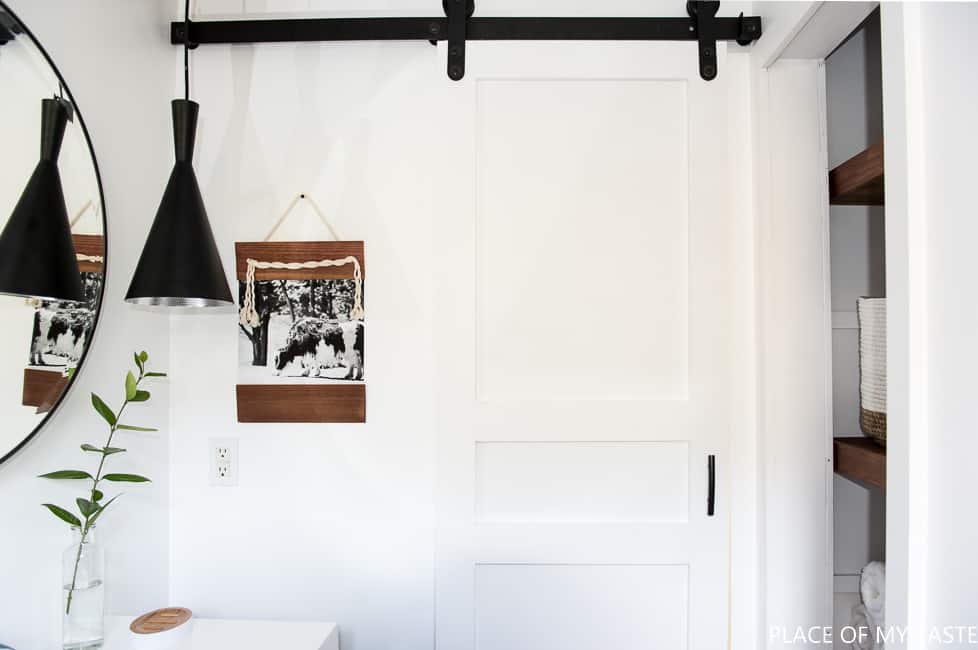
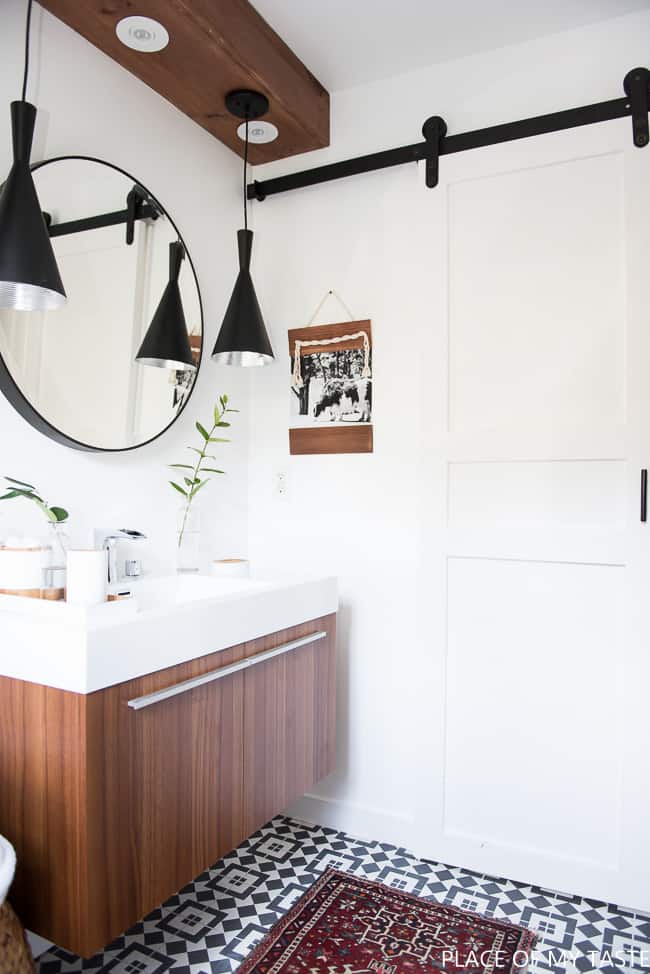
We removed the door from the closet and left that closet open which was an excellent idea. The bathroom door has also been removed, and we built a sliding barn door (tutorial is coming soon). We’ve hung the door with the help of an Ironwood Loft Barn door Hardware.


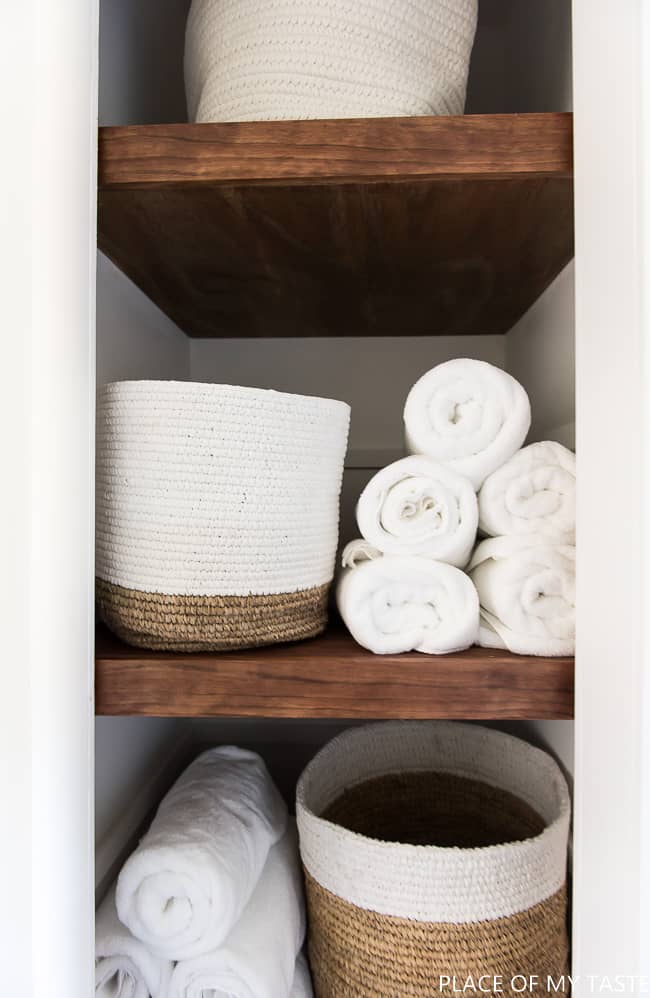
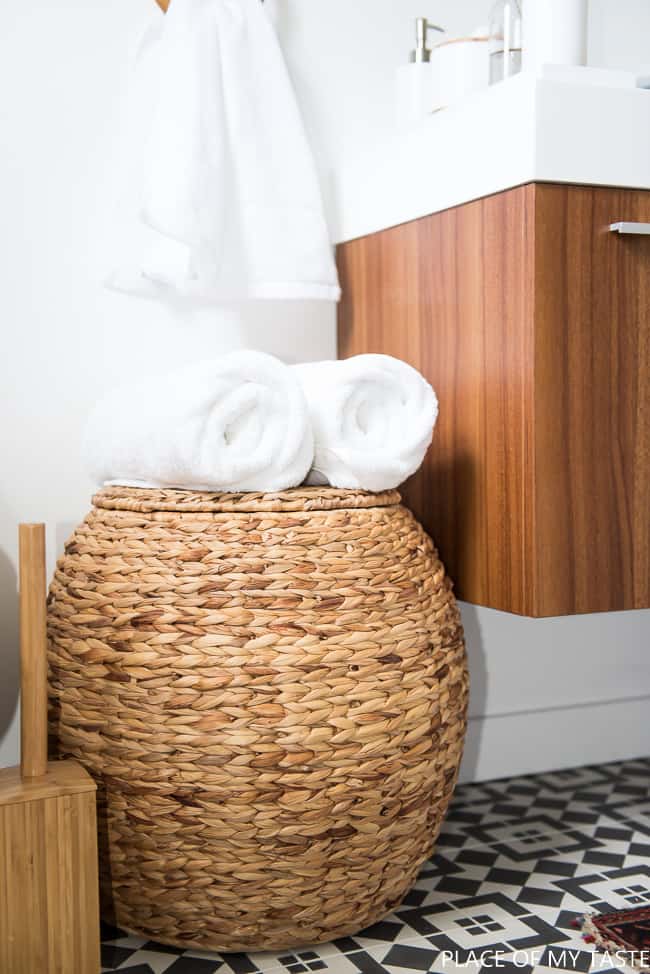
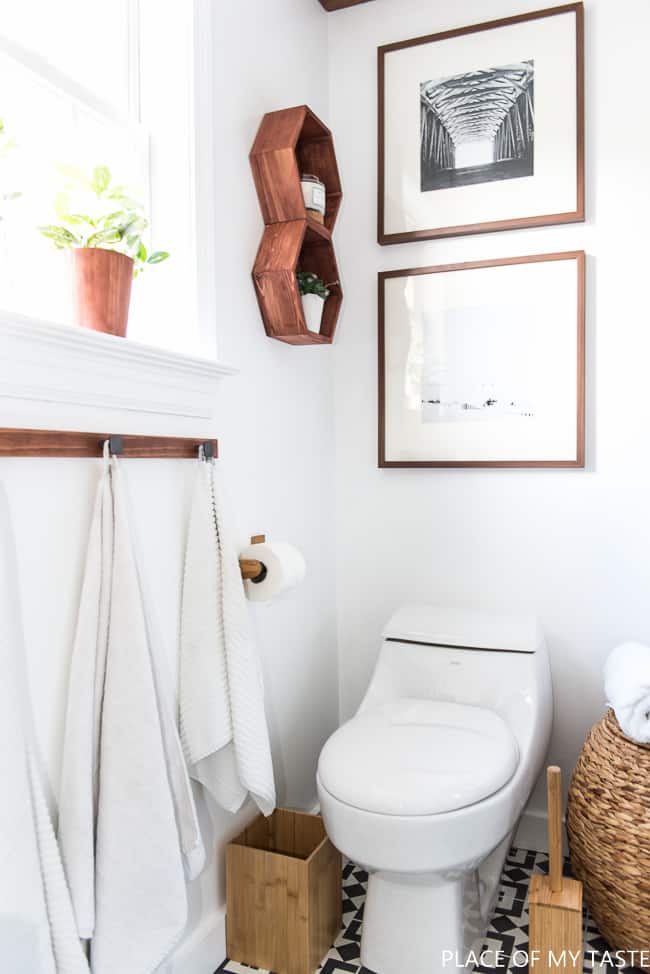
Below are the CHUNKY SHELVES that we built, and I filled the shelves with large baskets for accessories, cleaning items and I rolled some comfy, plush towels for everyday use.

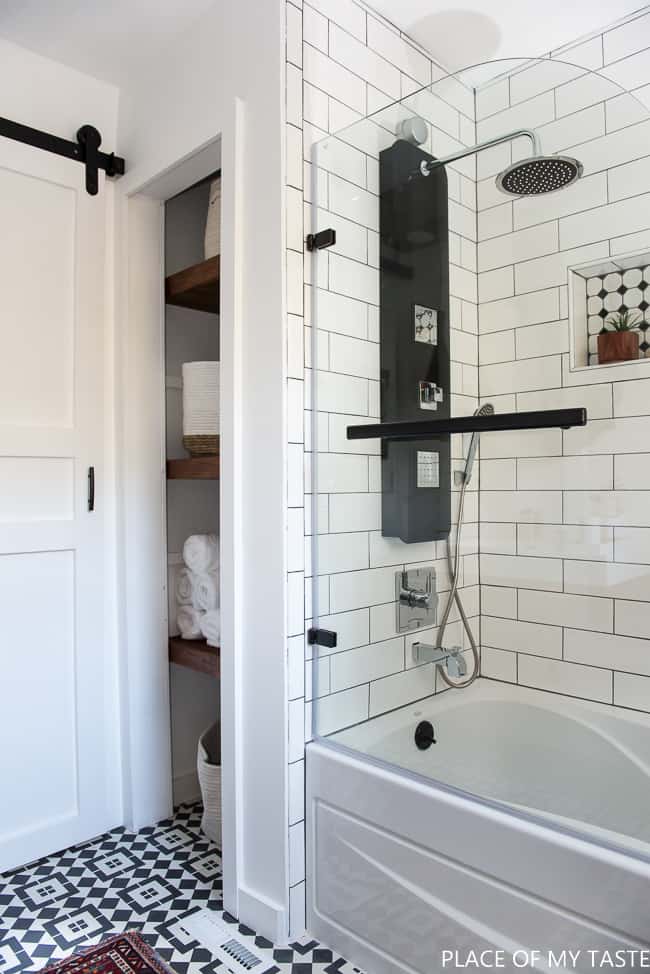
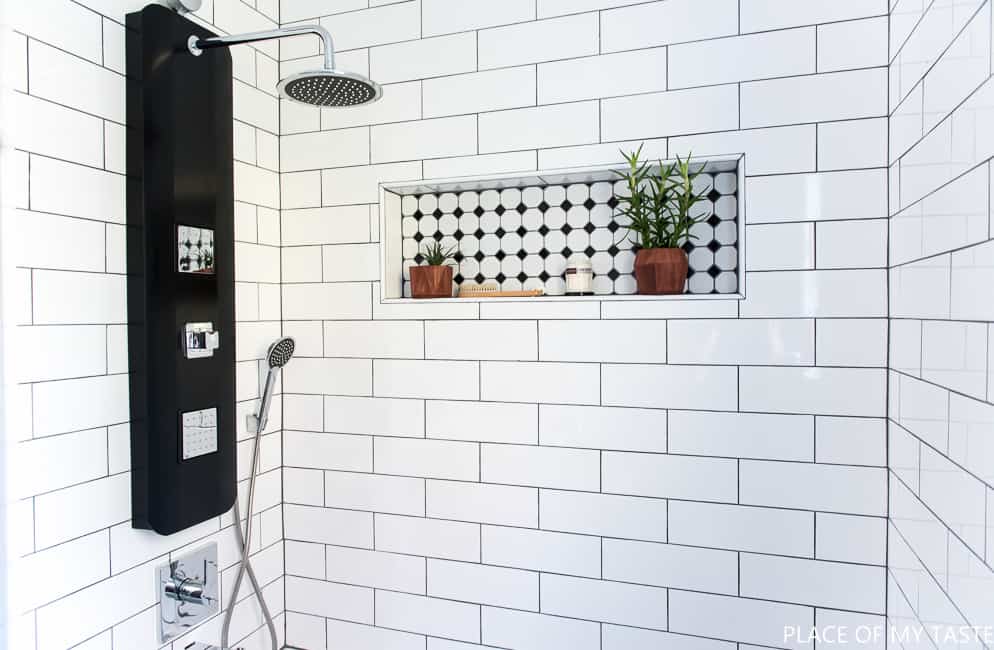
We installed a tower shower panel which is kind of cool and it was super easy to install. This small pocket on the wall was not planned but when I saw that awesome tile at Home Depot I knew I need to add it to my bathroom plans.
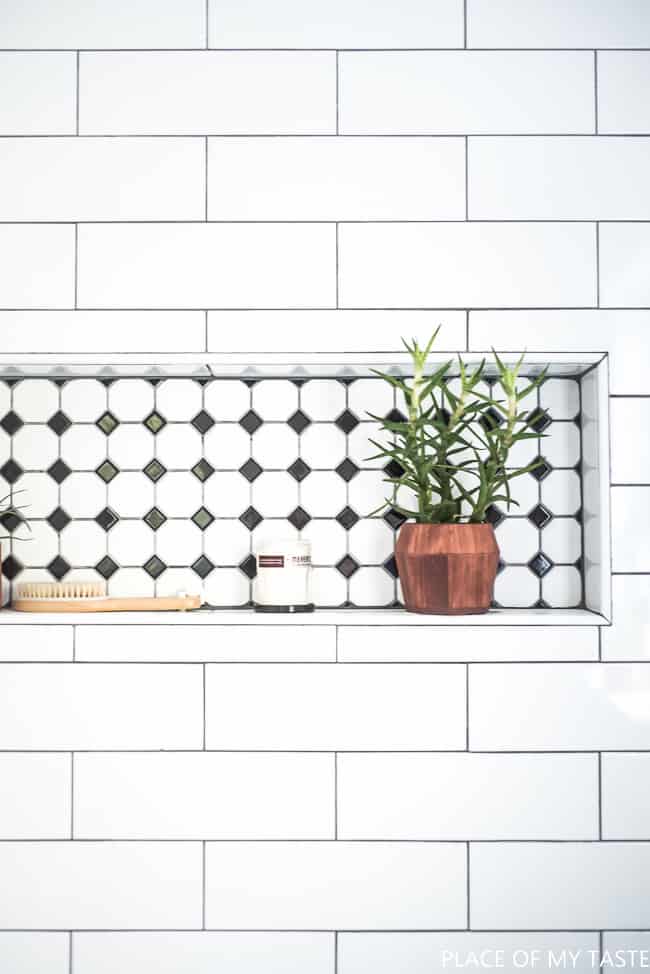
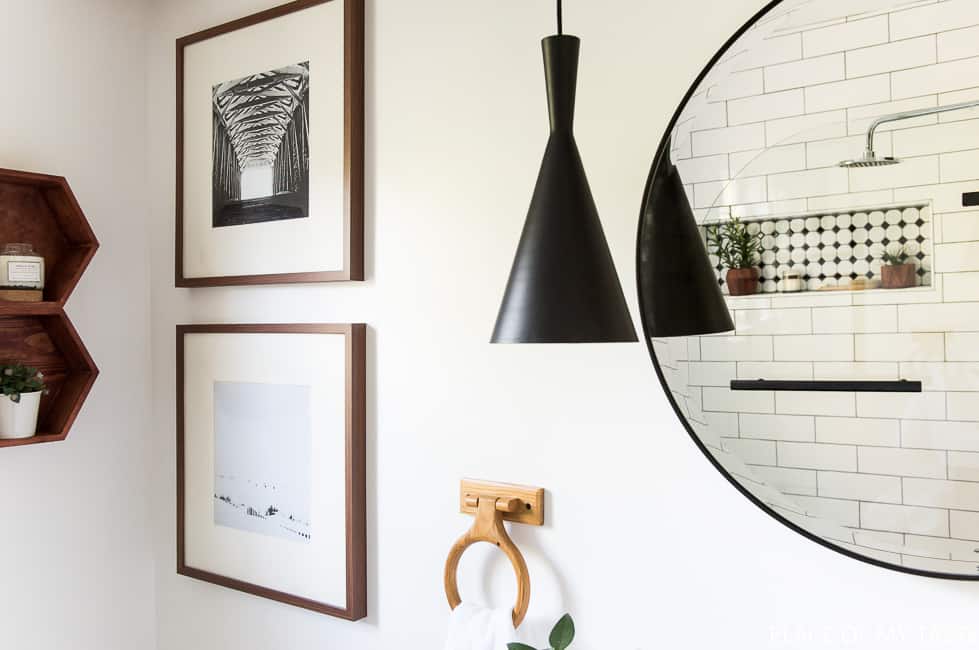
These cute little wooden planters are from Target. They come in neutral color and I stained them with the same RED CHESTNUT stain that I used for the closet shelves and for the recessed lights.
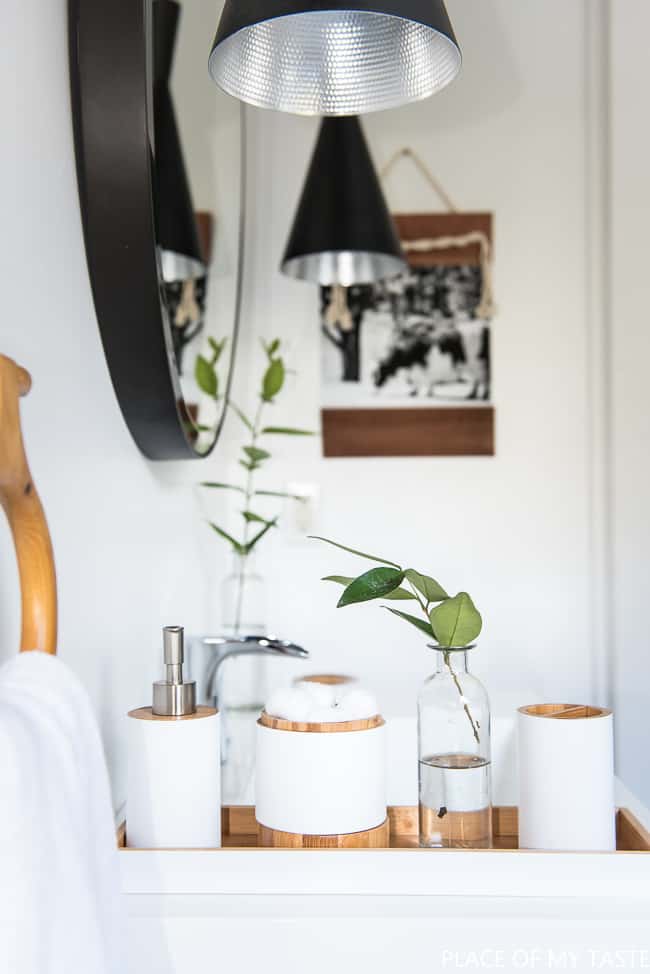
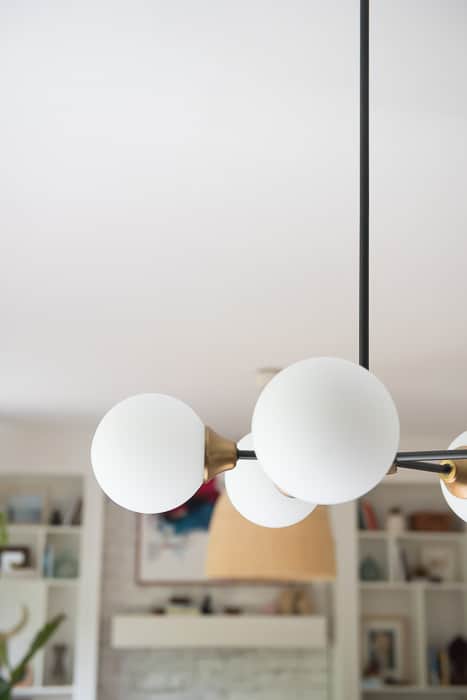
We built the recessed lighting, and we hung those pretty cool black pendant lights.
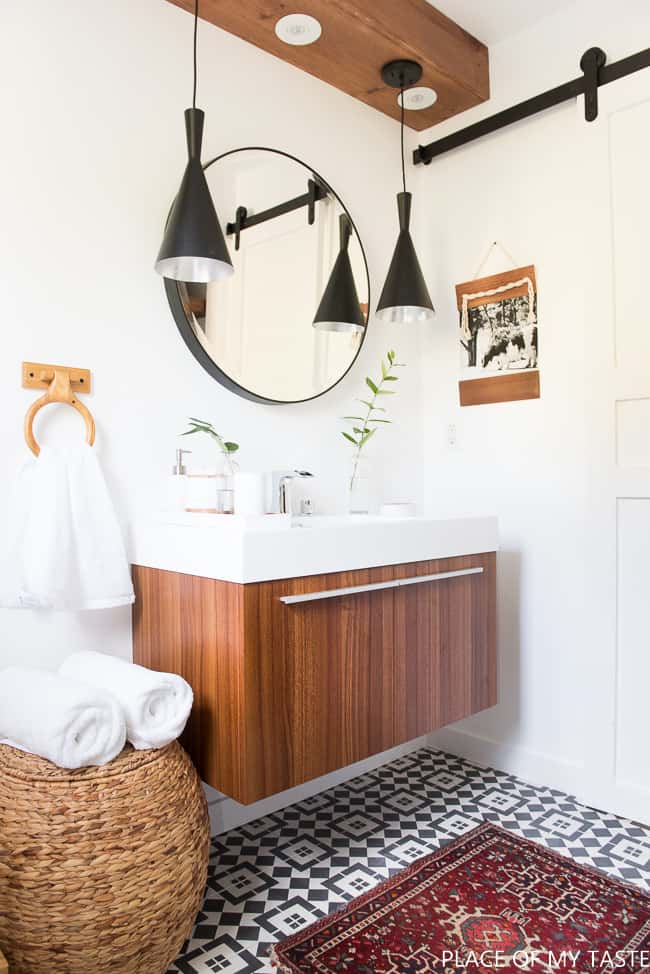
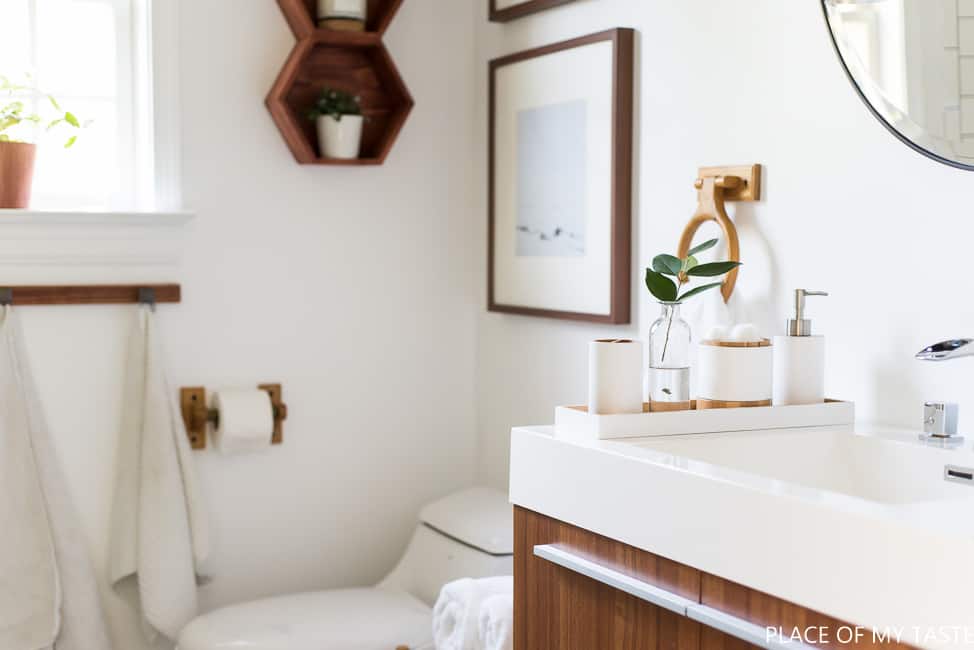
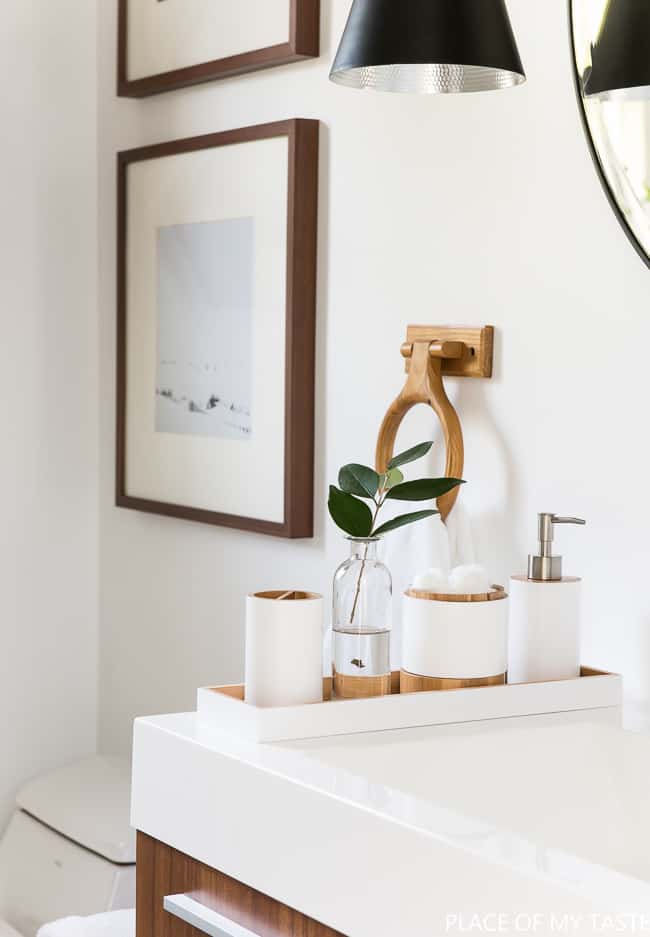
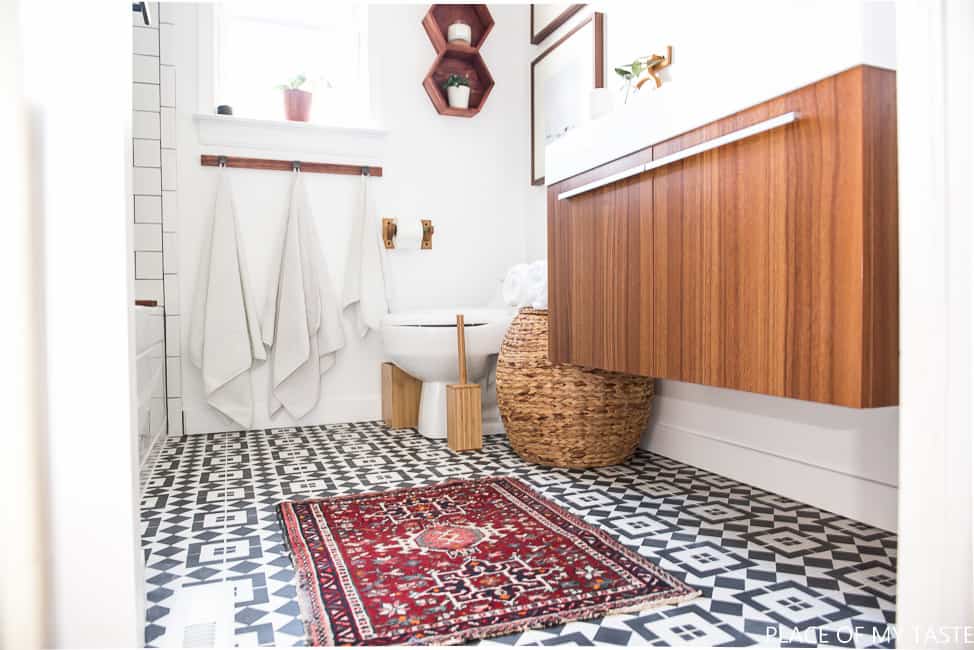
I chose to decorate with beautiful bamboo accessories and baskets to keep the SPA-like feel in the room.
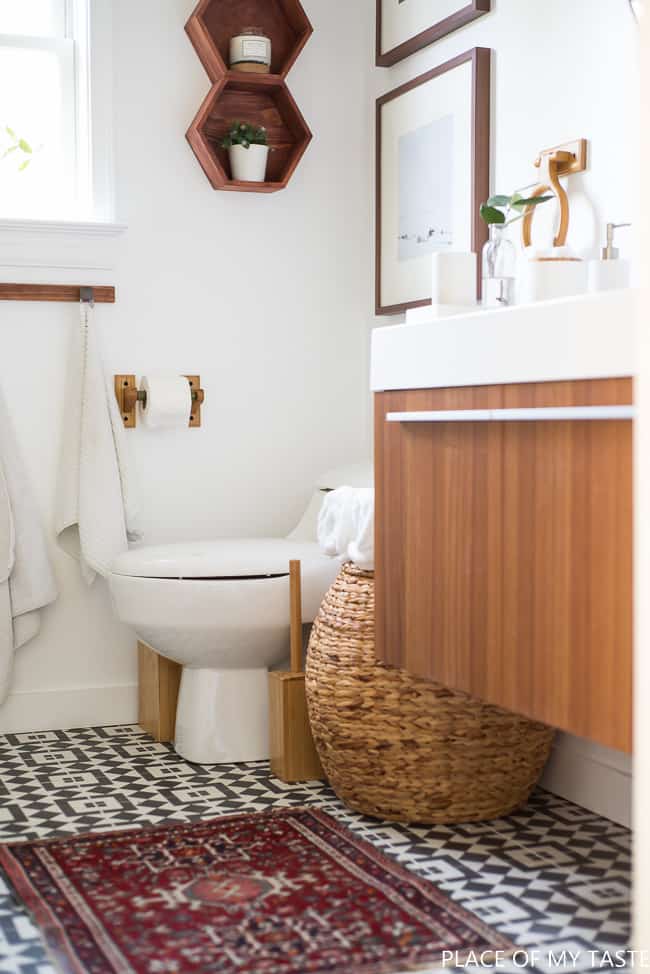
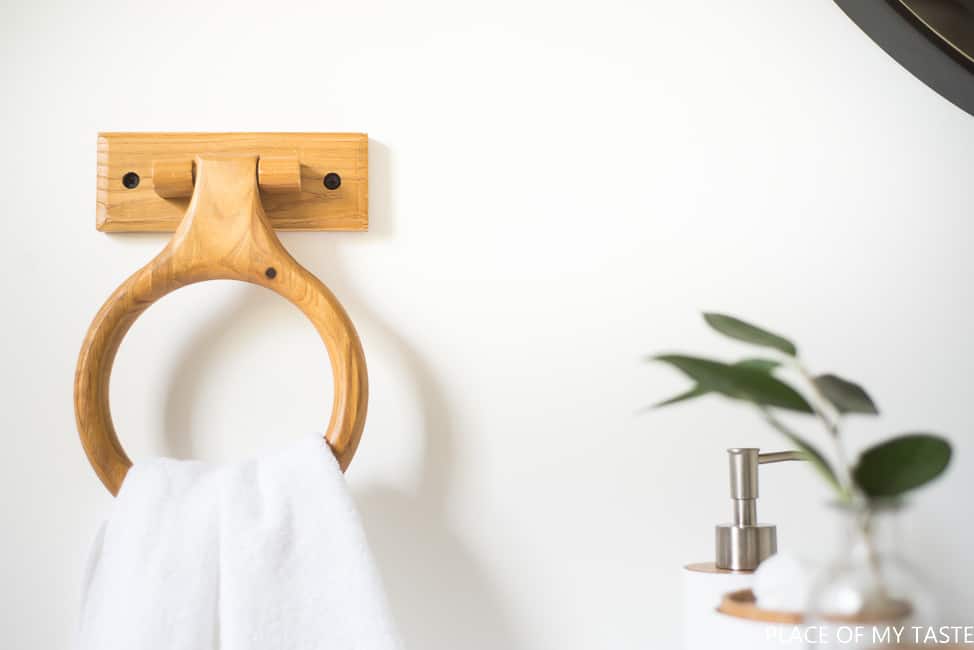
Sometimes, the least expensive things are the best…like this towel ring for a few bucks:-) Isn’t it cool?

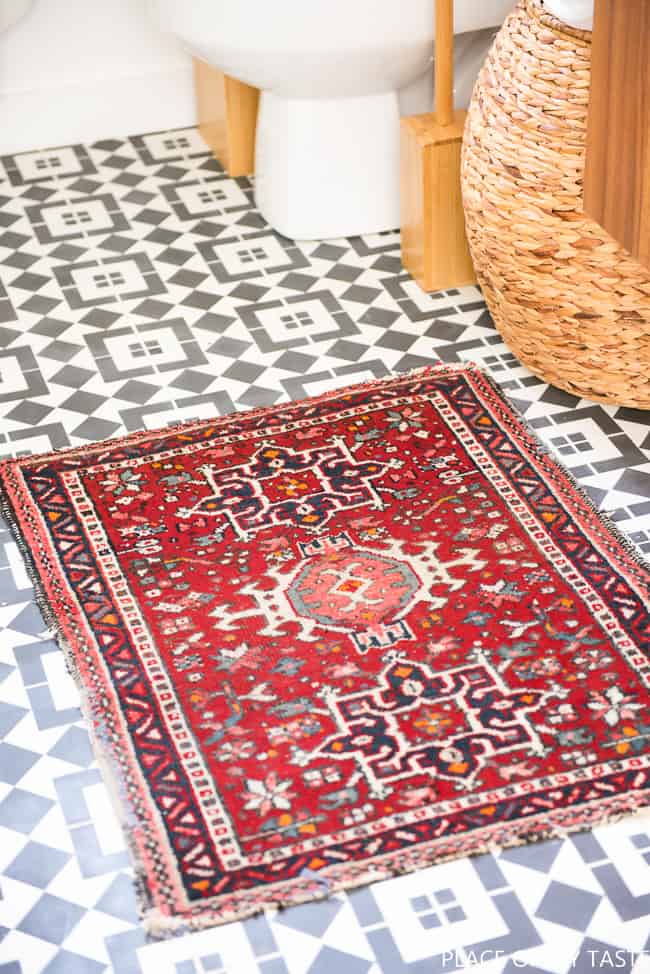
My vintage rug from Chairish was a perfect addition to my neutral colors scheme. It adds a little bit of contrast to the room, and I love it!

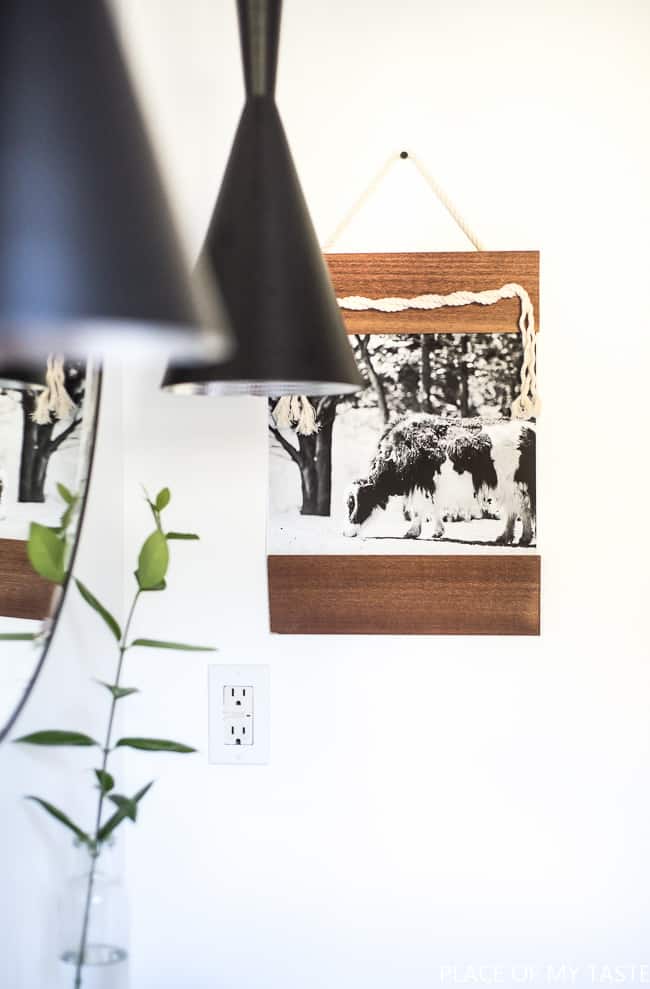
That piece of wall hanging was the last minute put together yesterday. I needed something to go on that white wall,
and I made up a quick DIY. 🙂 I will write a post on it later.
That towel rack was also a last minute DIY from an extra wooden piece. It turned out great and super functional.
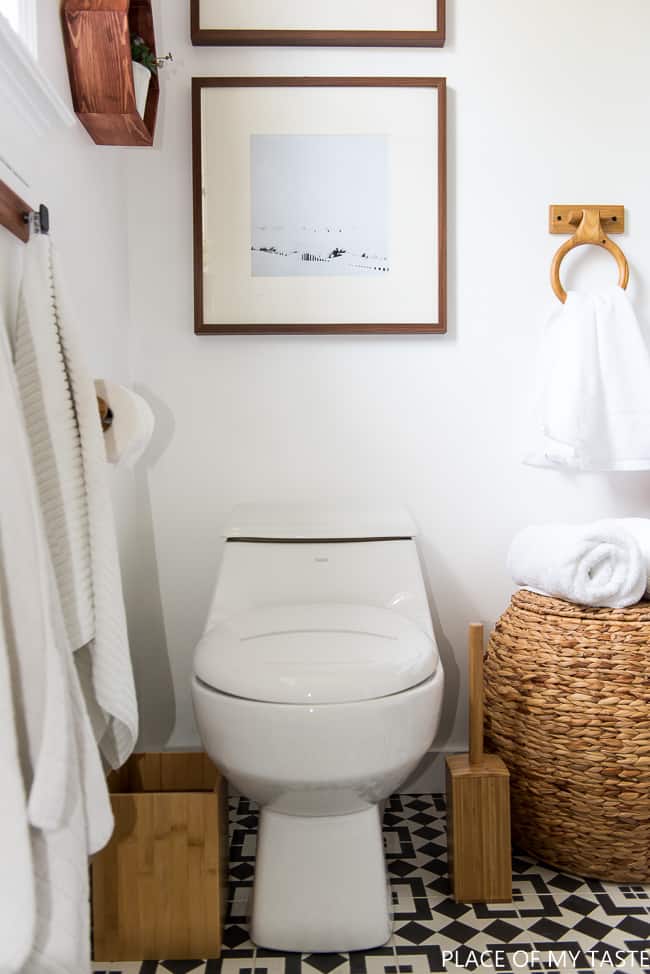
I printed some of my photographs and hung them above the toilet.
And here is the obligatory BEFORE and AFTER!
I think I am ready to soak in that bathtub now! Here is a short video with a before and afters! Enjoy!
I am listing everything you see in this room for your convenience:
BATHTUB | TOILET | GLASS DOOR | BARN DOOR HARDWARE ATG Stores
VANITY | SHOWER TOWER| ROUND MIRROR – ALLMODERN
PENDANT LIGHTS – BELLACOR LIGHTING
BATHROOM ACCESSORIES – JOSS& MAIN
BASKETS | TOWELS | BASKET KIT | NANDA BASKET| WOOD WASTE BASKET | 6 PIECE BATHROOM SET |TOILET BRUSH
VINTAGE RUG– CHAIRISH
TILES
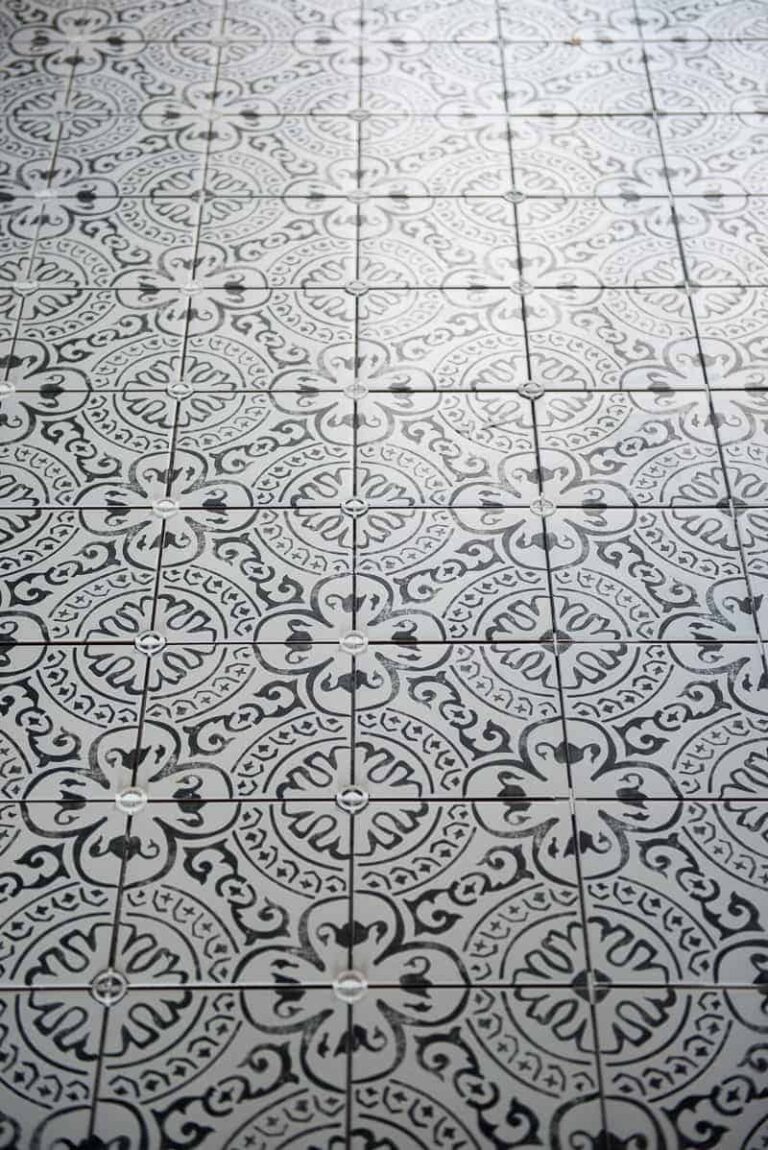
FLOOR: CEMENT TILE-CAMBRIDGE- CEMENT TILE SHOP
WALL TILE: SUBWAY TILE 4X12
A huge THANK YOU to my amazing sponsors to help create this fantastic bathroom!

And now leave me a comment of what you think of this transformation and be sure to check out my fellow designer friends and their makeover!
Jana Bek | Chris Loves Julia | Shannon Claire | Coco.Kelley | The Curated House
Driven by Decor | The English Room | From the Right Bank | Sherry Hart
Hi Sugarplum | House of Jade | Hunted Interior | The Makerista | Making it Lovely
Marcus Design | Pencil & Paper Co. | Megan Pflug | Place of My Taste | Suburban B’s
Waiting on Martha Media Partner House Beautiful | TM by CIH
Cheers for a great week!
- ***This post includes affiliate links***


Great job and is that just a wood board over the tub for your stuff?
Thank you!The grout looks great and I am happy that I did not use a lighter color and information
so keep it up
Amazing, We re-installed tiles in our balcony and i really like it now.
Thankyou.
Hi-can you tell me what size your shower niche is and if you used a pre-made tile ready insert (if so where you got it)? I can’t find that shape!
It was not premade. My tile guys cut the tile to size and installed. They did an amazing job.:-)
Hello, your bathroom turned out beautifully… We just installed 4×12, still need to grout so I would love to know how the dark grout is holding up, is the color still uniform after two years of use/cleaning? Also, I looked through your list of sources and I don’t think you mentioned where the bath towel hooks/strip is from, if you remember please share.
Thank you!The grout looks great and I am happy that I did not use a lighter color. The bath hook strip was a super easy DIY! A small wood board that I stained and screwed hooks on! maybe I will write up a tutorial.:-) Happy NEw year!
where is your glass panel from? the link doesn’t work:(
Beautiful! beautiful! We were looking for guest bathroom ideas and a friend recommended this post to us. I must confess what I found here is better than what we’ve seen on Pinterest earlier. Keep up. Hope you’ll let me bother you with some questions when we’re set.
Hi Aniko! What size grout lines did you use? It looks like 1/16 but wanted to check. We are doing a remodel now with very similiar sized white subway tile!
Such a tremendous transformation it is. Your bathroom are looking too gorgeous. Your bathroom color combination design both are looking attractive I was wondering how it was holding up.? Where from you purchase these? Thanks for the sharing your experience.
Your bathroom looks great! We’re starting to reno our bathroom and we were looking at the same brand of vanity, but were hoping we can change out the hardware that it comes with. Any idea if the faucet and drain can be swapped?
I love this vanity and I am pretty sure the faucet can be changed. Just be sure to get the 1-3 ( depends on what you have) hole faucet. Good luck!
Such an incredible transformation! Would you mind sharing your sources for the bathtub faucet (below the shower panel)? Thanks!
Hey There, That was The Home Depot I think.:-) Yup! I am sure!
Beautiful! Can you let me know what mirror you got from All Modern? I think I found it but I want to make sure its the same one. Is it in oil rubbed bronze?
Gorgeous! What are the dimensions of the bathroom? I love the layout but I only have a 5×8 space.
We are doing a bathroom renovation and plan to use a similar cement tile for the floor, so I was wondering how it was holding up. (Love this bathroom). Thanks!
Love the design Aniko! It must be so nice to enter into that washroom now. The wood works great with the white (it always does!).
Hello!
This looks awesome!
Where was the subway tile from?
What color and type of grout did you use for the shower?
Was it difficult to remove the plastic shower wall?
Gillian…sorry for the delay! The subway tile was from The Home Depot. I used the larger size and I am glad that we went with the larger size. It looks fantastic! Removing the shower took sometimes. My hub looked it up on Youtube ( heck yeah)of how to remove plastic shower and that’s how he did it.:-) He needed to cut the plastic tub in two pieces to be able to remove it from the room- just heads up! Grout…jeez… I can’t recall but it was dark gray! And it was a fantastic choice too! i hope it helps!
Wow! That is a whole lot of tile! After seeing what you did last time around, I have no doubt you are going to make this space look gorgeous. The good thing is, it can only get better.
Beautiful! I’m currently redoing my bathroom in a similar style, white wood and black hardware. I was looking at the very same glass bath door and saw that it was in the antique polsihed colour that looked black but not quite. Do you find the hardware on the glass door goes with the flat black you used elsewhere? Really appreciate your response!
Lianna, I, too, was looking for a flat black hardware but only found the polished and it looks absolutely perfect. Looks totally black to me and I love it as it is! I hope it helps!!;-)
So lovely! Just wondering how well the partial shower door keeps water inside the tub area? I love the look of these kind of doors and would like to do one in my bathroom reno.
Erin, I was concerned about the same thing, too before purchasing but to tell you the truth, we love it. Looks chic and modern and it keeps the water inside the tub. The shower tower I chose is maybe not the perfect option because the sprayer that goes straight to you body from chest level is kind of ends up on the floor but if you have a regular shower head you are going to love your door! I hope this helps!