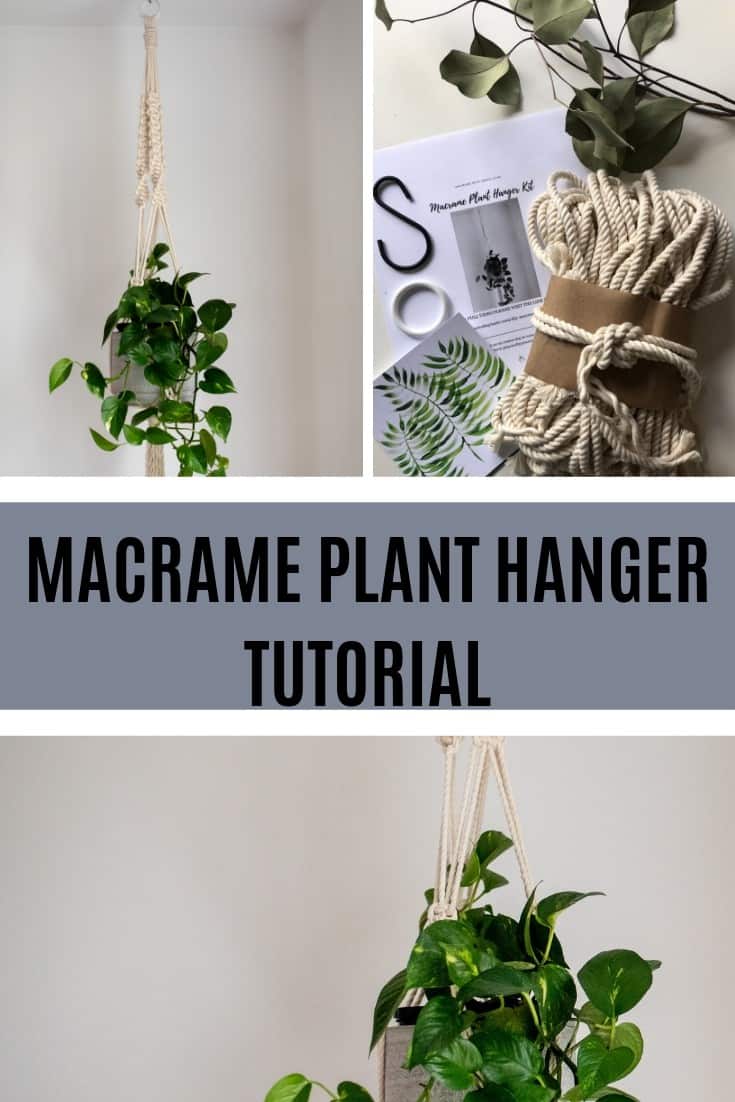
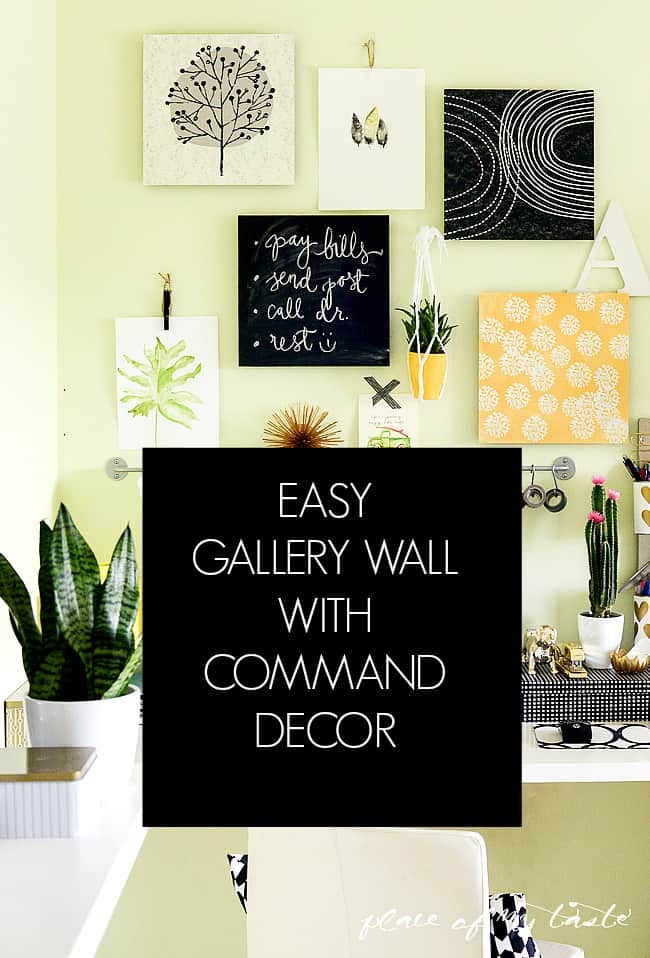
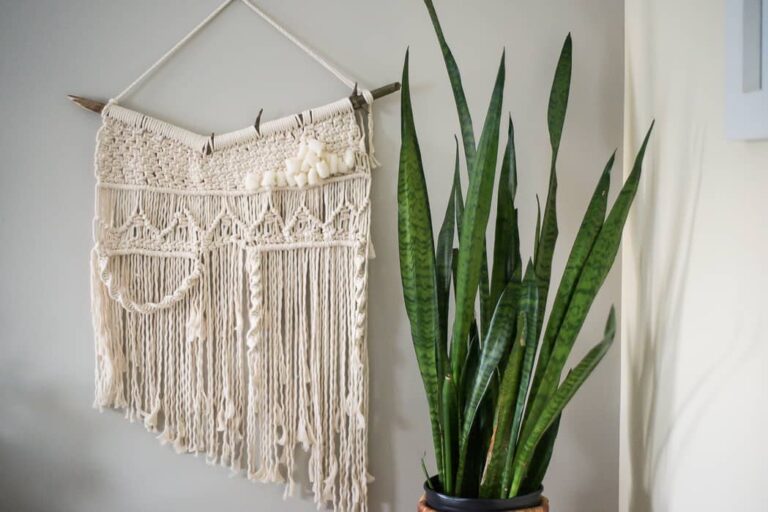
DIY MACRAME PLANT HANGER
This Page May Contain Affiliate Links. Please, read our Disclosure Policy.
The macrame plant hanger tutorial is here!

Why did it take so long to post this? Good question! Especially when you know that home decor is my favorite topic! And yes, a simple DIY macrame plant hanger can be lovely home decor. There are many Etsy sellers out there with macrame hangers, but it’s always such a reward to make your own.
One of my most popular posts on the blog is the BASIC MACRAME KNOTS, so again; I think this easy plant hanger tutorial was long due!
If you are NEW to macrame, I would start with the BASIC MACRAME KNOTS post. This post will teach you the square knot, spiral knot, and gathering knot.
That tutorial will teach you the basic knots that you will need to be able to make this simple plant hanger. But I also show all the knots slowly in the plant hanger video tutorial, so maybe that will be enough to start with.
I am a huge plant junkie – I just could not live without greens in my home. And using a macrame plant holder is a fantastic way to display your greens around the house! Do you agree? You might like some greens, too, if you are reading this macrame plant hanger tutorial.:-)
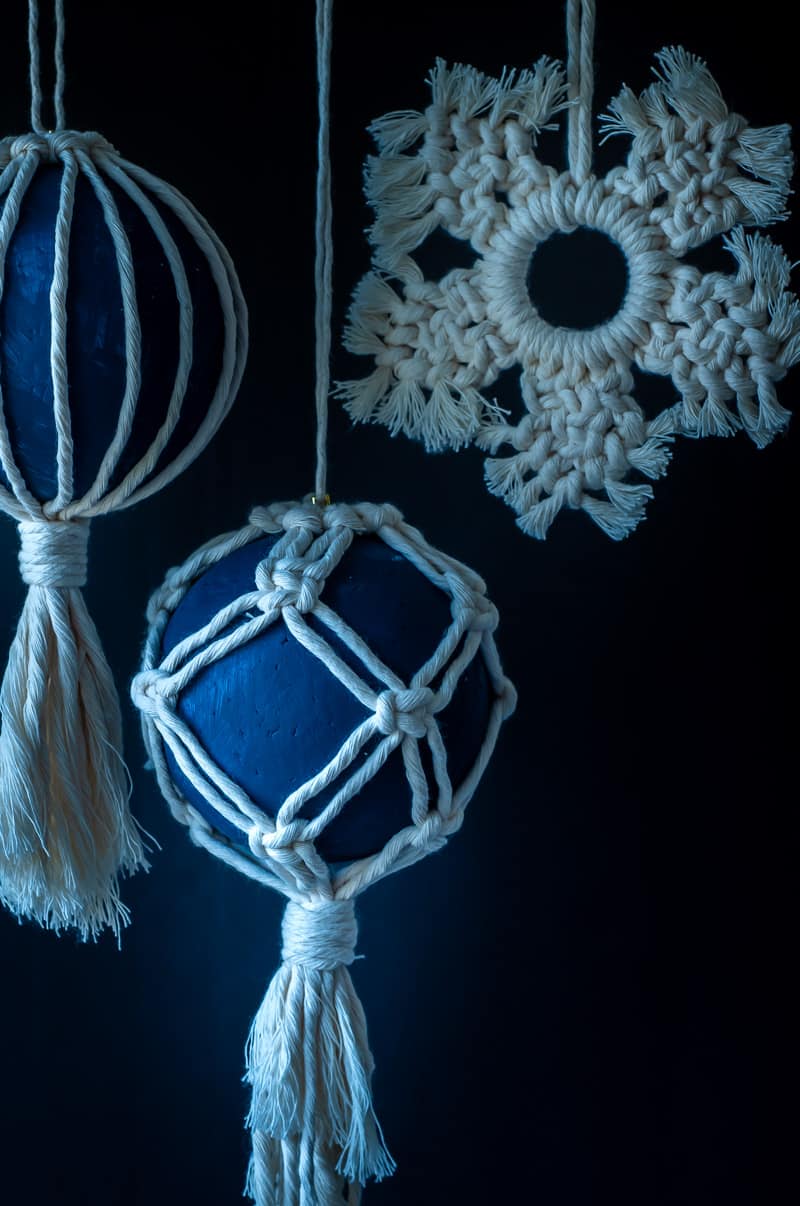
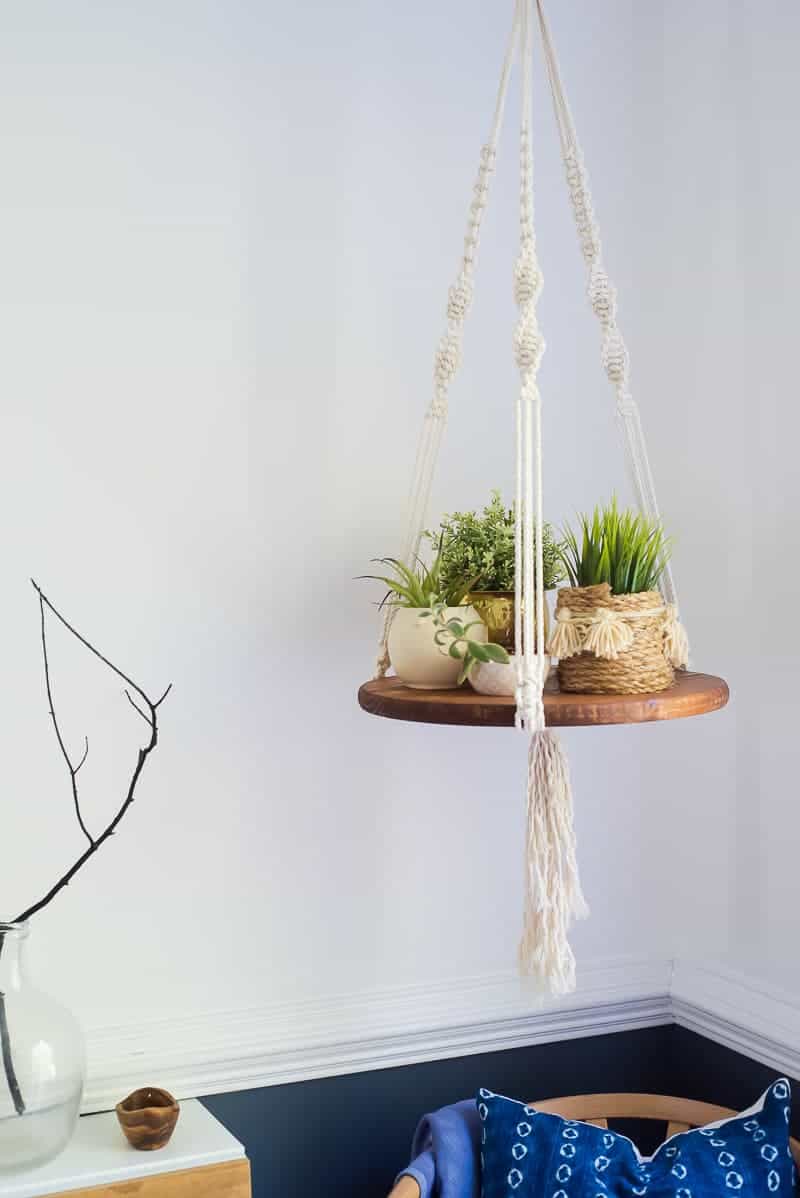
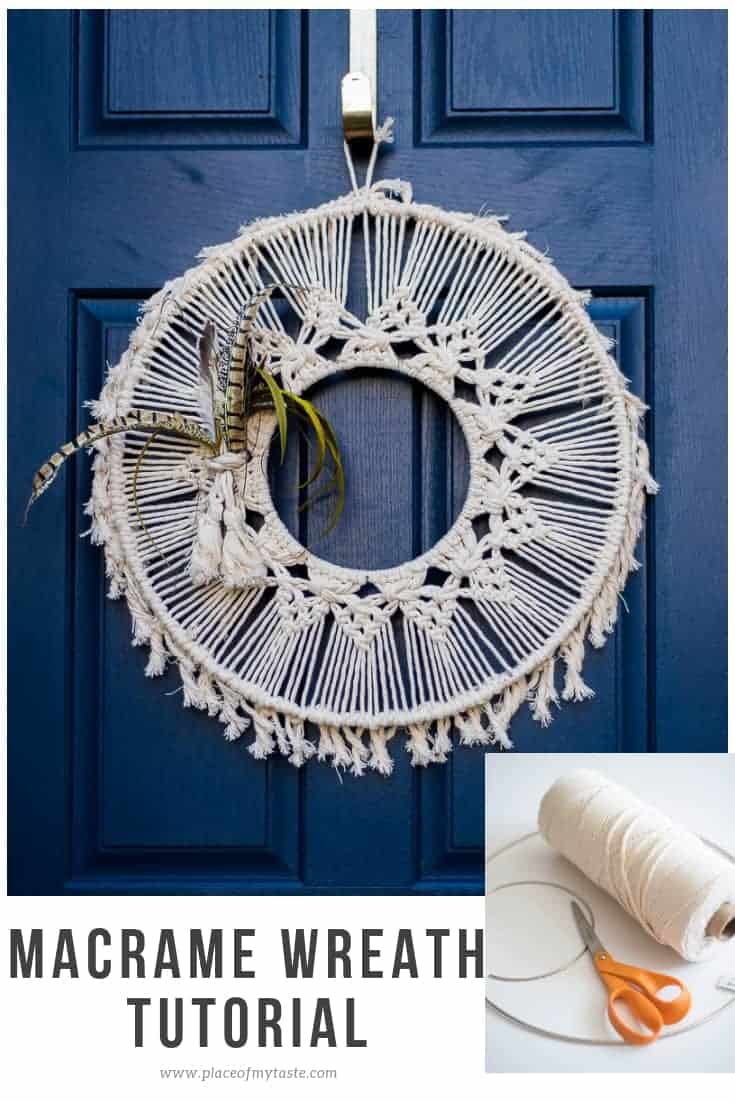
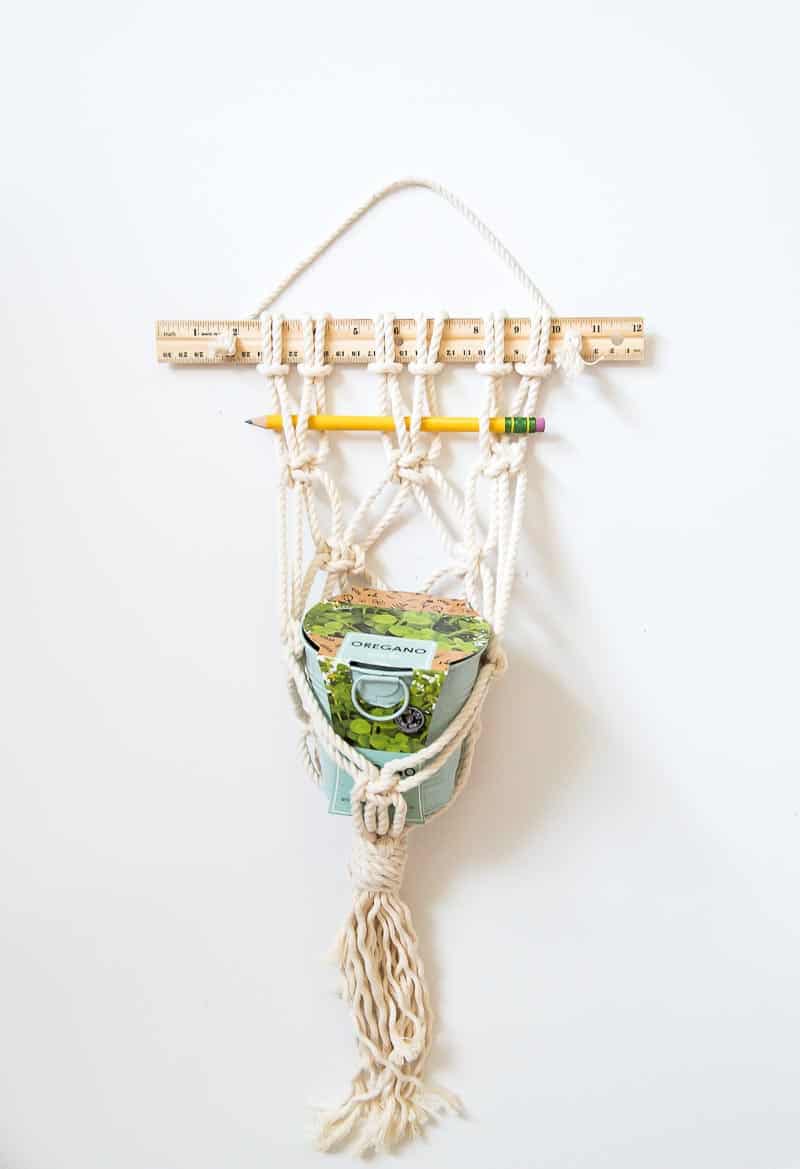
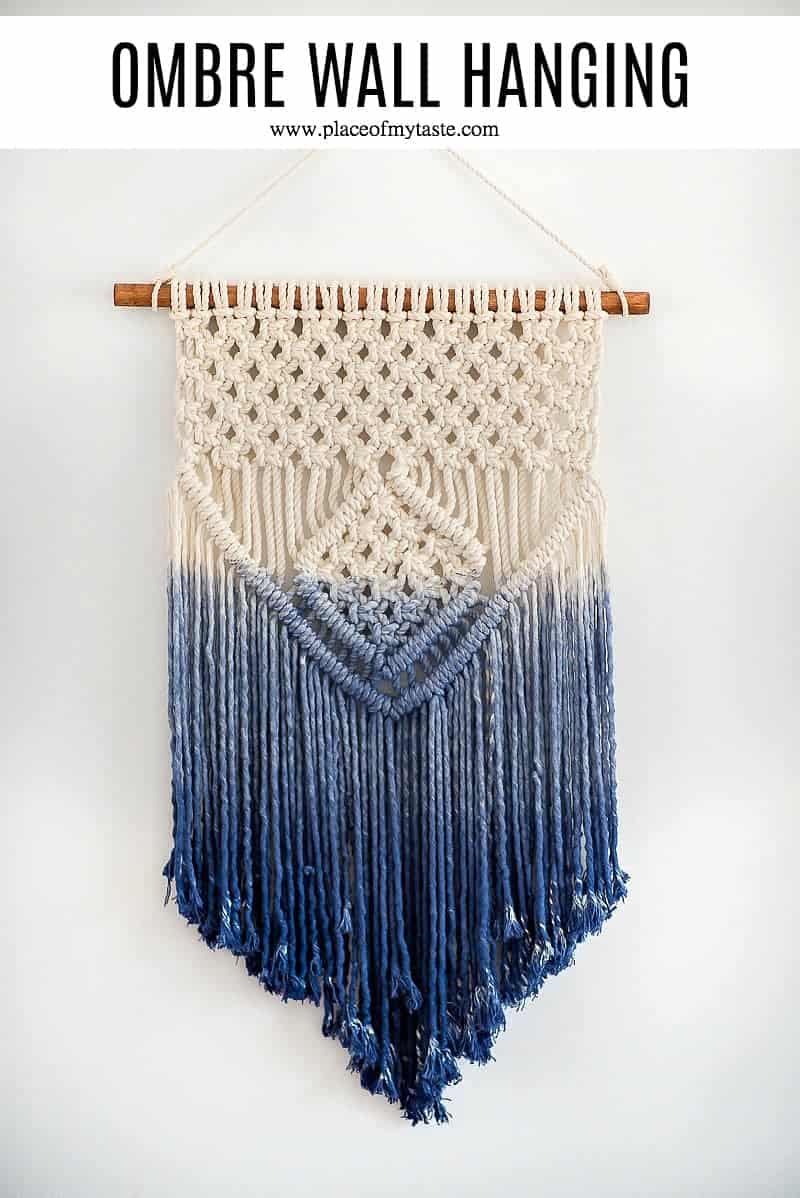
Check out a few macrame plant hangers from my home
You can hang most hangers from the ceiling in your home.
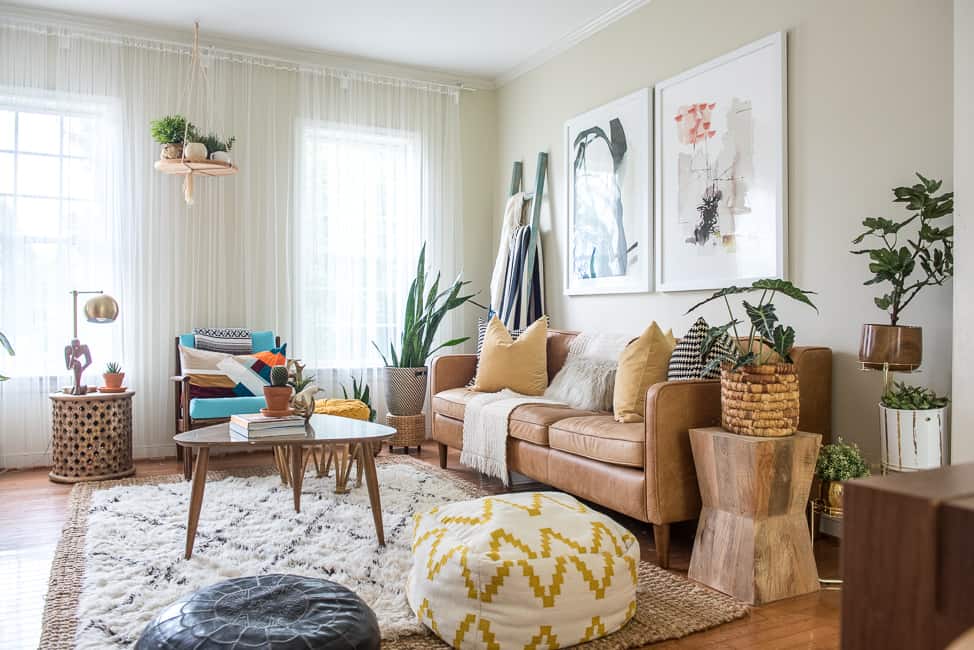

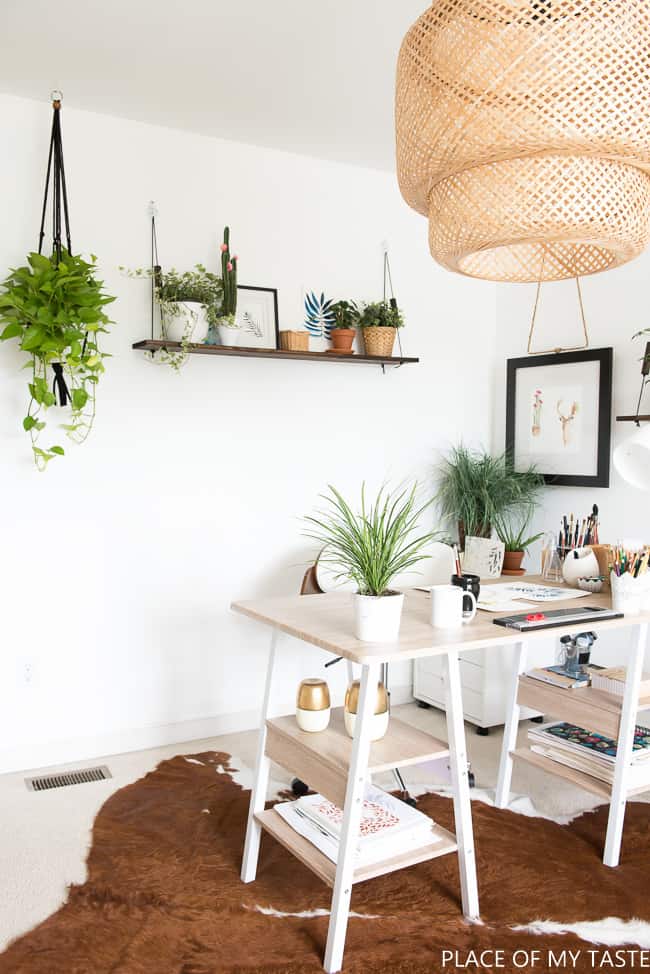
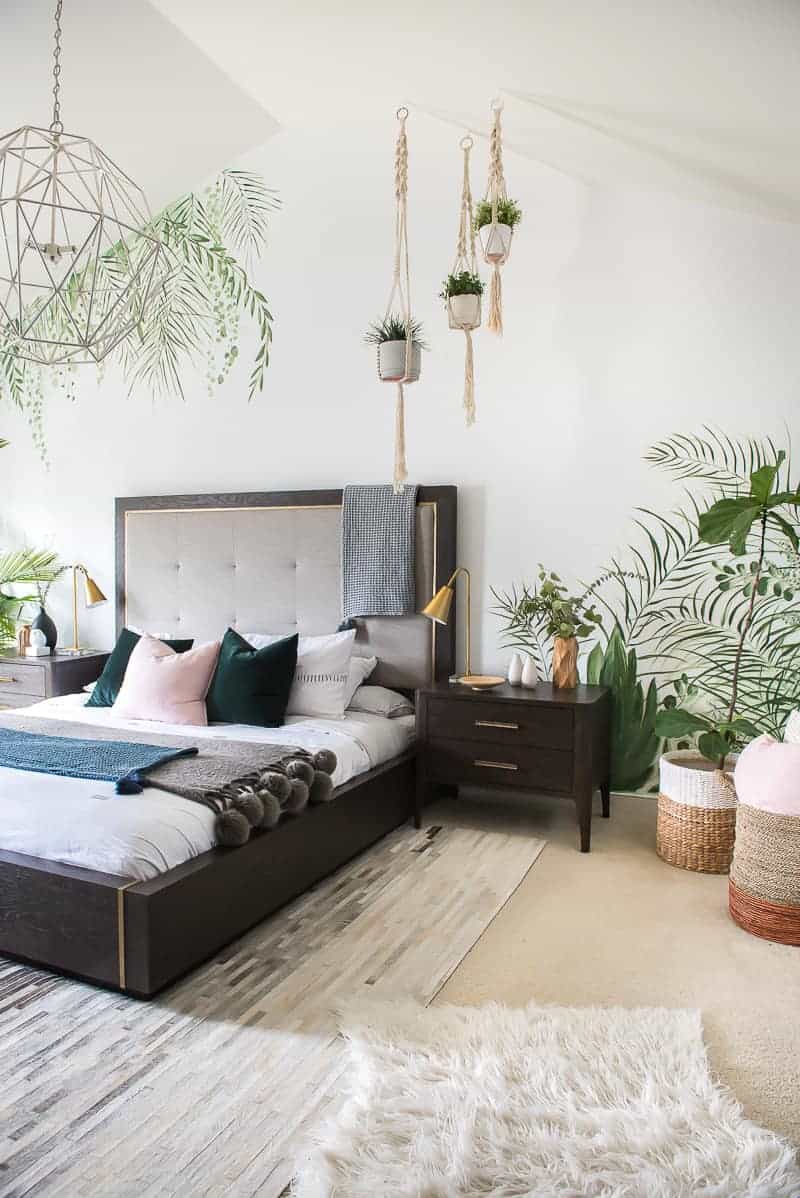
I hope you get inspired to make your own macramé plant hangers today!
MATERIALS YOU NEED TO MAKE THE DIY MACRAME PLANT HANGER
- -cotton cord or yarn ( I USED THIS 3 strand 4mm cotton cord for my hanger!)
- – you will need 6 cotton cord strands (15′ for each cord + 2 3′ cords for the wrapping knot)
- -a pair of scissors
- -a metal ring
- -a hook
- –tape measure
Macrame plant hanger instructions
I did not take photos while making this piece, but below is a step-by-step tutorial:
Step-by-Step Tutorial:
- Take the six 3-yard pieces of cord and slide them through your ring.
- Center the ring on the cords, making sure ALL cords are even.
- TIE a GATHERING/WRAPPING KNOT – Grab your 1-yard piece of cord. Lay the 1-yard piece of cord on top of your cord bundle in a “V” shape. Position the 1-yard piece of cord, so the left side of the V is shorter than the right side. Holding the bottom of the V shape, wrap the bundle with the longer piece of cord. Continue wrapping from the top down, positing each coil neatly underneath the last. Once you are satisfied with the length of your gathering knot, slide the wrapping cord into the loop. Pull the short end of your original V shape up. Watch as your loose end is secured within the coils of your knot. Trim your excess cords. ( REFERENCE the video for visuals)
- YOU ARE NOW READY TO KNOT YOUR CORDS. The SQUARE knot is one of the most basic knots of macrame – I use it a lot. It’s also one of the easiest knots. Separate 4 cords away from the rest of the cords. You typically work with a group of 4 cords. Separate the cords so two are in the middle (your anchors) and one cord is on each side (your knotting cords). Pull the left knotting cord over the other cords making the shape of a number 4. Place the right knotting cord over the left knotting cord that is now on the right side. Grab the right knotting cord and bring it behind the two middle anchor cords and up through the triangle part of the number 4 shape. You should have a cord on the top and the bottom of the anchors. Pull the right and left knotting cords evenly and slide the knot up the anchor cords. *You finished one half of the square knot! We are now going to do the same steps on the other side to complete the knot! Pull the right knotting cord over the two anchor cords making the shape of a backward number 4. Place the left knotting cord over the right knotting cord that is now on the left side. Place the left knotting cord over the right knotting cord that is now on the left side. Pull the right and left knotting cords evenly and slide the knot up the two center cords. Continue this pattern for about 1.5 feet.
- REPEAT this for the rest of the cords. (you will have 2 more groups of 4 cords to work with.)
- TIE A SPIRAL KNOT – The spiral knot is a half Square knot repeating on one side. (reference video for visuals). Continue the square knots for about ⅕ feet.
- CREATE A NET – Use an alternating square knot to create a net to hold the planter! Grab the two outside cords from each group and create a square knot about 3-4 inches down from your knotted cords. Repeat, creating a square knot in between each group of knotted cords. At this point, you should have 3 square knots connecting all your cords.
You can also click HERE to download and print the step-by-step tutorial. I also made a quick video that I think will be helpful to watch and hopefully easy to follow.
Macrame beginners often think making a plant hanger should be their first project, and I agree. Creating a plant hanger can be a simple project, and it can also be satisfying.
You can use different sizes and thicknesses of cords, but I like the 3 strand cords the most. Those twisted cords are visually that much nicer, I think.
Here are my most used cords for MACRAME projects
I make my cord purchases on Amazon, I have yet to find any good macrame cors at craft stores.
Using the right cord is essential!
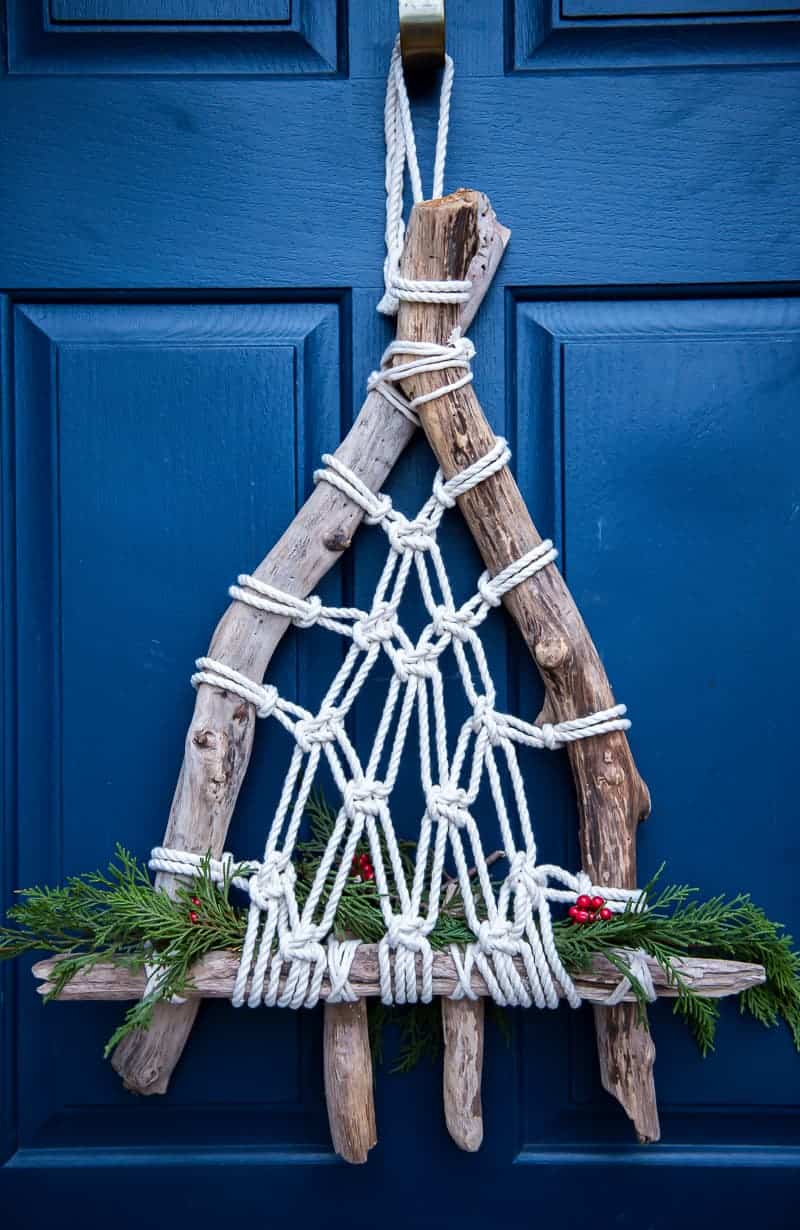
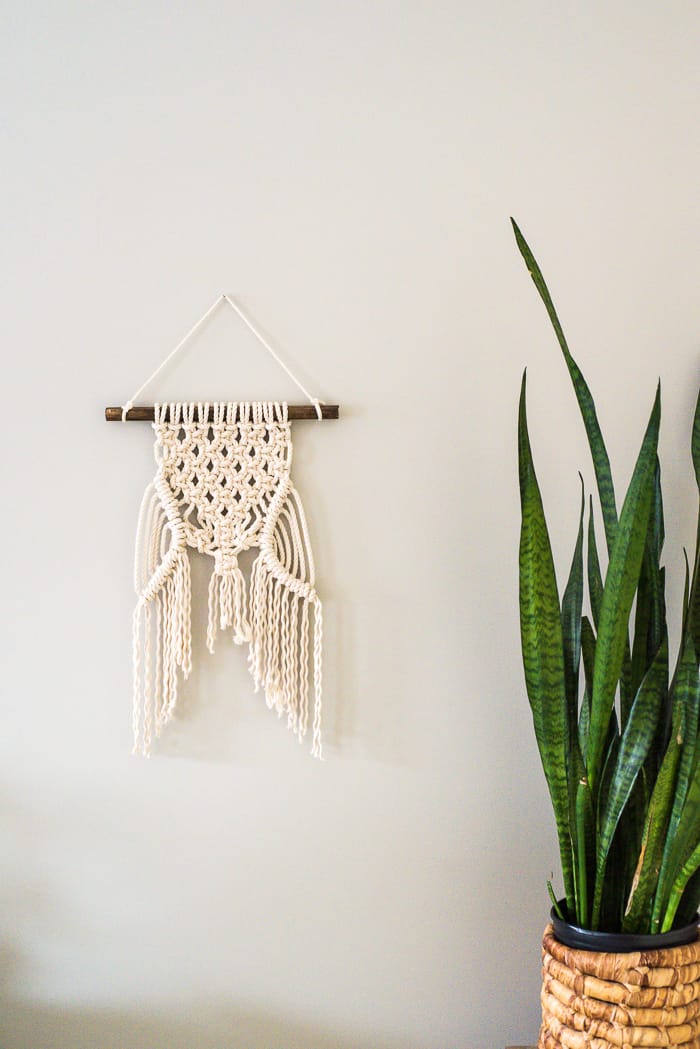
And check out some of my recent macrame projects below!
I always have a bundle of cords left that I use for small projects like this macrame gift wrapping.
What size of macrame cord do I use for my projects?
3-5mm cord falls into the medium category, and this is the thickness that most people tend to use for plant and wall hangings. Most people advise that the 5mm cord is best for beginners, as it is easier to work with, and doesn’t take so long to create the first few projects.
How long are macrame plant hangers?
Typically macrame hangers are between 36-45 inches long.
Let me know in the comments what I should share next time. I have something in my bucket already, but I can’t wait to hear what your request would be!
Cheers,
Aniko


Is the tutorial not on this page? I can’t seem to find it! They are so so gorgeous
This DIY macrame tutorial is fabulous. I am pinning now to try soon! Thanks.
What a fun and beautiful project!
Thanks so much, Ashley!!