HOW TO DECOUPAGE WITH NAPKINS – DECOUPAGE PLANTER
Have you ever wondered how to decoupage with napkins?

Look no further, friend! I have an easy tutorial for you, and I hope I will inspire you today to decoupage a pretty planter or pot for your home or for a friend! It truly makes an excellent gift for someone who loves lovely planters and plants.
Today I am joining forces with many other wonderful bloggers on a SPRING DIY. This amazing and inspiring blog hop is hosted by Krista over at The Happy Housie. I can’t wait for you to see ALL these wonderful Spring DIY projects! So much to see!
But first! Let’s decoupage!
I have done decoupaging terra cotta pots with napkins but it was many many years ago, and today I wanted to refresh this easy craft that anyone can do using a pretty piece of napkin.
…and a super inexpensive planter or pot.
I had a lovely napkin in my drawer that I picked up at IKEA last year. It’s really so amazing. Just wait until you see it!

Don’t you think this napkin is so uniquely beautiful?
Spring is all about FLOWERS for me. I love the season for all its blooms and beautiful flowers and it was not much of a brainstorm to come up with what to do with these gorgeous napkins.
I chose to make this easy DIY craft again.
Materials you will need for the decoupage project:

(affiliate links are included in this post!)
- terra cotta pot
- scissors
- pretty flower-y napkin ( I found THIS, THIS, THIS and THIS that I Looooved!)
- mod-podge
- white acrylic paint
- brushes
It sounds like a lot of materials at first but trust me; you most likely have all of these items at home.
I picked up these pots at my local Home Depot for a $1.29 each. Yup! So if you have THD close by, head over and pick up some of these pots!

And being able to turn this simple terra cotta planter to a ridiculously stunning home decor item in 10 minutes was the best part of this unexpected project!

Steps to decoupage with napkins:
- I started by painting the terra cotta pots with the white acrylic paint.
- In the meantime, I cut the design out from the napkin. I cut around the floral pattern.
- Once the paint was dry, I applied a thin layer Mod-Podge on the pot.
- Then I separated the napkin ply. You HAVE to do this step. Only use the one thin ply of the napkin.
- After I separated the napkin, I carefully smoothed the napkin onto the pot.
- As the last step, I applied a thin layer of Mod-Podge on the napkin and I let it completely dry.
I created a quick video of how I did it so you can easily follow this fun tutorial. I think seeing what I was doing is much better!
One quick tip:
Use a plant that is planted in a plastic planter since the terracotta pots are going to let water pass through and it would ruin your pretty napkins eventually.

Before you leave be sure to visit my super talented friends for more inspiration!

And today I’m joined by a fabulous group of blogging friends who are also sharing their Spring DIY Projects as part of the Seasonal Simplicity Spring Series. You’re going to love all this springy inspiration…
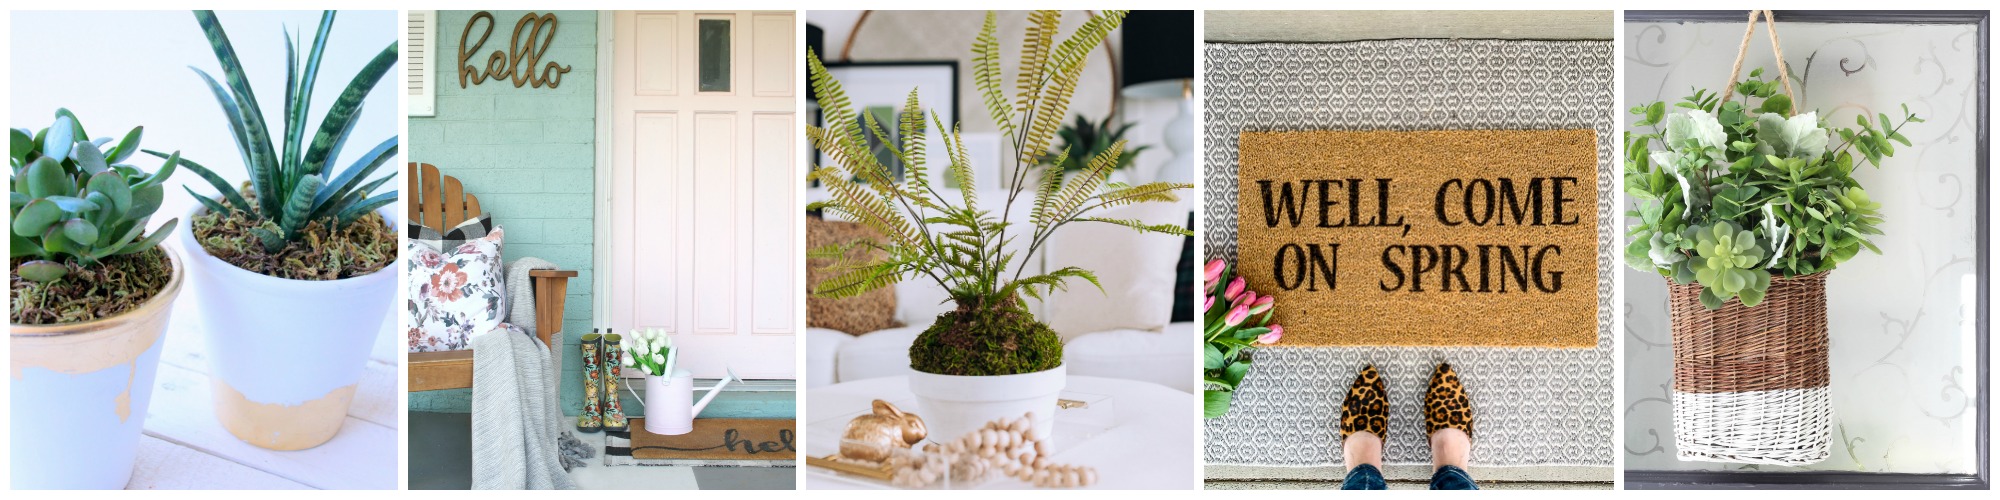
The Happy Housie // Lolly Jane // Craftberry Bush
Inspiration for Moms // Rooms FOR Rent
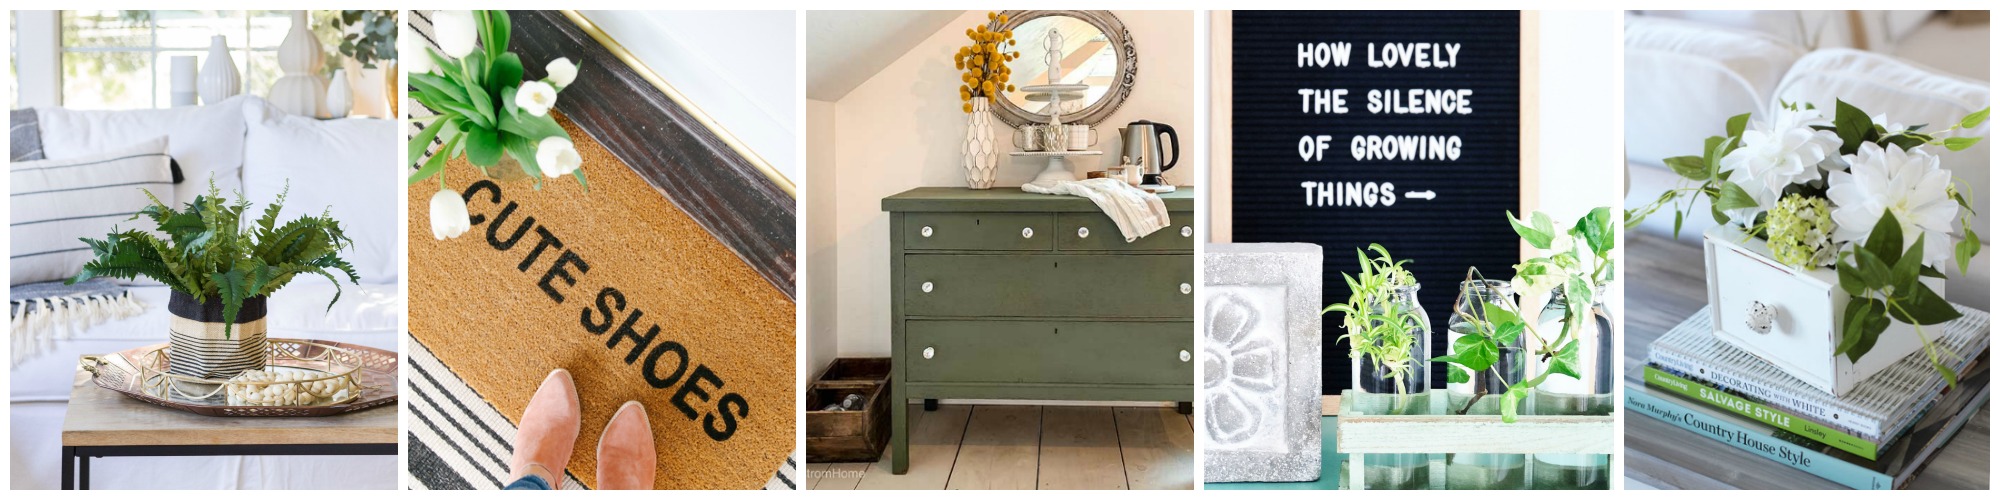
Zevy Joy // Modern Glam // Hallstrom Home
A Pretty Life // Confessions of a Serial DIYer
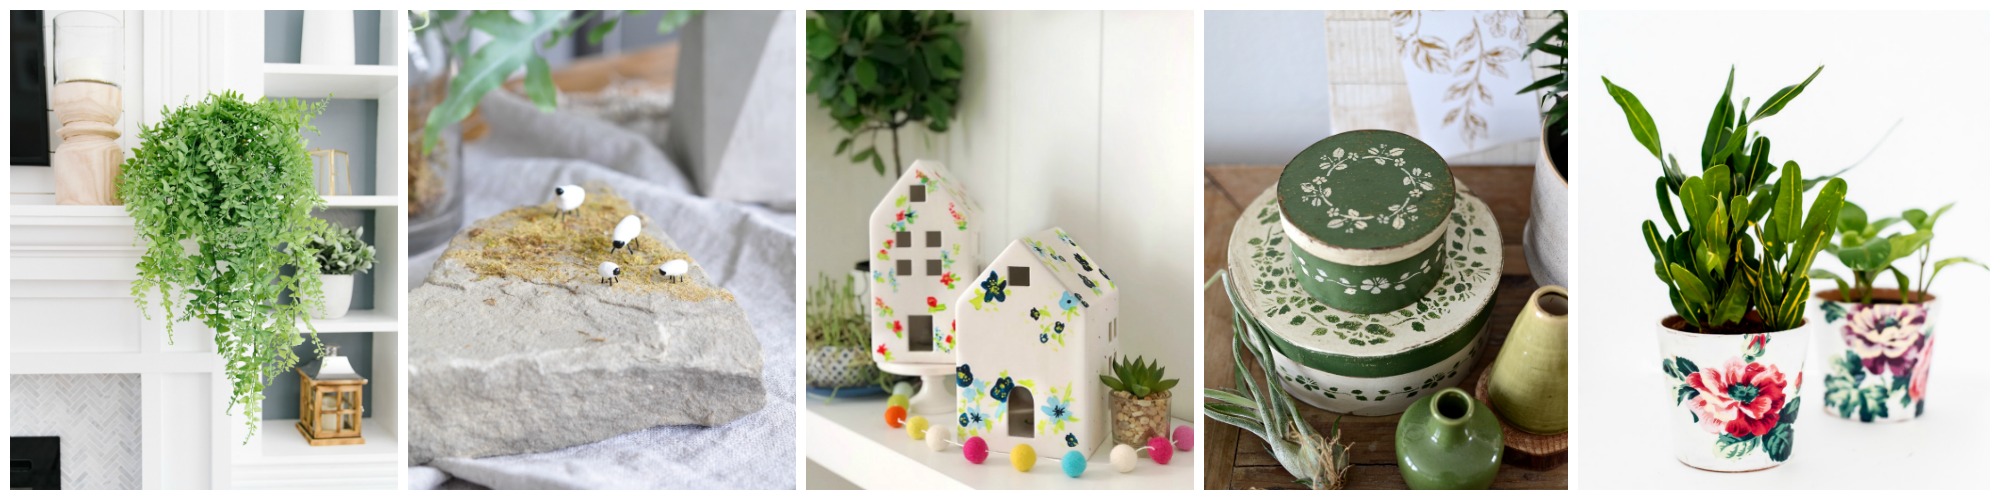
Jenna Kate at Home // Life is a Party // Tatertots and Jello
Town and Country Living // Place of My Taste
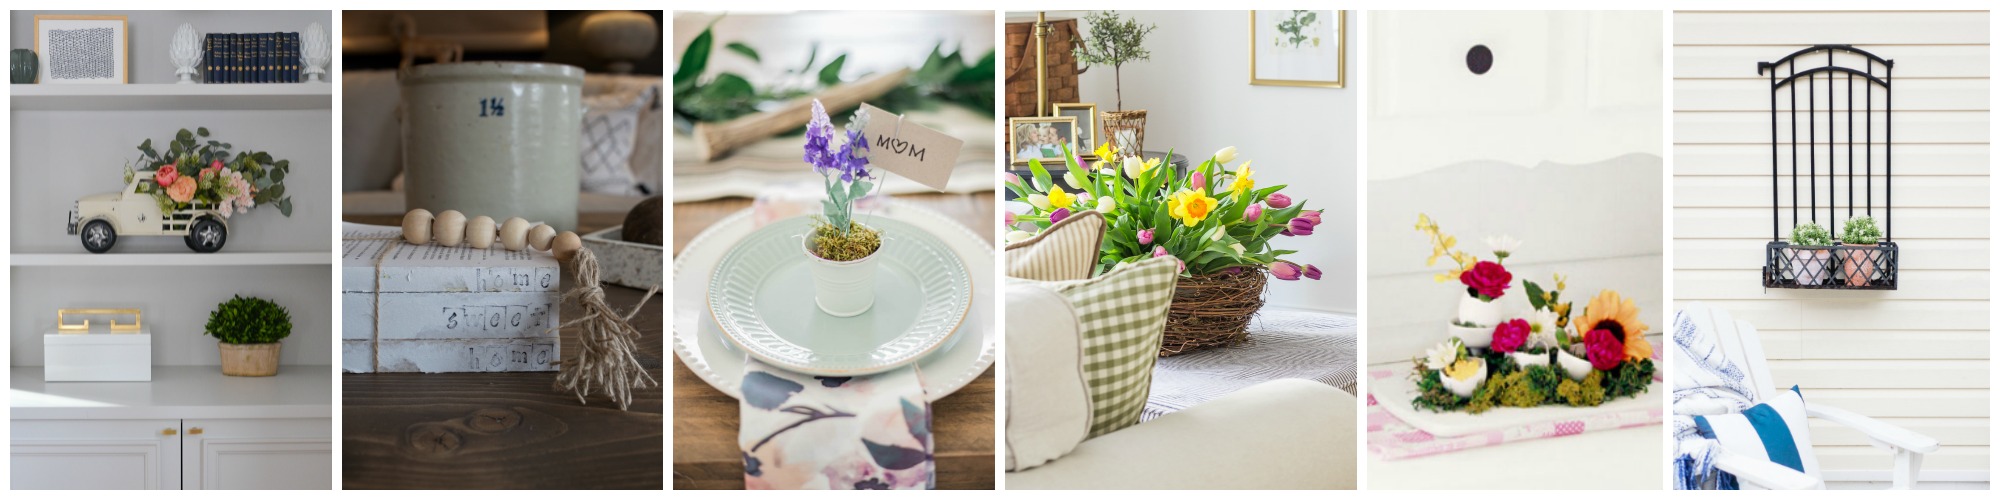
Rambling Renovators // Home Made Lovely // The DIY Mommy // Sincerely, Marie Designs
Paint Me Pink // Amber Tysl
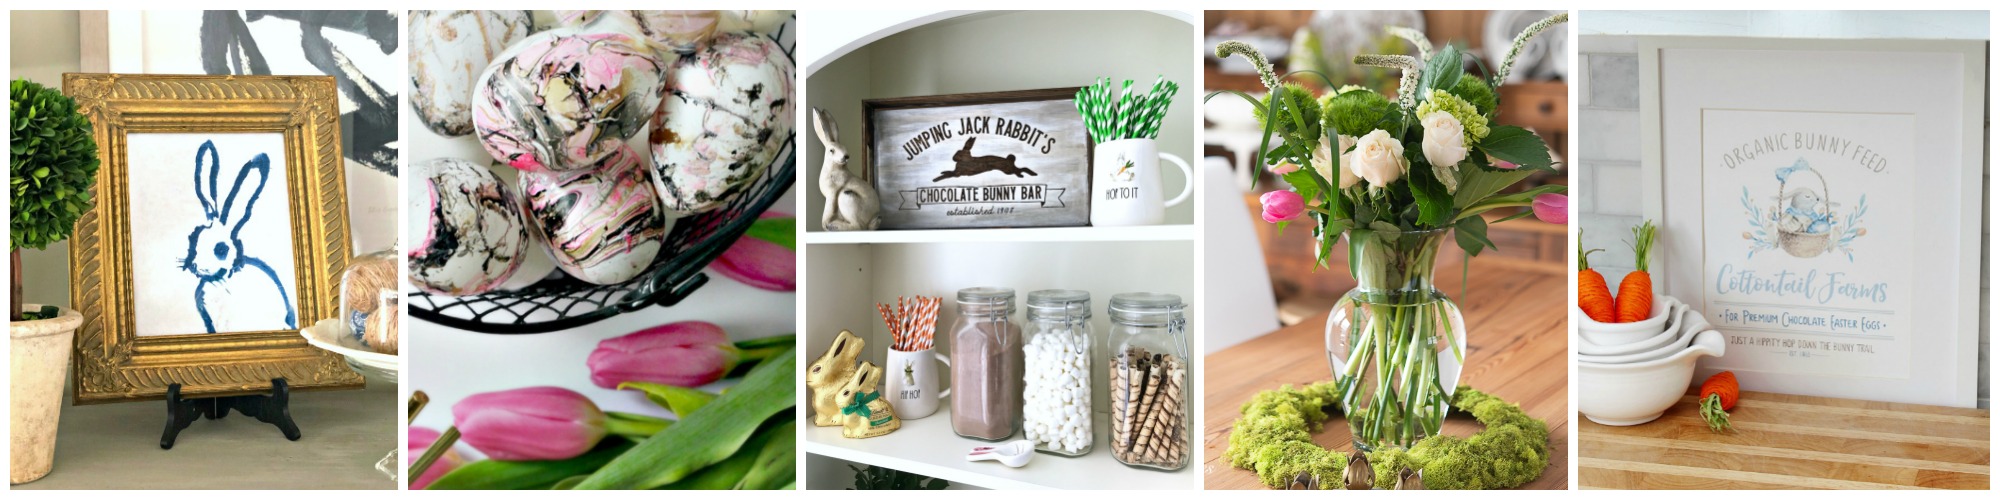
Southern State of Mind // This is Our Bliss // Tauni Everett
Finding Silver Pennies // Clean & Scentsible
Spring on, my friends!
Cheers,
Aniko
Check out some of my favorite projects!!


I did this using napkins with shells on them. I then sealed them with spray varnish inside and out so I could plant directly in them. I was wondering if I could use dark wax on them before I varnish to give them an aged look. BTW, love your site!
So beautiful. Can this be done on plastic flower pots?
Gorgeous! So many options, im hooked!
You are one talented gal!! So beautiful, Aniko!!!
Ladies we did hear back in the early 70’s. If you paint inside we marine varnish you can put dirt directly in them. They just have to be sealed inside and out.
Anika I love anything to do with plants and then throw in florals and I am sold! These turned out so sweet and pretty!
These are so, so cute! I hope you’ve been well Aniko xo
Thanks, Lucy! I have been well, thanks!:-) Xo
These are so pretty and with all the gorgeous napkins out there, there are a ton of options! XO
What a gorgeous idea! With so many pretty napkins, the possibilities are endless!
Love these, Aniko! Those flowers are gorgeous- can’t believe you found them on napkins! So glad you could be part of today’s hop! Happy spring:)
Aniko, these pots are stunning! I’ve always loved your projects. They truly inspire me to want to go and create! Fun participating in this spring roundup with you!
xo
Thanks so much, Tauni! I am glad you loved it. I think this stunning napkin is just too good to be just a napkin!:-)
Love your happy spring pots! Great tutorial for a fun project!
Thanks for stopping by, Ashley! I think they turned out fun!
These pots are so pretty! I think I need some scattered around my home to make it feel like Spring!
You sure do! Fun and easy! Thanks for visiting!:-)
Aniko, these pots are so adorable! Love the colors.
I think the napkins make them so fun and pretty! Thanks for stopping by!