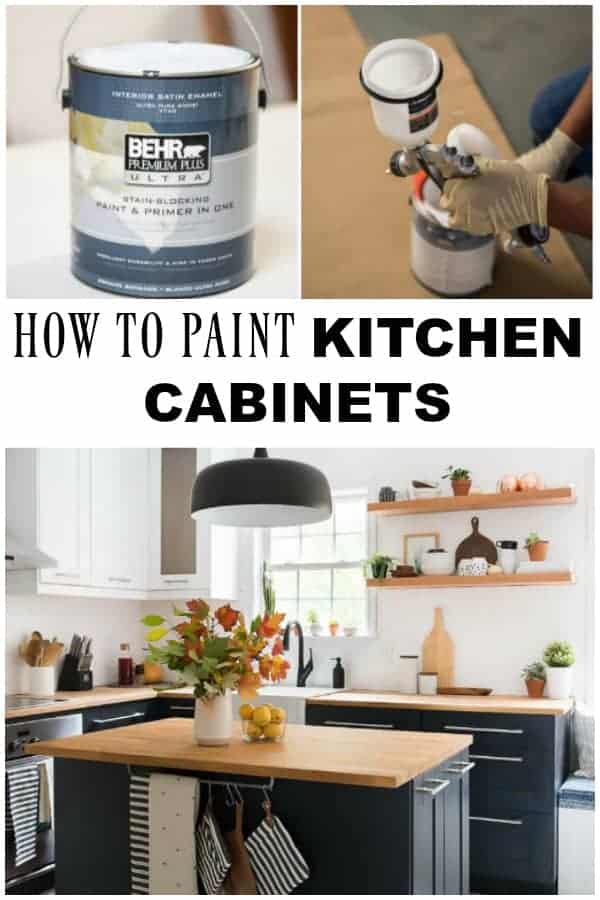
HOW TO PAINT KITCHEN CABINETS
Thanks to BEHR for providing me with all my paint needs for this fantastic project.
Today I am sharing some tips on how to paint kitchen cabinets!
If you guys thinking about painting your kitchen cabinets, you have come to the right place as I will share all the tips and tricks we learned in our painting process so you don’t have to make the same mistakes that we did. Last week I revealed our dreamy two-toned kitchen (the process wasn’t that dreamy lol), you can check out the full post on the link below if you missed it or if you are new around here.
KITCHEN REVAMP – TWO-TONED MODERN KITCHEN
We moved into our home nearly ten years ago, and when we moved in, we had the old builder’s grade oak kitchen cabinets. They were okay, but they for sure were not my style. We lived with that kitchen for a few years then we remodeled out space with the IKEA Adel kitchen line.
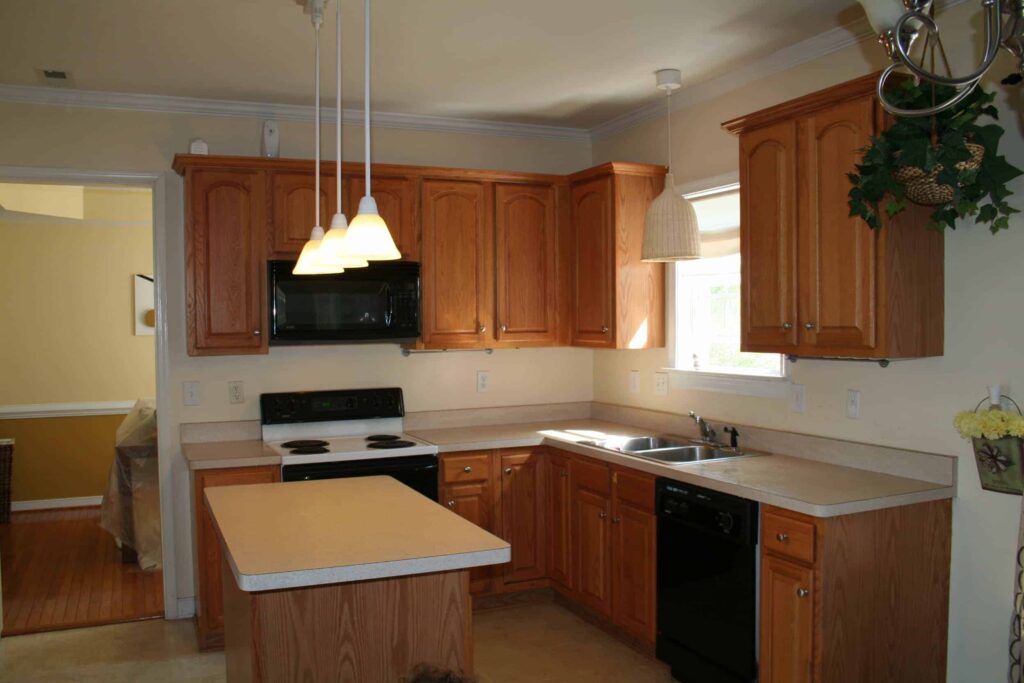
Here is the photo of our initial remodel seven years ago.

We loved our new kitchen, but over time my style has changed, and I wanted white cabinets. Like I was crazy for white cabinets. I begged the hubby to repaint the cabinets and tile the floor. And he was game!
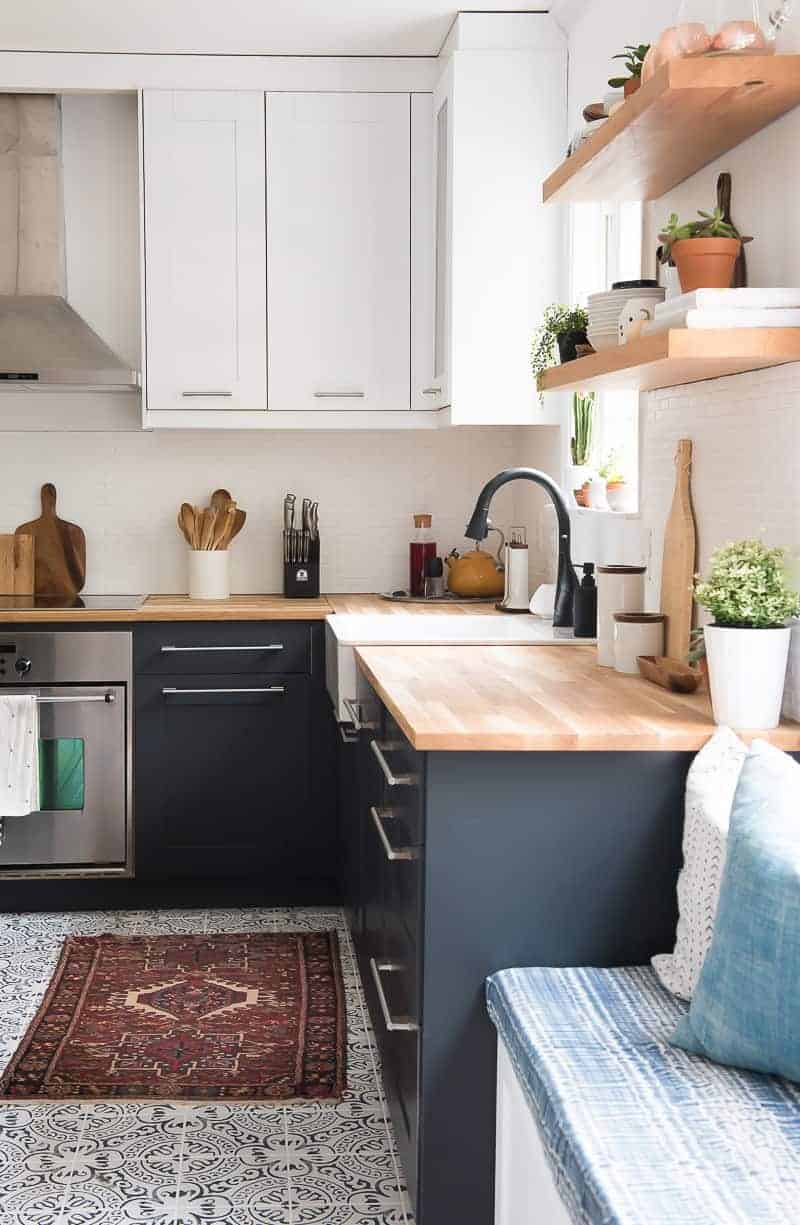
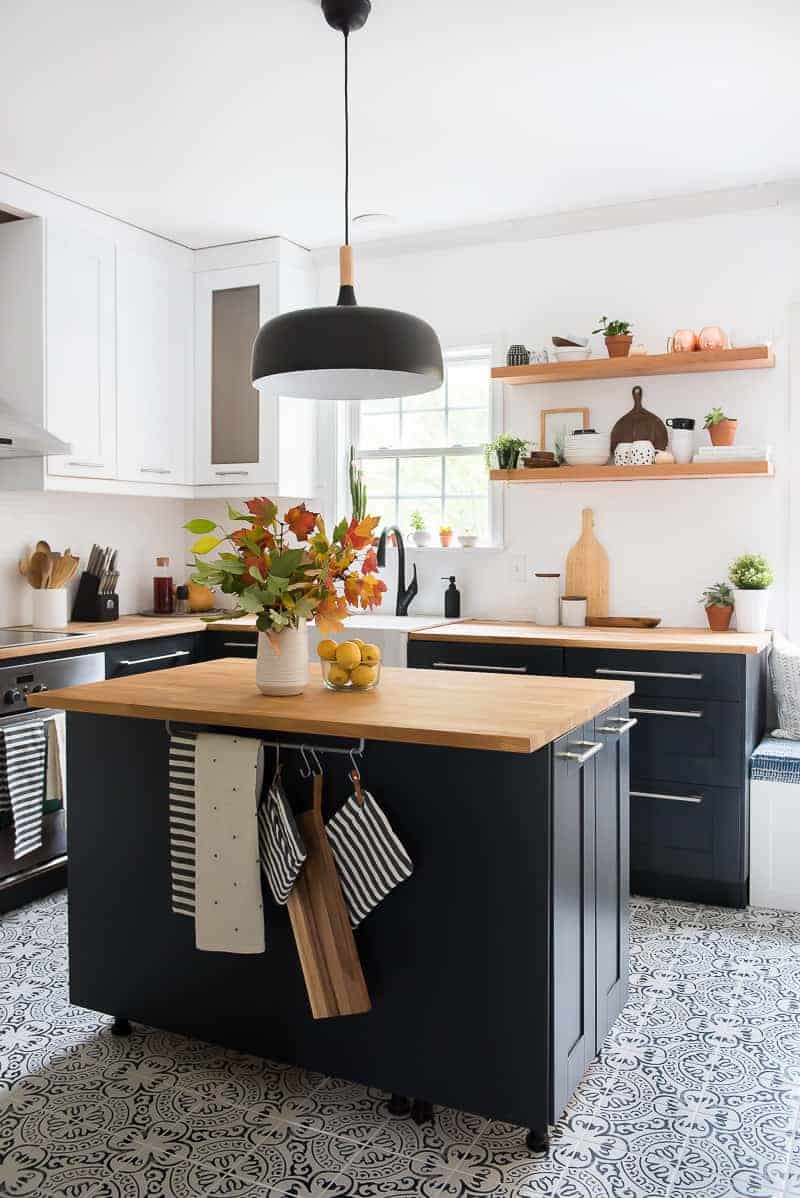
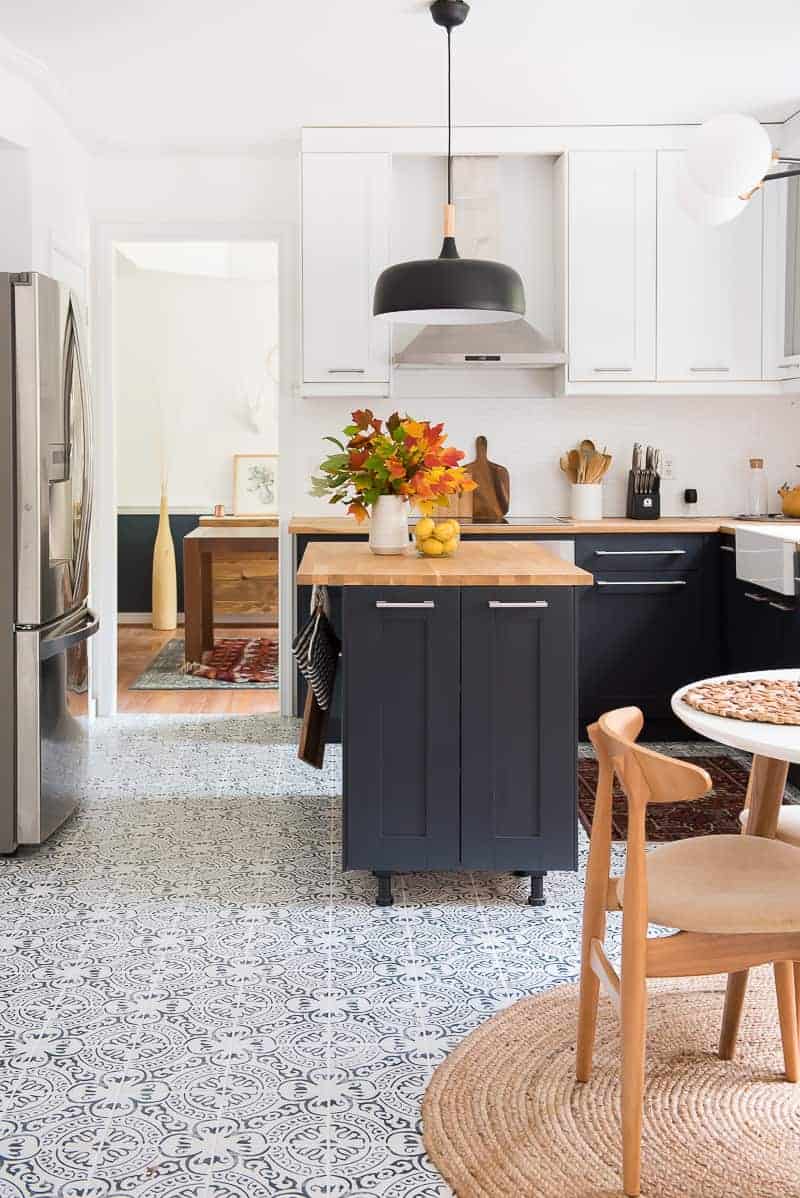
We decided on two-toned cabinets, and this is what my dream kitchen looks like today!
Guys! It’s amazing what a little paint can do, isn’t it?
(backsplash and cabinets are the same, but they were painted)
It is the SAME exact kitchen! WOW!
Okay! So let’s move on to the step-by-step painting process, and I’ll show you how to paint kitchen cabinets!
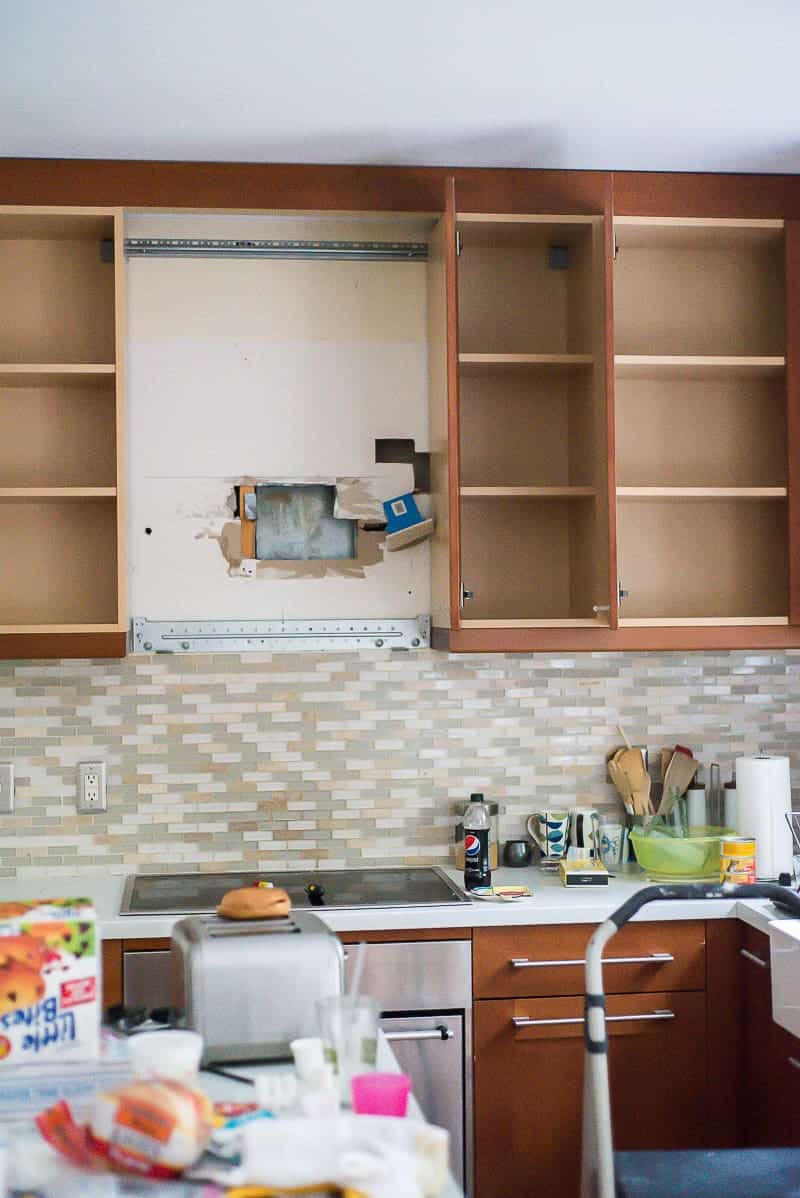
Becuase we tiled our kitchen floor, we had to remove ALL cabinets.
***If you are ONLY painting your doors, YOU DON’T NEED TO REMOVE YOUR CABINETS, only your doors!***
We decided to spray painting our cabinets because I was aiming for a super flat surface. You can do all the steps below and use a high-density roll if you are not spraying.
Step 1:
TAKE OFF ALL YOUR DOORS
Remove all handles and knobs and store them in a ziplock back, so you don’t loose them.
Number the doors if you like, to help with an easier process while you are putting your doors back after you painted them.
Step 2.
CLEAN YOUR CABINETS!
This step is super important! All the grease and dirt must have to be removed! Use a strong kitchen cleaner. I would recommend using gloves.
Step 3.
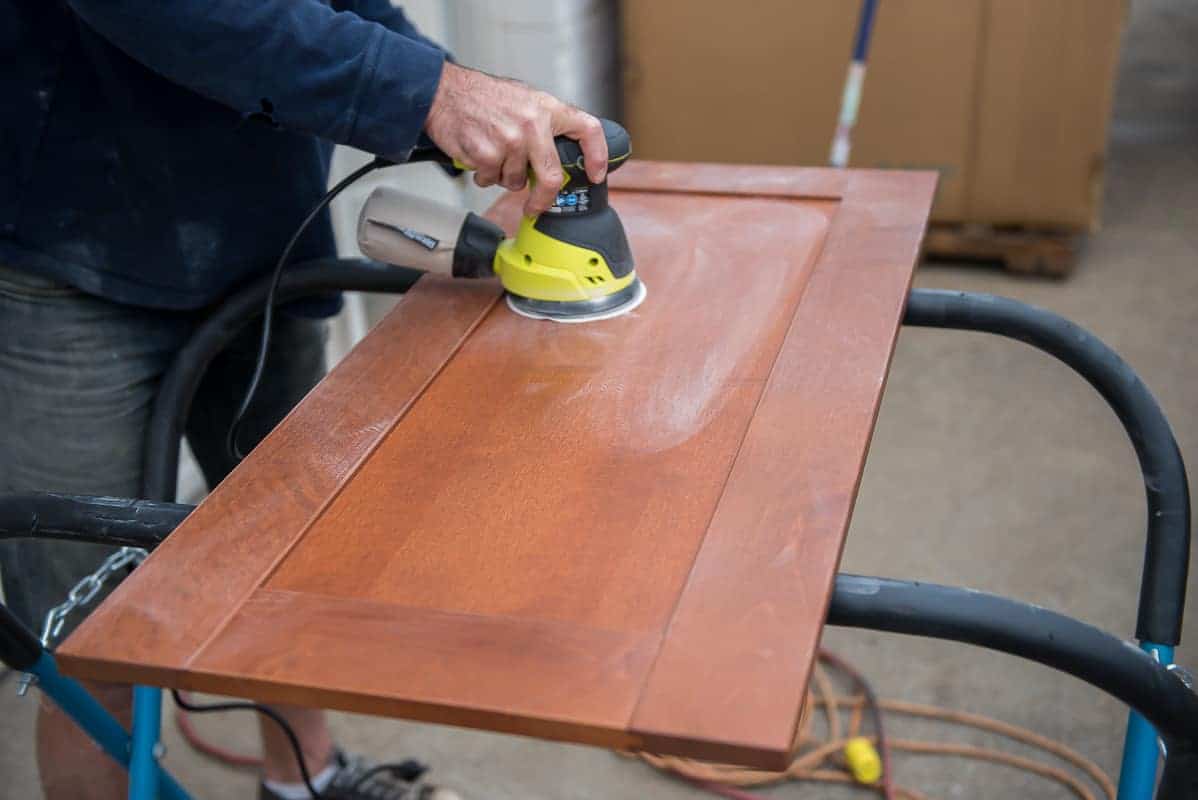
SAND YOUR SURFACE
Sand the doors. We used an electric sander to fasten the process. We used 240 grit sandpaper.
You just want to roughen the surface enough for the primer to stick.
Step 4.
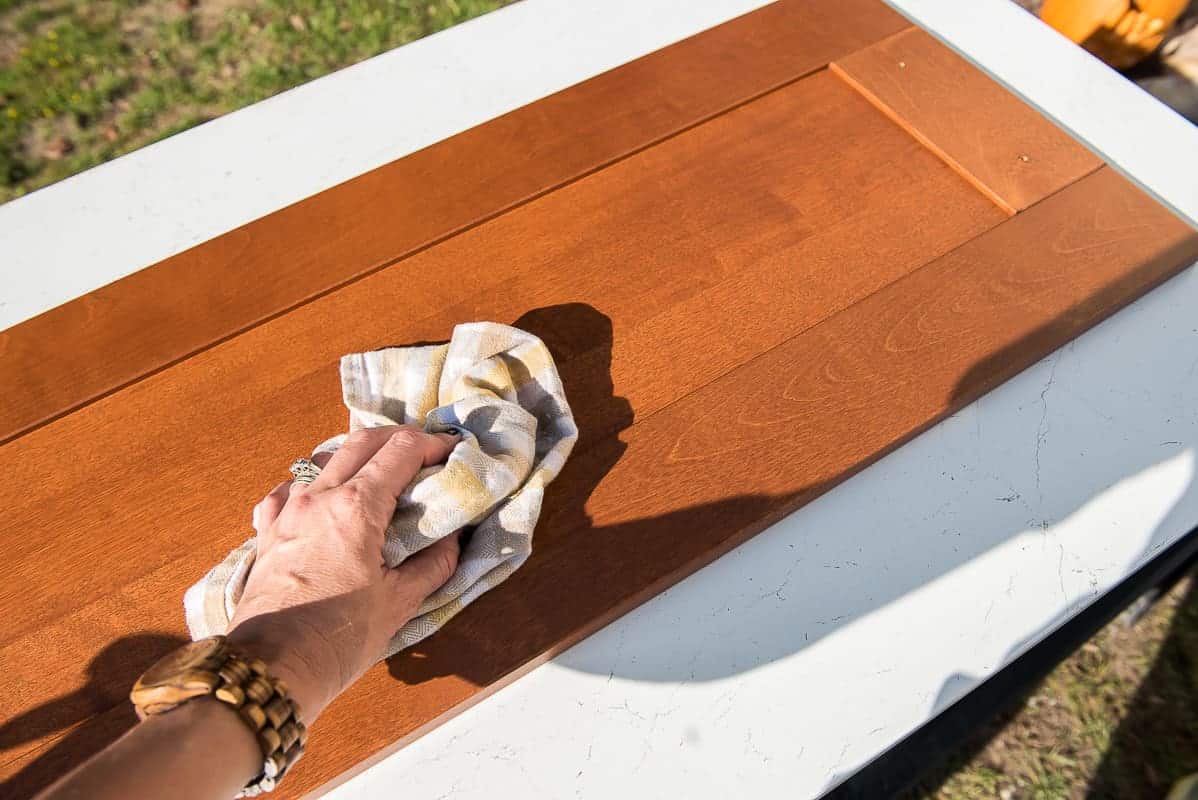
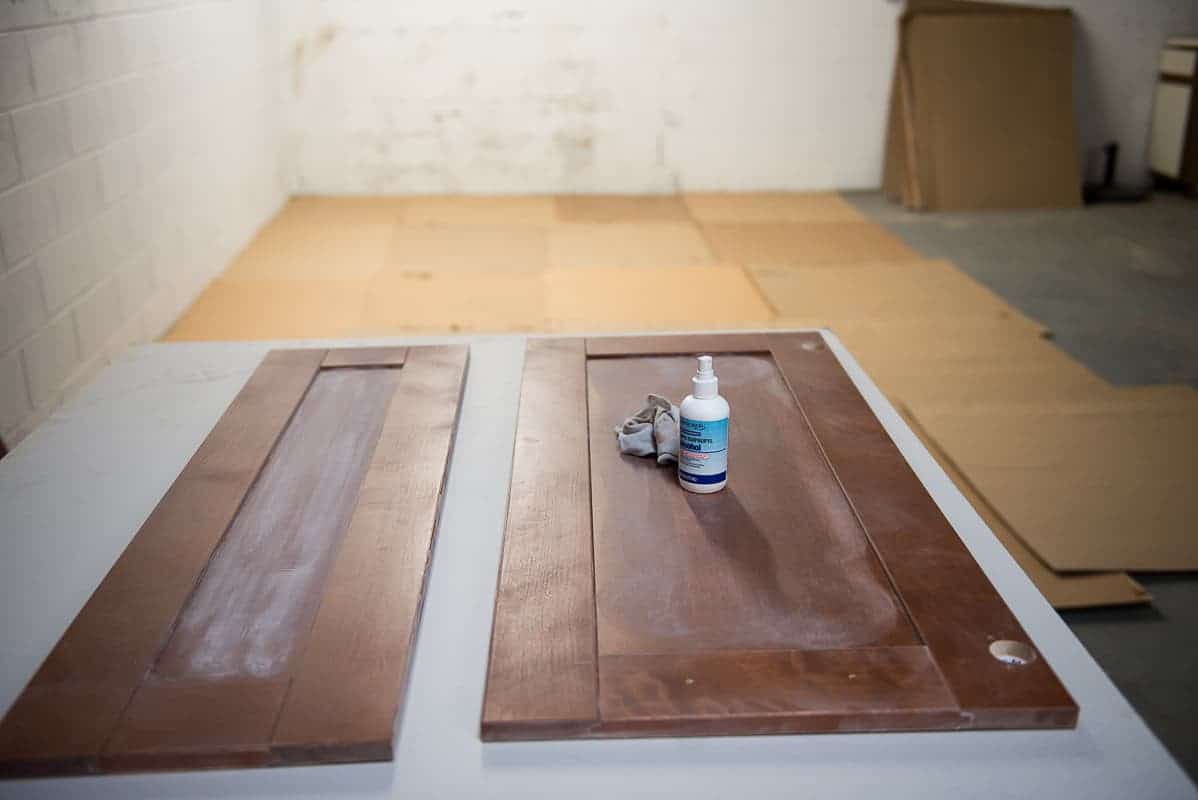
CLEAN OFF THE loose DIRT
After sanding the surface be sure to wipe off all the loose dirt off your surface. I also wiped the surface one last time with alcohol ( you can buy it at the dollar store) as it removes ALL greasy spots, and I wanted to make sure my surface is clean, dirt free, smooth and ready to be primered.
Step 5.
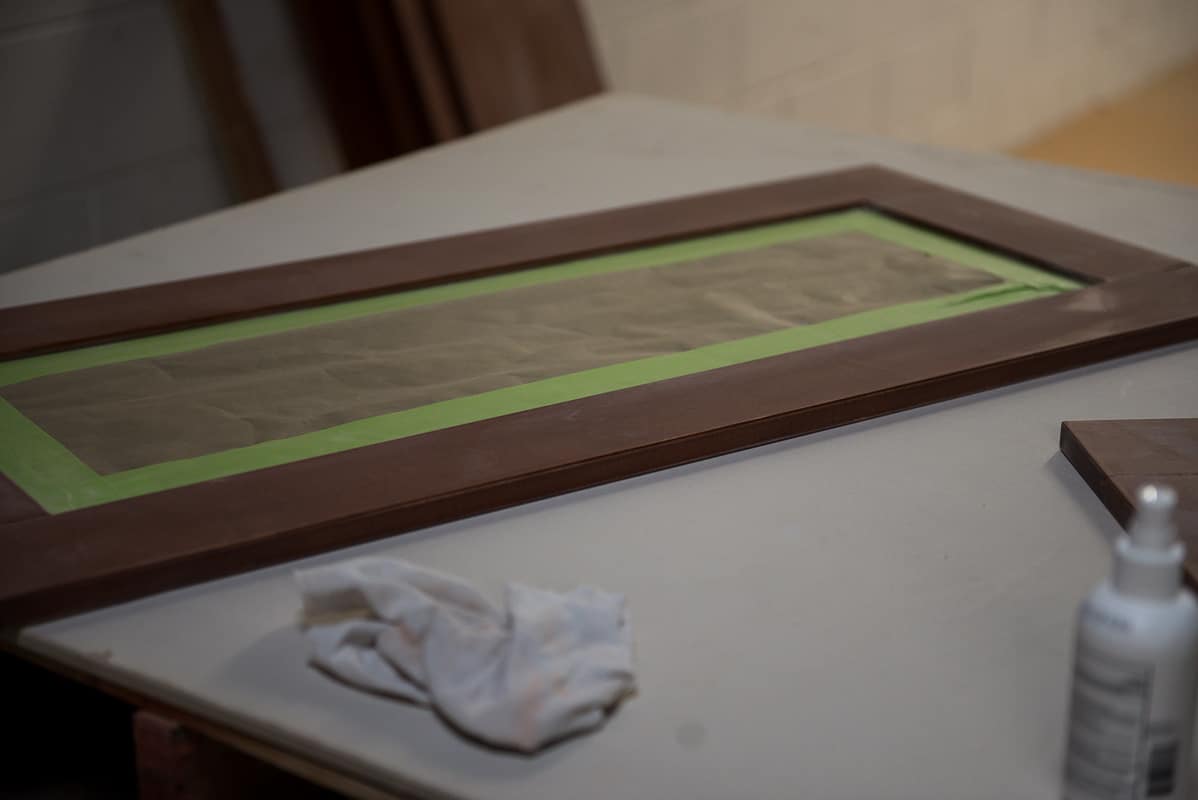
TAPE OFF GLASS DOORS ( if you have any)
We had one glass door that we taped off using painters tape.
Step 6
PRIME TIME!
This step is SUPER important, guys! We learned our lesson. I read lots before we started the painting process and I read it on many sites that we need to use OIL BASED primer to primer the surface.
And we didn’t at first!
My hubby said not to use an oil-based primer, just use a regular primer, and we had to realize that the paint won’t stick if you don’t prime your surface with OIL BASED primer! So be sure you do!
We used Kilz oil-based primer that dries in an hour.

Step 7.
PAINT ON!
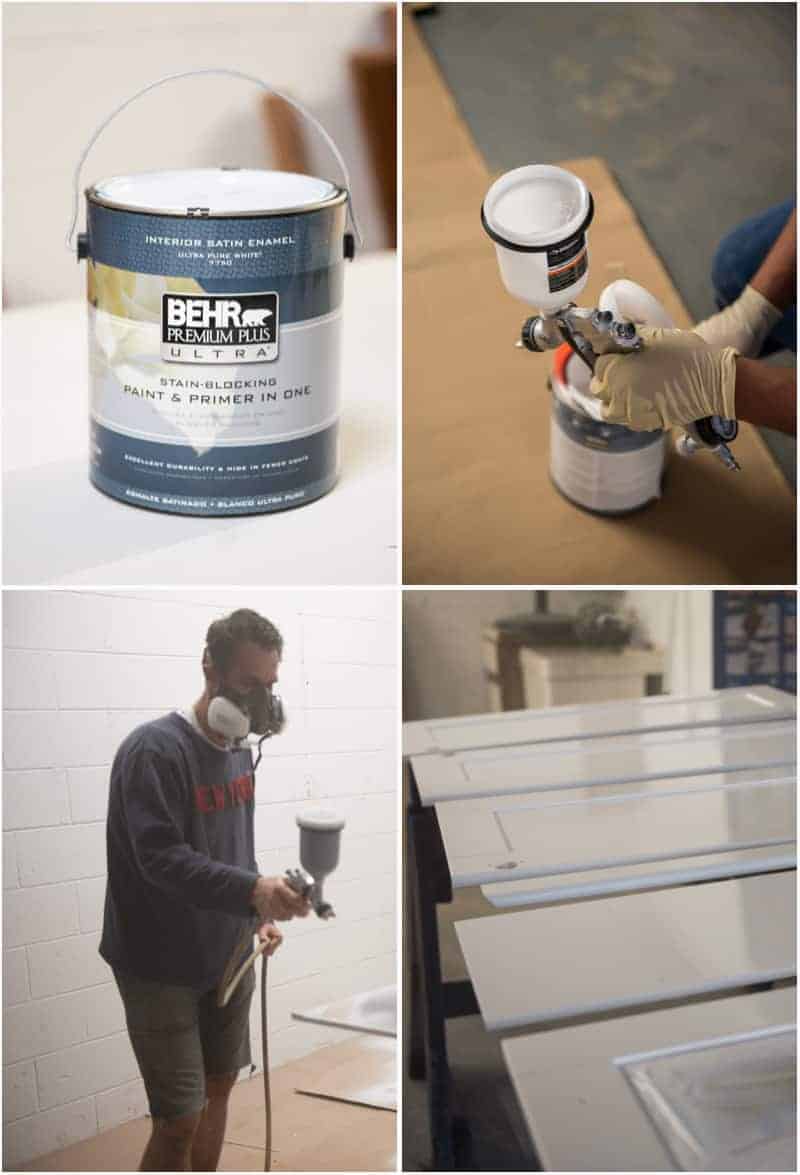
After the primer is dry, start your painting process. As I mentioned earlier, we decided to spray paint to achieve the flattest and smoothest finished look.
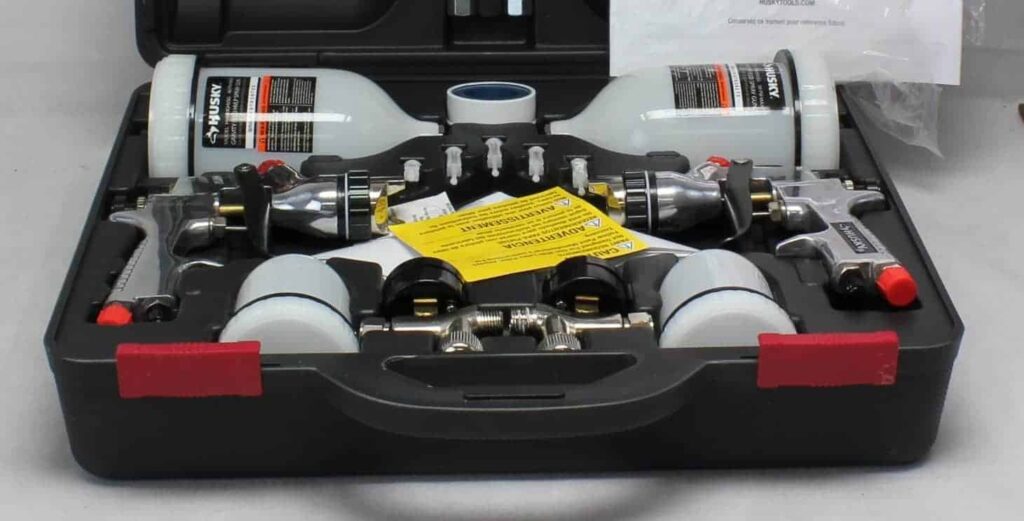
Get one of this paint project respirator a start on!

For spray painting the doors we used Husky Spray Gun Kit. It was fairly easy to use, but the trick to it was to clean the guns properly after we were don with the job.
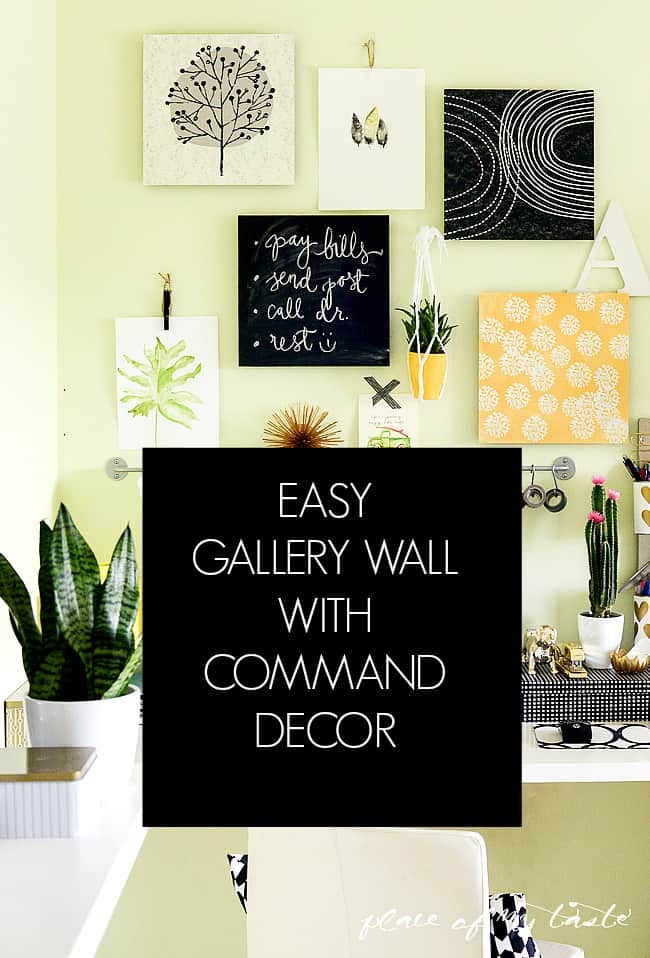
For my project, I used BEHR paint. I love using BEHR products – as I did for all my walls in my house and for this impressive pegboard STUDY wall that I built.

For my two-toned modern kitchen I used the following colors:
UPPER WHITE CABINETS: ULTRA PURE WHITE
FINISH: SATIN
LOWER DARK CABINETS: NIGHT CLUB
FINISH: SATIN
Our garage was full of cabinets and items that were removed from the kitchen due to tiling, so we transported ALL cabinet doors to our warehouse where we had a huge space to spray paint them.
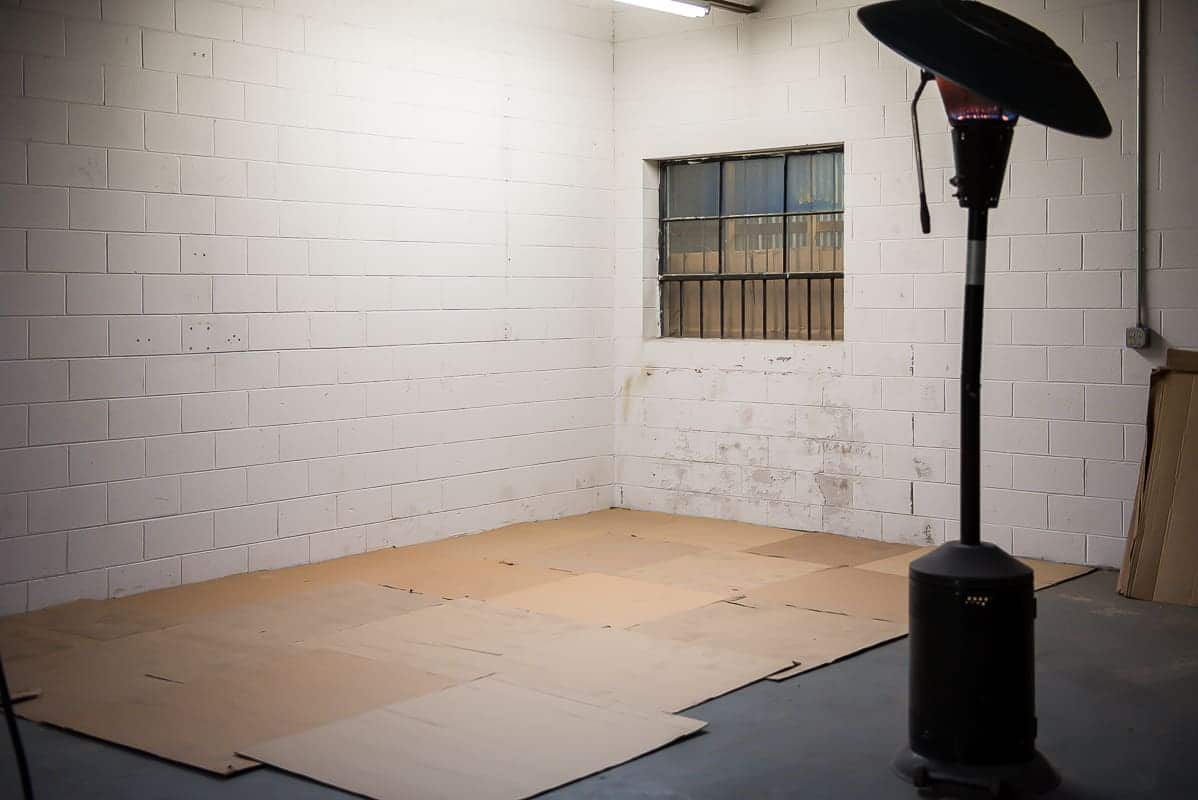
Spraying the cabinet doors was fast. We had a large heater in the space (as it was super cold outside) so the paint dried fast.
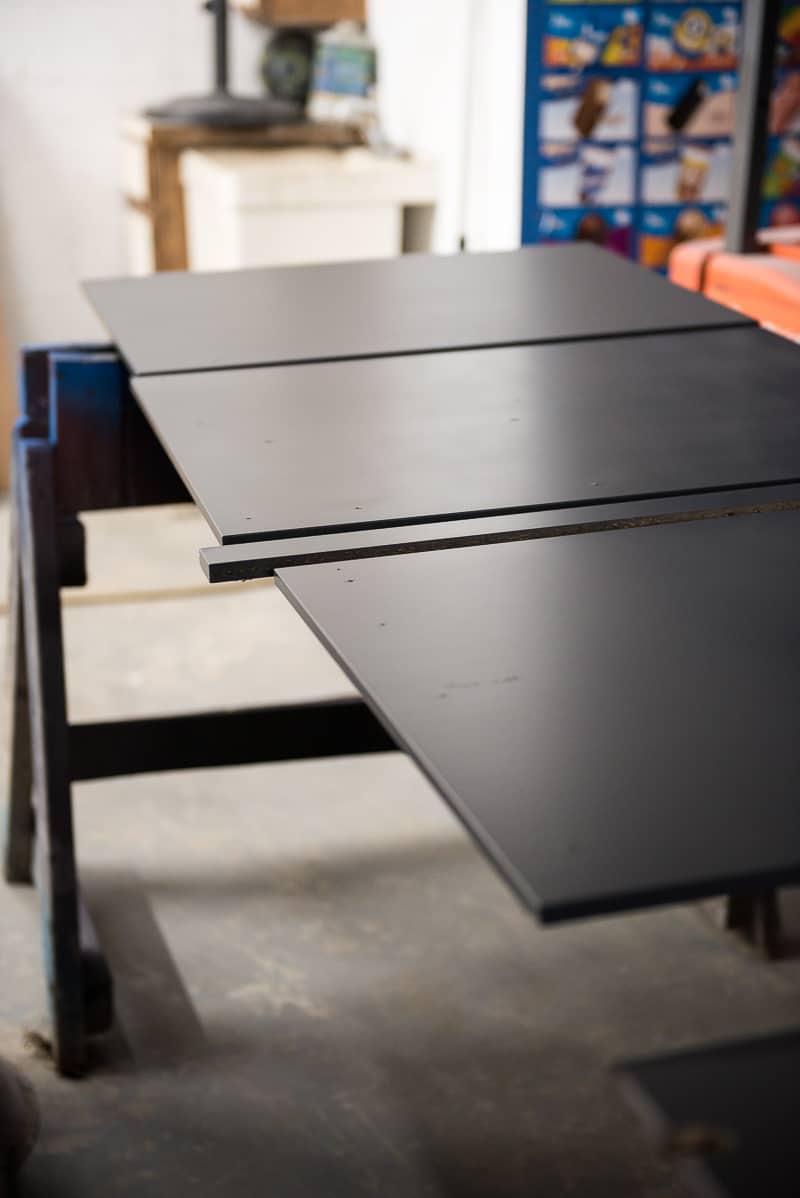
We left the heat on for the night, and next day we repeated the process for the other side of the doors.
Then we transported everything back to our house, and we installed our cabinets, doors, and hardware.
I can’t tell you what an immense difference there is when you walk into this kitchen compare what it was before. Just unbelievable and we are utterly smitten with the final look. Click HERE to see more!
PIN THIS POST FOR LATER!
Have a question? Leave a comment – I will answer anyting I missed!
Have fun with your project!:-)
Shop the look!
Breakfast nook:

Kitchen:
Cheers,
Aniko
Thanks to BEHR for providing me with all my paint needs for this fantastic project.


Thanks for share…..
I own these same cabinets, but hate the original color. I’m just wondering how everything is holding up years later?